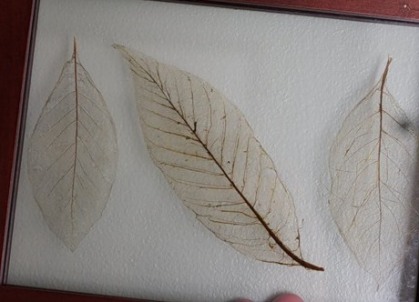
Skeletonized leaves are the original material for hand-made articles. It is interesting to use skeletonized leaves in the decor: the creation of paintings, three-dimensional flowers, decorating them with dishes (glasses, plates), candles, lamps and more. We will tell you about the technique of producing skeletonized leaves and their application.
How to make skeletonized leaves?
Of course, such original leaves can be bought in a specialized store, but in fact, making them with your own hands is very simple. As to which leaves are suitable for skeletonization, your choice can be stopped on the leaves of poplar, oak, maple, laurel.
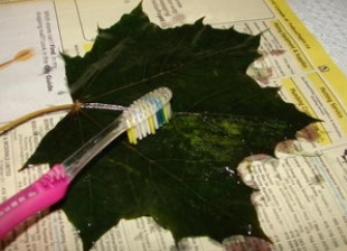
- Collect fresh leaves. Dissolve in 1 liter of cold water 12 teaspoons of baking soda, boil the solution and put the leaves into it for 25 minutes. If necessary, pour water.
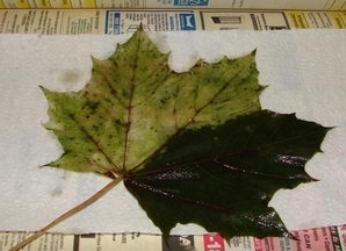
- After this, each leaf can be rinsed with cold water and cleaned with a toothbrush from the greens.
- Wash the paper again with running water.
| | |
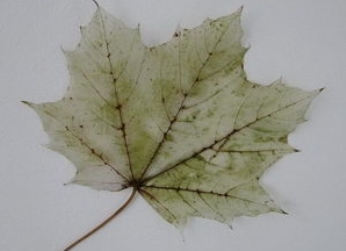
It's so easy to get skeletonized leaves with your own hands. If desired, they can be stained with food colors.
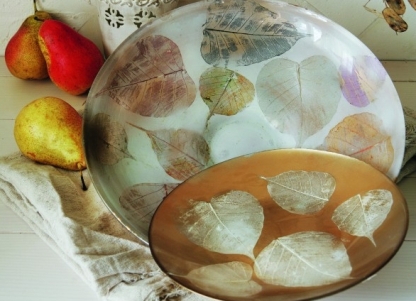
Crafts from skeletonized leaves: decor of dish and mugs
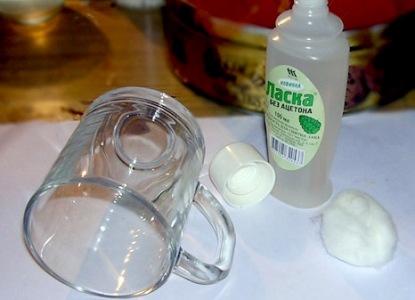
In addition to skeletonized leaves you will need:
- transparent dish;
- glue for glass;
- aerosol paint in gold and white.
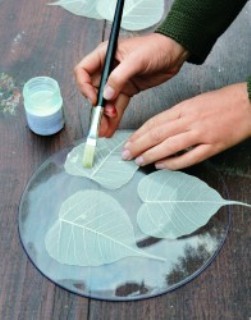
- Leaflets need to be covered with any of the paints. Then they must be glued to the back of the plate.
- Then on the back side of the plate we put a layer of glue.
- After the glue has dried, we apply aerosol paint on the same back side of the dish. And if the leaves were painted white, the dish is painted with gold and vice versa.
| | |
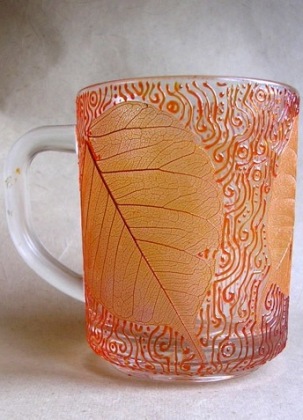
By the way, in the same way you can paint a transparent mug or glass.
- Degrease the surface of the mug with a liquid to remove varnish.
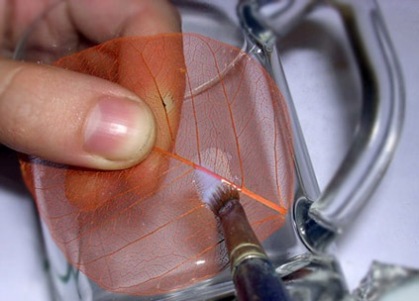
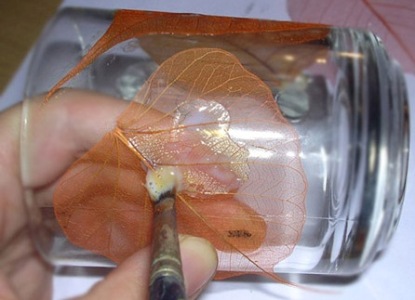
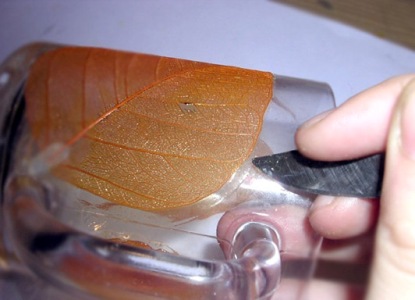
- Applying the leaf to the surface of the mug, carefully grease it with a brush dipped in varnish for decoupage. So he will stick to the mug. Pay special attention to the area of the skeleton leaf, where the twig sticks out - it is better to place a small piece of plasticine on it. Surplus varnish on the edges of the sheet can be removed with a cotton swab.
- The same manner is attached to the outer part of the mug and two more sheets.
- When the varnish is completely dry, its excess around the leaves can easily be scraped off with a knife. We remove clay.
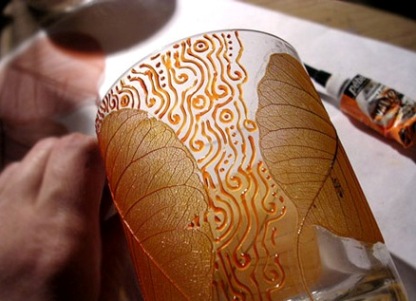
- If desired, we also decorate the mug with a vintage contour.
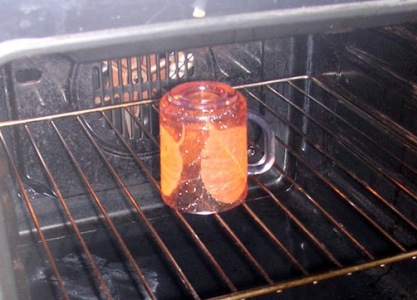
- We leave the mug to dry for a day, and then we put it in the oven for firing so that it can be used in everyday life.
- By the way, an excellent option for creativity will be the creation of paintings from skeletonized leaves. You can simply place the leaves under the frame in an arbitrary or specific order. Simple, but how original!
| | |
From leaves you can do less complicated crafts , doing creative work with children.