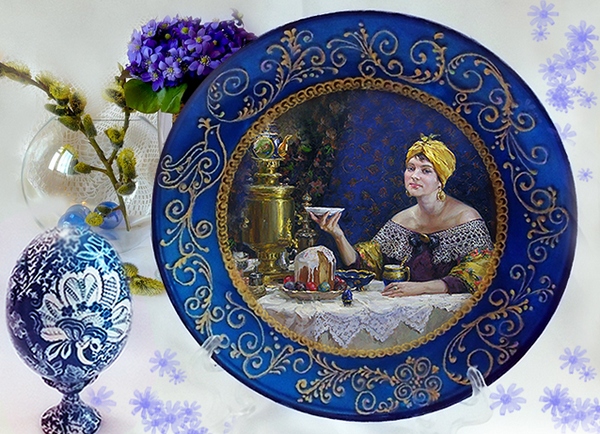
The technique of decoupage on glass in our time is increasingly gaining momentum. Even for beginners, decoupage on glass is not a difficult task.
Doing glass decoupage with your own hands, you can create a beautiful and unique gift to any celebration.
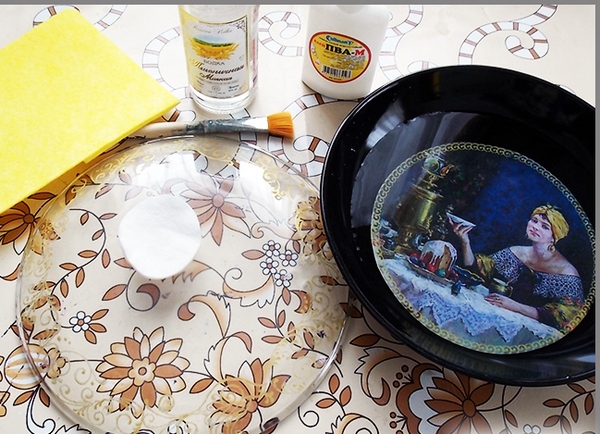
How to make decoupage on the glass, try to explain to you. We have prepared a master class of reverse decoupage on glass, or rather - it will be a glass plate, and instead of the usual napkins we will use a printout from the printer - this, by the way, can be one of your photos.
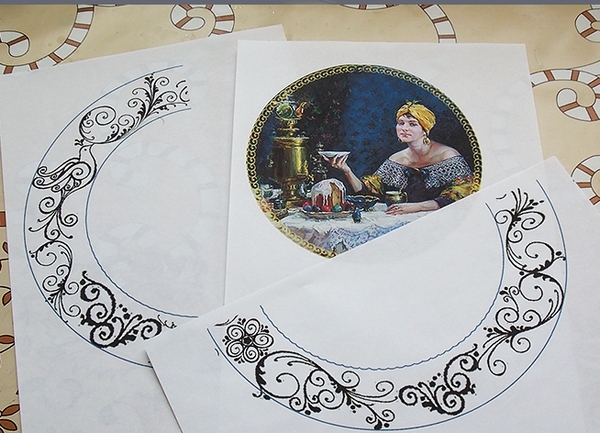
First, select a picture or a photo and an ornament for the edge of the plate and print everything onto paper.
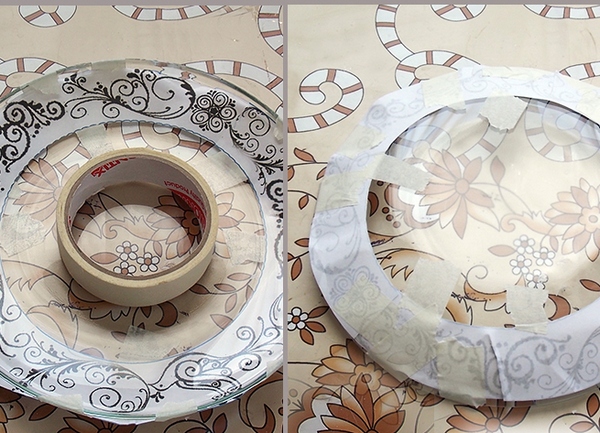
Take a completely transparent plate and on the back side attach the ornament to the building scotch.
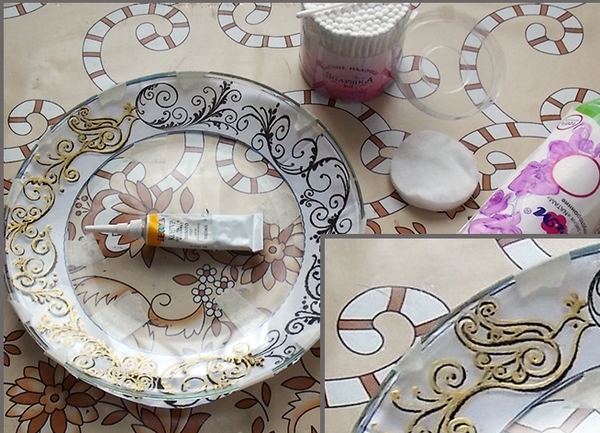
On the front side, degrease the place for the ornamentation, and draw along the lines of the template with a contour for the glass of golden color. Wipe errors very conveniently with cotton buds.
Dry our ornament for at least a day.
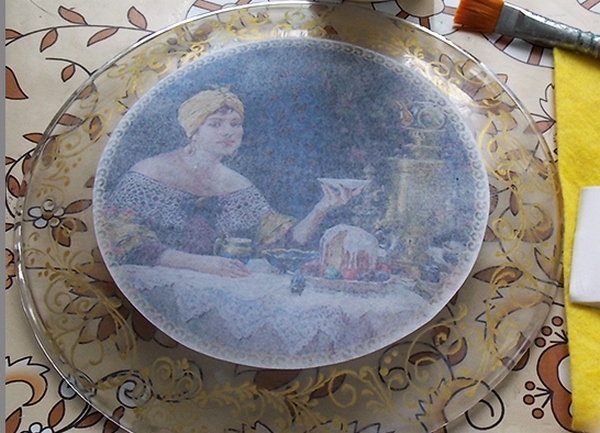
Next, your cut out photo or drawing, soak in water for 10 minutes (room temperature), and place the glue on degreasing.
Printout with a napkin. Do not use a thick layer of glue, but very carefully and evenly spread out both the printout and the plate. We glue the photo and very carefully expel air and excess glue. Dry without drafts and temperature changes.
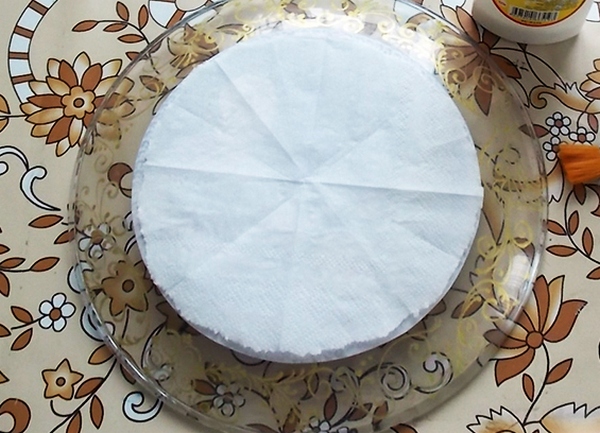
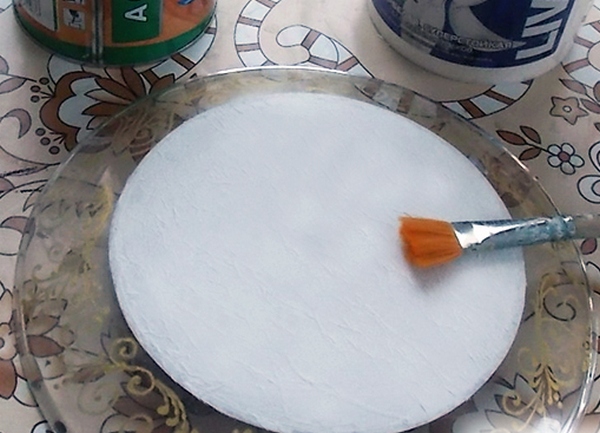
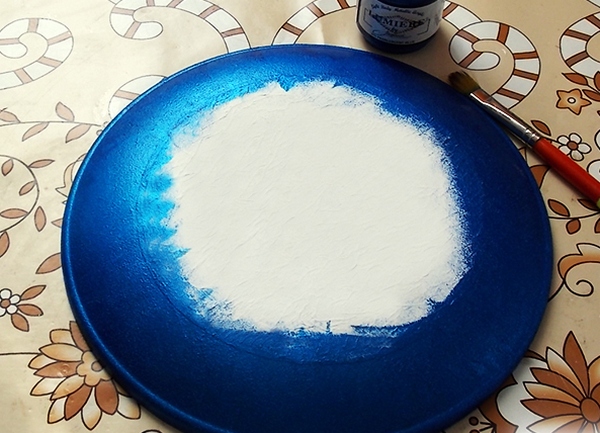
Place a white napkin of the same diameter on the pasted photo and cover with PVA glue and dry for 2 hours. Then cover with white paint.
| | |
We put the background, bypassing the picture, and leave the clock to dry for 6-7. Then we apply the acrylic paint of the desired color.
| | |
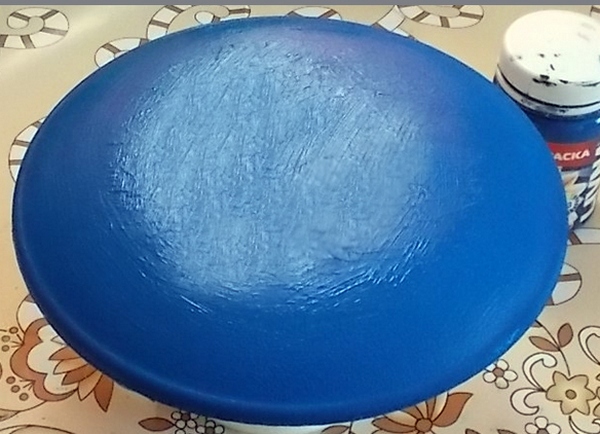
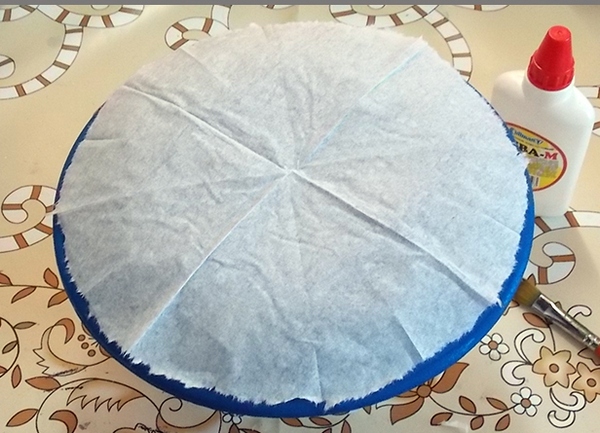
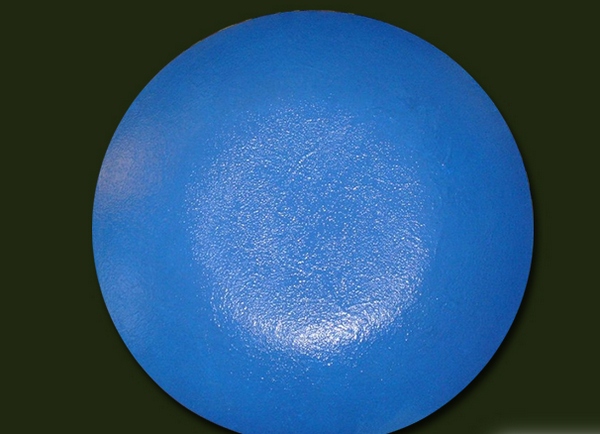
Dry it well, take a layer of napkin of such diameter as a plate, glue it and apply again the paint. Depending on the thickness of the printout, this will need to be done several times. And finally - cover the entire back of the dish with an aerosol varnish.
| | |