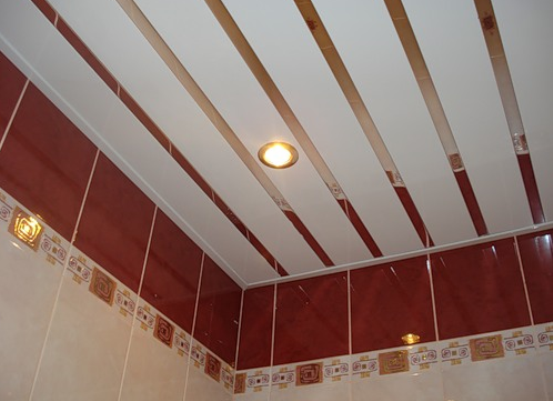
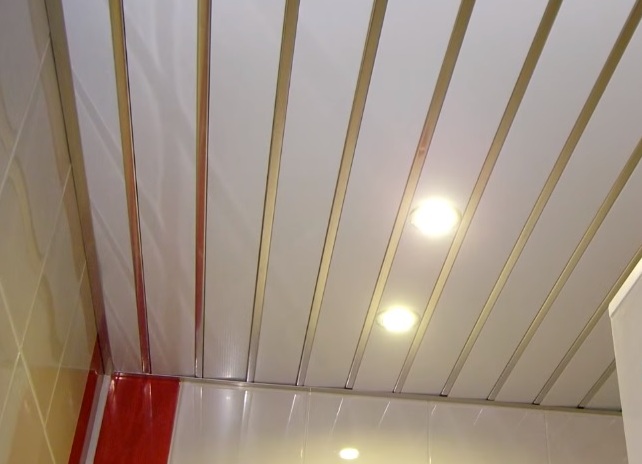
Installation of the lath ceiling is often done in the bathroom or in the kitchen . This is due to the moisture resistance and longevity of the material. Also suitable are such coatings on balconies and long corridors. Installation of the lath ceiling can be done by yourself, it does not require preliminary surface preparation.
Installation instructions for the rack ceiling
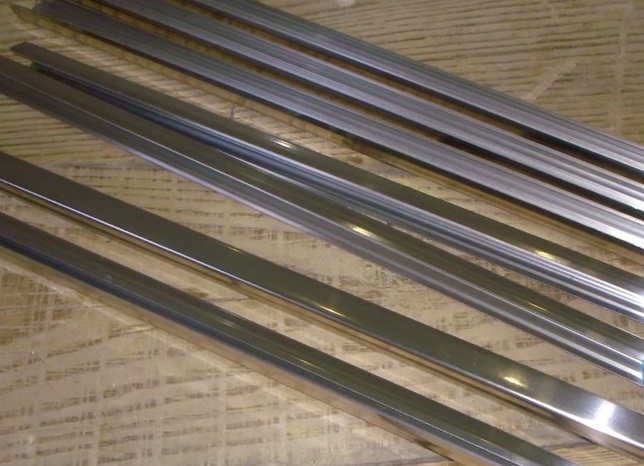
Consider installing a ceiling for the bathroom. To install a rack suspended ceiling you will need: aluminum slats, corners, stringers, screws, lamps, drill and scissors.
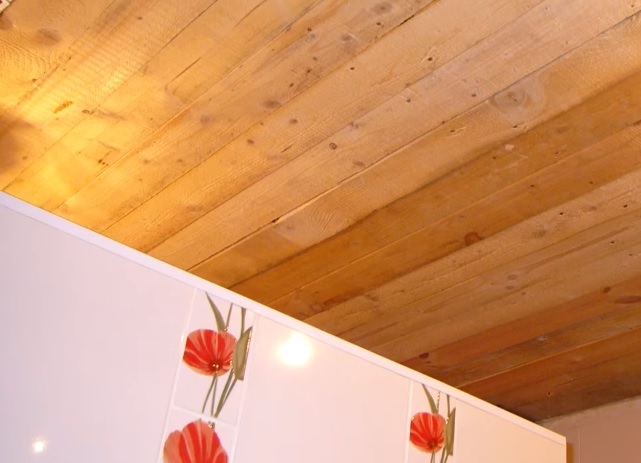
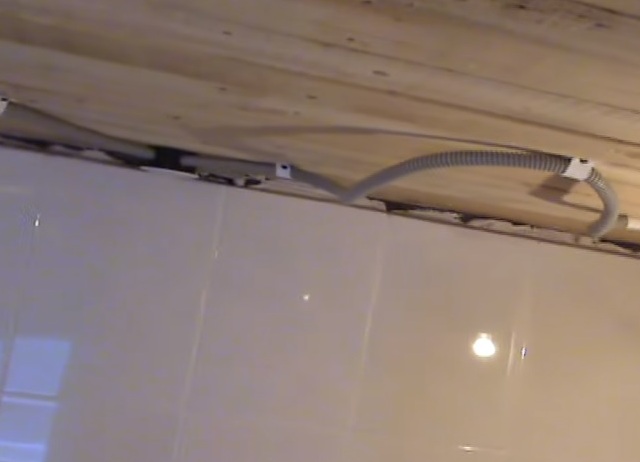
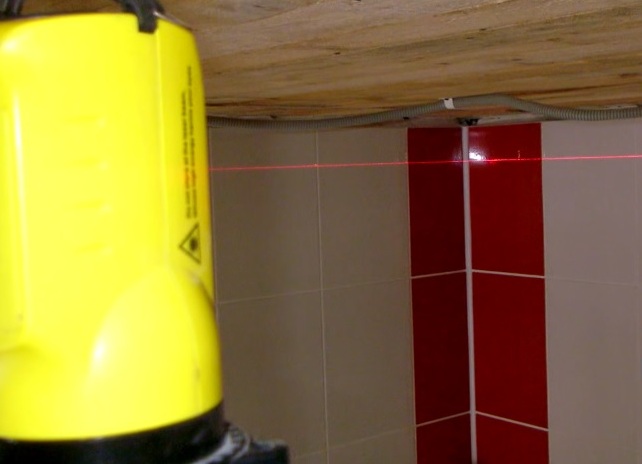
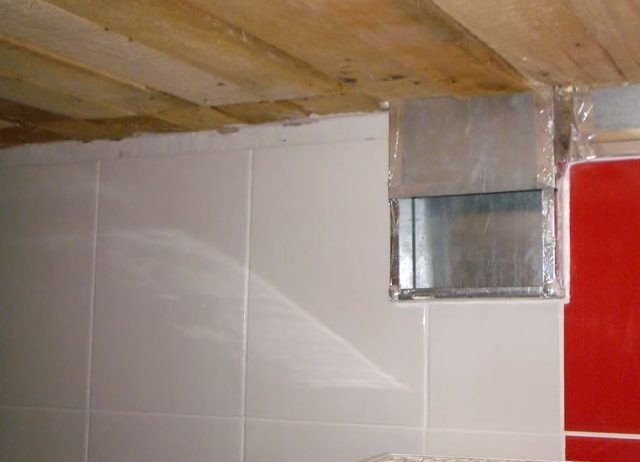
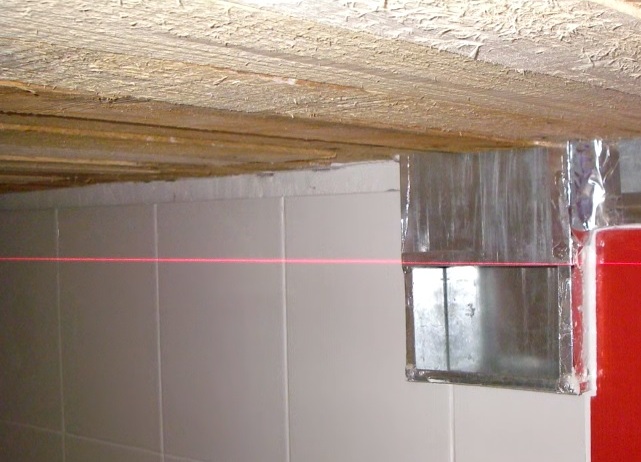
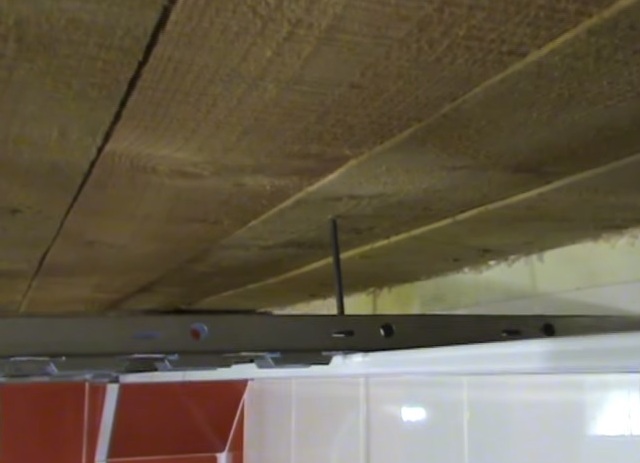
- The ceiling is trimmed with a board. It is attached to the wiring for lighting. To install a high-quality flat ceiling, the laser level is used.
- The minimum ceiling height is determined by the width of the lamp for its illumination.
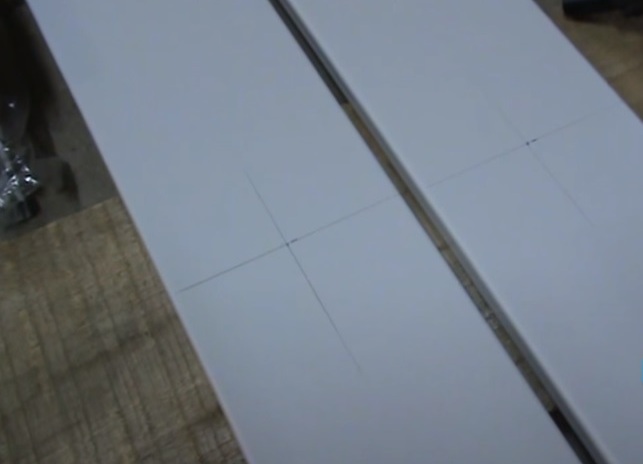
- The ceiling installation line is used as the marker.
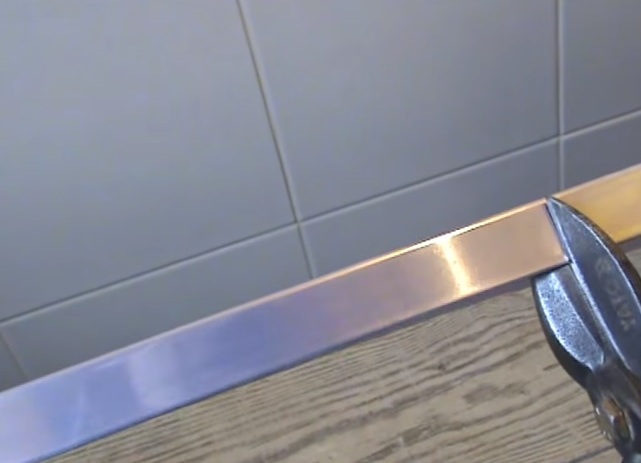
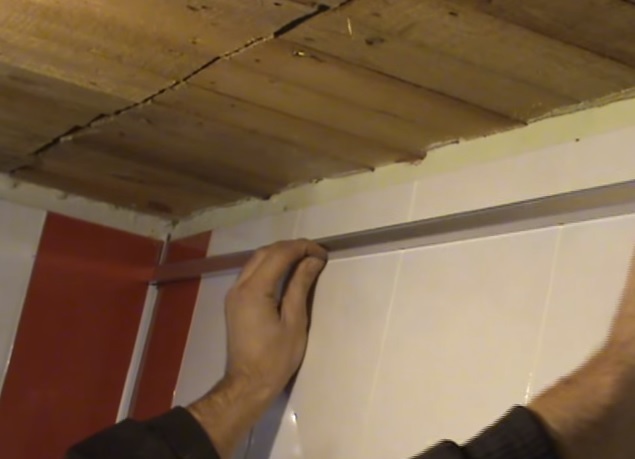
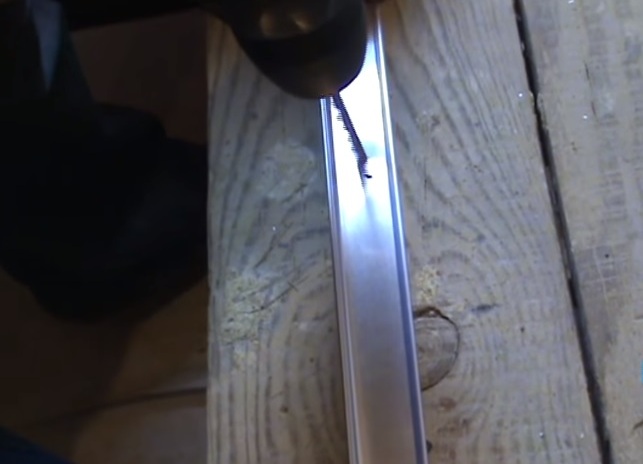
- Knowing the size of each of the walls, an aluminum corner is cut.
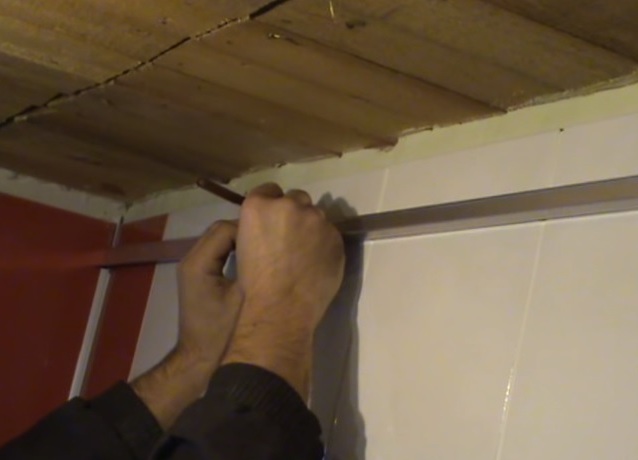
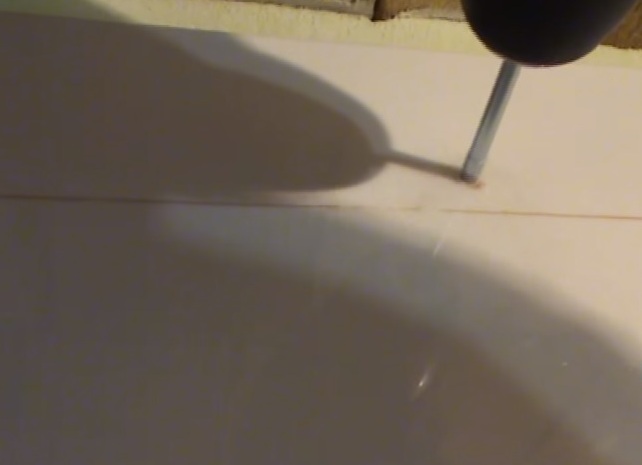
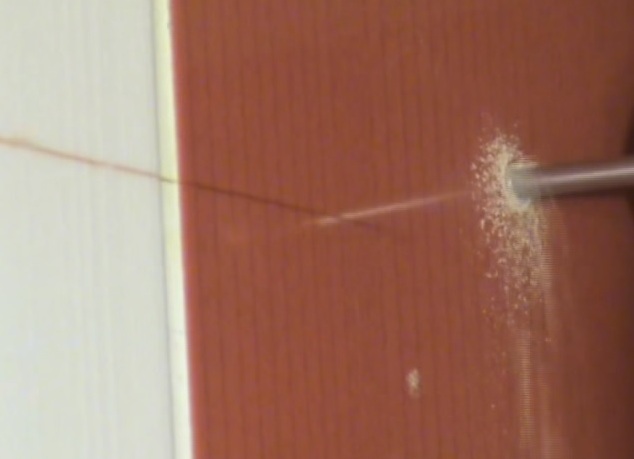
- The marks for fixing the corner are made and holes are made.
- In the holes of the wall, a plastic gasket is clogged.
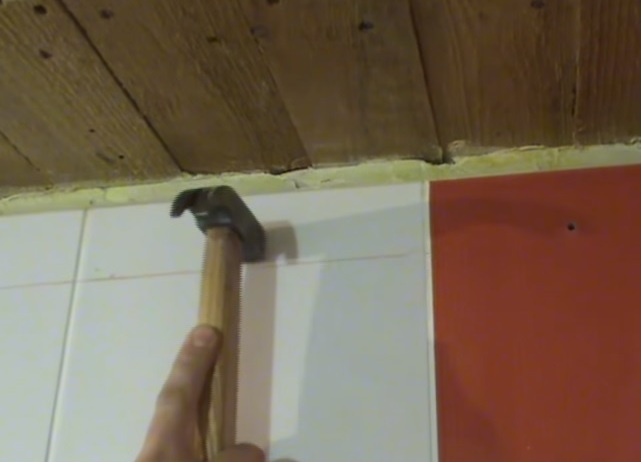
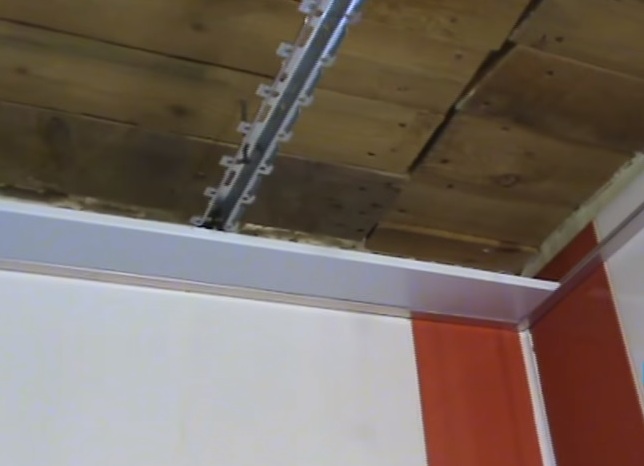
- The corner is fixed to the wall using self-tapping screws along the entire perimeter.
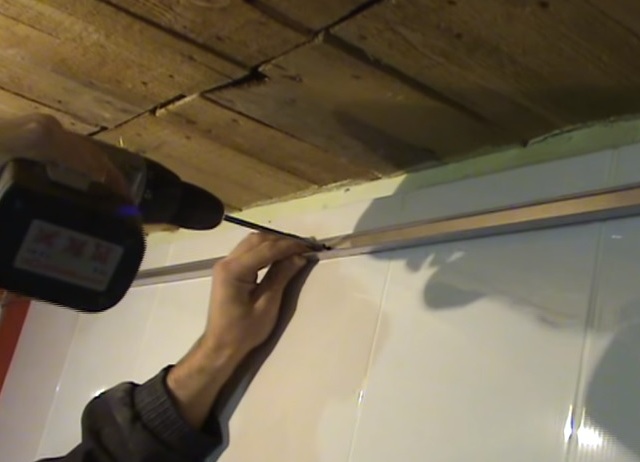
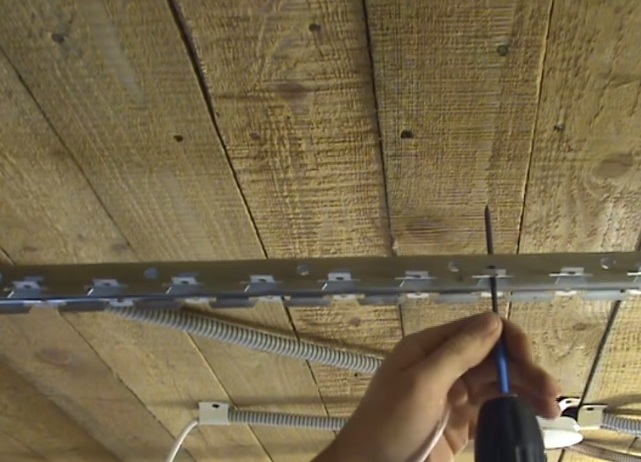
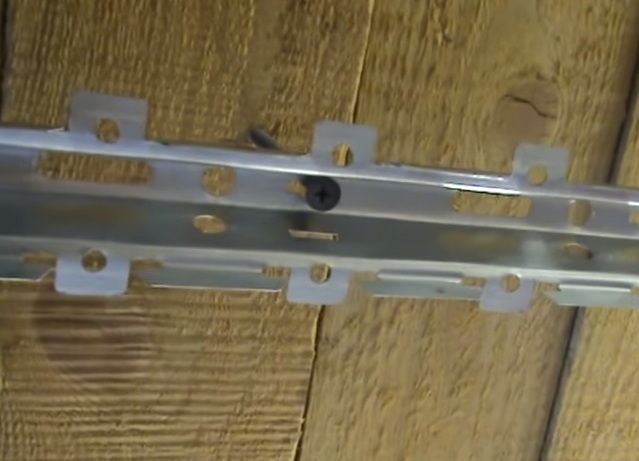
- To the draft ceiling with the help of self-tapping fasteners are attached, on which the ceiling rails will be kept.
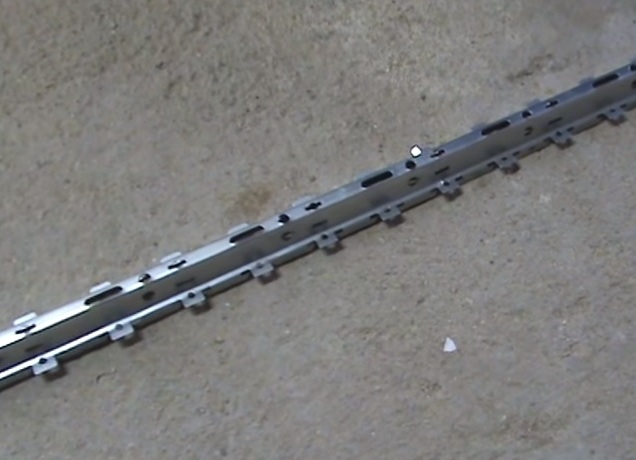
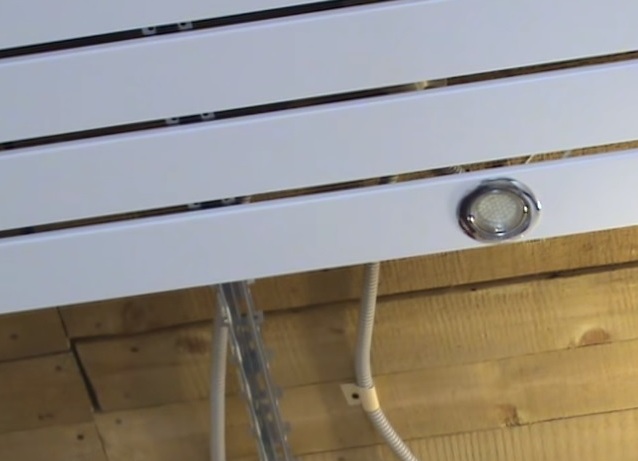
- The first aluminum rack is installed by snapping on the stringers without additional fasteners.
- The next rack is installed with a gap.
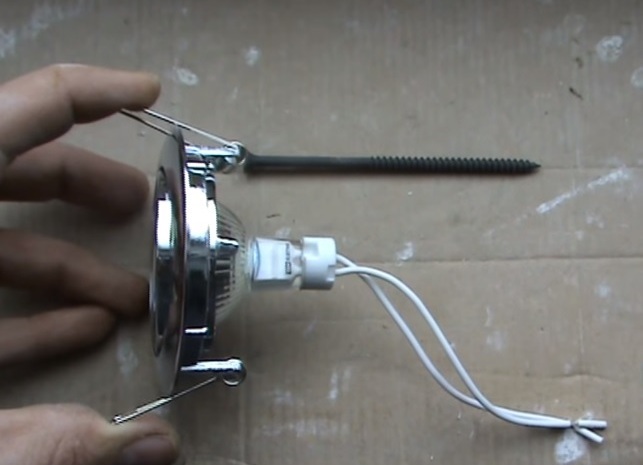
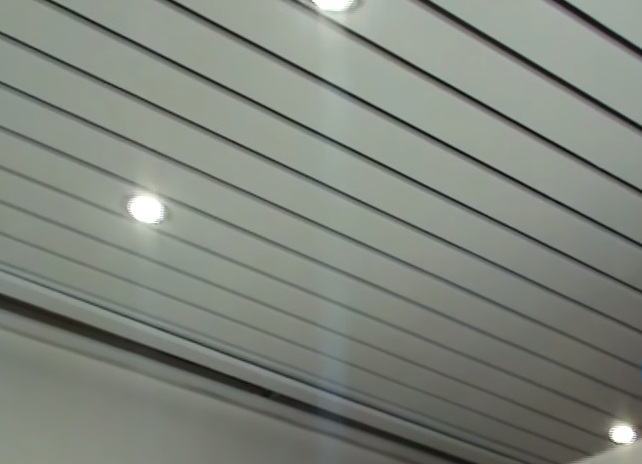
- On the marking, a hole is cut for the lamp and a lamp is attached.
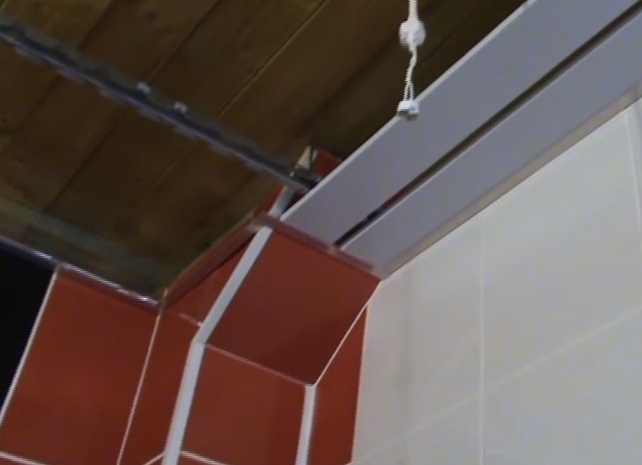
- The entire ceiling is recruited and the remaining fixtures are installed.
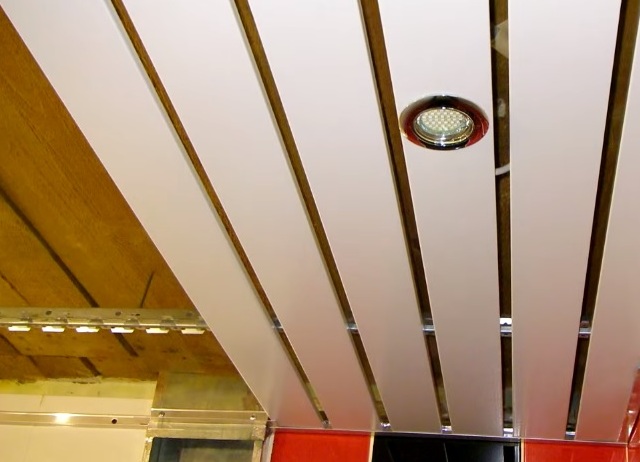
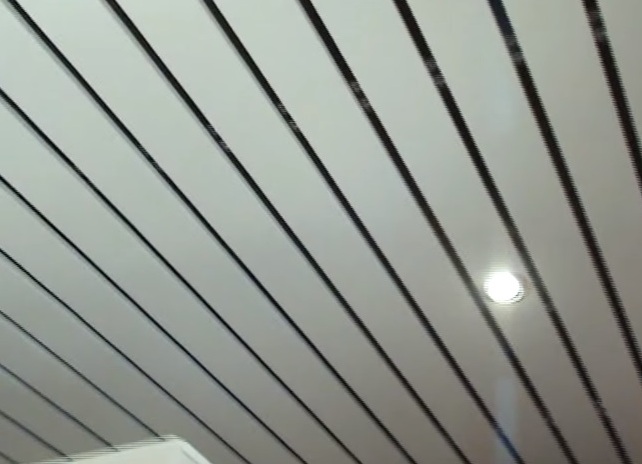
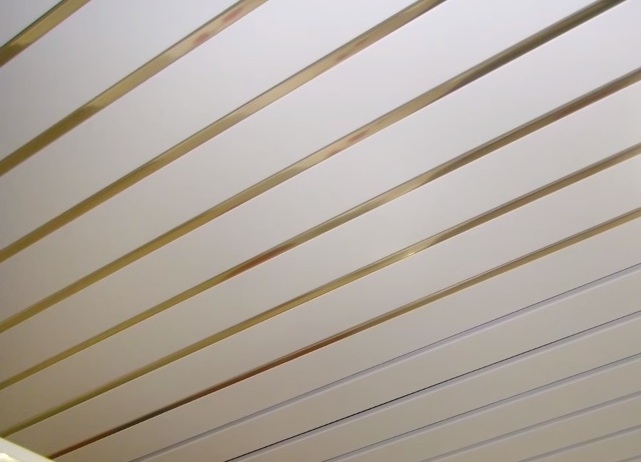
- Shiny inserts are inserted into the gap between the slats.
- The roof rack is ready.
Using this technology of installing a rack ceiling, you can quickly make an independent assembly of it, and the bathroom will acquire a new stylish design.