Independently to design furniture for kitchen and even to collect it from ready parts quite to force to the person who though time held in hands a screwdriver. Renovating furniture and breathing new life into it is even easier. Below we will look at several master classes, how you can manually assemble and update kitchen furniture.
How to make a kitchen set with your own hands: assembly of a cabinet
There is nothing particularly difficult here and it is quite possible to assemble floor and hanging cabinets at home.
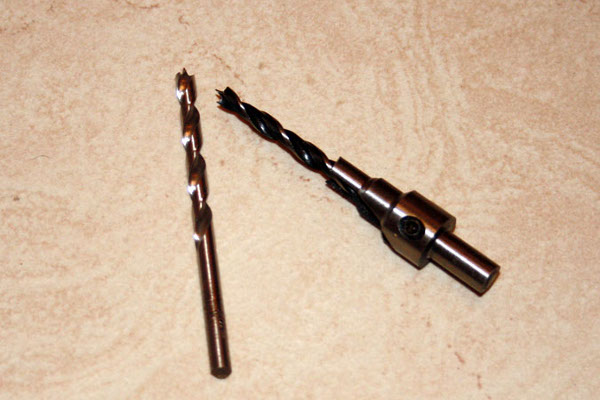
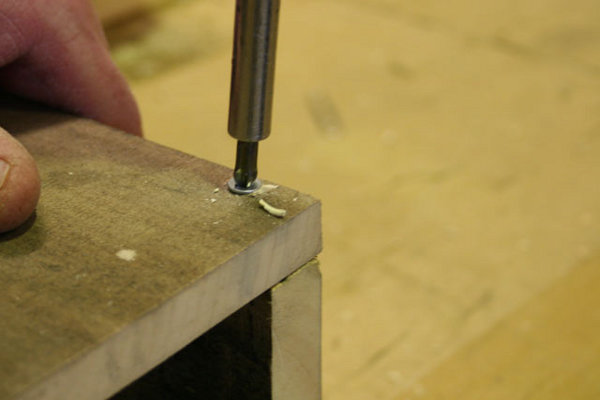
- Thus, special drills look like so-called confirmations. This is perhaps the most difficult thing in our business: we will have to get acquainted with this fastening and acquire fasteners and tools for its use.
- The principle of assembly is the same for both suspended and floor cabinets. Both options are collected on the floor. Such an adaptation will greatly simplify our task. You can also make it yourself. When drilling holes for fasteners, the flanks will fit snugly and the holes will be even.
- So, we installed the parts of the cabinet and drilled holes for confirmations.
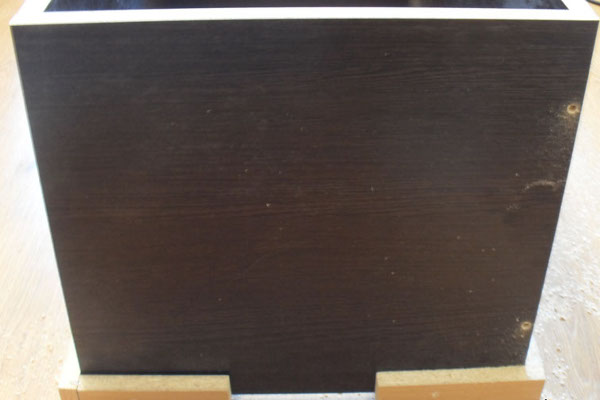
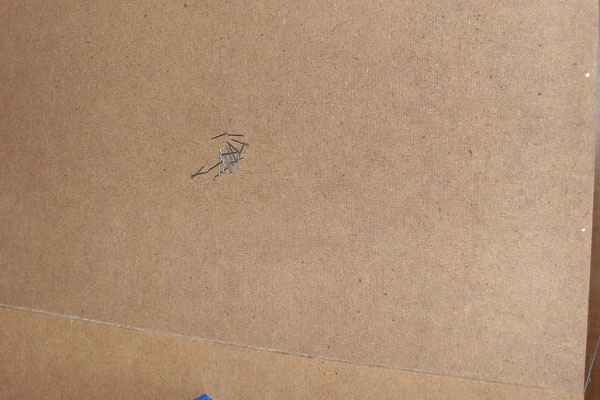
- Before you make a kitchen cabinet or table, you should purchase a special substrate from the chipboard in advance: its task is to align the front part and prevent the construction from distorting.
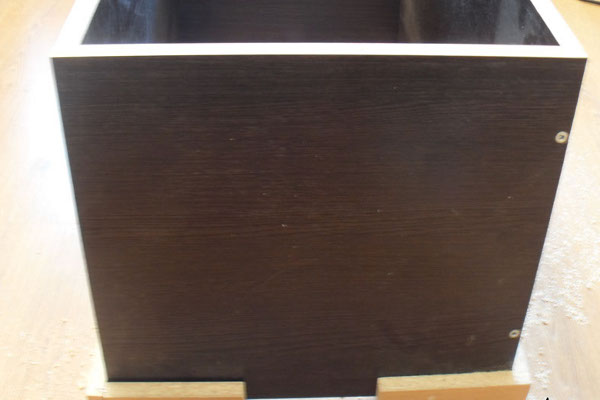
- Then we stuff the back wall.
- The next part of the manufacture of kitchen furniture with their own hands - the assembly of the structure into one. If the cabinets are not very large, you can first connect them to each other, and only then put it in its place. As practice shows, the most common self-cutters in 31 mm are perfect for tightening sections between themselves.
- Using clamps, we seize the cabinets between each other and fix it.
- Next, install the back wall.
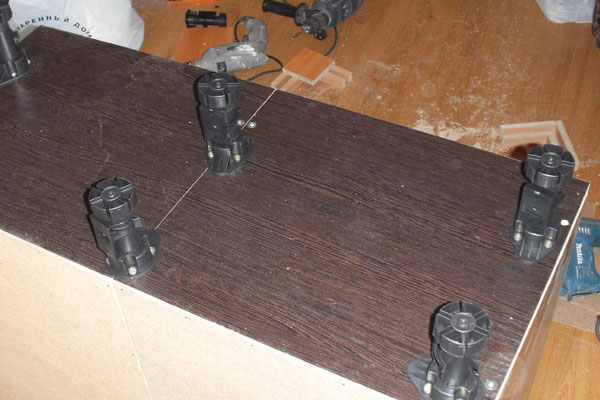
- To the ready-made section we attach the legs.
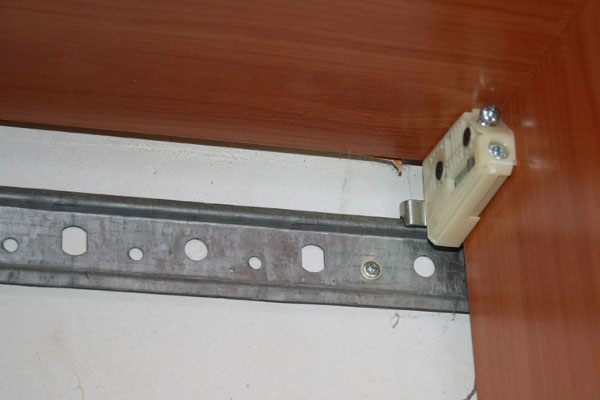
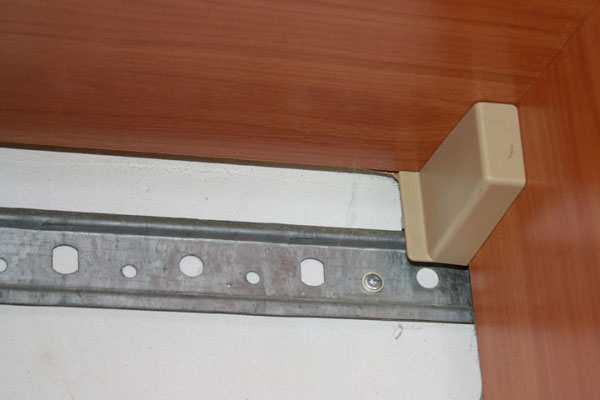
- Similarly, the upper cabinets are also assembled, but they are clamped by the clamps in the already suspended position, after fixing the guide rails.
How to make a kitchen table?
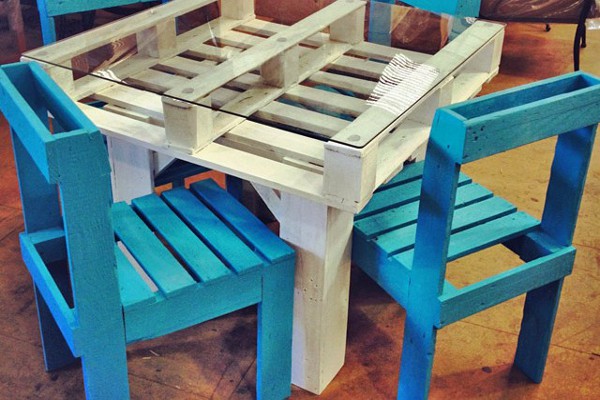
If your kitchen does not have a table yet and you will not be able to spend a large amount of money in the near future, you can do with the most common wooden pallets.
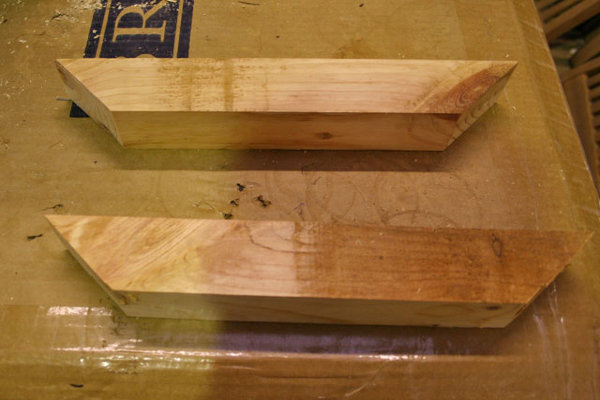
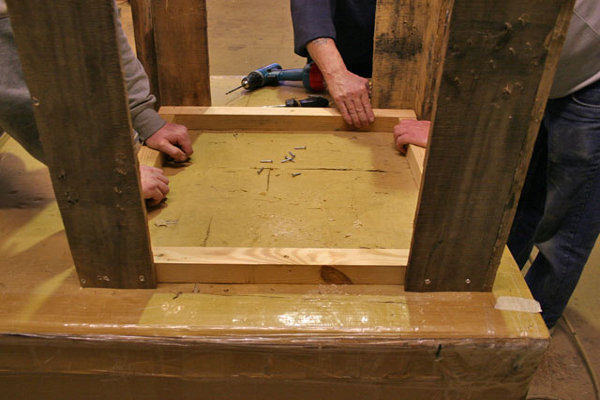
- From a bar we cut out two such blanks - these are two details of the base of the table, which provide rigidity of the whole structure. The angle of cut is 45 degrees, the length of the beam is 320 mm.
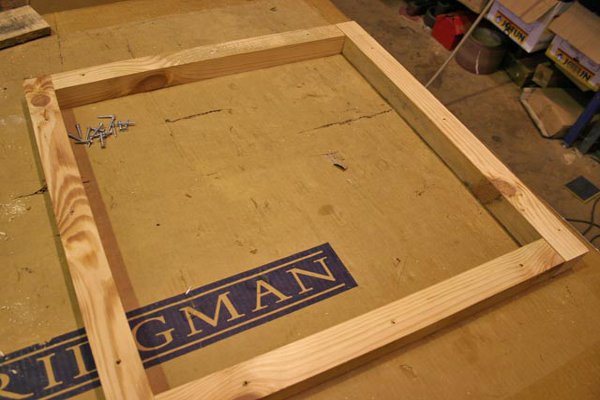
- Further, from the beam size of 70x680 mm we make the basis for the table.
- On the basis we will fasten the legs, these boards are 70x680 mm.
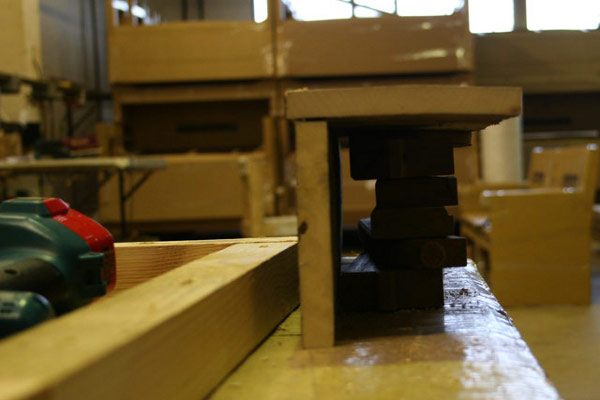
- And here are our blanks for strengthening the whole base under the table.
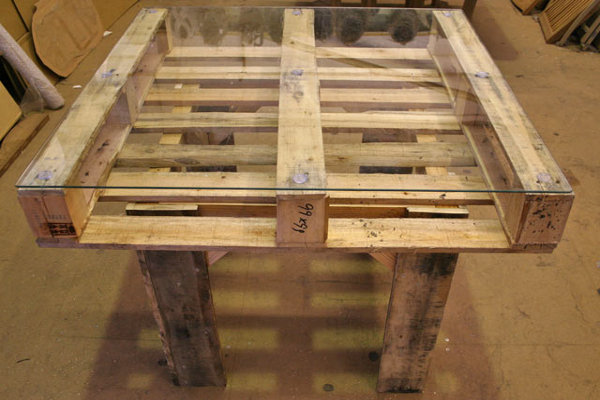
- The table is almost ready. Next, the most common wooden pallet is placed on the base and on top of the glass, cut to the dimensions of the pallet.
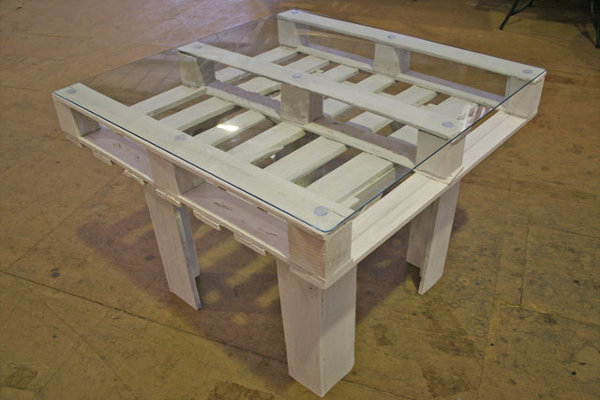
- As you can see, kitchen furniture, made by own hands, sometimes requires small expenses and competent work with paint.
How can I update the kitchen set myself?
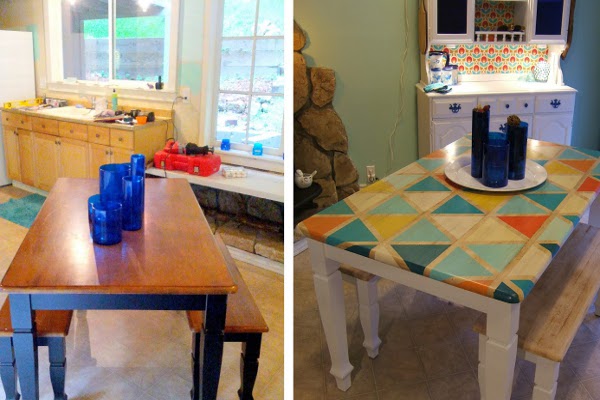
Sometimes time takes its toll and the furniture remains in excellent condition, but morally obsolete. Of course, making a kitchen set by yourself is quite interesting. But it is likely that the simplest method, which we will consider below, will seem to you much more interesting.
- Consider it on an example of this type of headset, consisting of a table and two dining benches.
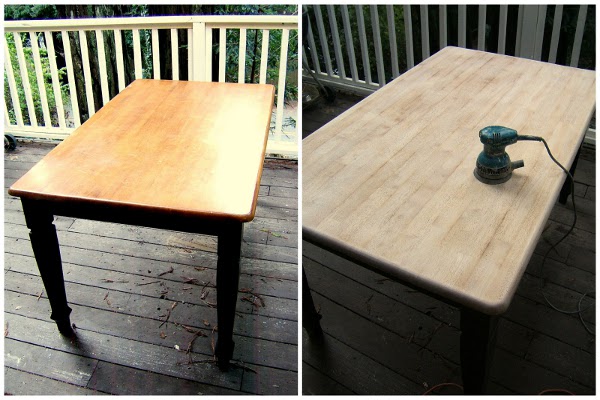
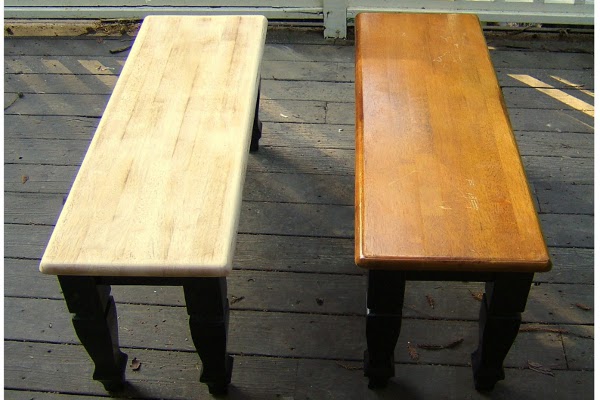
- First of all, we remove the old varnish and achieve a completely clean surface.
- The difference, as they say, on the face.
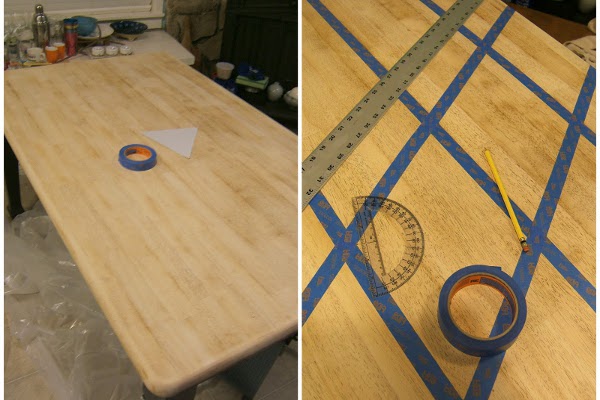
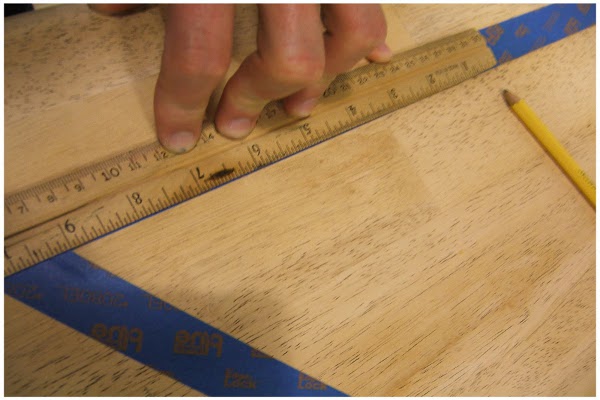
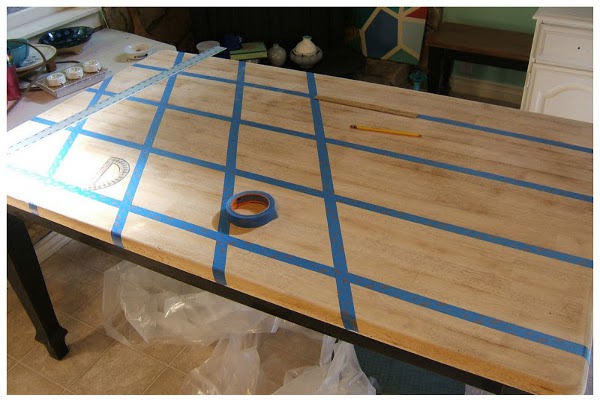
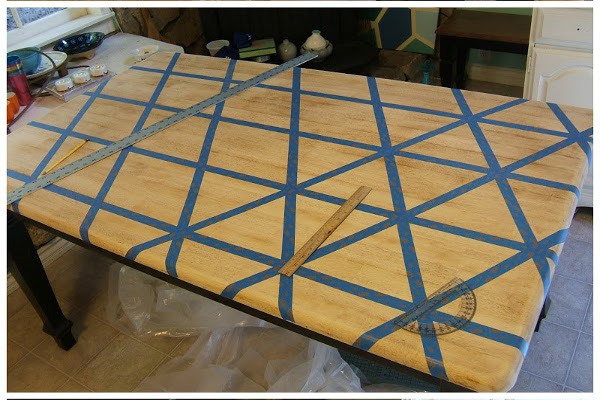
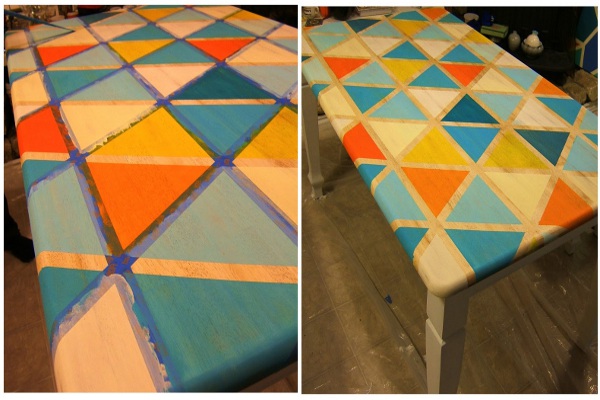
- Next, using the usual tape or building tape "draw" geometric shapes.
- Although the process and creative, but the line will have to work!
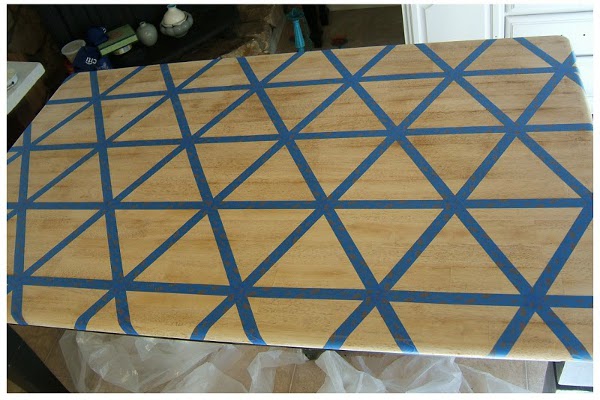
- That's what furniture looks like before we start transforming it.
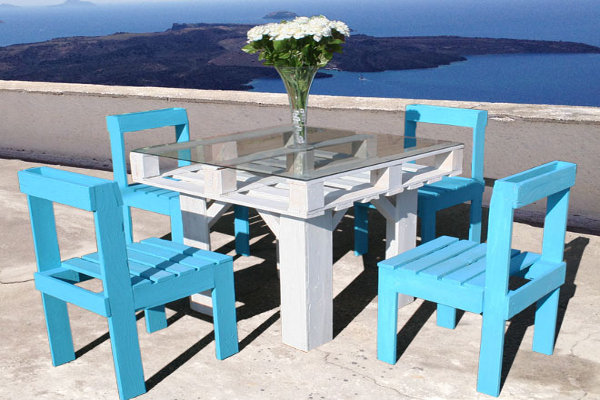
- First, we'll work a little over the legs of the chairs and the table. We will repaint them in white .
- Next, go to a specialized store and buy the paint at your discretion.
- And yes! We will paint only with our fingers, like children. Then all parts will be covered evenly and no characteristic bands from the brush are formed.
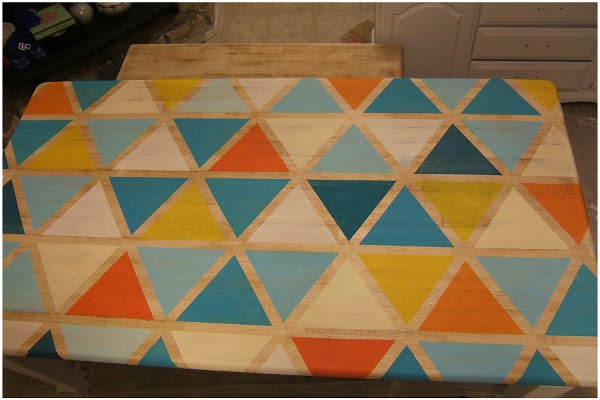
- Remove the tape and admire the result!
- It remains to fix the result with varnish and everything is ready.
- Update the kitchen set with their own hands was a simple and quite creative thing.