The technology of laying tiles on the floor with your own hands is somewhat different from the tiling of walls. After all, the floor has a much greater load, so the coating should be done more reliably. This is achieved by careful application of the adhesive, so that there is no emptiness under the tile, which in the future may cause the tile to be torn or crumbled.
Preparatory work
Preparation for laying tiles on the floor is an important activity that can not be neglected. It depends on it not only the strength of the coating, but also how much aesthetically your tiled floor will look like in the end.
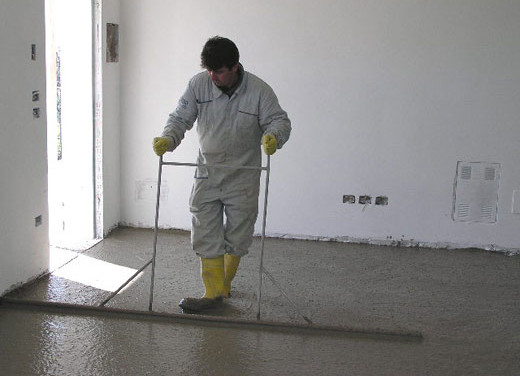
- The first important activity in the preparation is leveling the floor. Carefully walk through the old concrete screed with a level. Perhaps, it would be more expedient to dismantle the old concrete cover and fill it with new and equal, so that it does not suffer with sealing of seams, cracks and leveling of height differences.
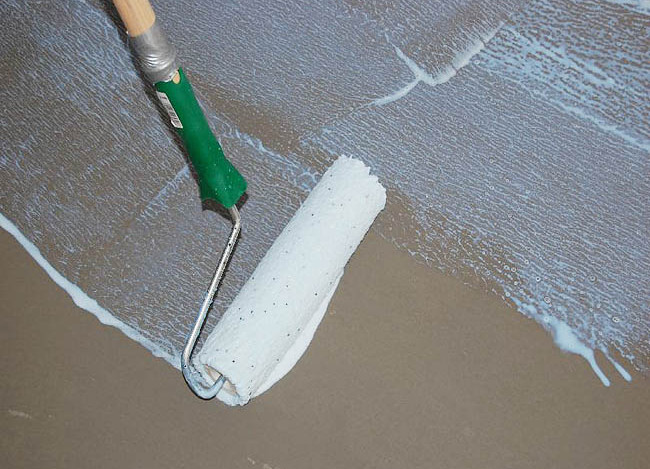
- After the surface has become perfectly even, it is necessary to coat the surface of the floor with a primer. This is a required step if you want a reliable coverage. We give the primer to dry the amount of time specified in the instruction.
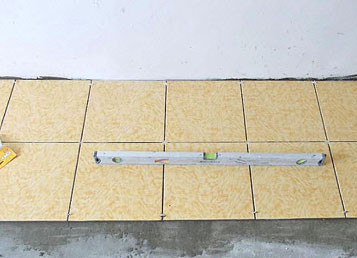
- Finally, the last stage of the preparatory work is the marking of the floor for tiling. The easiest way to do this is to use a string stretched from one side of the room to another, parallel to which the tiles will be laid. On the floor, you can place special marks indicating the position of the tiles. This is especially true when it is planned to create a complex tiled pattern.
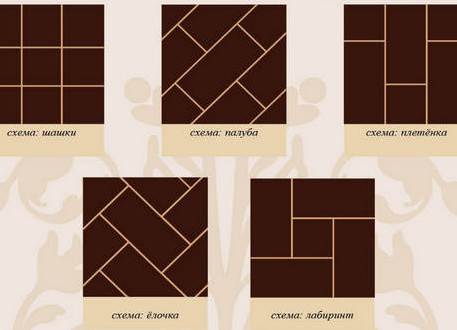
- Such drawings are most often developed on the basis of popular options for laying tiles on the floor.
Tile laying works
Now you need to proceed directly to the process of laying the tiles, focusing on the type of laying the tiles on the floor, which you were selected and for which the marking was done.
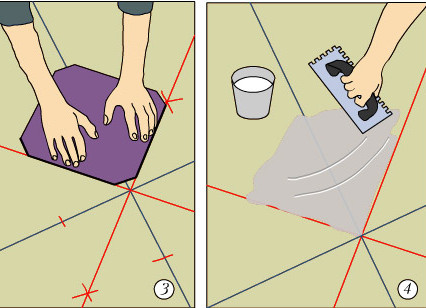
- To begin with, many craftsmen recommend carrying out a kind of puttying of the floor and tiles, then that they later mesh better with the floor surface. To do this, apply a thin layer of glue to the floor and tiles. Such an operation, of course, will delay the laying process a little, but after that you will be satisfied with the strength of the resulting coating.
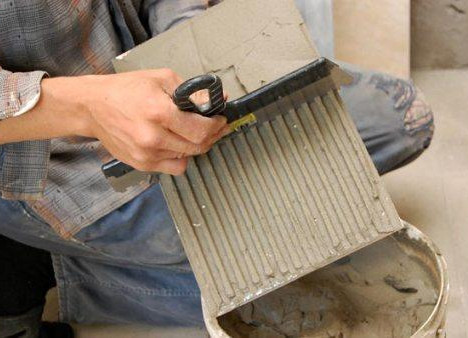
- After this, you do not need to wait for the glue to dry completely, and you can immediately start laying. To do this, apply a thick layer of adhesive on the floor, distribute it using a spatula with a ribbed edge and lay the first row of tiles in accordance with the markings on the floor.
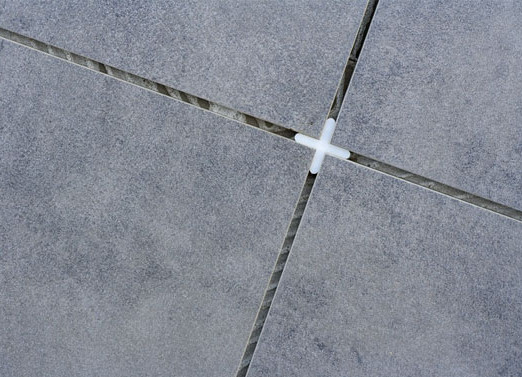
- Close to the first row, lay the second, forming the seams with special plastic crosses.
- Creating smooth seams - the main task, the fulfillment of which is the guarantee of an aesthetic final result.
- If you did not immediately manage to form a smooth and beautiful seam, then the tile can be corrected by tapping it with a special rubber hammer.
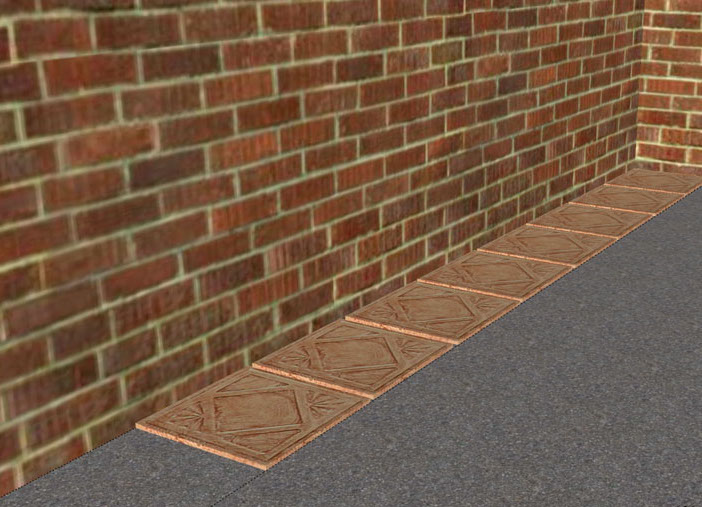
- Thus, all rows of tiles are laid out in accordance with the chosen scheme. After this, the glue must be allowed to dry thoroughly, so that the tile reliably mates with the floor.
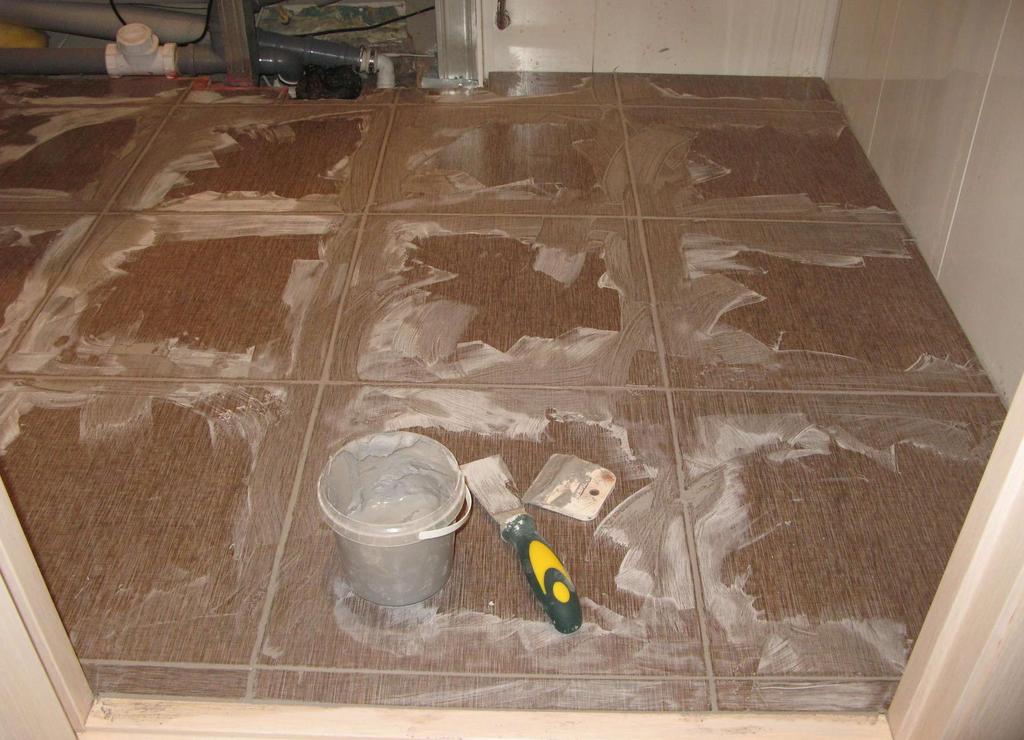
- The last step in finishing the floor with tiles with your own hands is mashing the seams. For this, special compounds are used, which are applied to the entire surface of the floor with a flat spatula. They should be filled with all the depressions between the tiles.
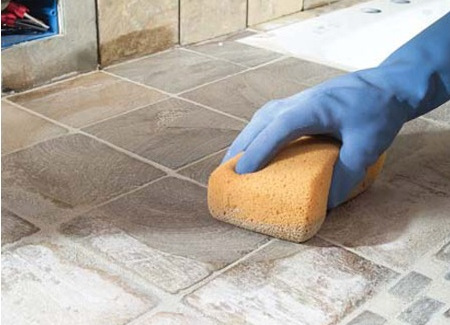
- Now it only remains to let the mortar dry, and then wash it off the surface of the tile with plain water.