Breakage of the toilet bowl leads to the fact that the water constantly flies to the drain. This not only causes inconvenience to its constant murmur in the toilet, but also leads to an unnecessary increase in utility bills. You can call a plumber, which will eliminate such a breakdown, but very often with a similar problem it's easy to manage on your own. The design of the toilet toilet bowl, even of modern design, is not very complicated and any person can repair it without resorting to the help of a qualified master. Our simple instruction with visual photographs should help you in this work.
Repair of the toilet bowl with your own hands
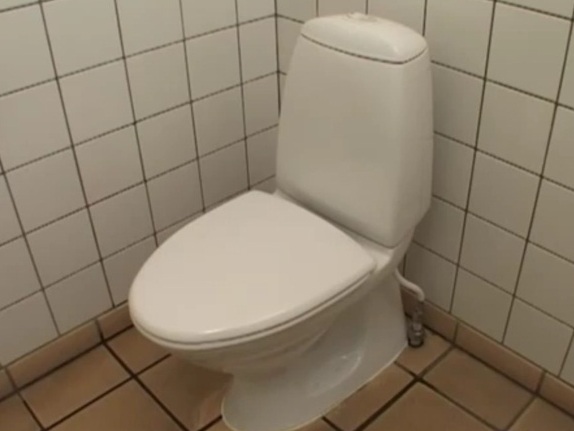
- The fact that the drainage mechanism is defective can be guessed even with the lid closed. You will hear a soft sound of running water. In some cases, the valve operates periodically, and sometimes the discharge of liquid into the sewer system occurs continuously.
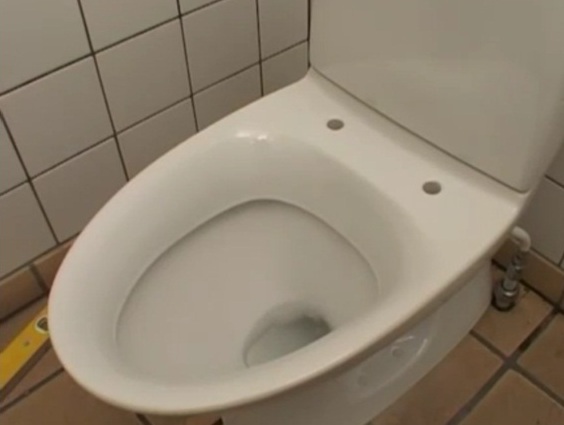
- Opening the lid, you will see a trickle of water, which often leaves a yellowish streak of rust or clay on the snow-white surface of the shell. The problem is that the inlet valve does not properly close the hole, which leads to leaks.
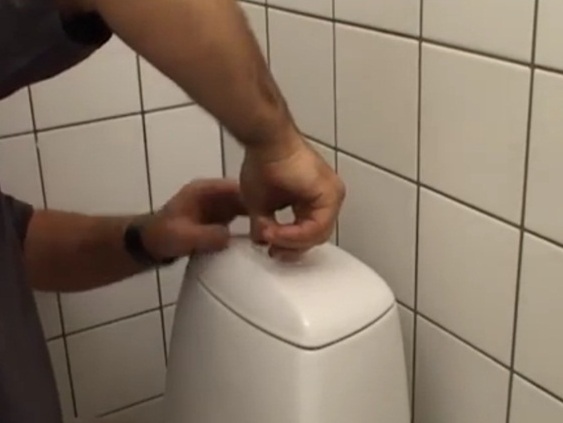
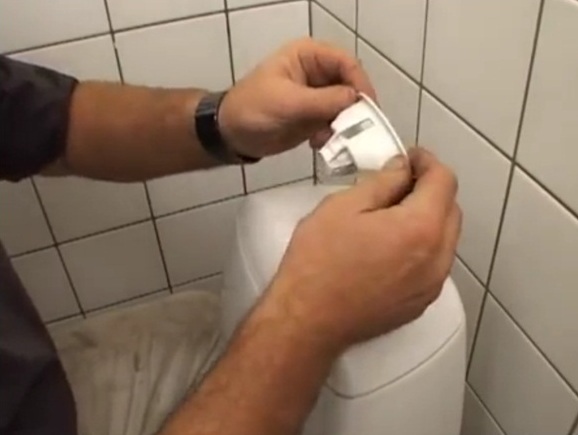
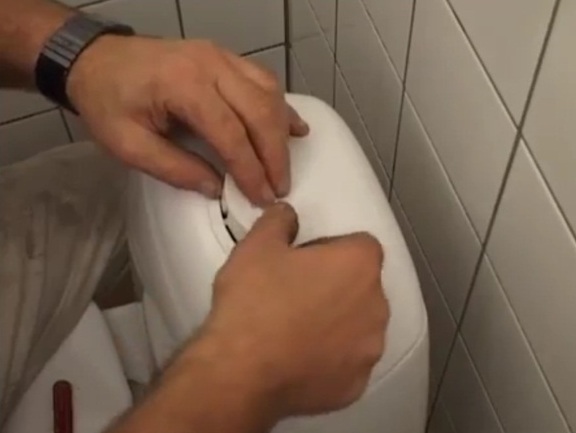
- Repair of the toilet bowl begins by removing the button for draining. Just click on it from one side.
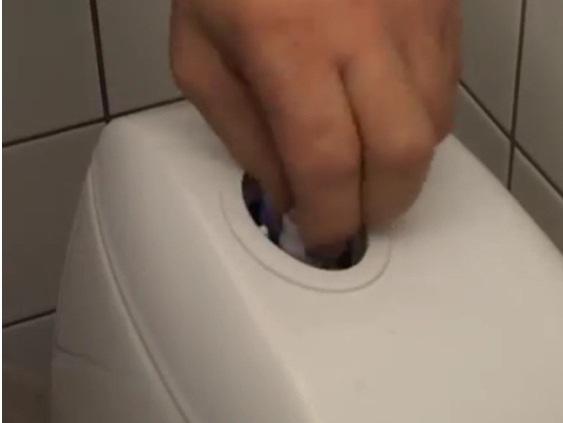
- We unscrew the plastic screw that holds its base.
- Now it is easily removed, and we can remove the lid.
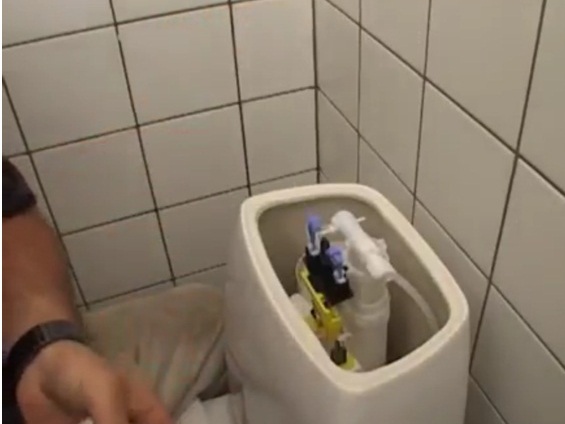
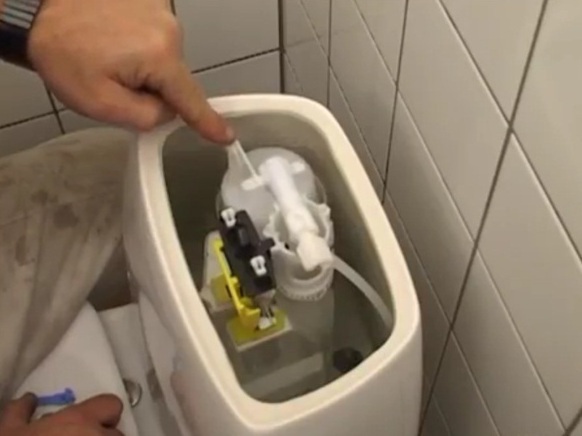
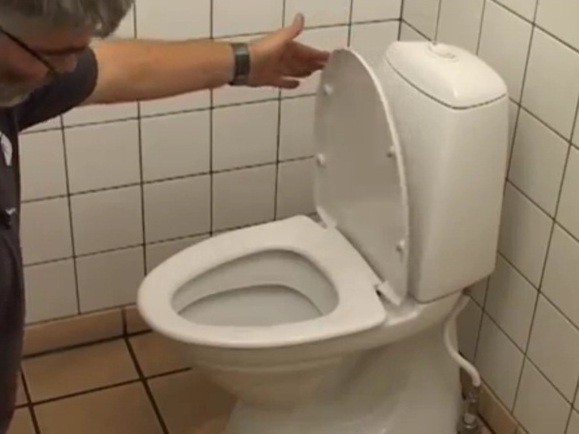
- Access is free and now you can proceed to inspect the contents of the toilet bowl.
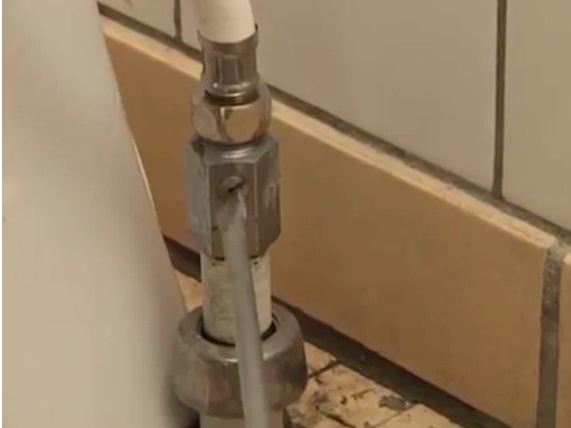
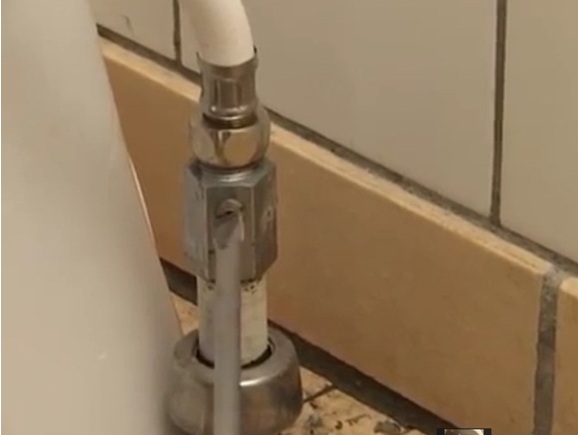
- It is necessary to turn off the water supply, shutting off the tap, which is always somewhere nearby, so as not to arrange a small flood in your toilet.
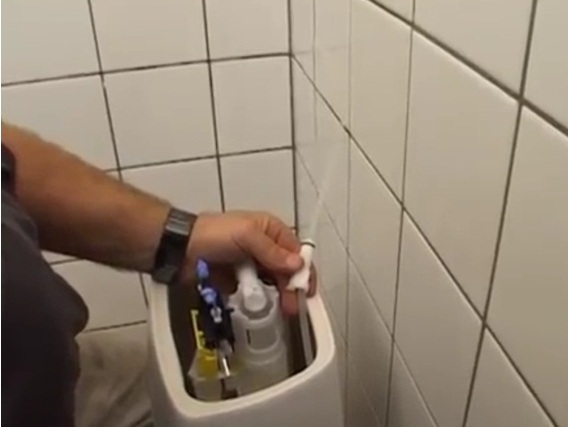
- Only after this, you can disassemble the hoses and the device, through which the liquid enters the tank.
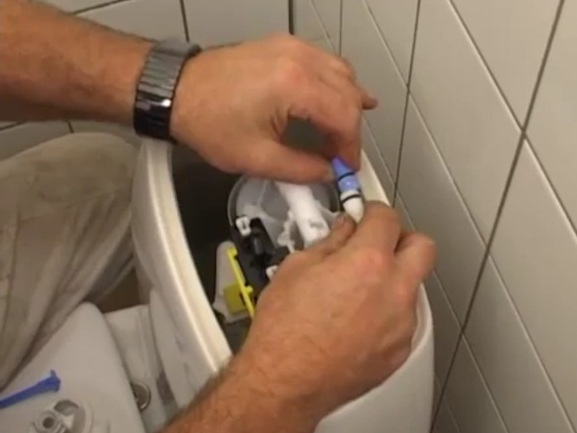
- The hose should preferably be cleaned of lime and dirt, passing a clean jet of water through it.
- After disconnecting the float, it must be checked that it moves freely without any resistance.
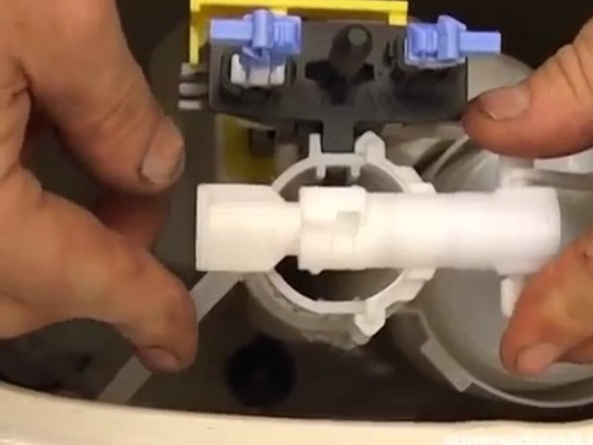
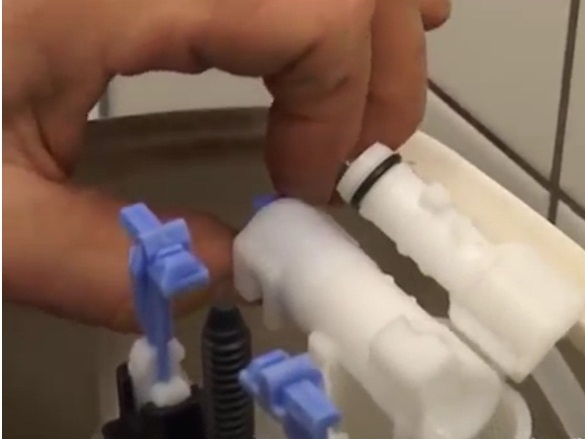
- After this, you can pull the drain valve piston. It is this small part that ensures the overlap of water.
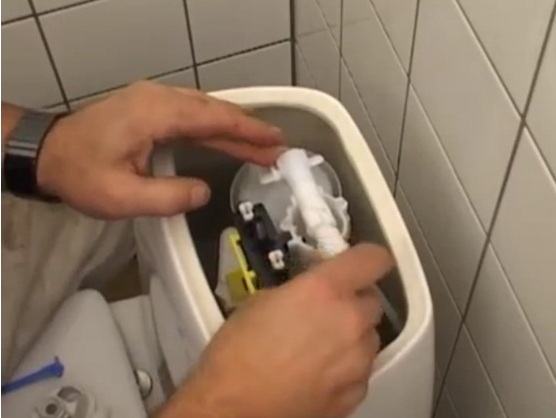
- When the tank is fully filled, the piston closes the intake pipe. We check its serviceability, absence of deformation or any outgrowths. Carefully clean this important part of the lime scale or other debris.
- We cleaned everything and cleaned it of clay and mud. Repair of the mechanism of the toilet bowl is almost complete, you just need to assemble the device in the reverse order to how it was disassembled.
- Now you can open the intake tap to fill the tank with water.
- We check the operation of the valve and the float to make sure that everything works fine. Several times we type and lower water.
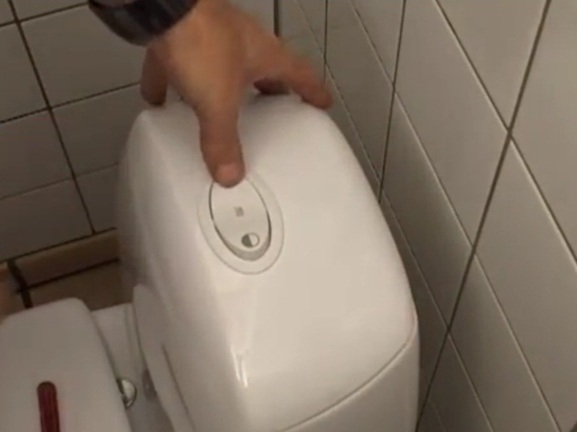
- We put in place the lid of the tank and fix the button for draining the water.
- We carry out another check of our already fully assembled mechanism with the lid closed.
- Repair of the toilet bowl with the button is carried out successfully. Now you will not get tired of a sad murmuring, and utility payments for water will decrease somewhat.