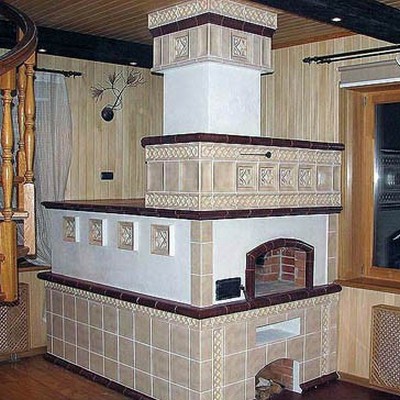
Facing the oven with modern tiles will relieve the owners of troublesome care and will give the house a more attractive interior. You can do this job yourself, you just need to know some features of the selection of glue, the most facing material and some subtleties of technology.
Which tile is suitable for facing the oven?
Most often used clinker, porcelain tiles , majolica or terracotta. Cladding the oven with ceramic tiles is undesirable, since if the stove is treated with conventional ceramics, it can not guarantee a lasting aesthetic appearance.
Majolica and terracotta are produced by pressing. They differ among themselves in that an additional layer of colored glaze is applied to the first one. Both options have a high tensile strength and a porous structure.
As for clinker tiles , it is also very strong and withstands high mechanical loads, high temperature. The same can be said about porcelain stoneware.
Choose for you, but experts advise using terracotta tiles for decoration of stoves and fireplaces, as it is endowed with enhanced heat transfer properties, and is resistant to abrasion. It is also important that it has many color solutions.
Selection of glue for tiling the oven
No less important stage is choosing the right glue. No need to look for glue for temperatures above 500 ° C - this is inappropriate, since it costs an order of magnitude more, and there is no need for it, because the walls of the furnace do not heat up to such an extent.
Experts recommend the glue of the Finnish company "Skanfixsuper", but you can buy and "Plitonite-SuperKamin" - they can also shpatlevat and rub the seams.
Tiling of the oven with own tiles
Everything begins with the preparation of the surface of the furnace for the laying of the tiles. Curved walls must first be leveled, and this will significantly save the consumption of glue, which is worth a lot. Prepare to the fact that this first phase of the work will take a long time. But everything else depends on the quality of preparation.
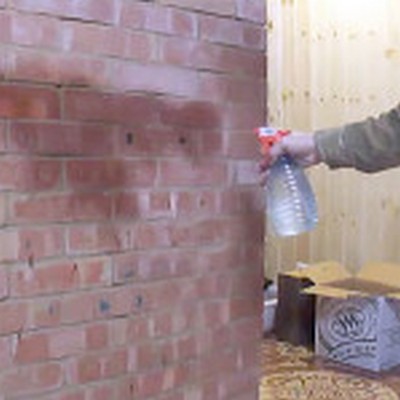
For leveling, you can plaster the walls with sand-cement mortar. But first clean them up to the brick. If there is old plaster, remove it completely, along with dust and dirt. This can be done manually with an iron brush or with the help of a "grinder" with a suitable nozzle. Masonry seams need to be expanded to a depth of 1.5 cm. After - all the walls are moistened from the spray gun.
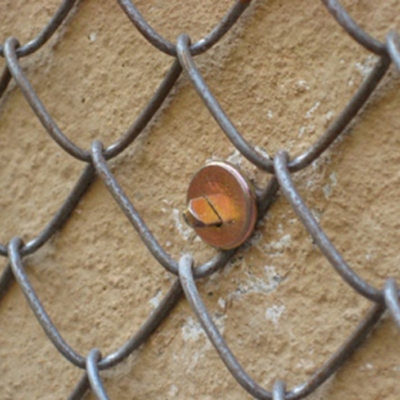
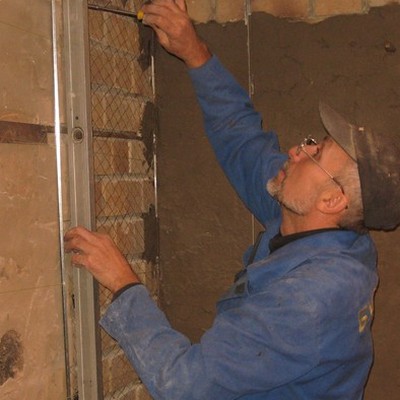
Now we cover the whole surface of the furnace with a metal mesh for subsequent plastering. The size of the cells is 5x5 cm. We fix the grid with screws or dowels.
| | |
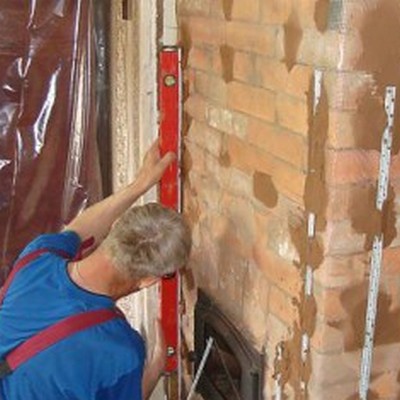
Now, on the grid, apply our cement-sand mortar, prepared as follows: 1 part of cement + 0.2 parts of sand + 3 parts of clay. To level the walls, use a plumb or level. We assign to this stage a maximum of effort, so that it would be easier later.
The time is coming when we will finally start working with the tiles chosen for facing the stoves and fireplaces. First fix the rack on the walls of the oven, so that its upper edge is from the floor at a distance of the width of the tile.
Lay out the tile on the floor, lay out the pattern, if it is meant, after - put it in a pile in a place convenient for further work.
Prepare the glue in accordance with the instructions, remember that it must be infused for 10 minutes so that the polymers that make up it get into a chemical reaction.
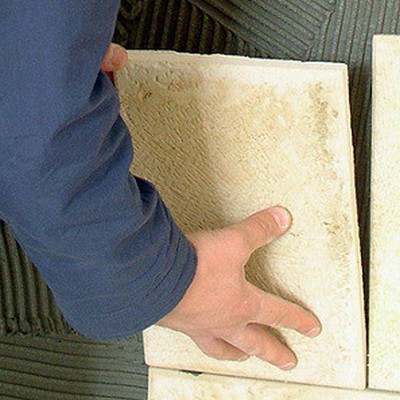
Gradually, from the bottom up, start spreading the tiles in rows. Glue the adhesive on the wall with a comb - a notched trowel. The very first tile is pressed against the glue and slightly swayed in the sides along the axis. The correct location of the tiles is checked using a level with a bubble. Continue to lay out the tile, periodically checking the evenness of the rows with a level. After every third row, give glue and tile "grab", the next ranks do after 3-4 hours.
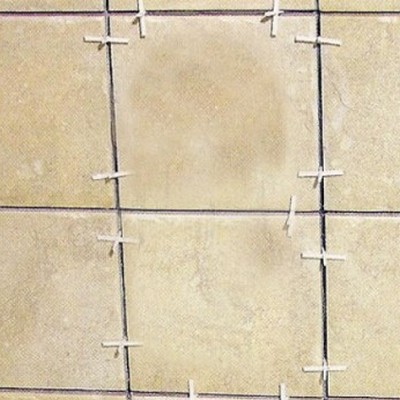
The tile always fits with equal distances. To withstand them, plastic crosses or regular matches are used.
When the entire surface of the oven is tiled, the next day you can remove the crosses and seal the seams. To do this, you will need a rubber spatula and a damp sponge to remove any excess solution.