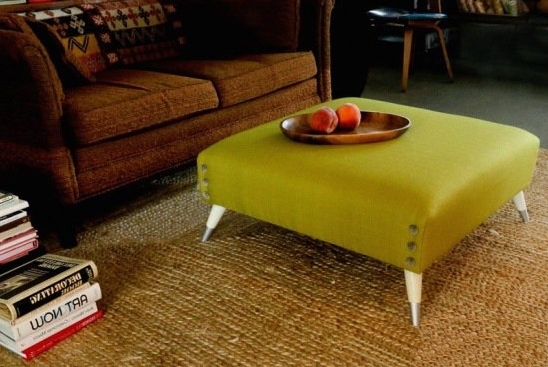
Created in the Rococo era, banquets managed to survive revolutions, wars, other troubled times, remaining still quite popular furniture in our dwellings. Yes, they have changed a little, they have become less luxurious and exquisite than in the chambers of kings. In a medical institution, where practicality is first of all appreciated, a simple banquet table on metal legs will do. But at home you can make a more cozy and refined thing, which is not a shame to show your friends. We will tell you how to make a banquet for the hall with your own hands with the help of the most simple and easily accessible materials.
Making a banquet with your own hands
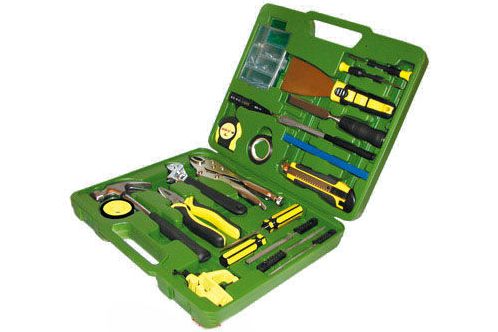
Tools for work:
- drill;
- hacksaw;
- scissors;
- building stapler;
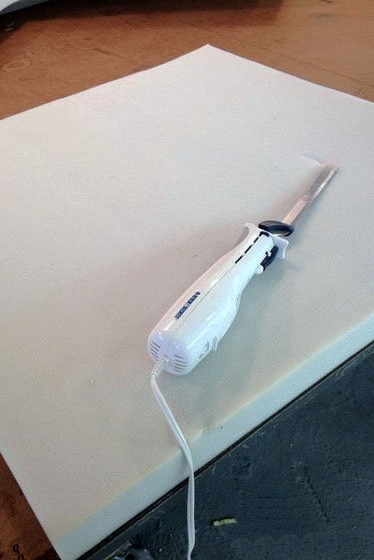
- sharp knife (can be electric);
- about 4 meters of upholstery fabric;
- decorative upholstery buttons;
- thread;
- needles;
- Legs (you can ready complete with fasteners);
- self-tapping screws.
- Materials. A piece of thick canvas or burlap, sintepon for lining, foam rubber. We will also need flat and dry slats. If you live near a plant, then there will always be a few unnecessary pallets that can be disassembled. Pull out the nails and get some excellent boards. But in case if there are difficulties with this, you will have to go to the building store, which will be somewhat more expensive.
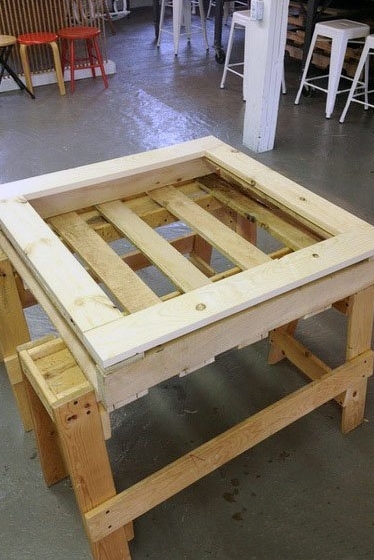
- First of all, we create a reliable frame from wood. Determine the size of our future banquet. If it is designed for one person, then the seat size can be approximately 450x550 mm. But in the case where the product is designed for two people, then make it a little longer (up to 1 m).
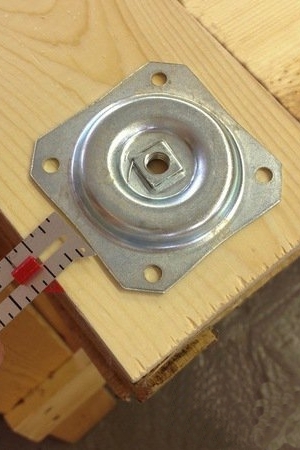
- Now you can specify a place for fixing the legs. Some people make them out of wood. Yes, carved legs look great, but not everyone will cope with this delicate work, which requires patience and some skills. Work on them takes longer than making the seat itself. Therefore, we decided to buy ready-made stems of factory execution. We fix in the intended place fastening with the help of self-tapping screws.
- As a lining we use foam rubber (material thickness 5 cm). Put the sheet on the frame and outline the edges. Then cut out the desired piece using electric scissors. If you do not have this convenient tool, then use clerical, foam rubber they also cut quite easily.
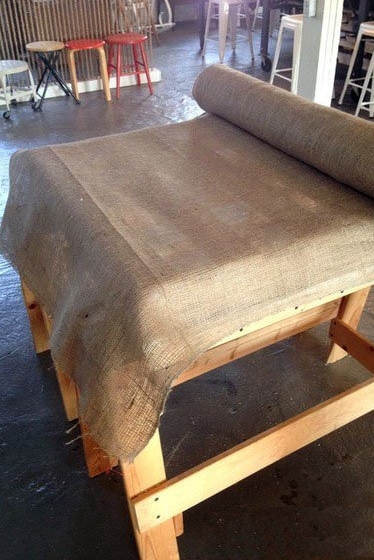
- Next, we take sackcloth and lay it on top of the frame, so that it completely covers the wooden frame.
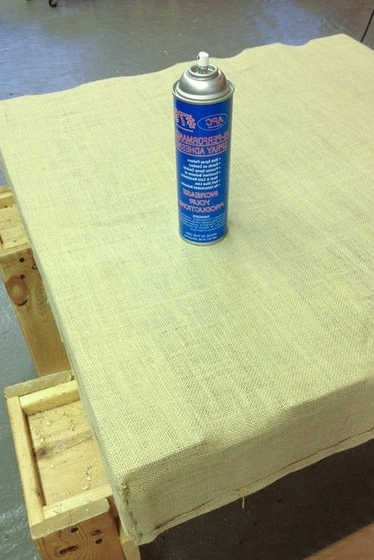
- A special spray is very suitable for attaching burlap. We wrap the edge of the frame with the material and apply glue composition on top.
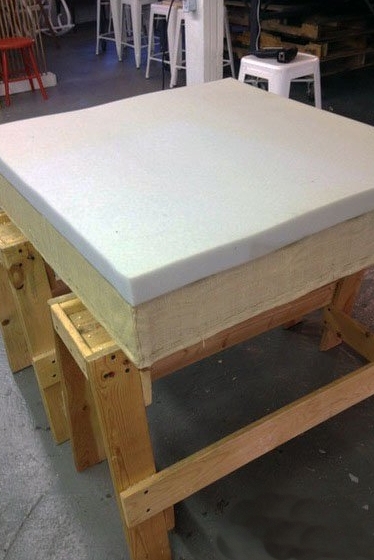
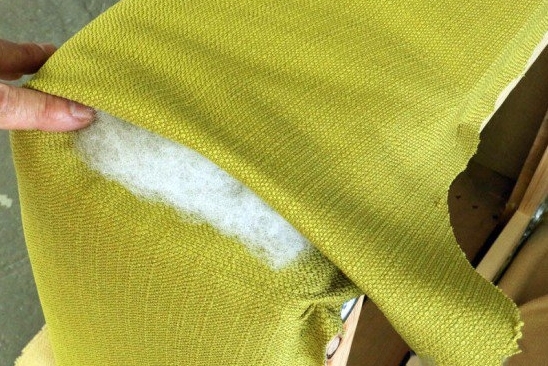
- On the burlap we put prepared and cut into size foam.
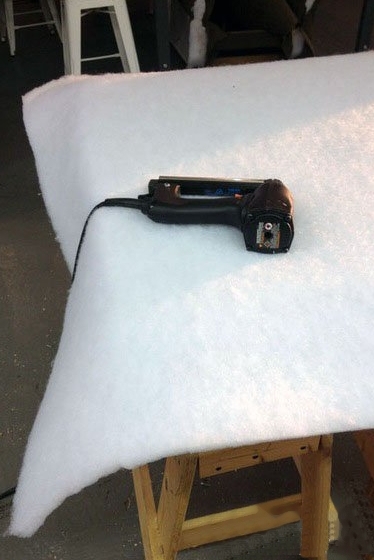
- Syntepona we will need so much so that it closes the seat and the side surfaces, it is not necessary to bend it under the frame. We fix it with a spray or staples.
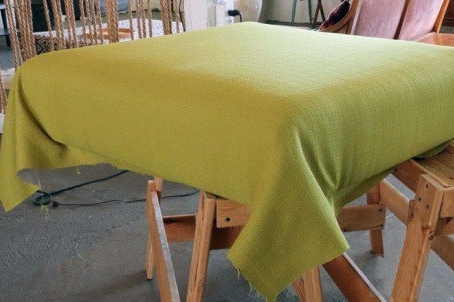
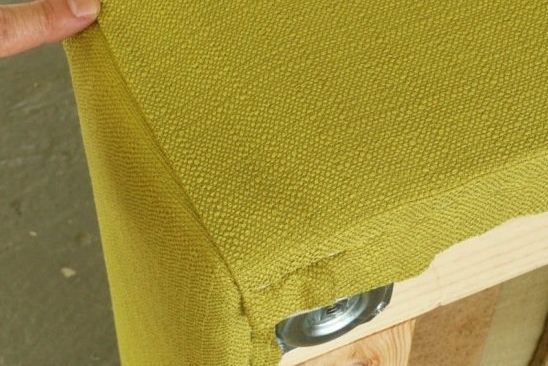
- It was my turn to use the finishing material. We measure and cut off the desired piece of cloth and gently lay it on the seat, trying to correctly align the center. First we turn the matter in the middle, and fasten it with clamps, then to some corner. We stop, not reaching to it centimeters 15. We do the same operation in the opposite direction, also, not reaching 15 sm up to edge of a frame. We repeat our actions on the other side.
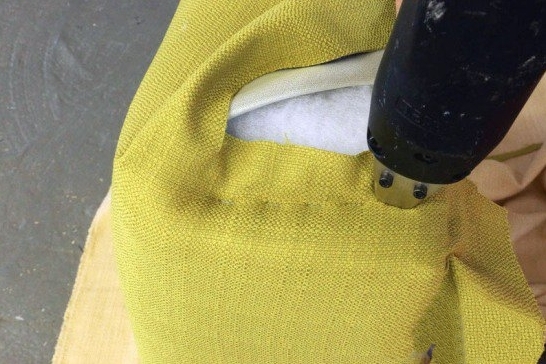
- There is a delicate work - processing and fixing folds at the corners. First, we'll practice to get a neat angle. Only then remove the excess fabric, wrap it under the frame and attach it with a stapler.
- Pull the material onto the sintepon and attach the side surface.
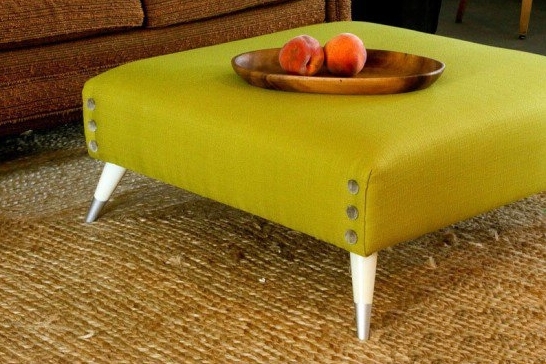
- Already almost looms our banquet in the hallway, made by own hands.
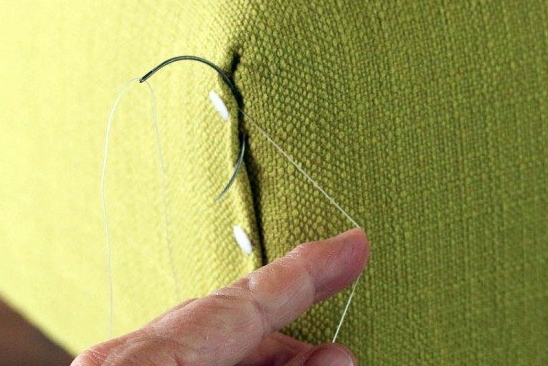
- In order for it to look no worse than the factory one, you should treat the fabric on the corners with an upholstery seam and fasten the pretty legs.
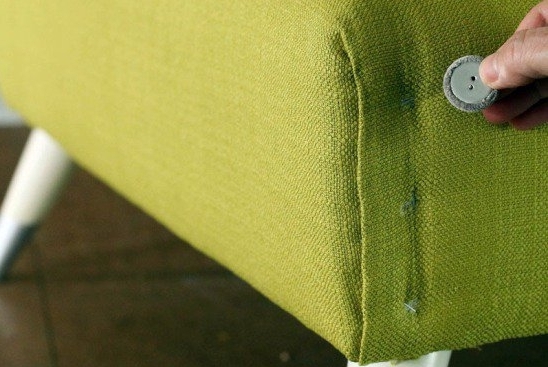
- To make the finished item look even better, you can attach decorative buttons.
- This simple decoration will help make the banquet more stylish.
- So you learned how easy it is to make a banquet with your own hands. This beautiful acquisition will look good in the hallway, decorating your magnificent appearance with your interior.