Shelves - a very functional device for storing things, in addition, it is an additional decor for the room. They can be wall, suspended and angled. The most popular wall models, which are also the most simple to manufacture.
How to make a miniature wall shelf with your own hands?
In order to make an interesting shelf of small dimensions it will not take much time and effort.
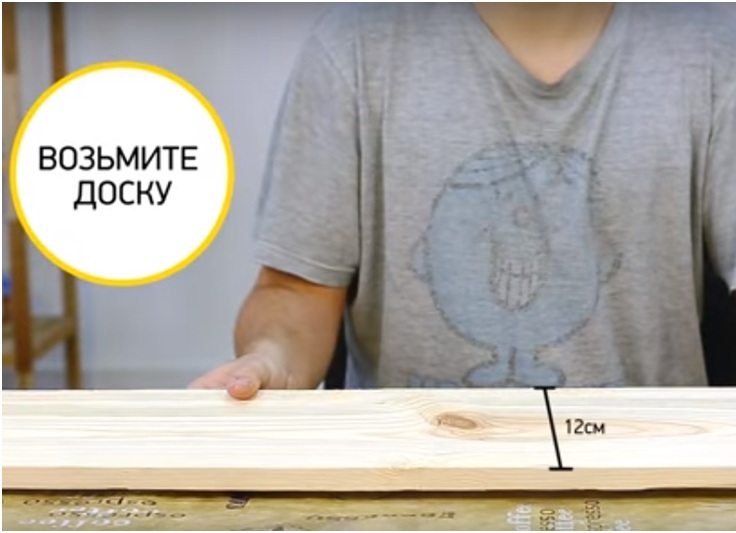
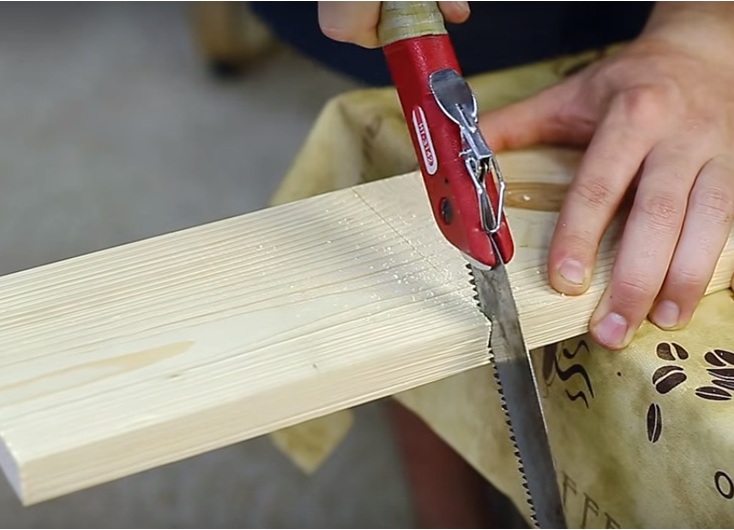
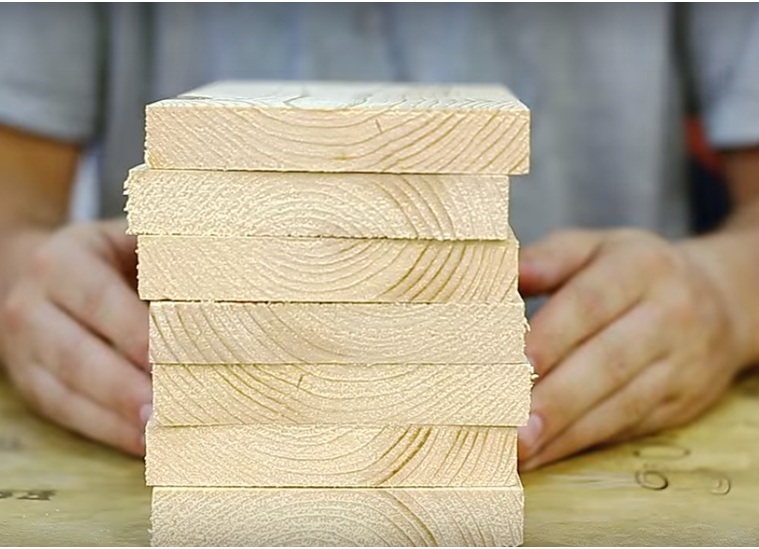
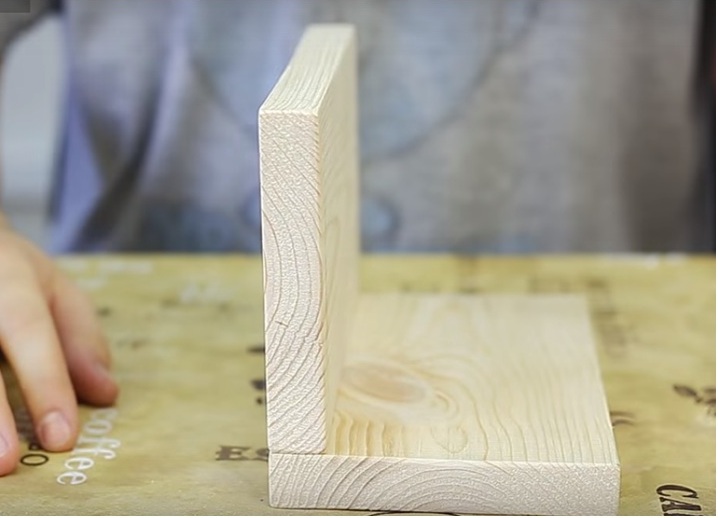
- Take a board 12 cm wide, 1.5 m long. This indicator can vary depending on the number of sections. On the wood, make a marking for lengths of 20 cm. Cut off the excess piece. Need 7 workpieces.
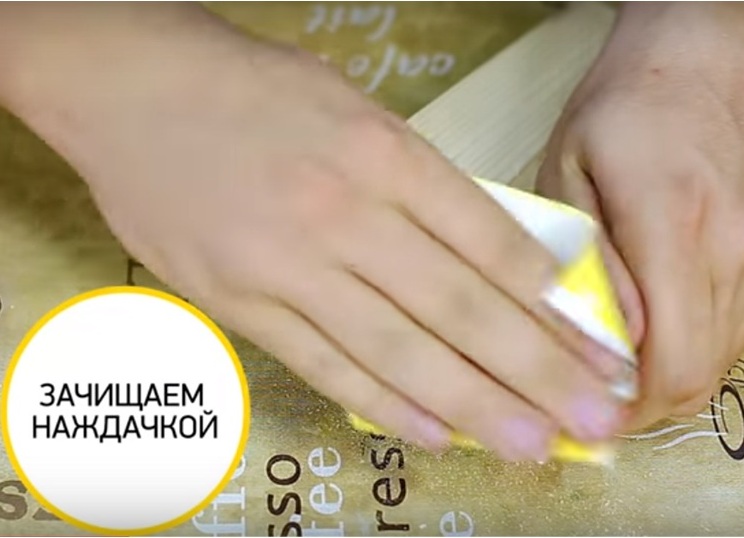
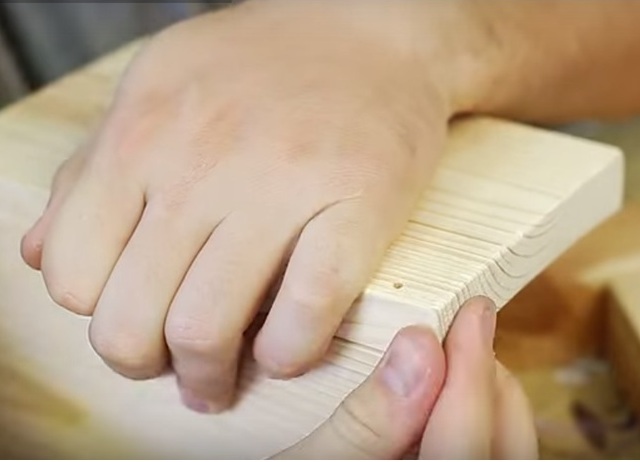
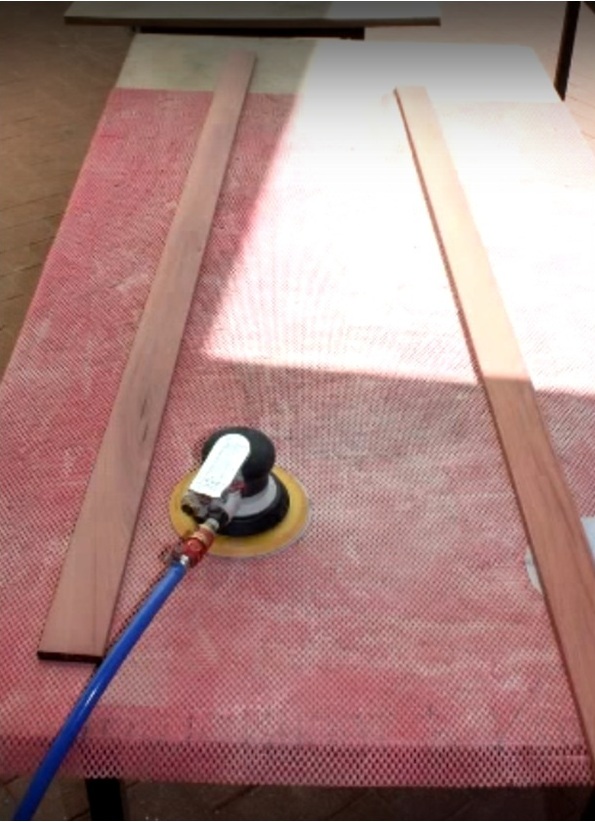
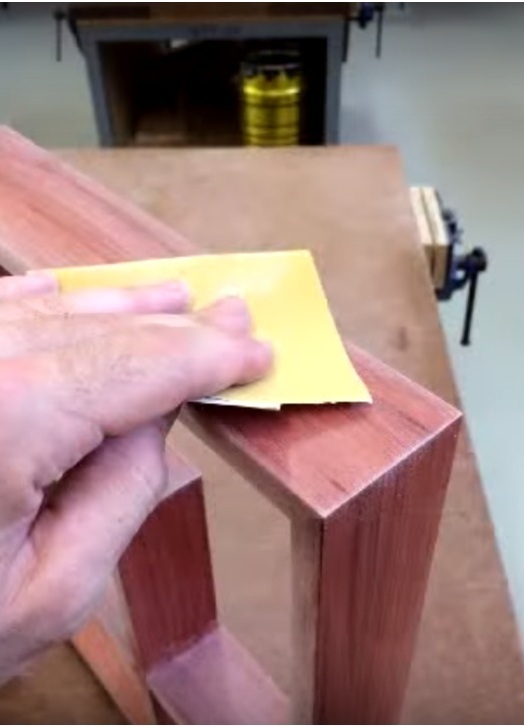
- The edges and the surface of the wood itself are sandpapered with medium and fine grain sandpaper.
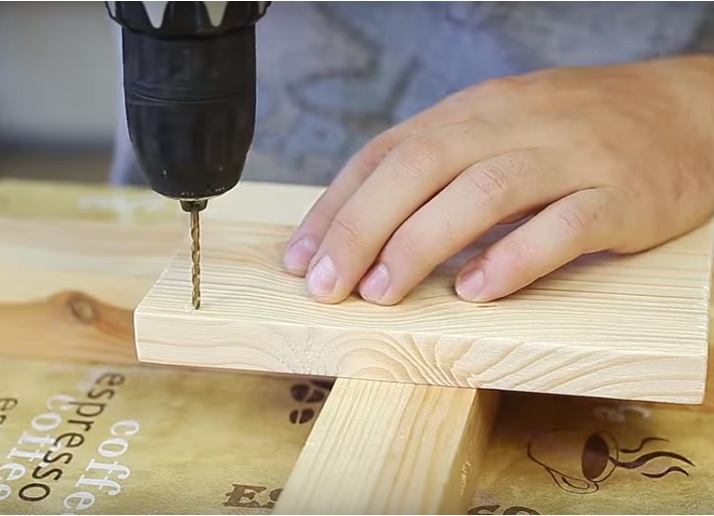
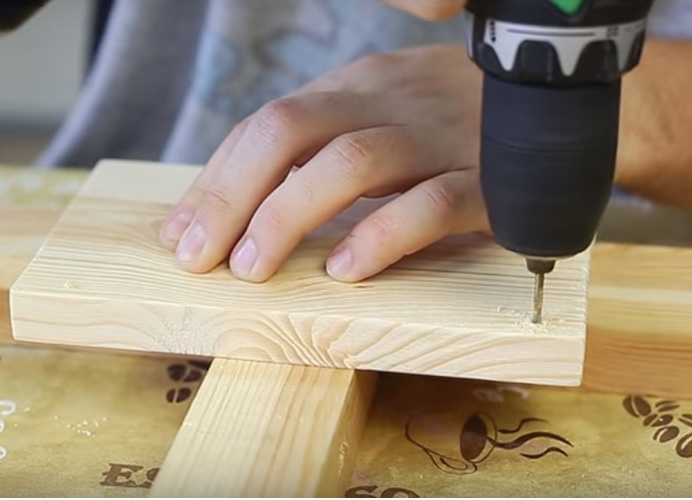
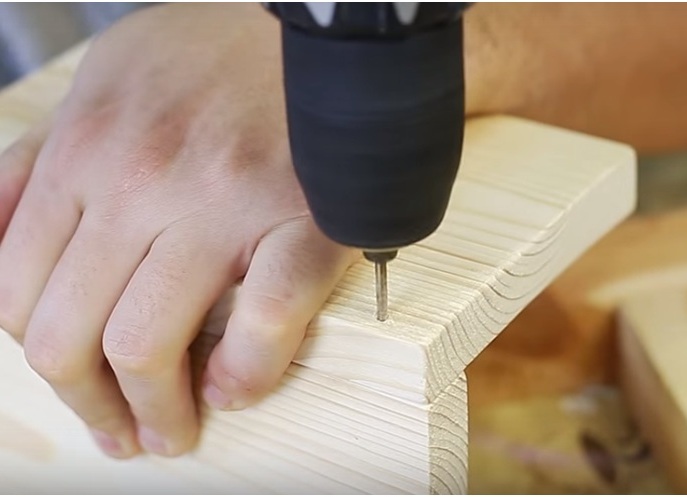
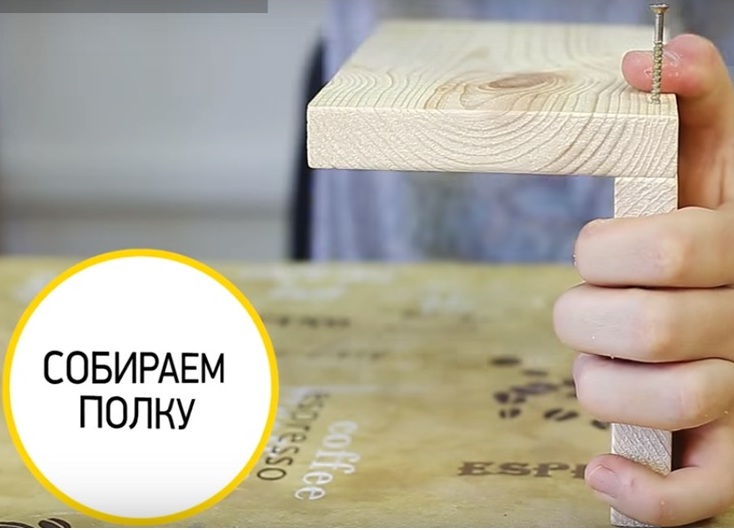
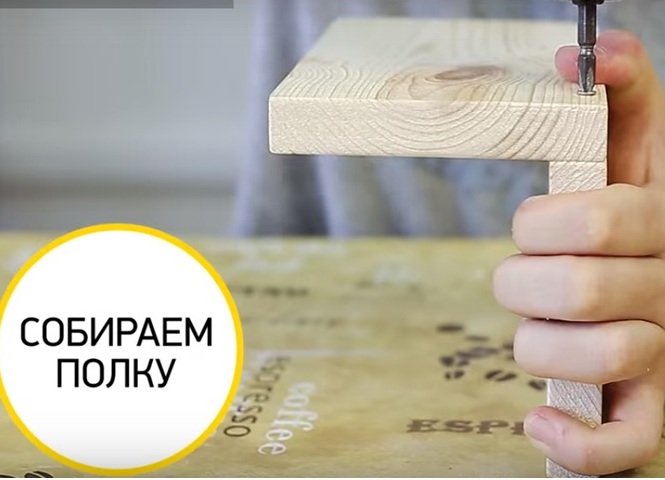
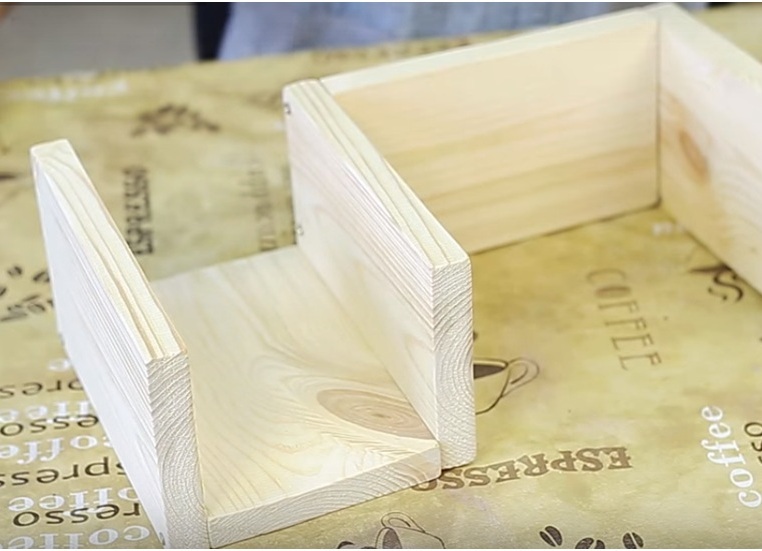
- Proceed to fasten the elements to each other. Drill holes, then fix the position with screws on the wood.
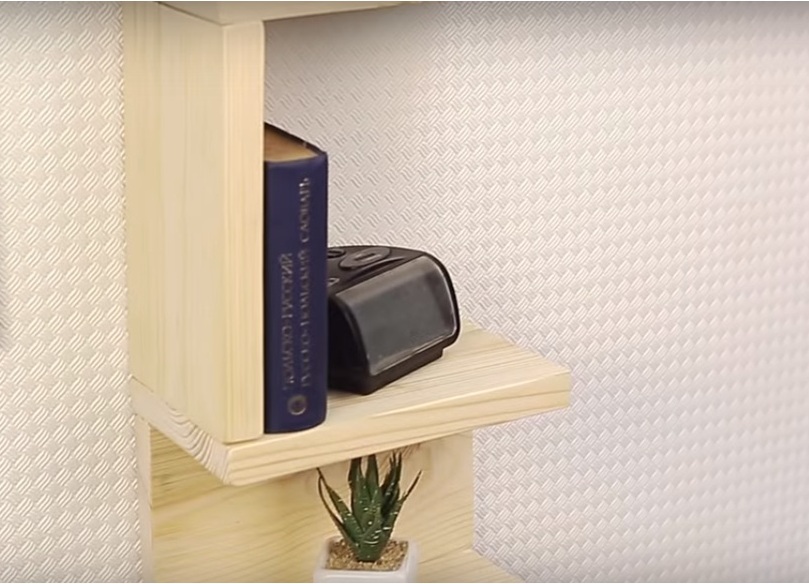
Got:
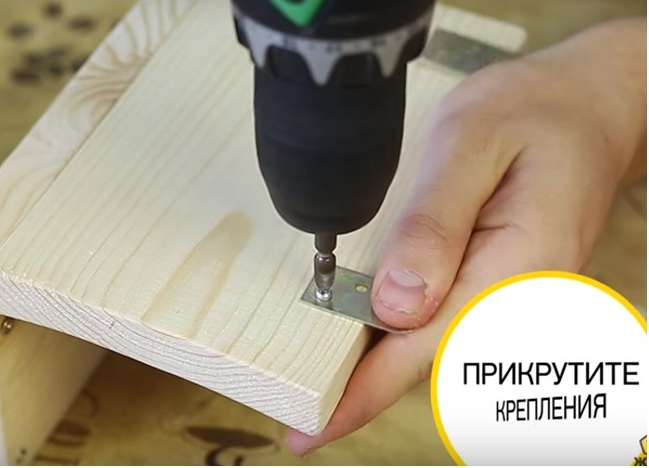
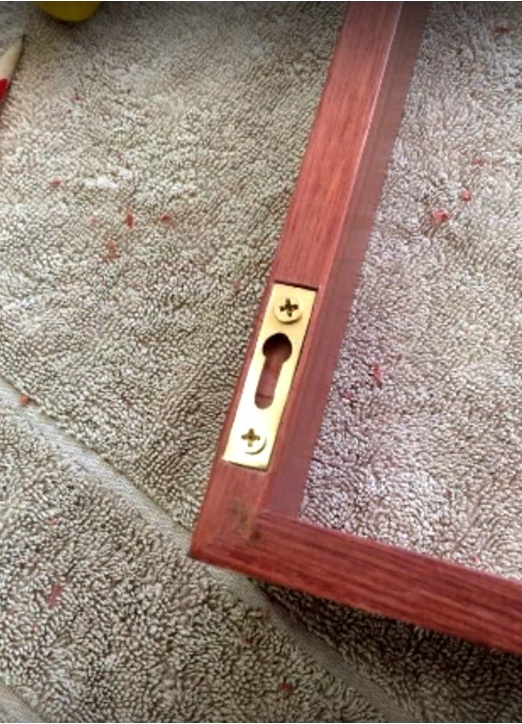
- The frame is ready, fasten the fasteners to its base. They will keep the construction on the wall.
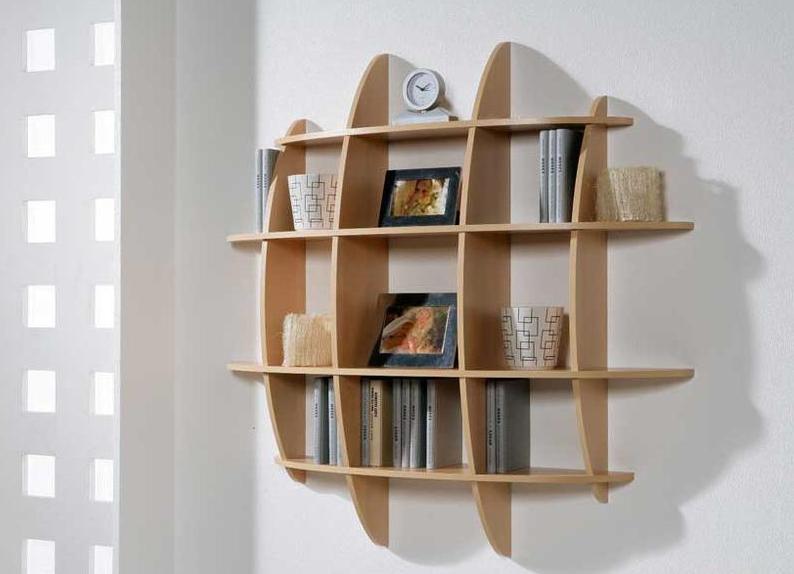
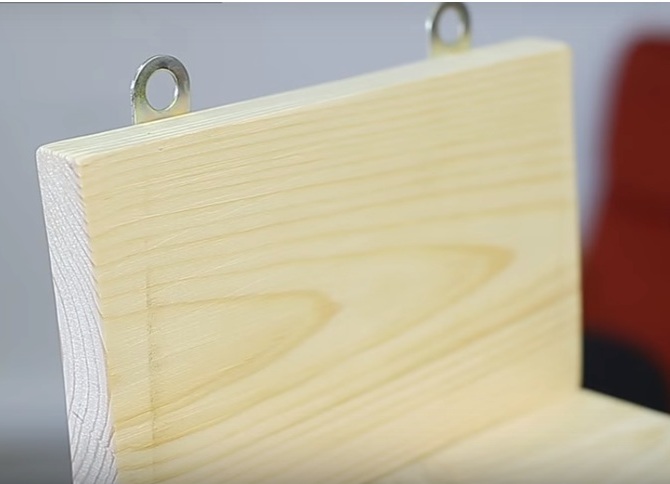
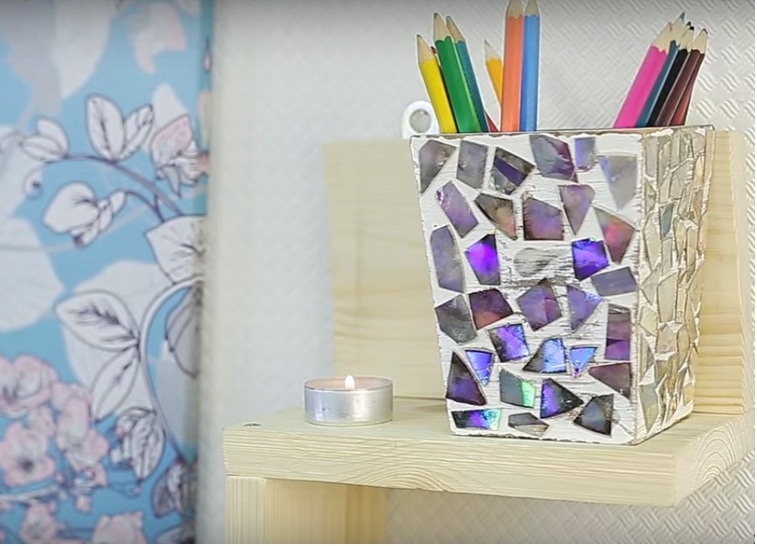
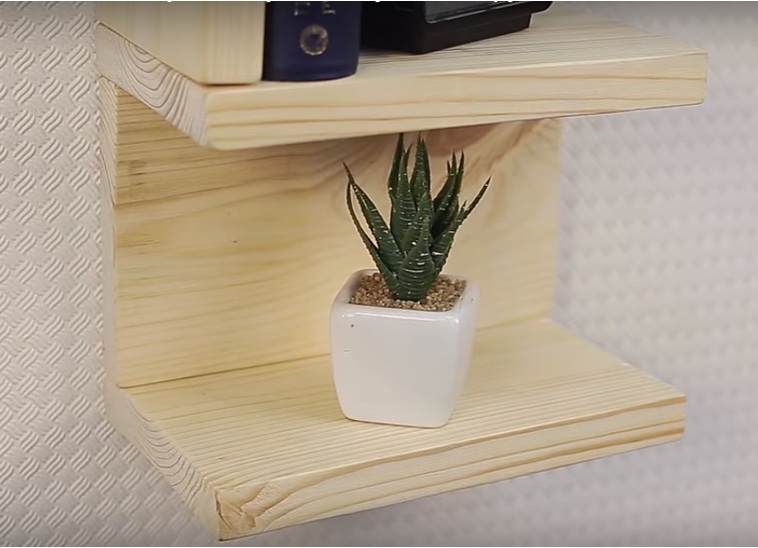
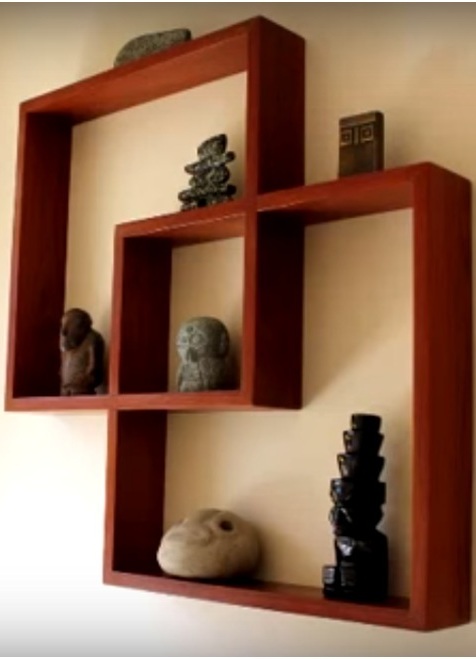
- That's what you get as a result - a neat, compact shelf for books, souvenirs or other trinkets.
How to make wall-mounted wall shelves with your own hands?
If you want to make a simple, but more functional shelf, this option is for you.
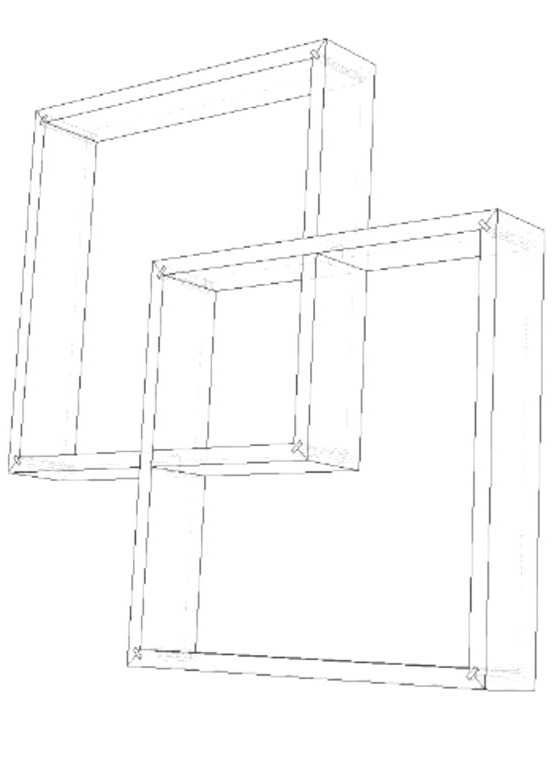
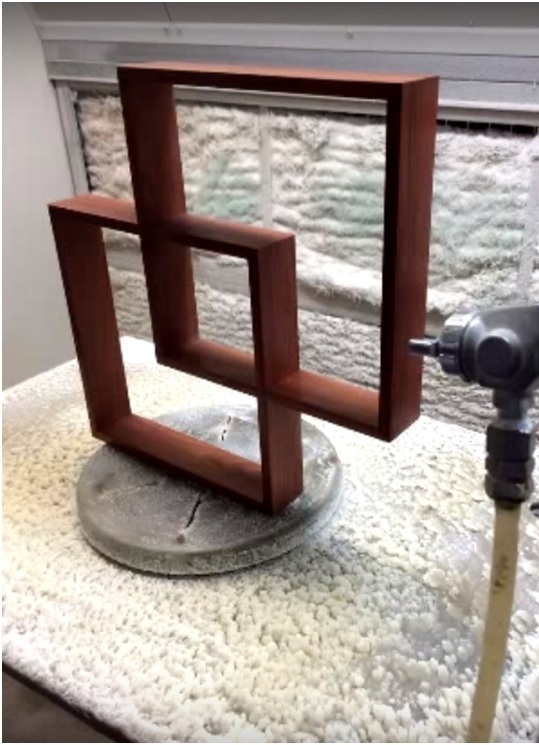
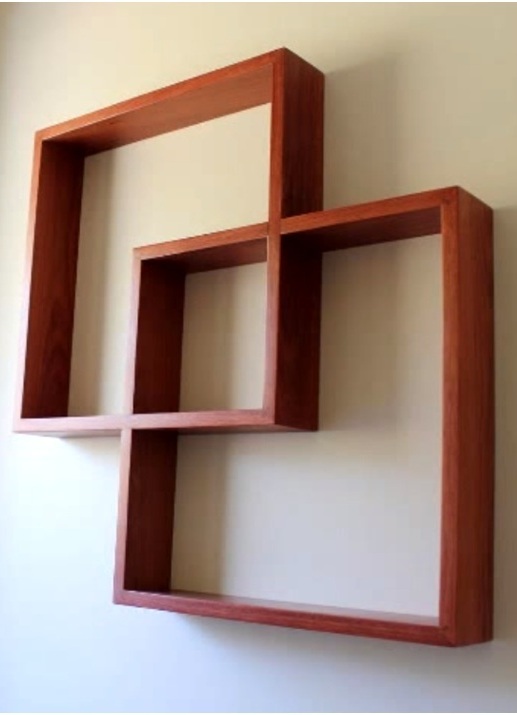
- The structure will look like this.
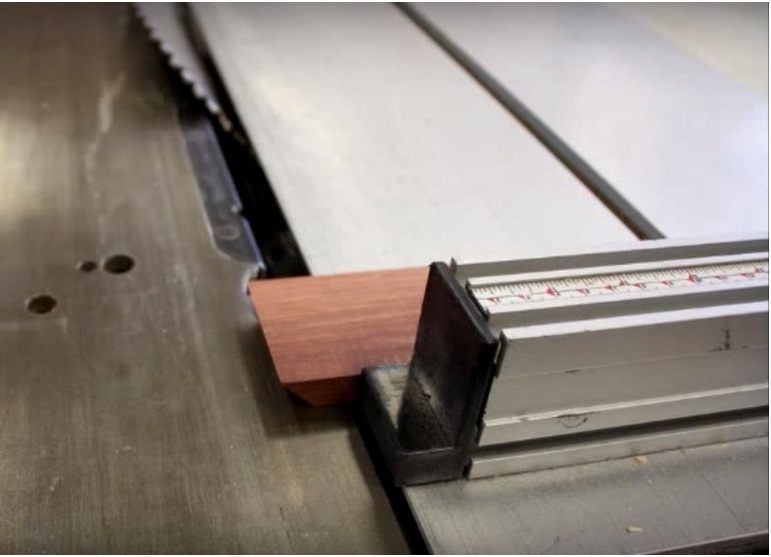
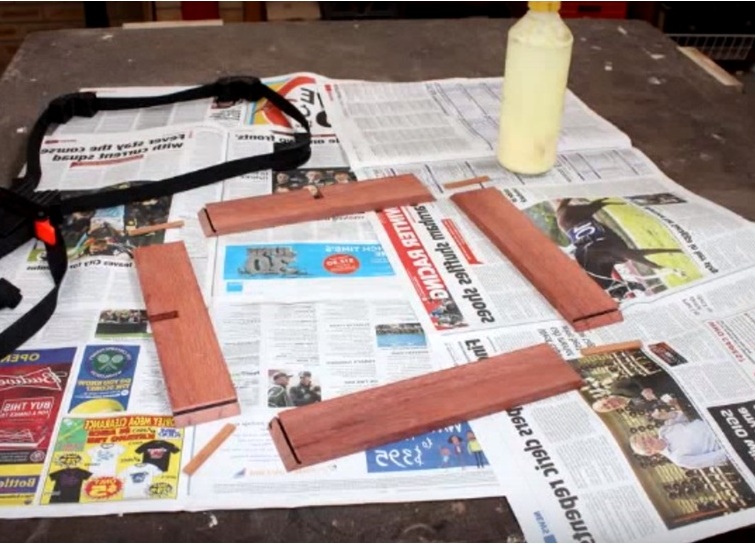
- This requires a narrow board. The consumption of the material is minimal, since the body is two "intertwined" squares. You need to start with cutting and polishing the elements (8 pieces) for the squares.
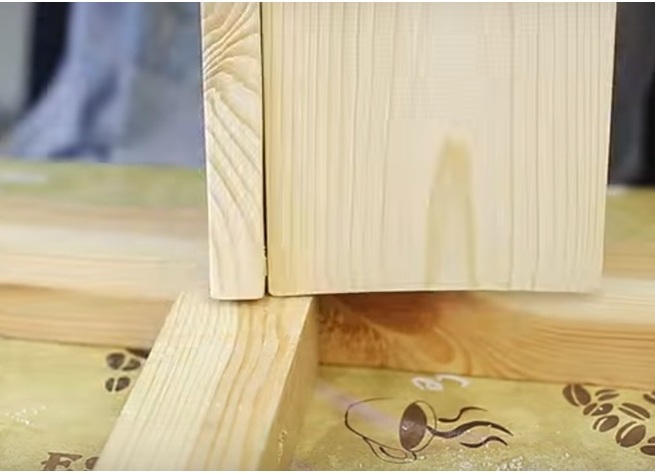
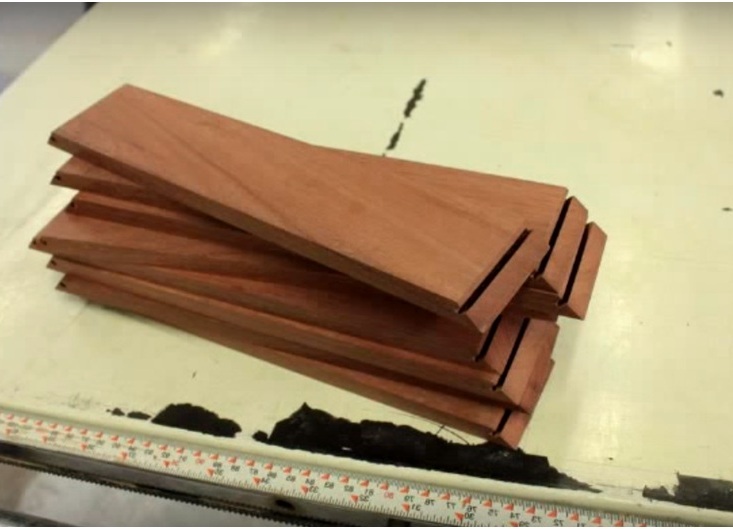
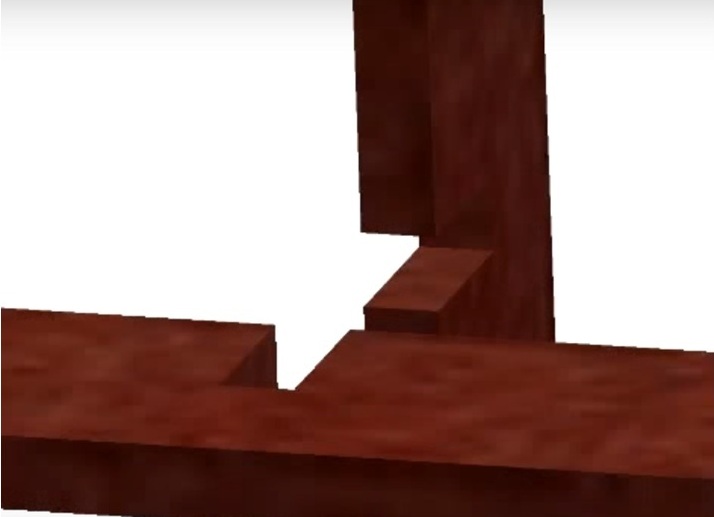
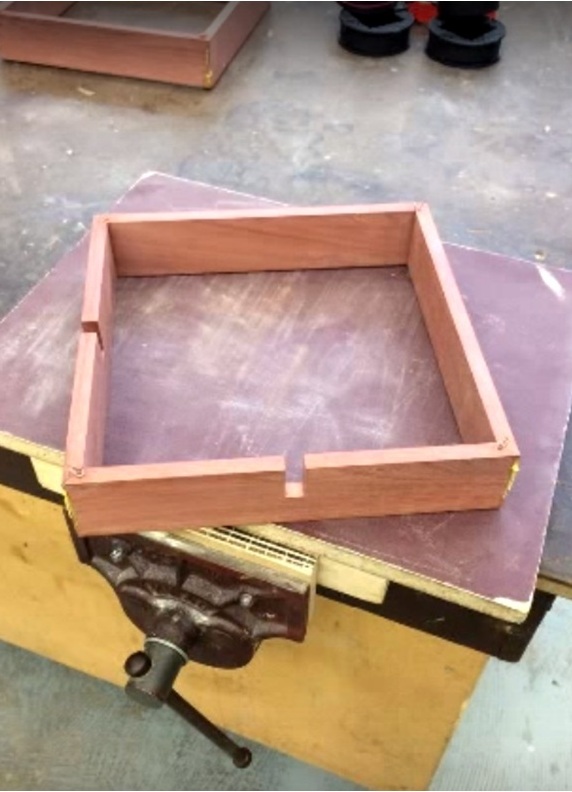
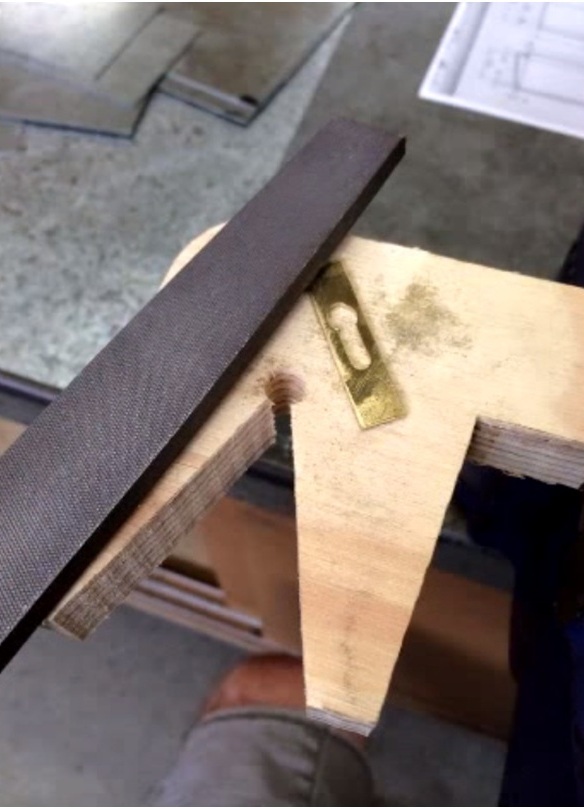
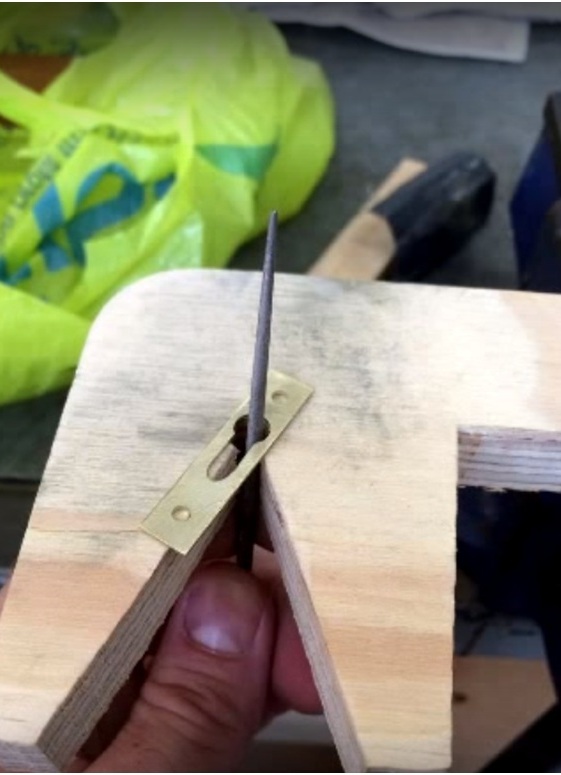
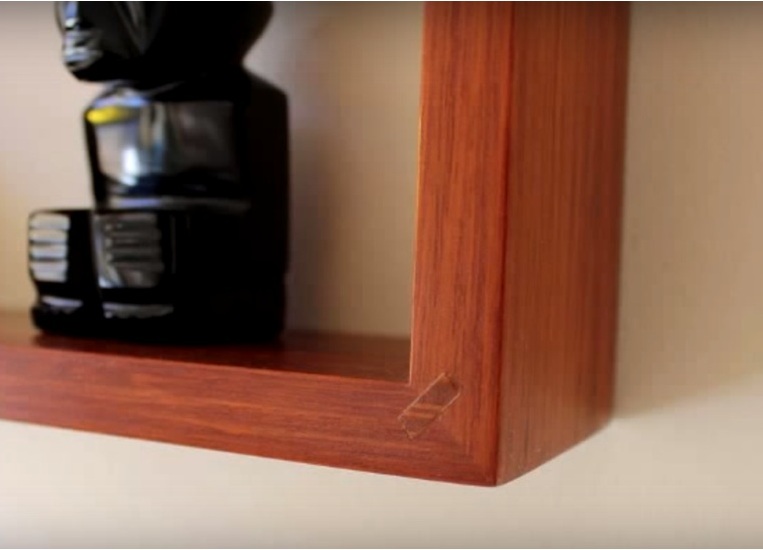
- Angles should be beveled at 45 degrees and have an additional "niche" for a rectangular wooden stub that looks like this:
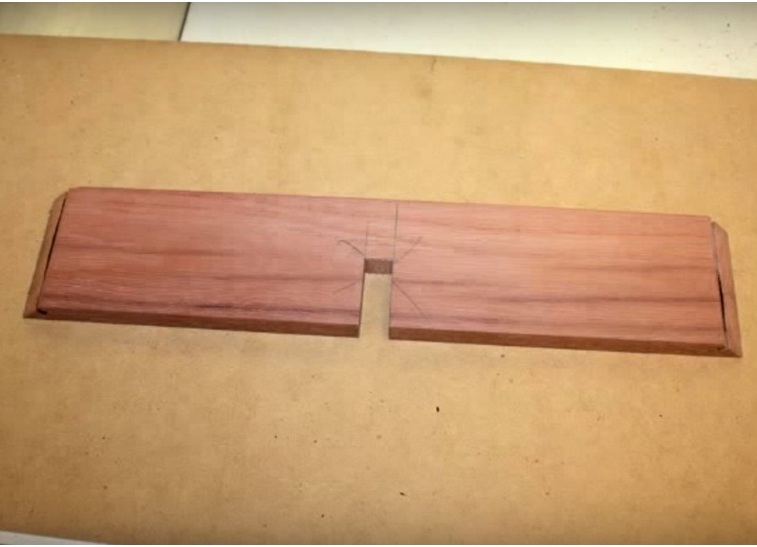
Got:
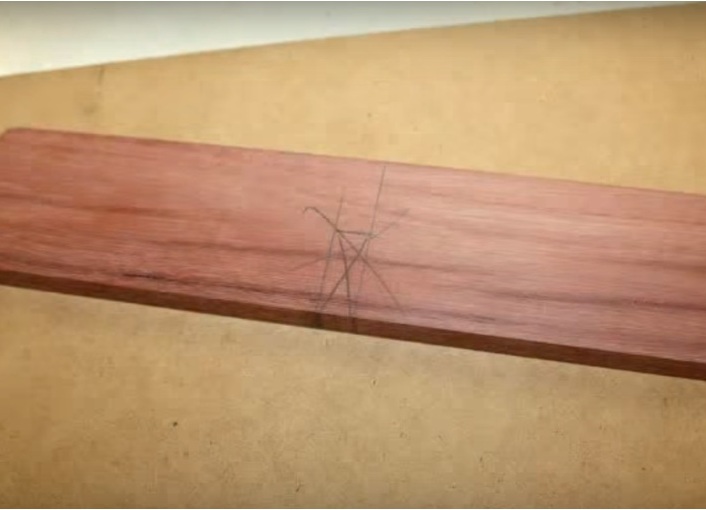
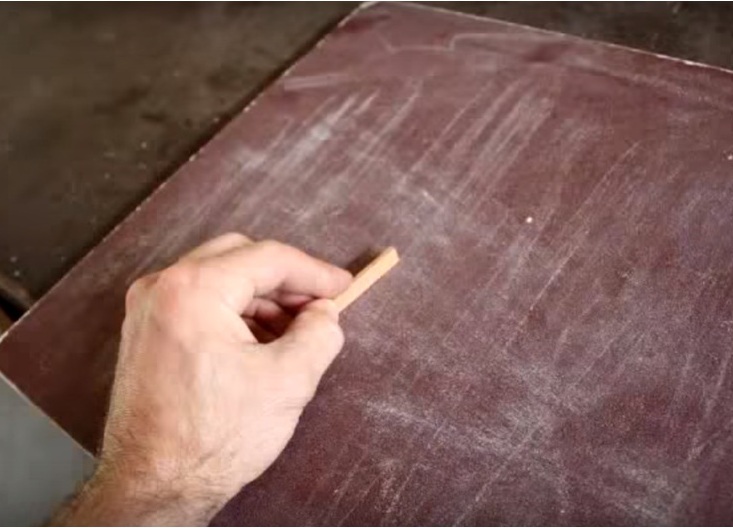
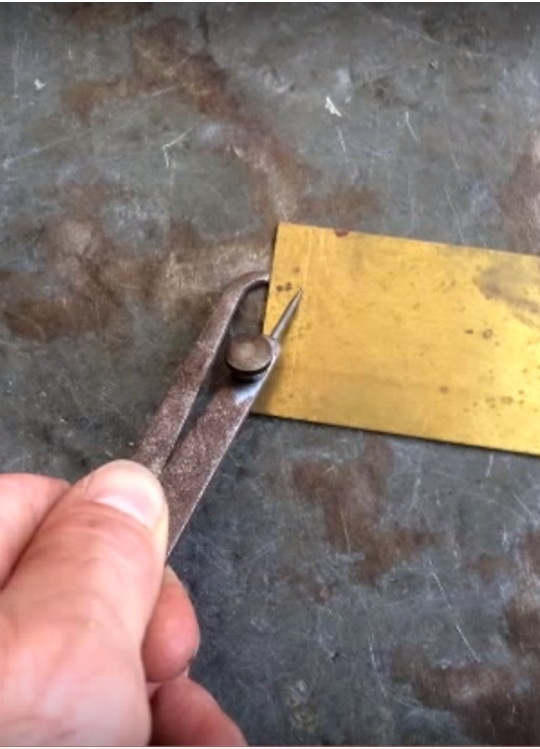
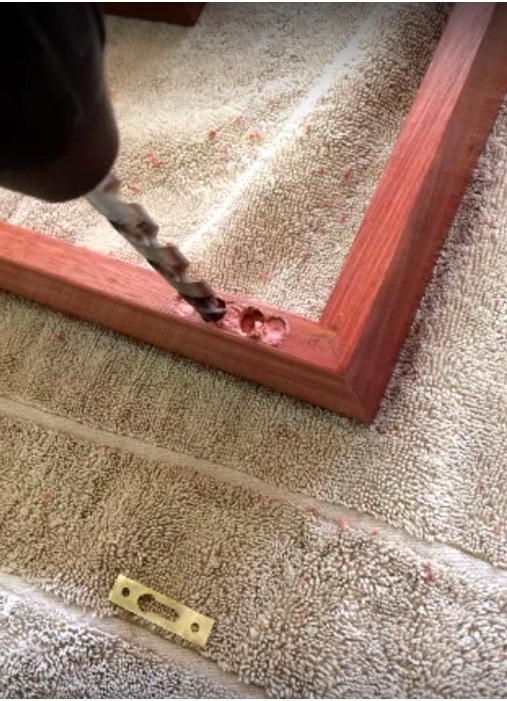
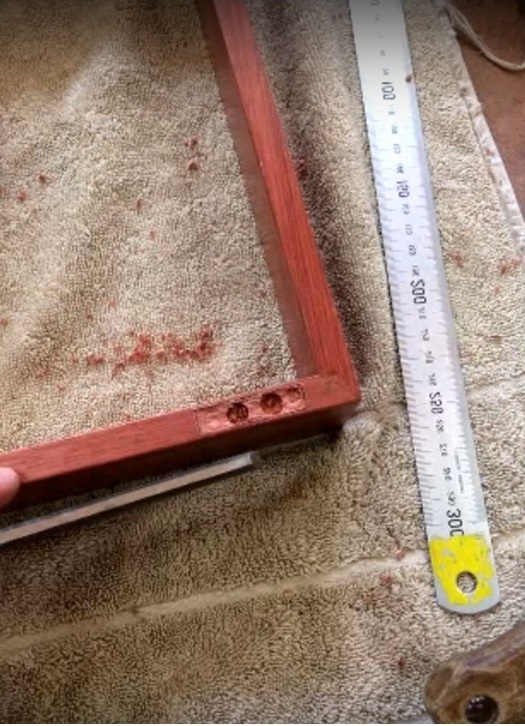
- Now proceed to prepare the place where the squares intersect, according to the following scheme:
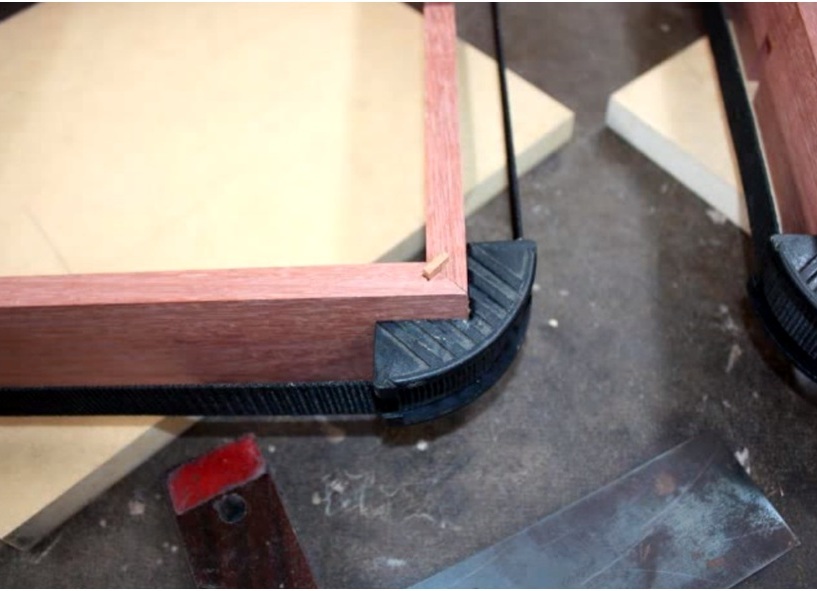
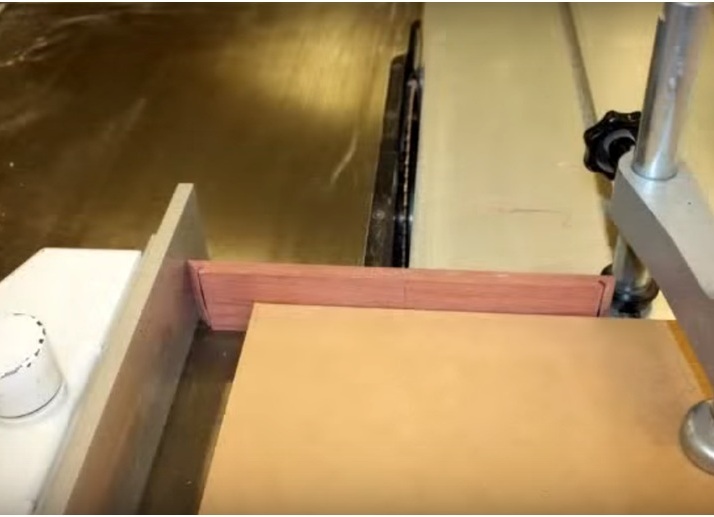
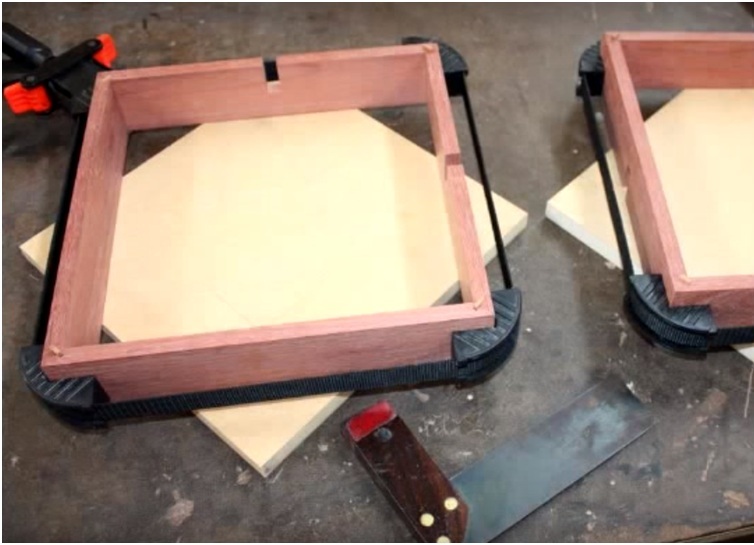
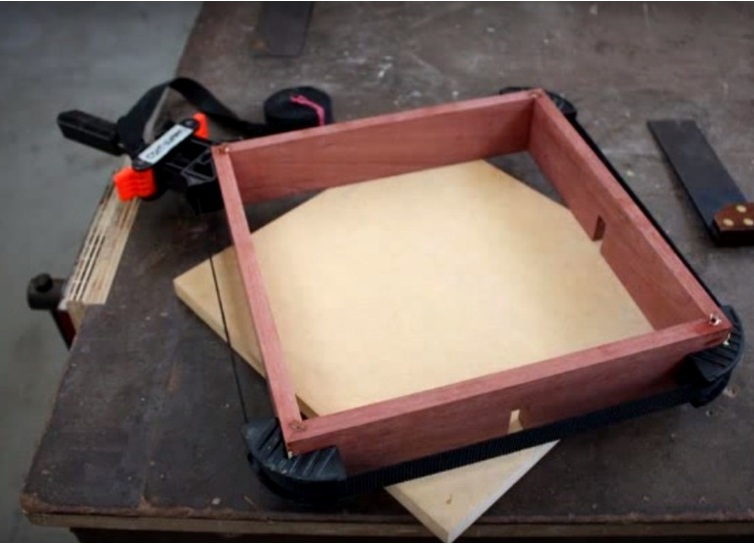
- The next step is to assemble the case. The accessories are assembled, fixed with plugs that fit into the grooves. For proper fixation, the sides are tightened, then the plugs are clogged.
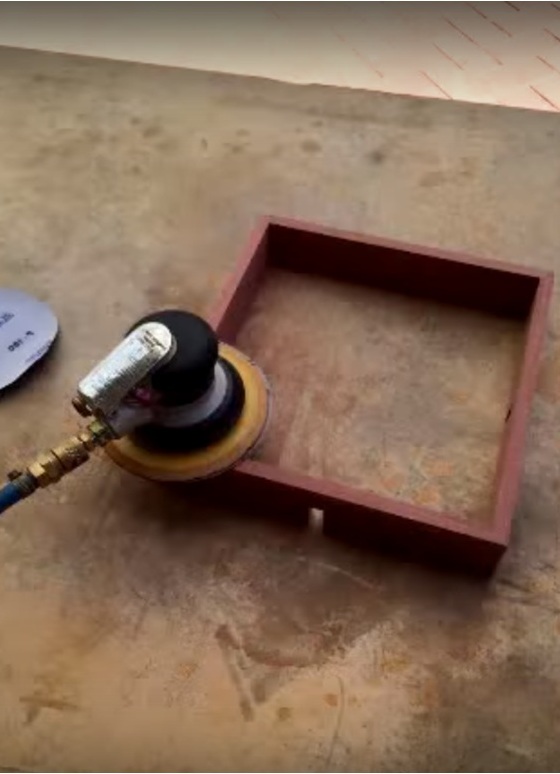
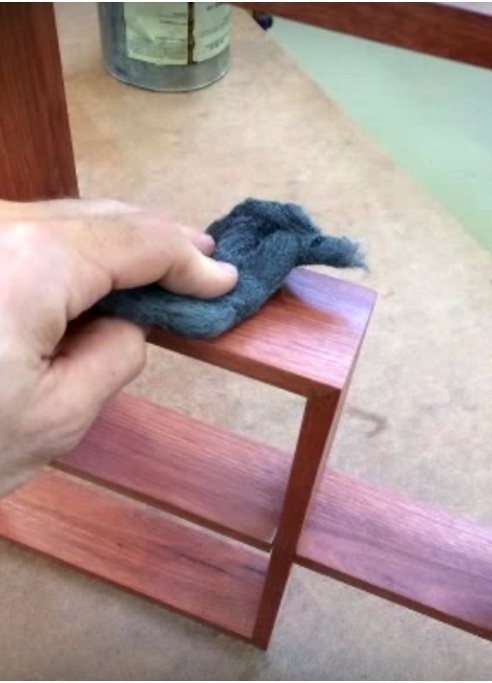
- The obtained base is ground.
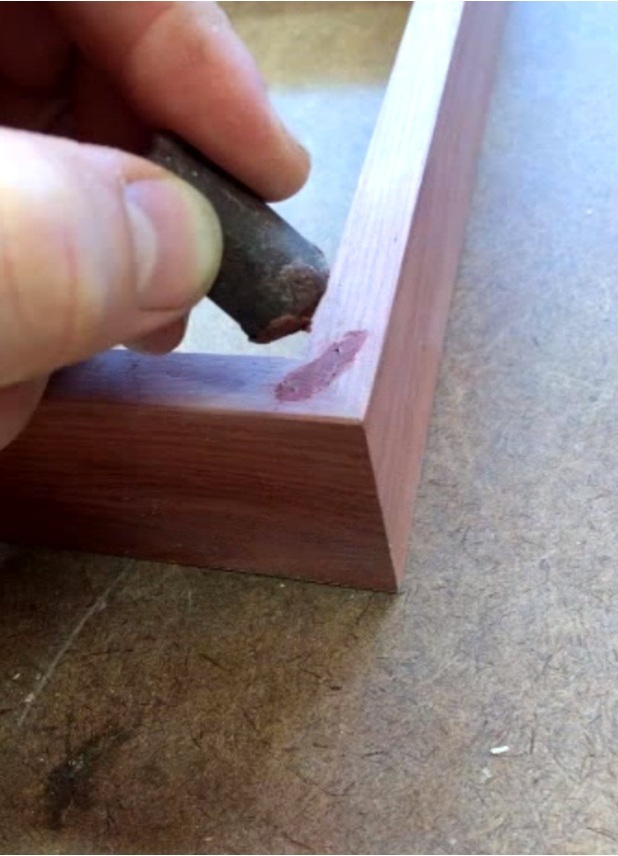
- Now you need to work with color. The design of wall shelves with their own hands is easy.
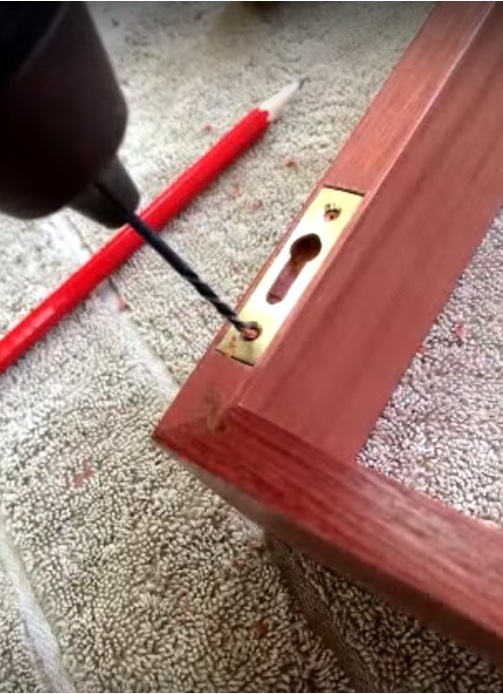
- Now the shelf is ready, it remains to attach it to the wall. Special fasteners are fastened to the body.
- The final touch is to "plant" the product on the wall.