Long ago people protected their plots with various fences, built of wood, brick and wild stone. These designs prevented theft of livestock, theft of agricultural implements and other property. A little later, there was a mesh netting, sections of rolled metal, profiled, but to the village style , the standard fencing from the usual boards is best. It is possible that it looks, not so solidly, than a massive wall made of stone, but it costs less. The installation of a wooden fence with your own hands does not take much time from the owners. The wooden fence is simple in repair and maintenance, it can be bought at a very affordable price. That is why, in spite of competition, it is still a popular kind of fencing for private plots.
How to make a wooden fence with your own hands?
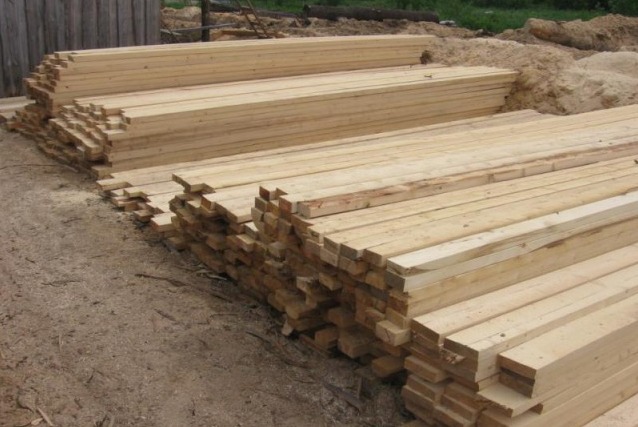
- Material for the wooden fence - supporting poles (thick bars or a metal pipe), pins (rake from edging planed board), transverse long bars. The length of the standard hollows from a bar with a section of 40 mm is usually 2-2.5 m.
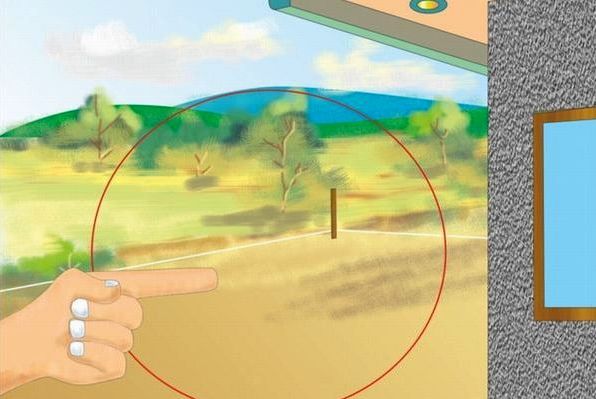
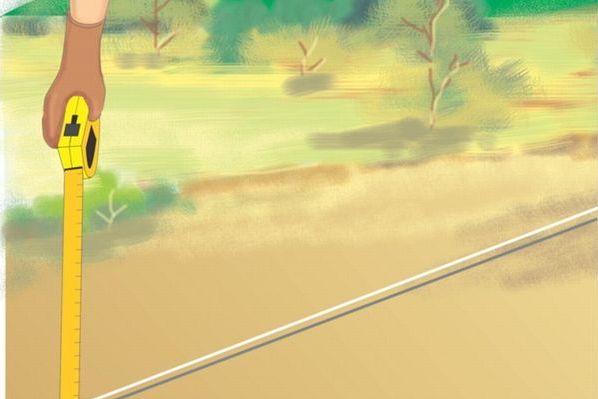
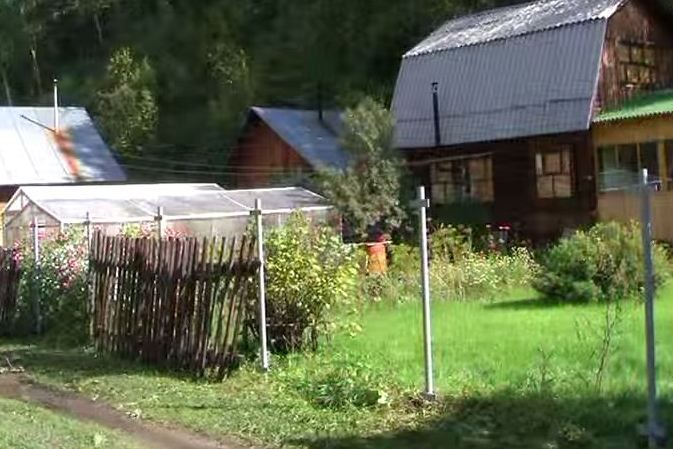
- Next is the markup of the site. On the perimeter of your territory clogged pegs (after 2 m), which are looped by a well-stretched twine.
- Determine the height of the fence. This you do yourself, guided by what you actually need a fence. A decorative wooden fence, built by one's own hands, may not be very high (up to 1.5 m), but if the owners wish to close the house completely from public view, then the height of the pole may be 2.5 m.
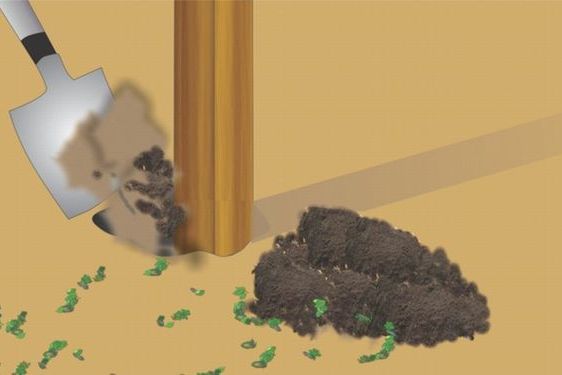
- Then, with a borer or shovel digging pits under the pillars. In our case metal pipes were used as supports.
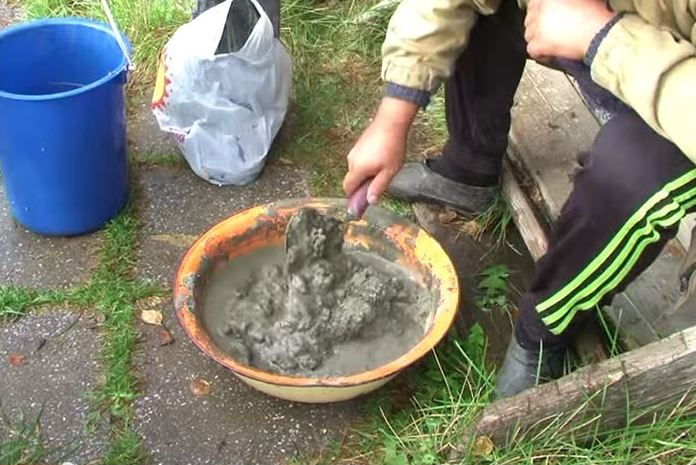
- Such poles for reliability are better not just to hammer into the ground, but to concrete. A solution for this work, if the pit was dug with a convenient drill, will go a little.
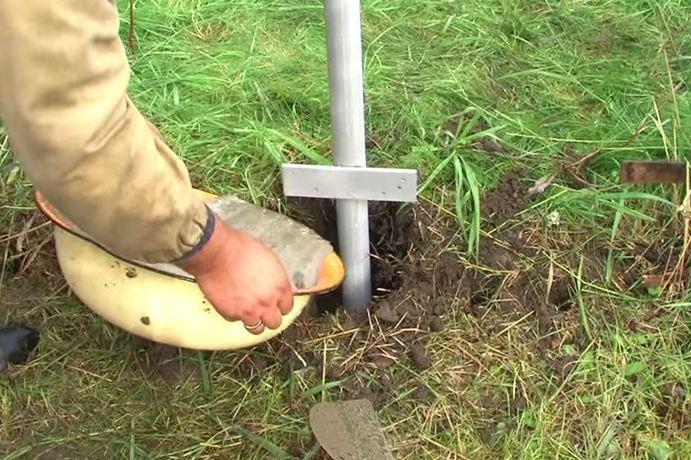
- Fill the pits with concrete.
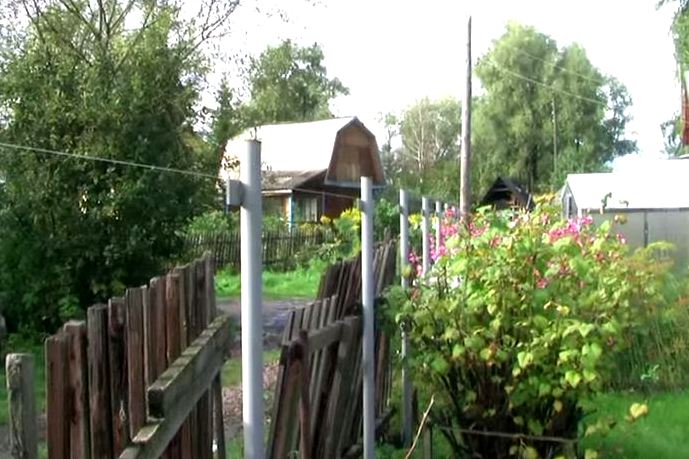
- We need to make sure that the columns are all at the same level. Correct their position until the solution is frozen. As with other construction works, it is desirable to use the line and construction level.
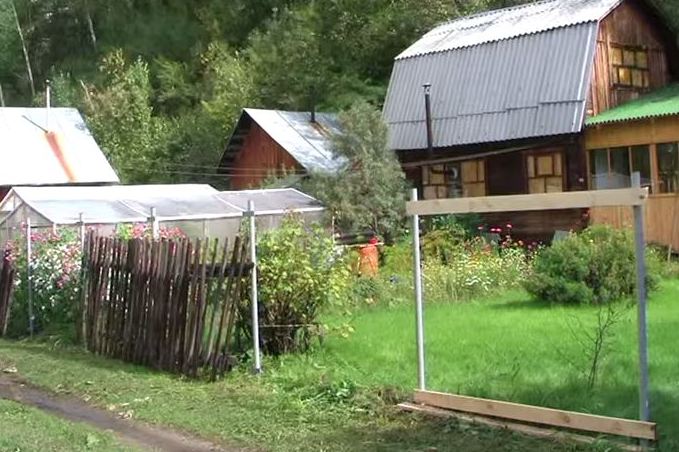
- The old fence should be dismantled at this stage.
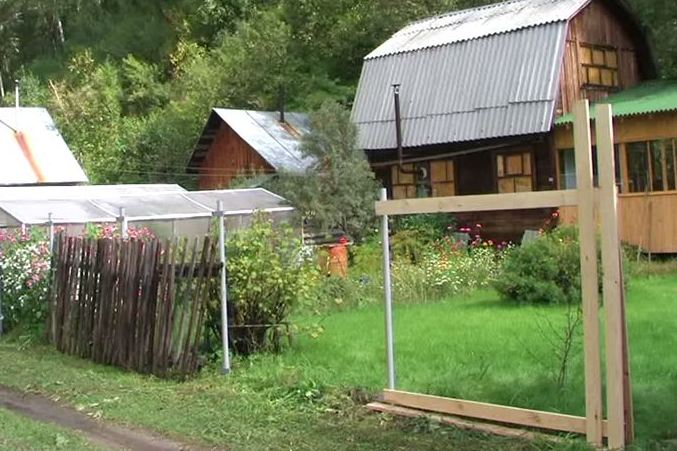
- We fix the veins between the pillars.
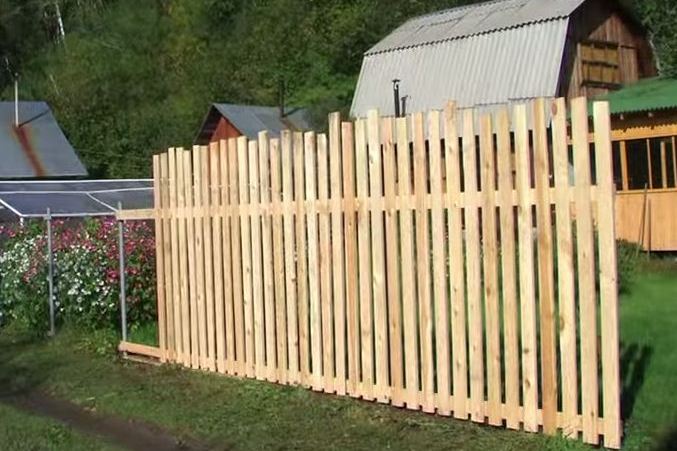
- We beat the pins.
- There are two ways to install a wooden fence. In the first case, the pin is attached individually. In the second - the flight is collected immediately and fixed to the installed supports with ready blocks. We chose the first proven method.
- Gradually we collect the remaining spans.
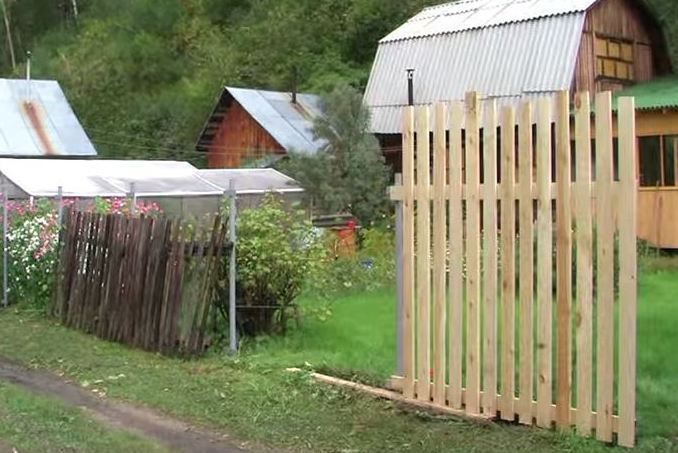
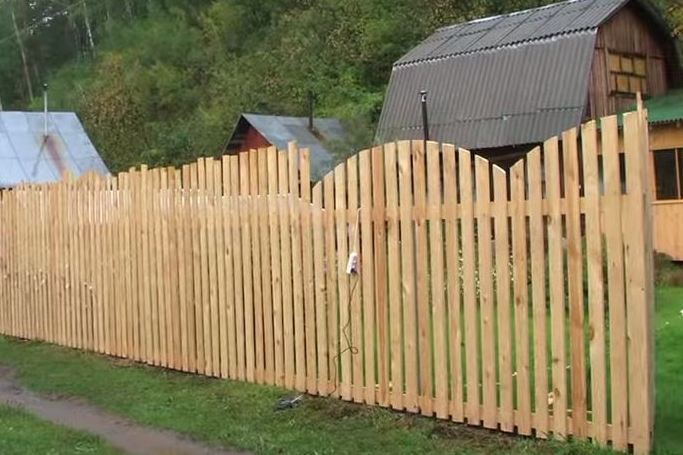
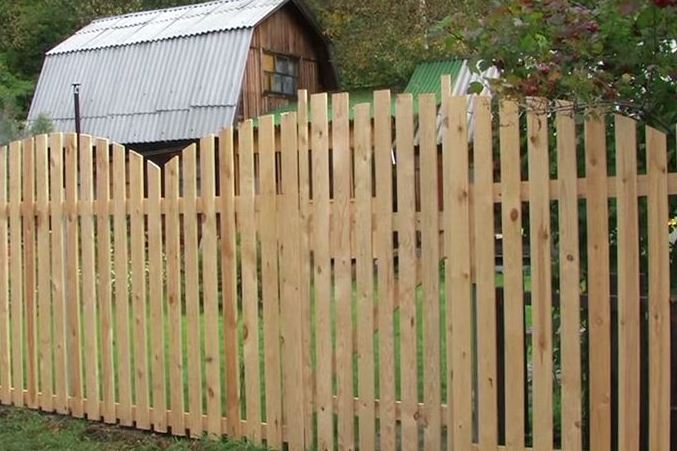
- After all the pins are nailed, we begin to cut them in height.
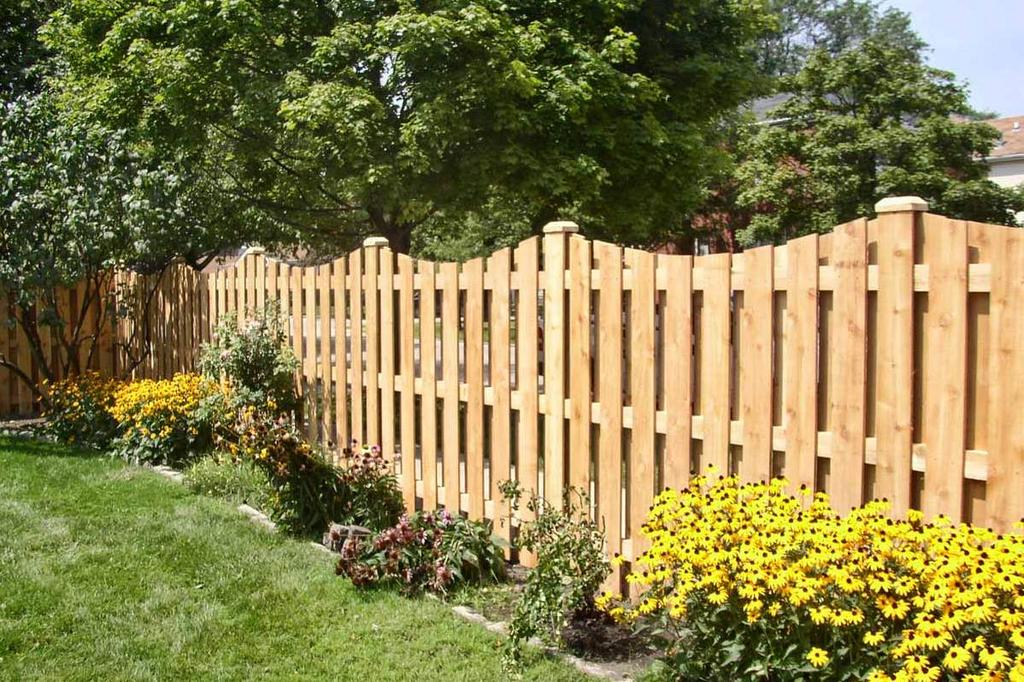
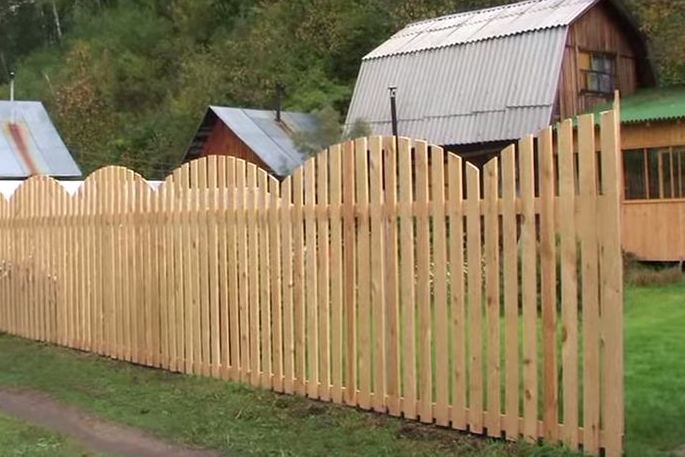
- We will not have a straight line, but a real original wooden fence shaped curved shape, made by ourselves.
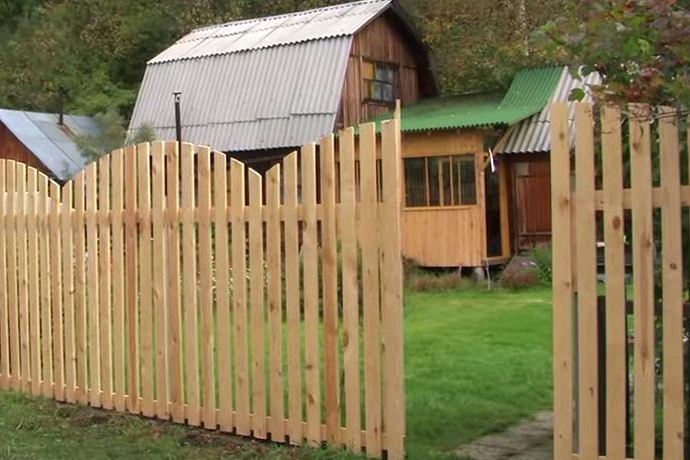
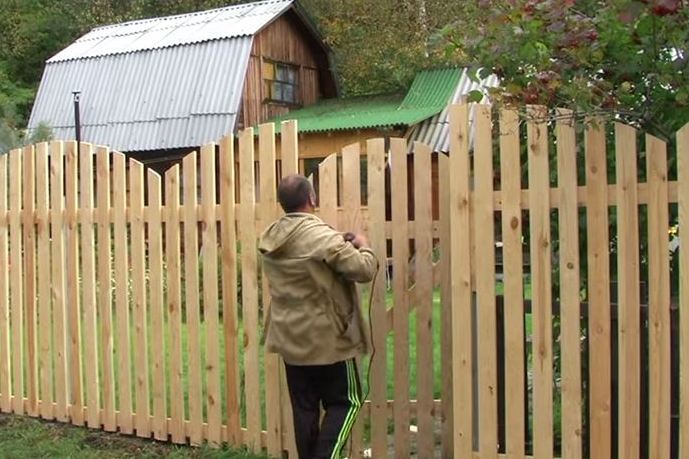
- Of course, you need to leave room for the front door.
- We fix the gate.
- We cut the rod on the door to your liking, so that the overall design of the fence looked harmonious.
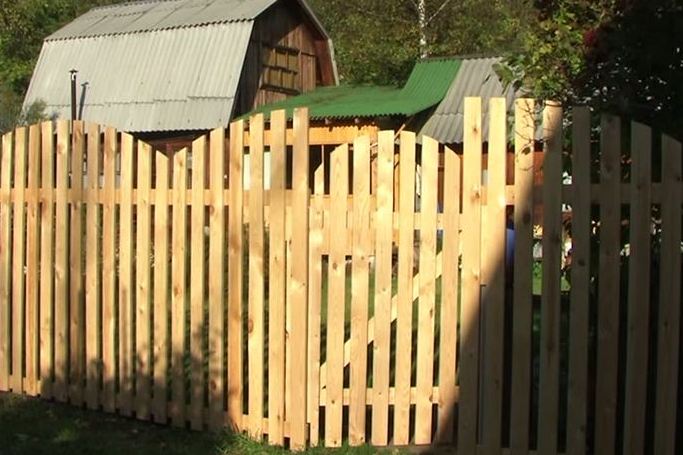
- The construction of a wooden fence with your own hands is completely finished.
To arrange a traditional rural fence, any type of wood passes, if it is, of course, treated with antiseptics. Do not neglect the aesthetic appeal. Paint and varnish makes wood not only durable, but also beautiful. It is recommended that you periodically inspect the fence and remove the rotten stalk. Wood - the material is universal and looks good next to a stone or facing brick. Therefore, the pillars can be successfully built from various modern materials.