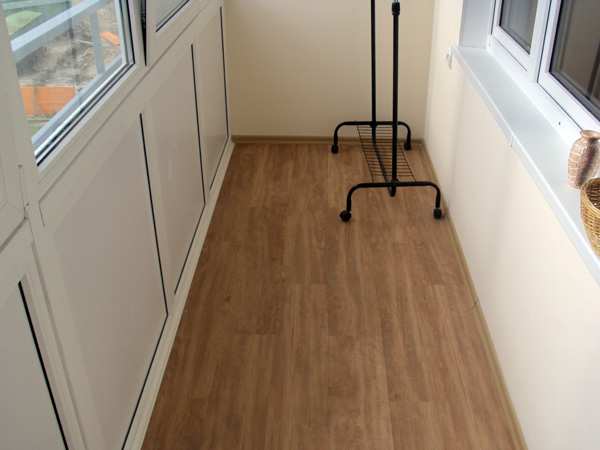
Unequipped balcony sometimes brings a variety of troubles, not to mention unpresentable form: dust gathers there, it's impossible to get out without shoes, besides, mud enters the house. That's why many people think about quality flooring for the balcony. But which floor is better to pick?
Now we will tell you which floor for the balcony is best done, and also we will offer a small master class. After that, the question of how to make the floor on the balcony, will stop bothering you, you will perfectly cope with this work.
Stel the floor on the balcony
We will need: a substrate, floorboards, wooden beams, screws, metal corners, dowels, varnish for protection.
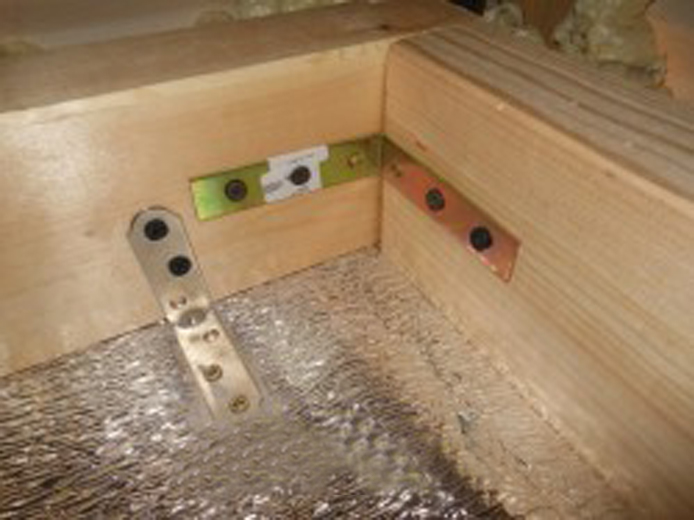
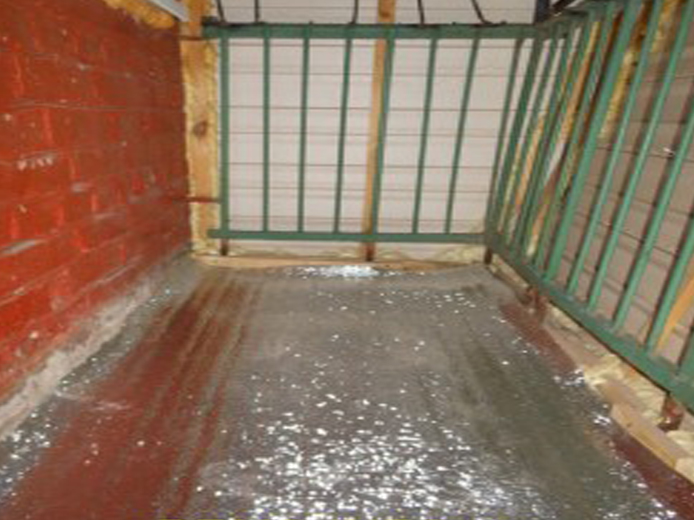
First, calculate the area of the balcony and measure the height of the threshold, and then proceed to work.- We cover the substrate with a concrete coating. Next, we lay out the frame from the beams, and in the middle one more additional bar, which will give the construction reliability and stability.
- Then, using the fastening material, we sew the beams together.
- At the same time, it is considered the most difficult to achieve an ideal horizontality, it is necessary that all the elements of the framework maintain parallelism. Stem the substrate.
- After that, we attach the frame to the floor with dowels and corners. We check the stability of the frame and its strength, stepping on it in different places - it should not swing.
- Before coating the floor on the balcony we impregnate the boards with varnish for protection and wait for the complete drying. Begin to floor the floorboards, while remember that they are attached to the lags perpendicularly. We remember that the length of the board should be equal to the width of the balcony. Strengthening on the lag boards is pretty easy. The first board is attached to the frame. The second is inserted into the groove and tightly screwed with screws. So, one after another, we spread the remaining boards.
If at the end of leveling the wooden floor and trim the skirting around the perimeter, the view will look complete.