Today, every family uses a huge number of electrical appliances. Therefore it will be useful to know how to change the wiring in the apartment or in the house. To begin with, make a marking of the future wiring, determine the places where there will be switches, sockets, various household appliances and lighting fixtures. In doing so, it should be remembered that the change of the wiring should be made immediately in the entire apartment, since if you do this in parts, you will have a lot of unnecessary connections and twists. And any not very high-quality connection is an occasion in the near future to start repairing again.
Change of wiring in the apartment
Change of wiring, as a rule, is made from the furthest room of your apartment to the junction box in the corridor. The old wiring can not be removed, but simply disconnect it from the voltage. And now let's find out how to build a new wiring.
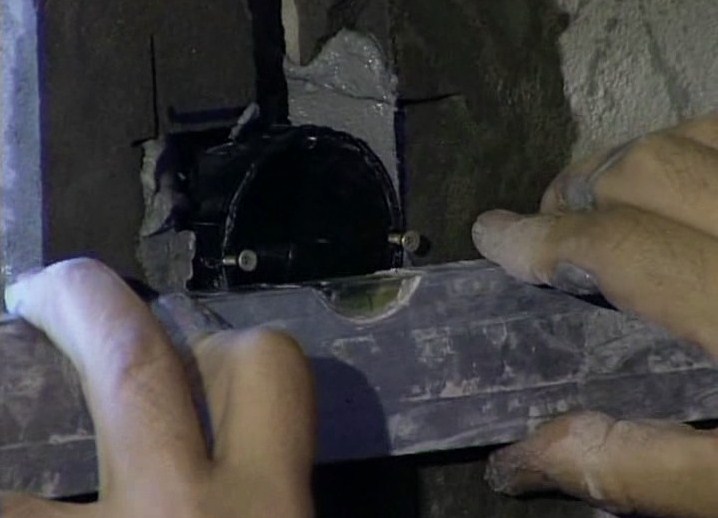
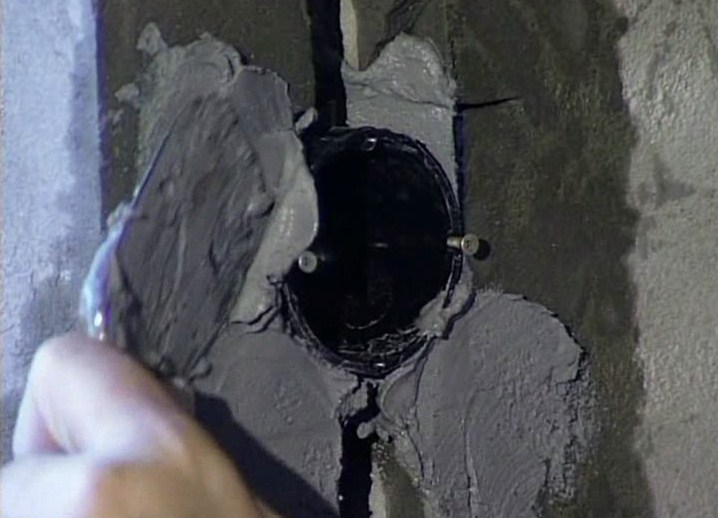
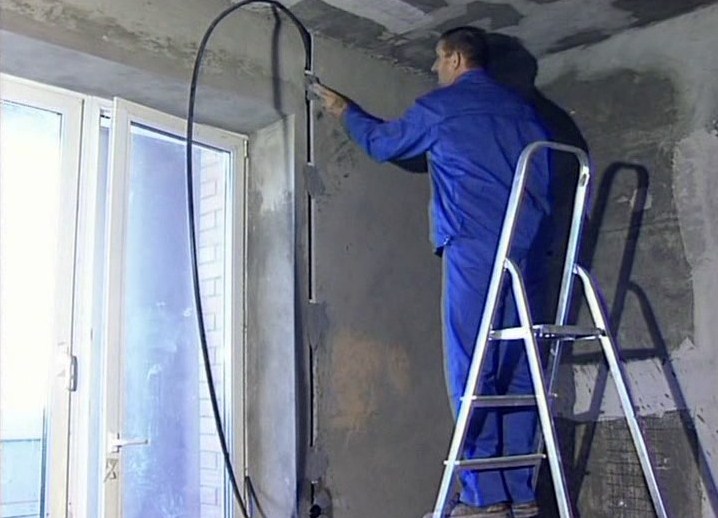
- Shtroblenie walls for laying electric wires, distribution and installation boxes. All shtroby (grooves for the wire) should be located strictly at a right angle, then it is easier to figure out where and where any wire comes from. The box, in which thereafter will be a switch or socket , should be mounted into the wall using an alabaster solution. On the water-soaked surface of the hole, a solution is poured into which the junction box is pressed. In this case, the edges of the box should not protrude above the plane of the wall. Fig.1.2.
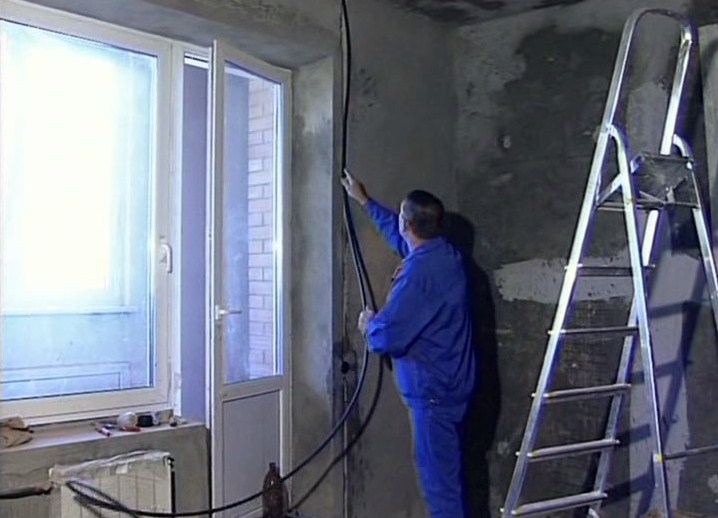
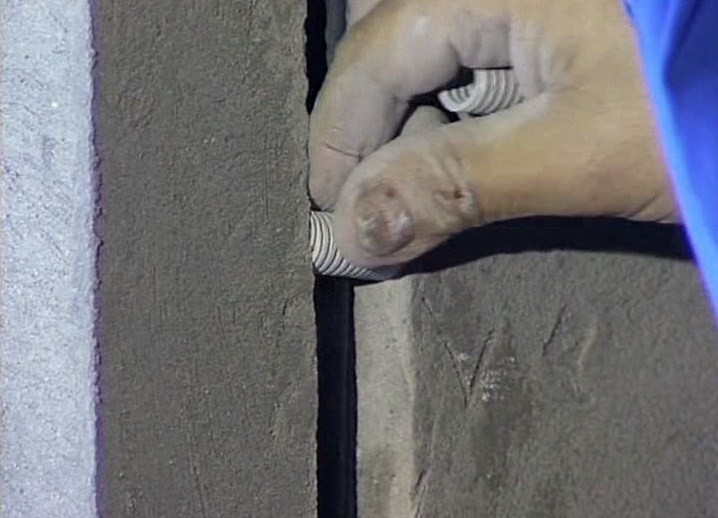
- Stacking in the tube of the tube. For the safety of future electrical wiring, a polyvinyl chloride tube is first laid in the rod and fixed with spacers. It should be remembered that the ends of such a tube should not protrude from the mounted boxes more than 5 mm, and the tube itself must be integral. Then we cover the strob pipe with the tube with alabaster solution. Fig. 3.4.
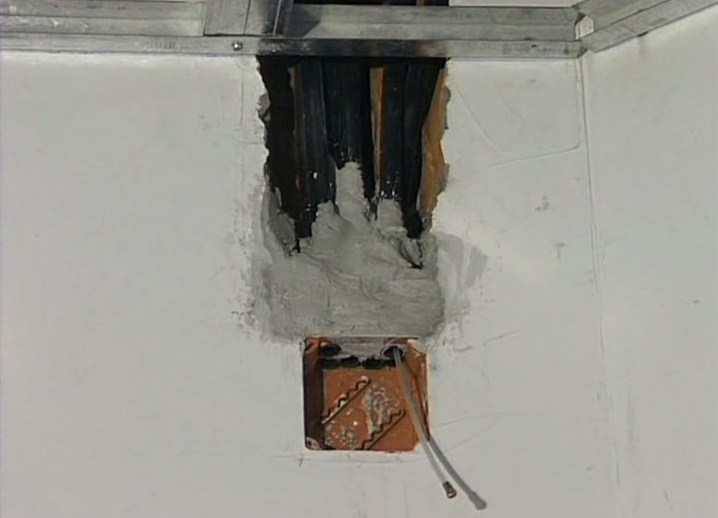
- Stretching the electric wire. After the putty is well frozen, proceed to pull through the tube of the electric wire. To do this, you need a plastic broach, which must be passed into the tube until it appears from the other side. Then attach the ends of the wire to the broach and gently pull it through the tube. Fig. 5, 6, 7.
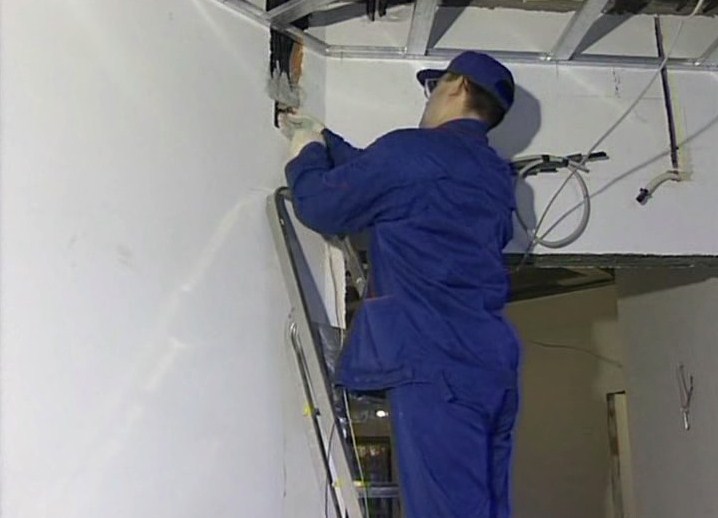
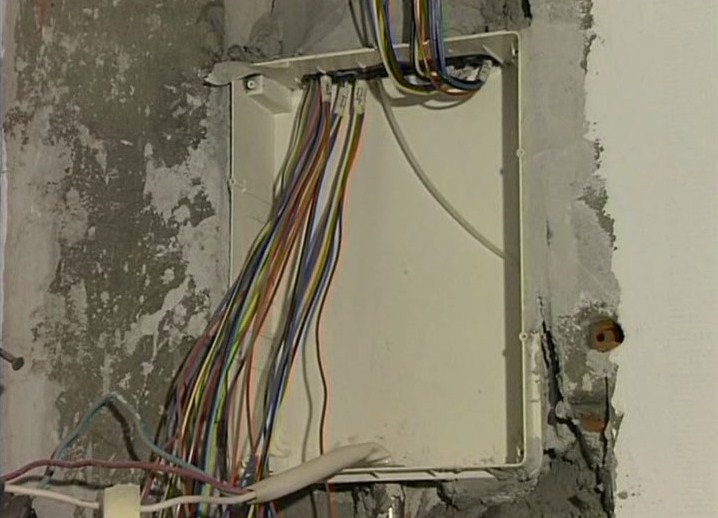
- Connecting the wires. The electrical line is pulled between the distribution and junction boxes, the ends of the wire are cleaned and connected in accordance with the wiring diagram. Then the wires must be insulated and laid in a junction box. And after that, you can fix the switches, sockets and lighting fixtures. Fig. 8.9.