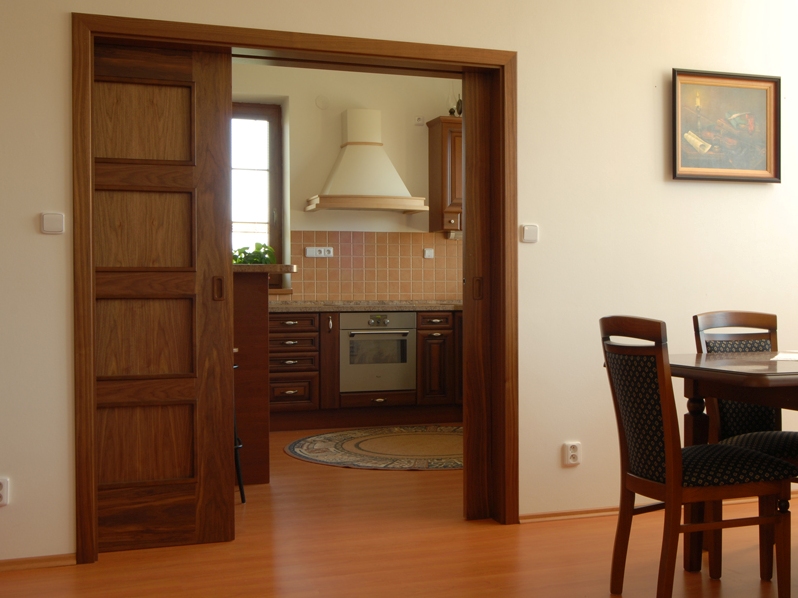
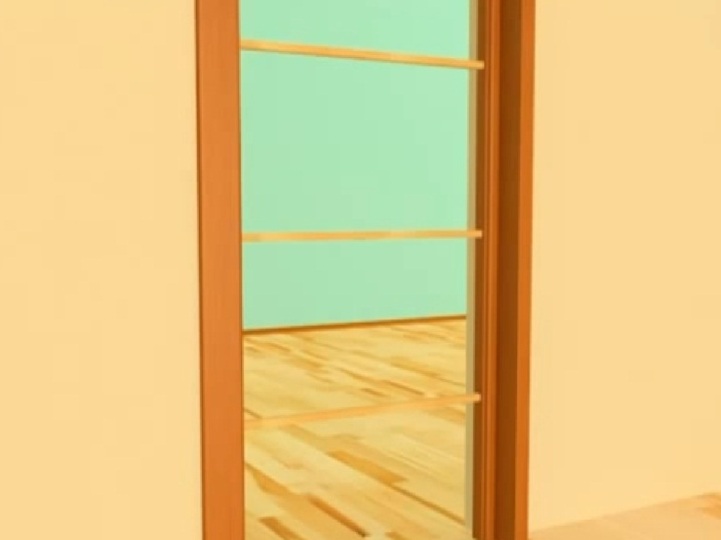
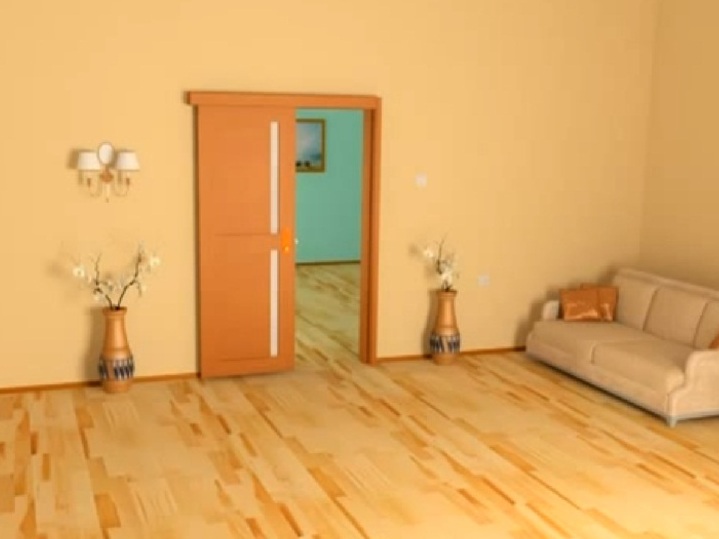
Sliding interior doors give their owner a number of advantages. They significantly save space, easily and conveniently open, do not close under the influence of drafts. In addition, a glass or wooden door compartment, installed by their own hands, can be easily automated. Most often they are used not at the entrance, but inside the room between the rooms. The fittings and the mechanism are usually supplied together with the door leaf. Working with this design is not very difficult, any person who knows the usual carpenter's tool will cope with it.
Installing the coupe doors with your own hands
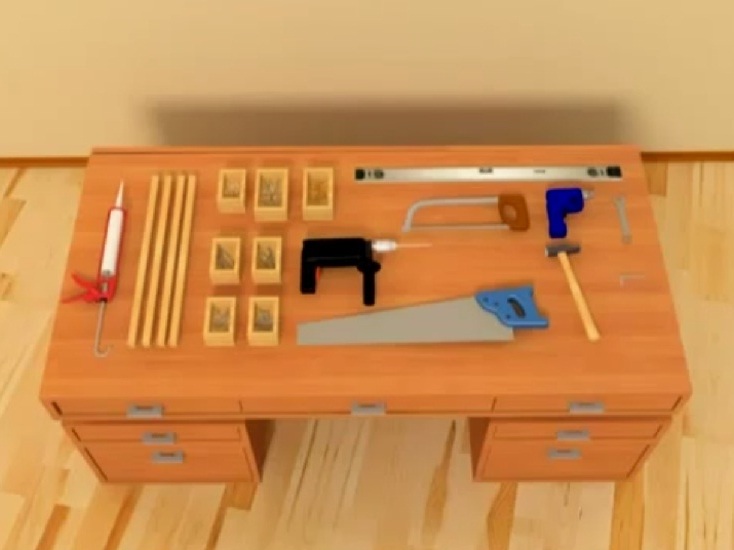
- For work we will need consumables, hardware and a simple tool kit.
- We select the complete set of the sliding system. It can be of different types depending on the model you choose. In our case, the installation of a single-leaf door will be made, which consists of the following elements:
- veneers lined with veneer;
- clypeus facial, filed on one side at an angle of 45 degrees (2 pieces);
- the slats on which the box consists;
- resistant stand;
- the mounting bar of the stand;
- guide bar;
- aluminum guide.
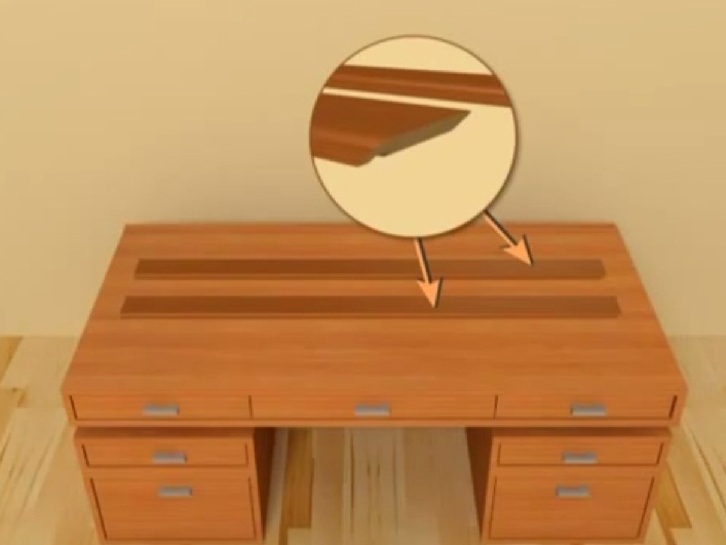
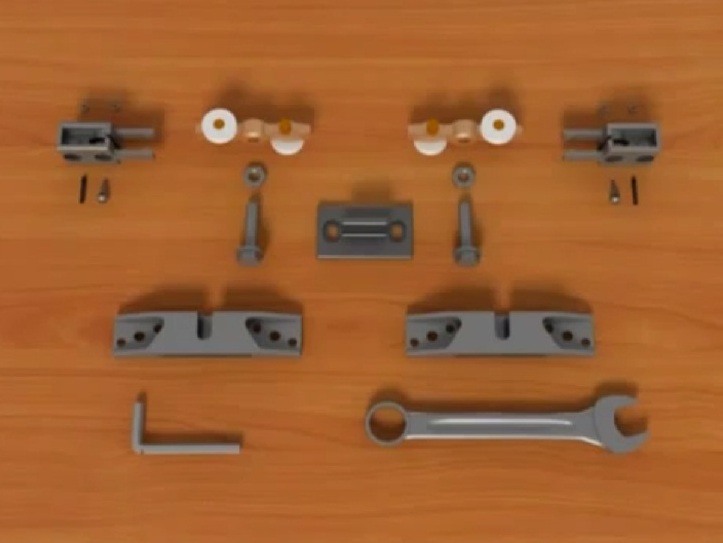
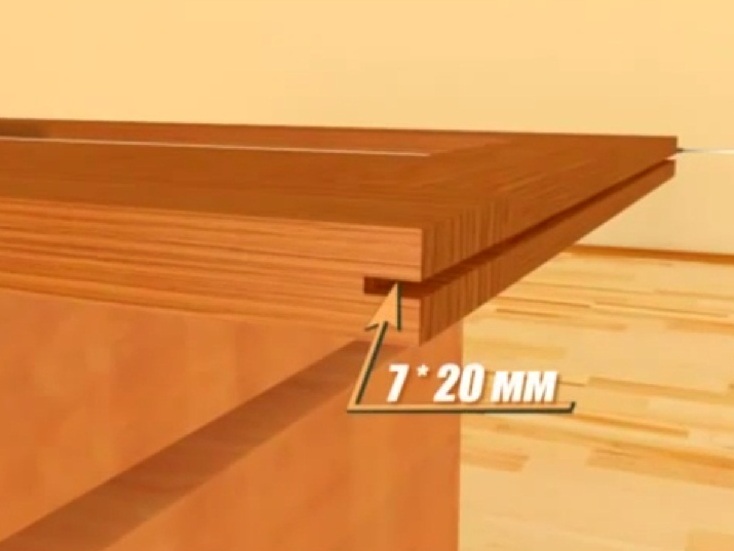
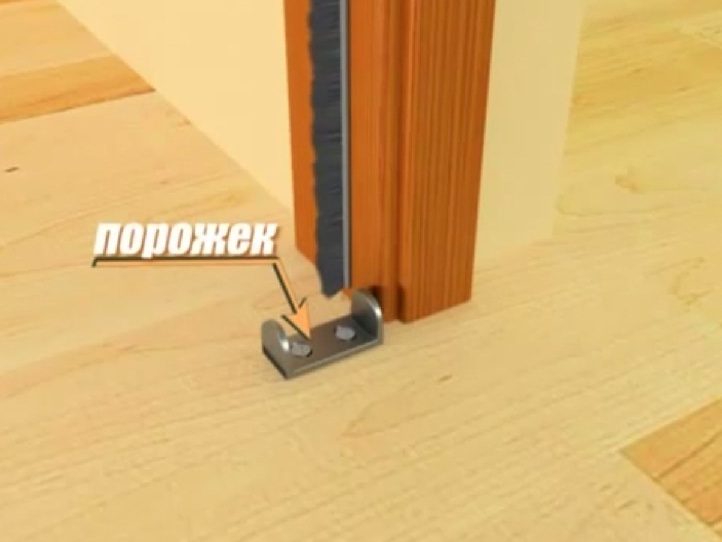
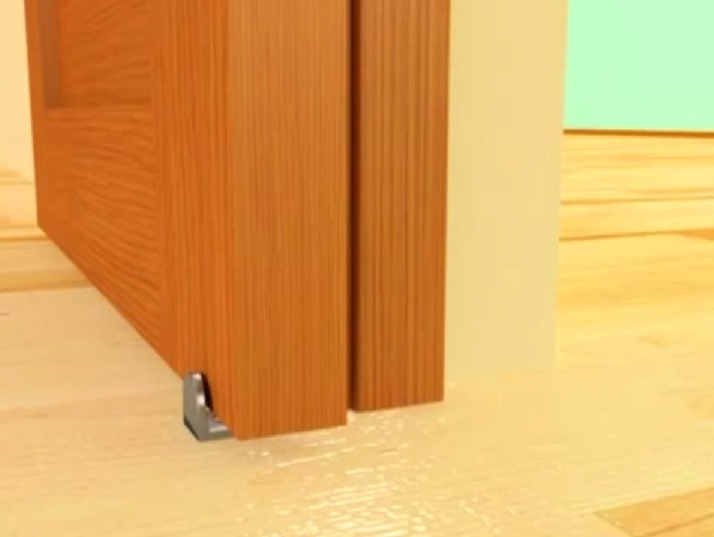
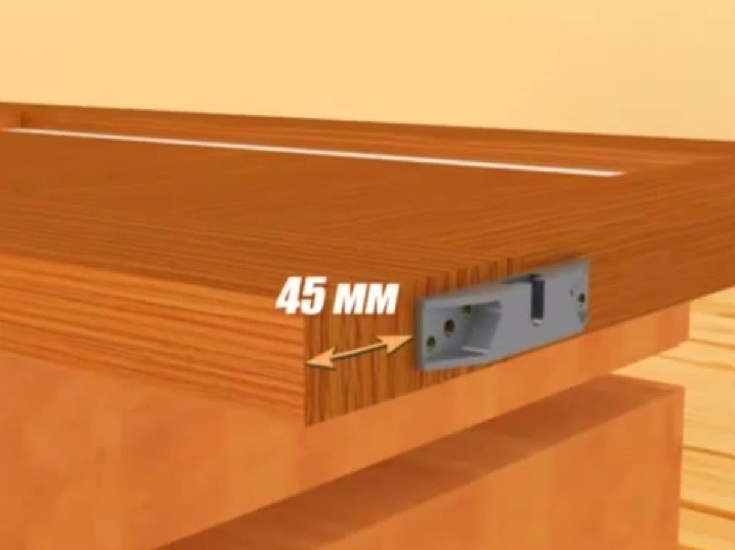
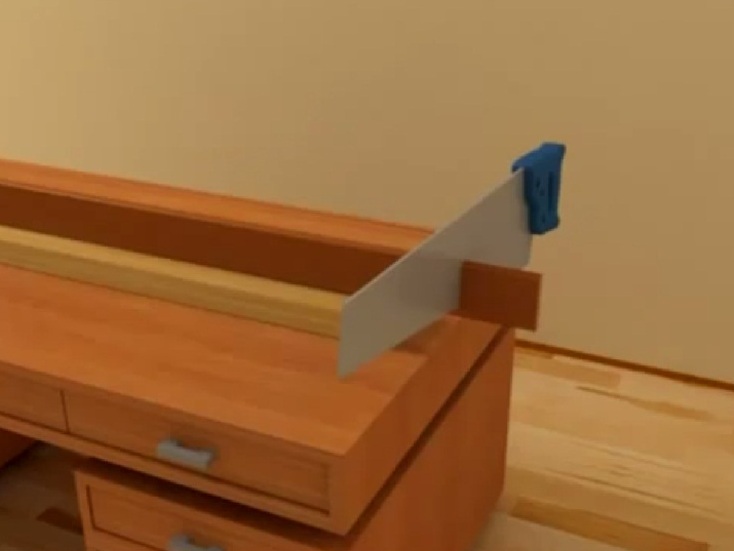
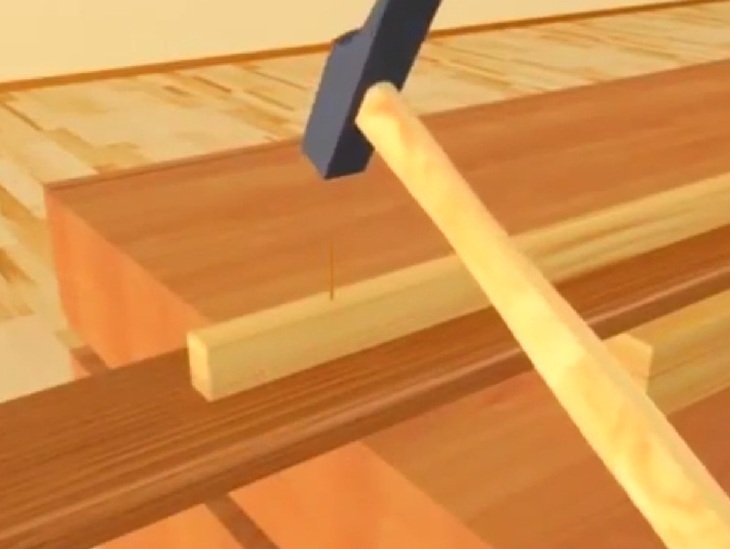
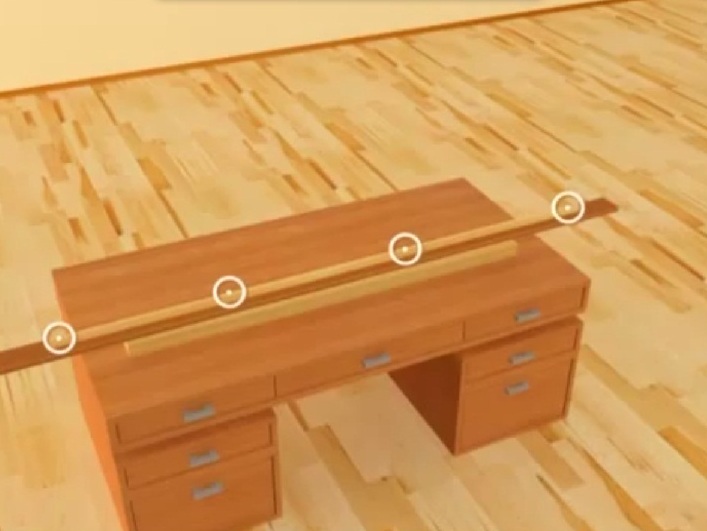
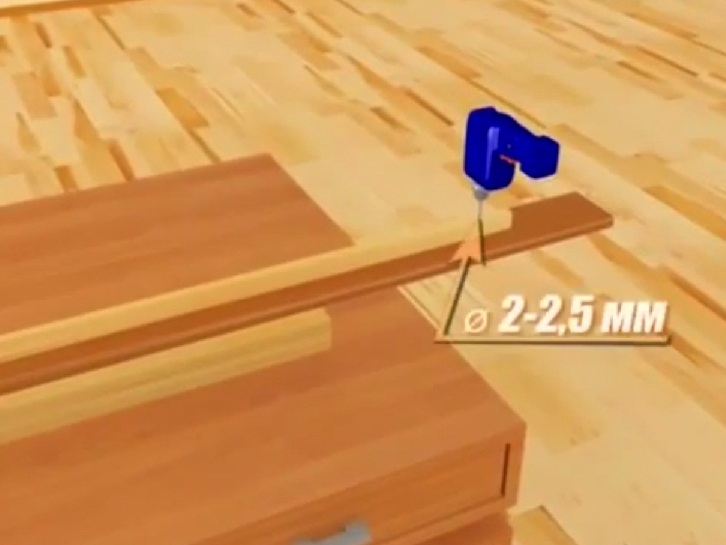
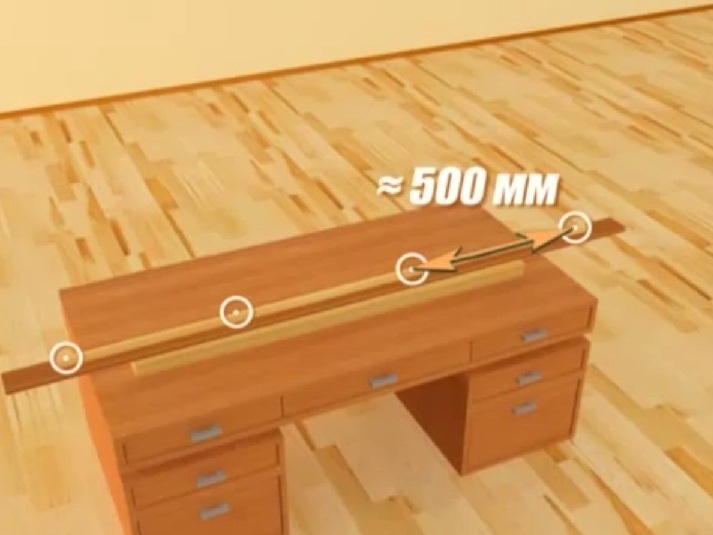
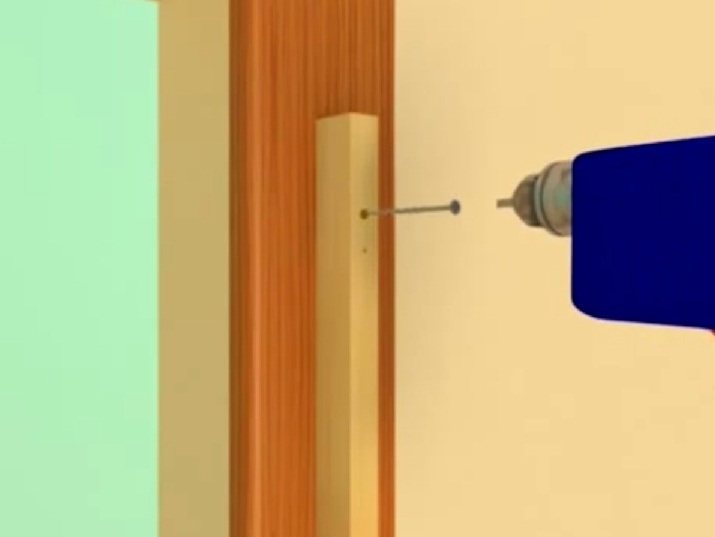
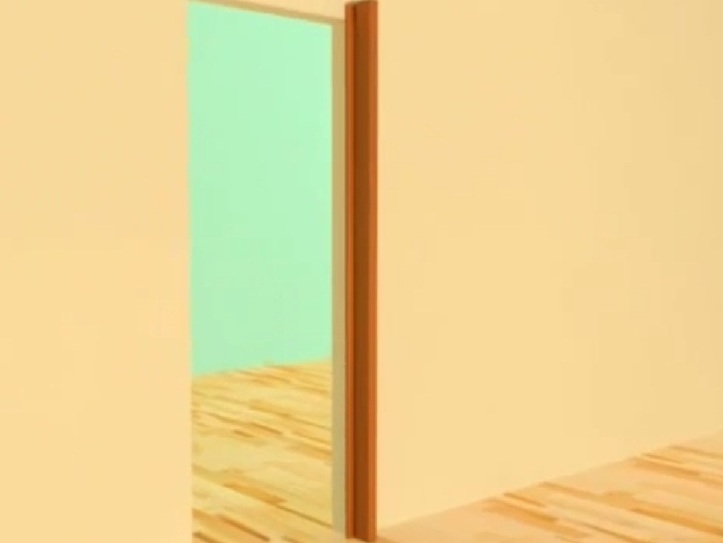
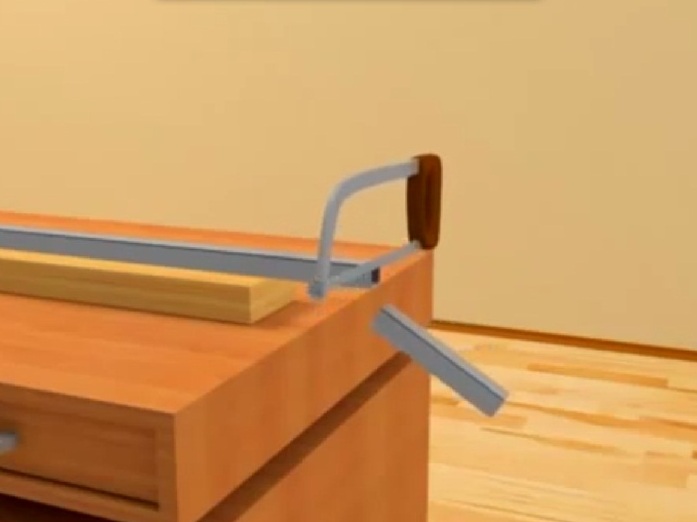
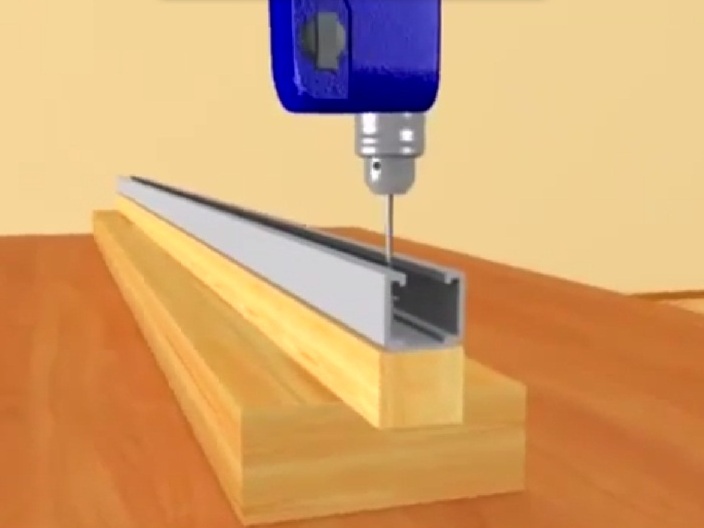
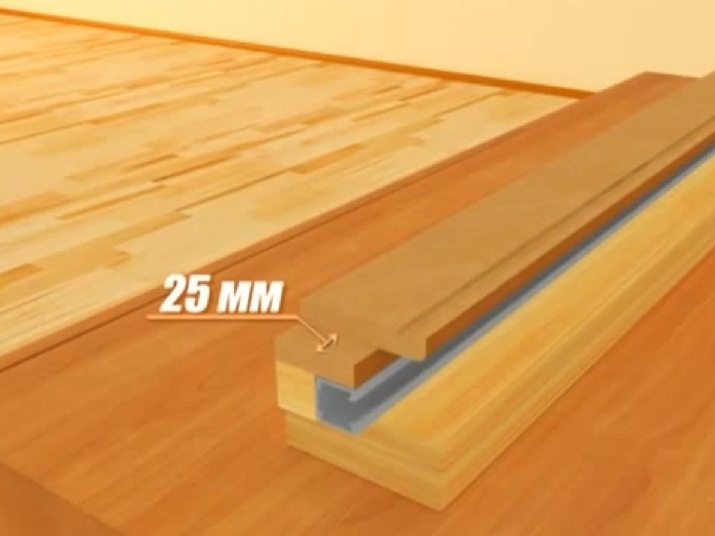
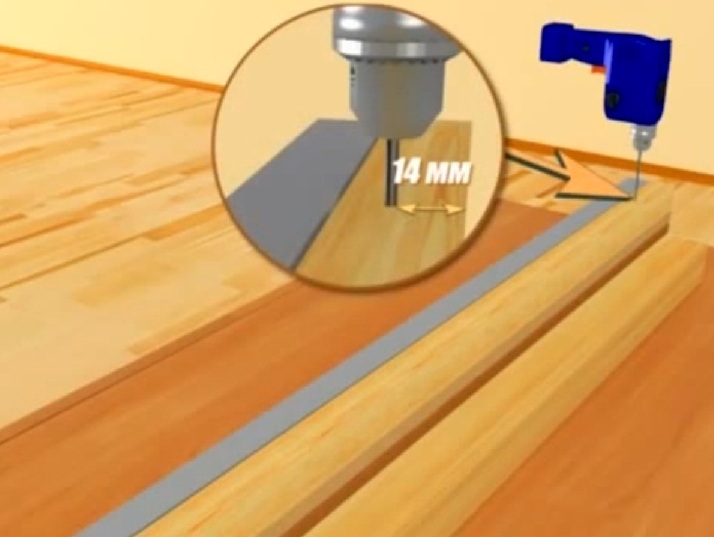
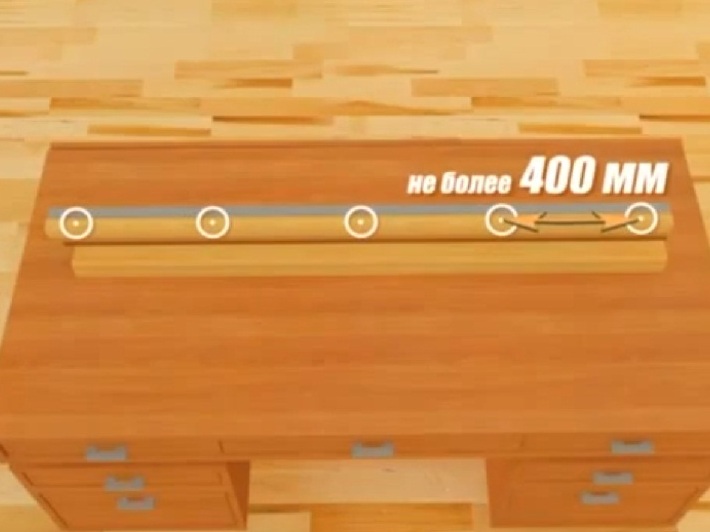
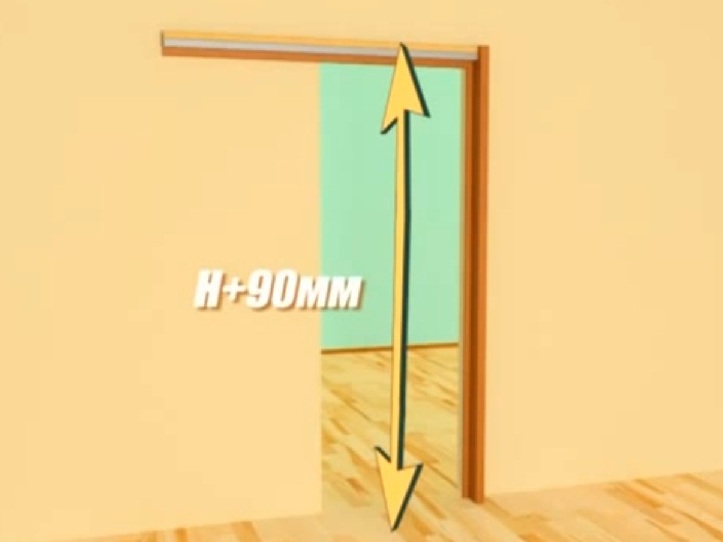
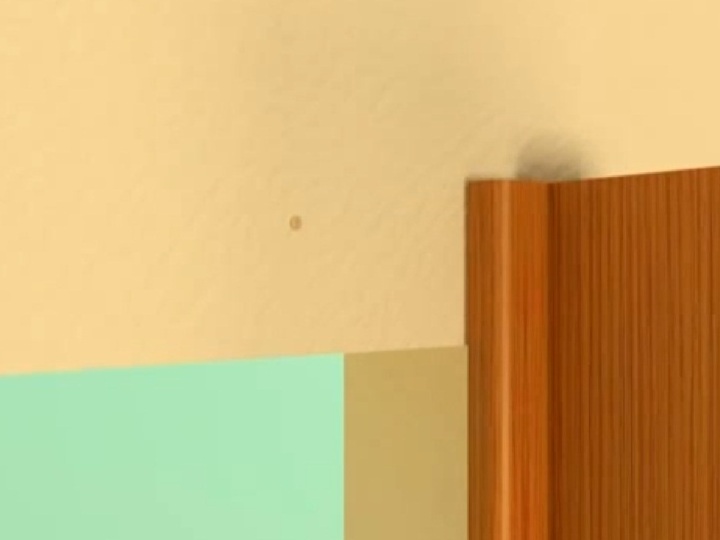
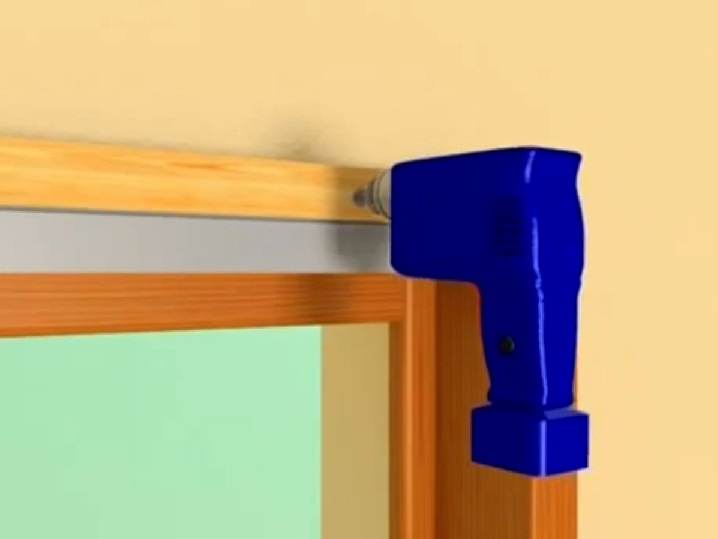
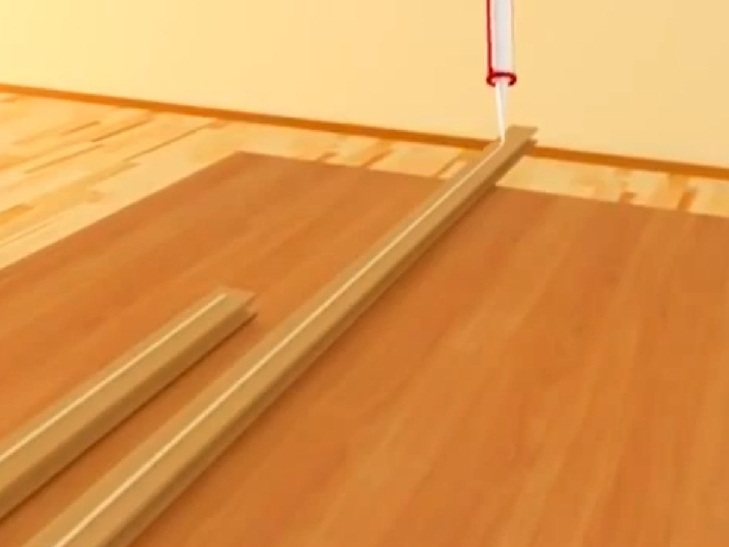
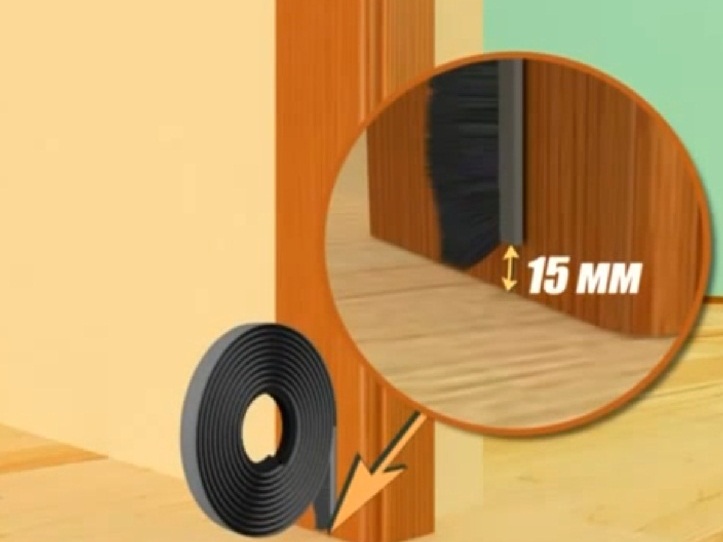
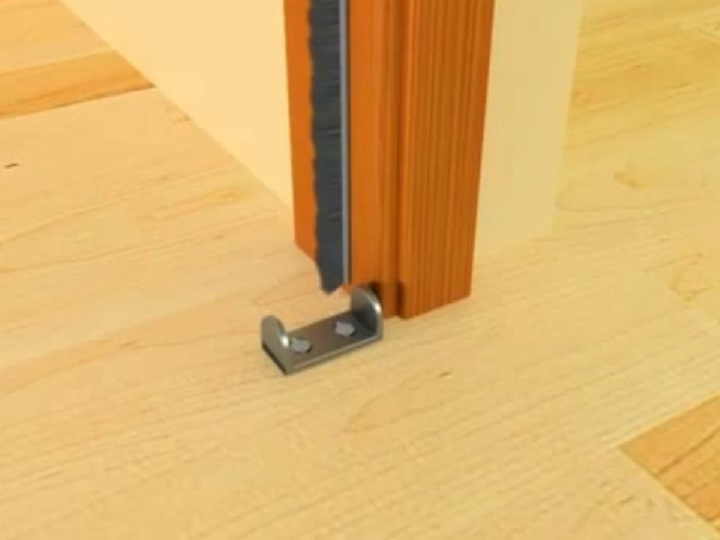
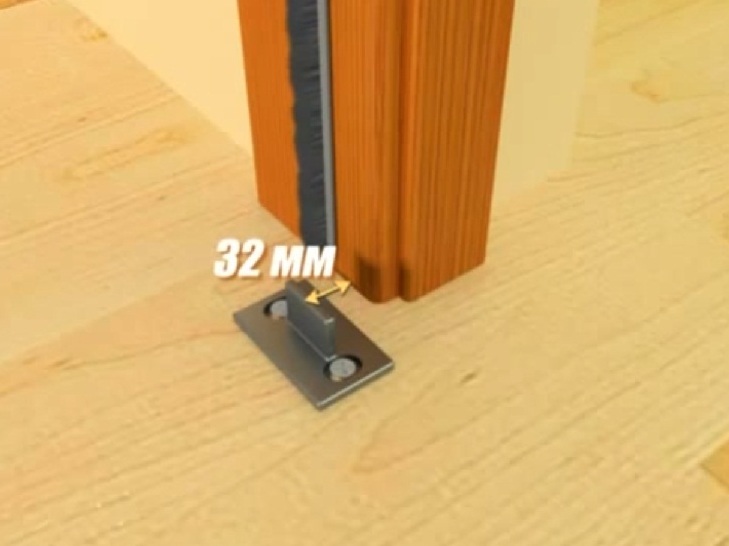
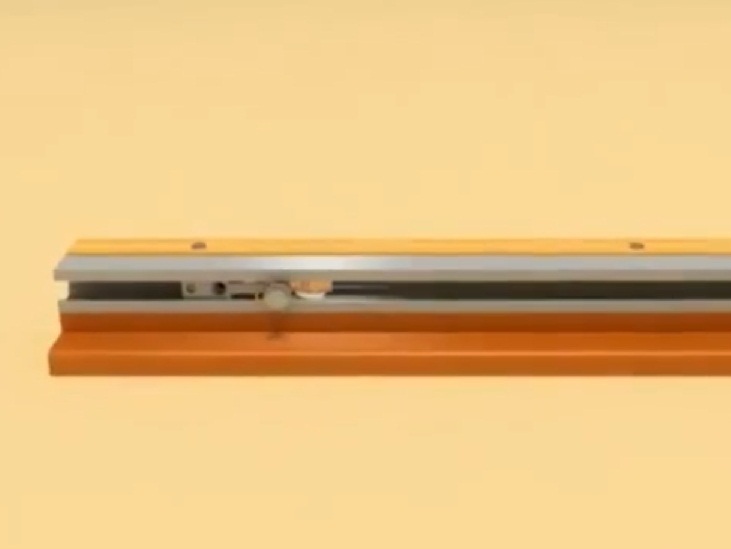
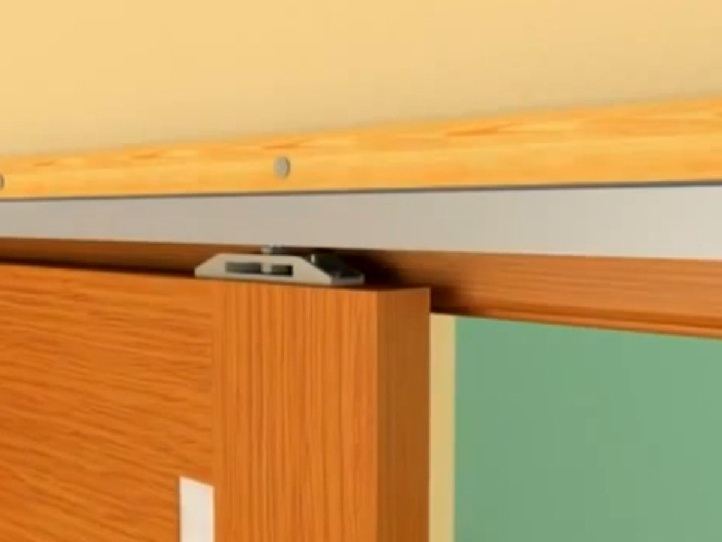
The set of accessories for the door consists of the following elements: carriages with rollers, brackets, bolts with fixing nut, flag, stoppers, locks, adjusting bolts. We prepare the door leaf. In the lower end you need to choose a groove 7x20 mm. If you do not have the opportunity to produce this delicate operation qualitatively, then there is an alternative option - the installation of an additional paddle. In the second variant, the groove is not needed to be cut, but the sill is a visible element. Drill the holes and fasten the upper part of the cloth bracket. From the side edge of the door we recede 45 mm. Staples are guided by a slot to the wall. We begin mounting the support assembly. We measure the height and width of the door, then saw off the workpiece for the clypeus. To the clypeus with the help of nails fasten the assembly bar of our resistant stand. It must pass strictly along the central line of the clypeus. Simultaneously, drill a hole (diameter 2-2.5 mm) through both parts. This is done so that the screws do not split the thin bar. These holes should be made 4 pieces, about 500 mm apart. Attach the received construction strictly vertically to the wall. If there are embedded elements in it, then it is not necessary to use dowels, conventional 5x80 mm self-tapping screws are suitable. A fixed stand is attached to the mounting bar of the restraining post. We continue making the doors of the compartment with our own hands. Now you can prepare the details of the door box. We take into account the width of the door, the overall width of the structure, the length of the casing, the length of the laths of the box, the size of the lumen and other parameters. The table, which is attached to the structure, usually indicates the dimensions of all these blanks. Proceeding from these predetermined sizes, we opilize the front clypeus, the lath of the box, the aluminum guide and the mounting guide bar. We connect the guide with the mounting bar. The clypeus adjacent to the wall should be about 25 mm smaller than the other workpieces. After all the parts are cut to size, use the nails to pre-assemble the structure. The first hole under the screw is made at a distance of 14 mm from the edge of our mounting bar. The remaining holes are made in steps of not more than 400 mm. You can attach the structure to the wall. Its height will be the height of the door leaf plus another 90 mm. It must be fixed strictly horizontally with respect to the floor. To control you will need a building level. Applying the construction to the wall, we plan places for the holes for dowels or screws. We install the construction on the wall. The details framing the opening can be fastened to the mounting glue. Before the glue dries, they can be wedged with wooden spacers. Install the self-adhesive brush seal. We fix the checkbox (if the groove is not executed, then the threshold). Its center should be strictly on the same line with the edge of the clypeus. We maintain exactly the distance from the center of the element to the plane of the clypeus. It in our case becomes 32 mm. We insert the stoppers and rollers into the guide mechanism. First, we set the door to the checkbox or checkboxes. Hang the cloth with the brackets on the supporting screws and secure it with the nuts. The door must be strictly vertical with respect to the floor. Between the floor and the canvas, the gap should be approximately 8 mm. After the final adjustment of the system, install the front clypee and the second lath of the box. The installation of the doors of the compartment with its own hands is finished.