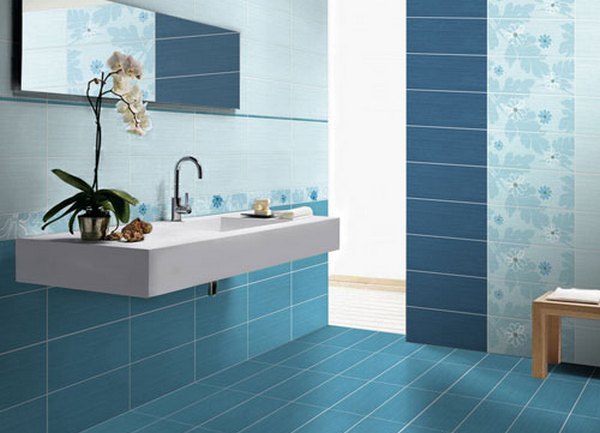
If you decide to make repairs in the bathroom and plan to change the floor and wall tiles, you need to know how to begin laying the tiles on the floor and the walls of the bathroom, then repairing your own hands will be quite a daunting task.
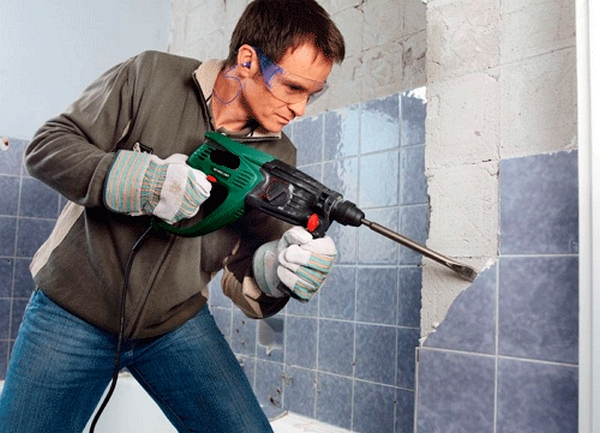
We begin with the dismantling and preparation of surfaces
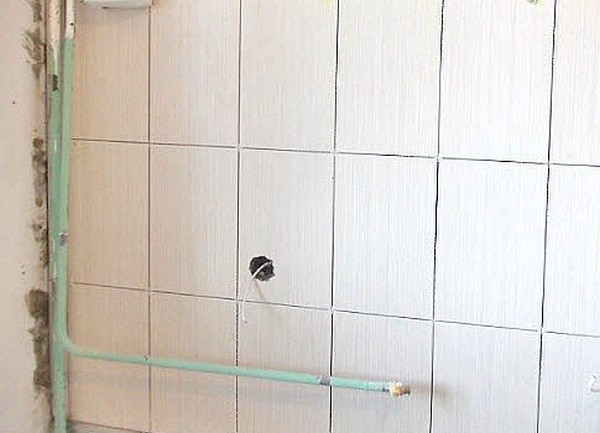
The first stage, of course, will be the dismantling of the old coating. If it was a tile , you need to remove it with a crowbar and a hammer or a perforator with a suitable nozzle. We delete without a trace all previous layers of glue, plaster. If this is not done, they will eventually peel off with the new tile. Be sure to primer surface primer of deep penetration.
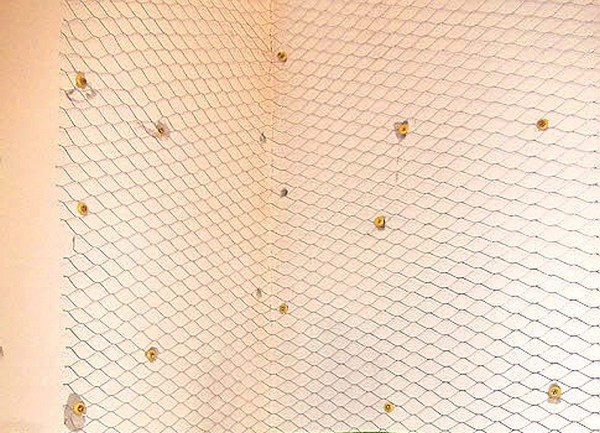
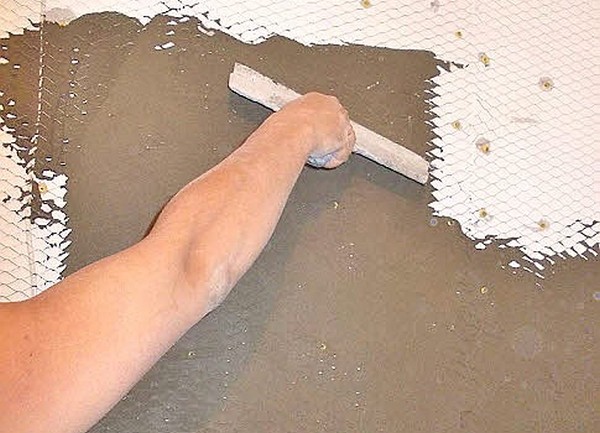
Further, all the unevenness of the walls and the floor, we need to properly close, because the surface under the layer of new tiles should be perfectly even. This is necessary to ensure that the tile is held securely and does not give out any defects.
At this stage, you can use reinforcing metal mesh with a cell size of 1.5-2 cm and a wire thickness of 1 mm. We fix it with conventional spacer dowels. It will provide additional adhesion of tile with concrete or brick.
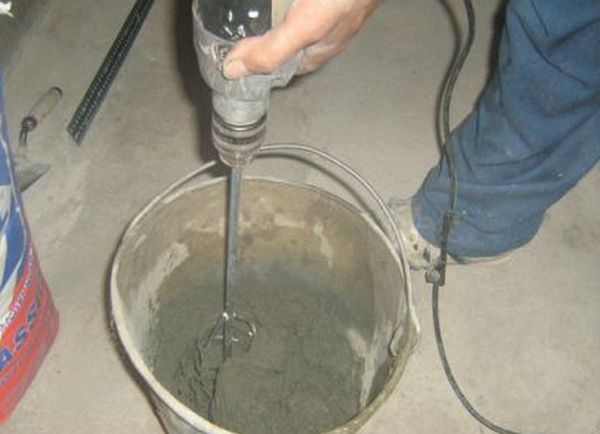
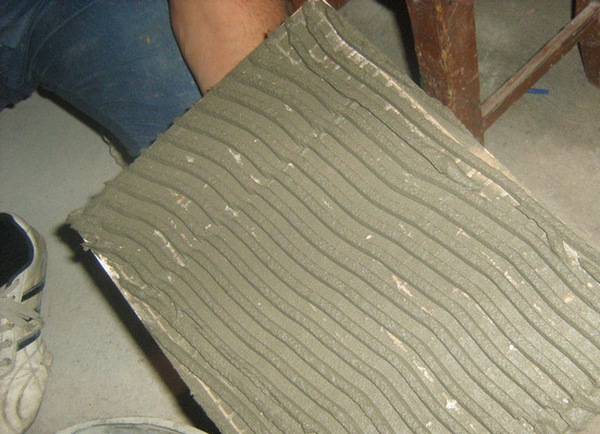
Next, we need to apply glue to our net, the role of which is performed by dry building mix for tile. You need to knead it and apply a thin layer to just hide the mesh. Mix better in small portions and do this as you spend.
| | |
Direct tile laying
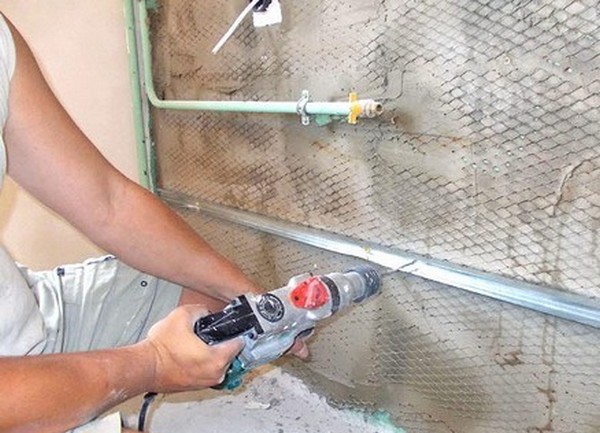
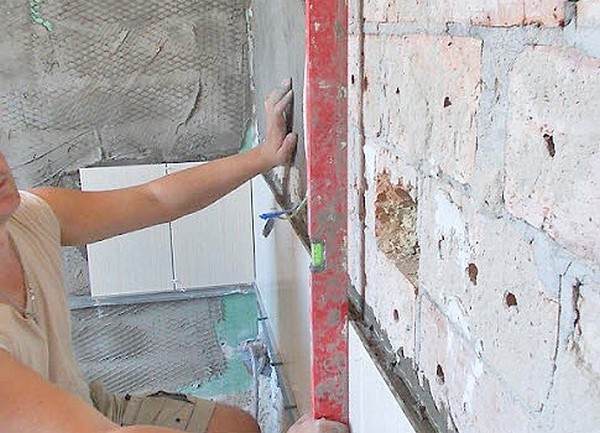
The next stage of laying wall tiles in the bathroom with their own hands is to create a support so that it does not slide down. For this, a cd profile is used, which is usually used when installing gypsum boards. Here we need a level to put marks in the corners of the wall at the height of the vertical size of the tile. We will attach the guide profile to these marks. You can start marking and laying from any corner of the room.
| | |
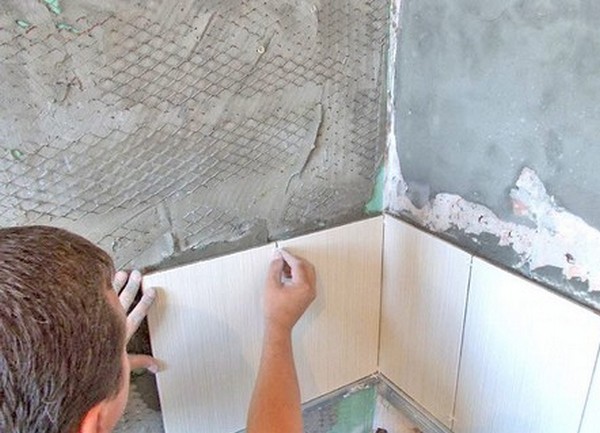
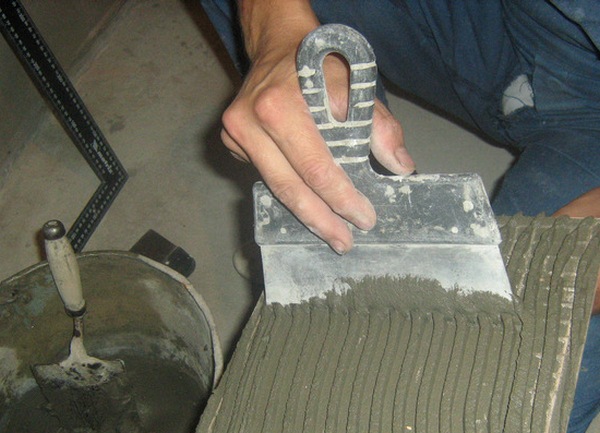
We spread the tiles with diluted glue using a special notched trowel. The layer should be as uniform as possible. For walls, a layer of 4 cm is sufficient, for a floor - 6-8 mm. The smeared tile is firmly pressed against the wall.
| | |
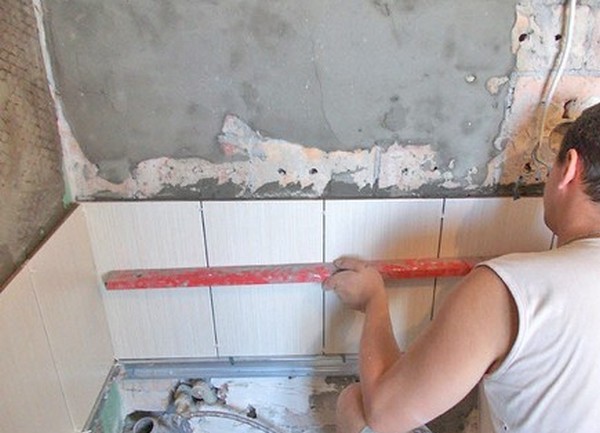
Periodically check the evenness of the walls with the help of a level. It is especially important to set the first row of tiles clearly on the level, for from it you will repulse and shape the appearance of the whole room. Check not only the smoothness of the tile, but also the horizontal and vertical planes. However, there should not be a gap between the wall and the level.
| | |
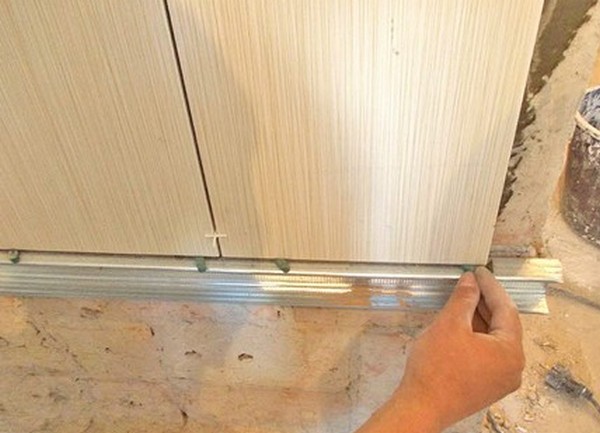
Between the tiles do not forget to put plastic crosses so that the seams are the same.
Continue to lay the tile to the required height. But do not stack more than three rows a day. This is fraught with the fact that the ranks "float". Allow the glue to dry and continue the next day.
And when all the walls are trimmed with tiles and sufficiently firmly adhered to it, it is necessary to seal the seams. Grout grouting is a very important stage of work. For the bathroom it is better to use special compounds that are resistant to moisture and fungus formation. The optimum option is an antifungal elastic mixture. On this the walls are finished with tiles.
| | |
Laying floor tiles in the bathroom with your own hands
Stages of laying floor tiles are almost the same as walls: dismantling of the old coating, leveling the surface, gluing the tiles.
For the floor there are several options for laying tiles:
- "Seam in the seam" - touching the tiles end to end, colored tiles can be put in checkerboard pattern;
- "In descent" - a seam shift in each row, a simpler method, and even distances can be provided if crosses are used.
In any case, after laying, use the floor preferably not earlier than 72 hours. The adhesive layer should dry well without exposing the surface to premature loads.