Tiles for many years retains the primacy in the process of arranging the bathroom. Modern adhesive compounds make it possible to lay tiles in the bathroom with your own hands quickly and reliably. A large assortment of tiles will help you decorate a room in any style.
Technology of tiling in the bathroom
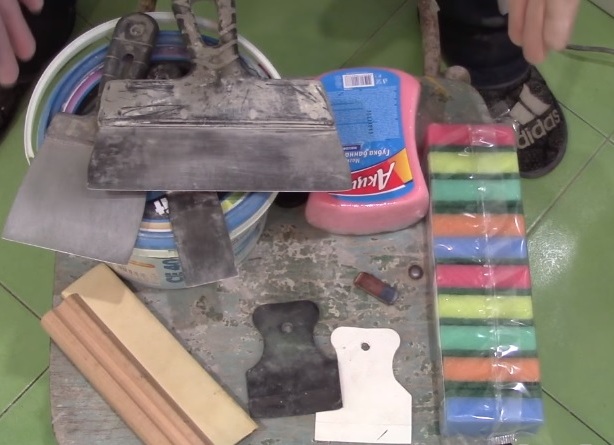
For work you will need:
- tile floor and wall;
- outer plastic corner;
- primer and brush;
- tile adhesive;
- grout for seams ;
- container for glue;
- spatula toothed and rubber;
- drill with dowels;
- level;
- metallic profile;
- Bulgarian;
- pliers;
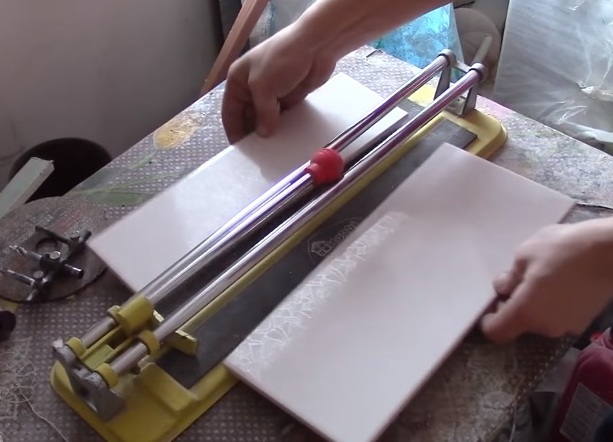
- tile cutting machine;
- sponge;
- rope;
- sandpaper.
- A day before the cladding is done priming the surface. This will ensure better adhesion to future surfaces. After it has dried, the walls are ready for finishing.
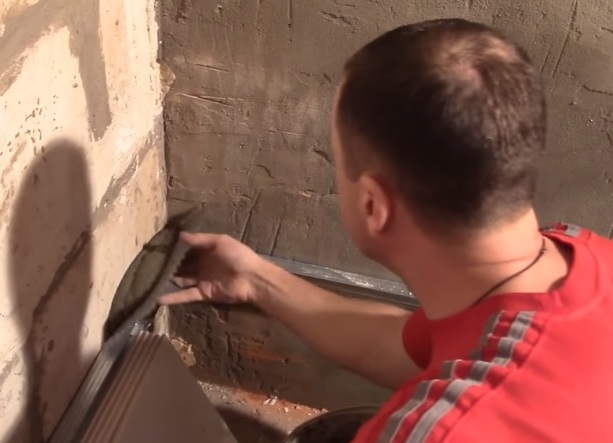
- First, the second row of tiles is laid. The guide is screwed under it.
- Laying tiles begins with the angle of the visible wall.
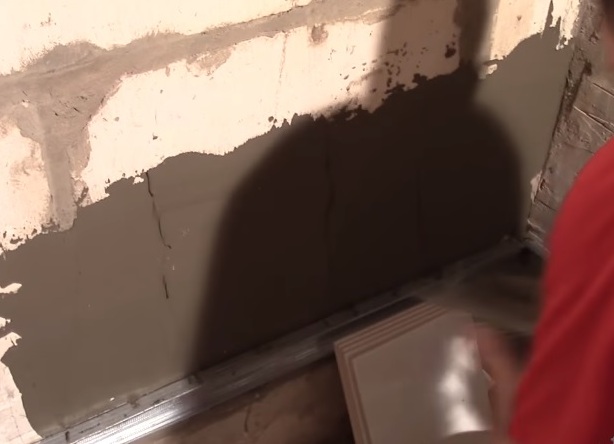
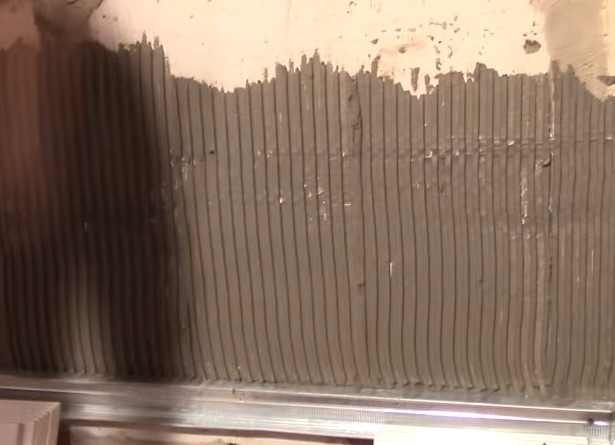
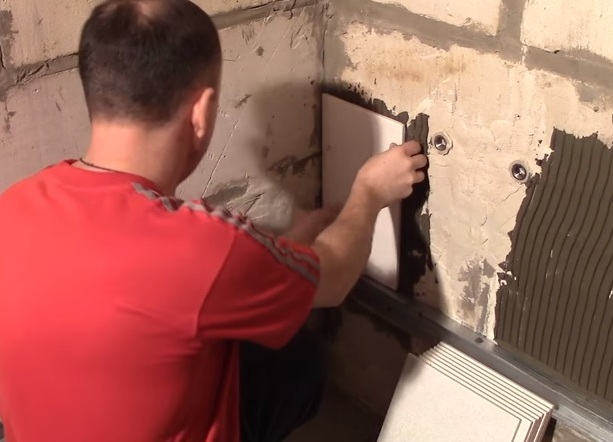
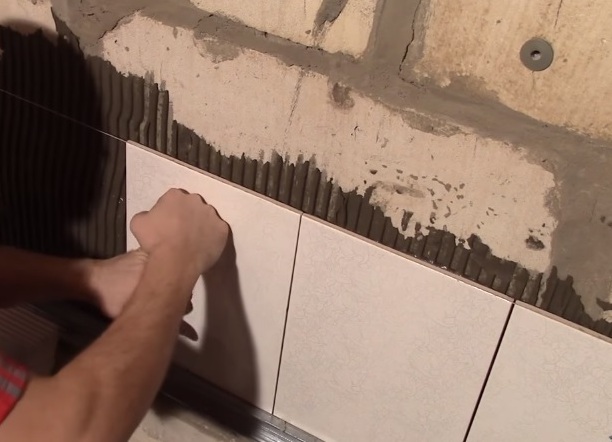
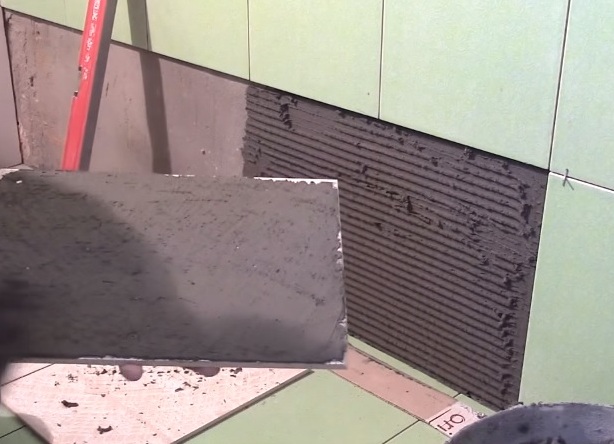
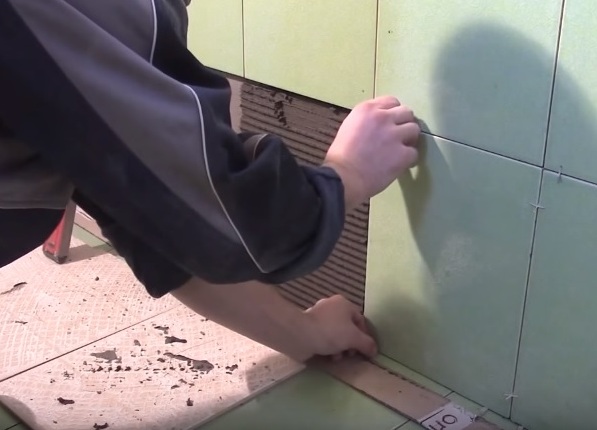
- Glue is applied to the wall on the entire row first with a flat side of the spatula. Then the grooved side makes grooves.
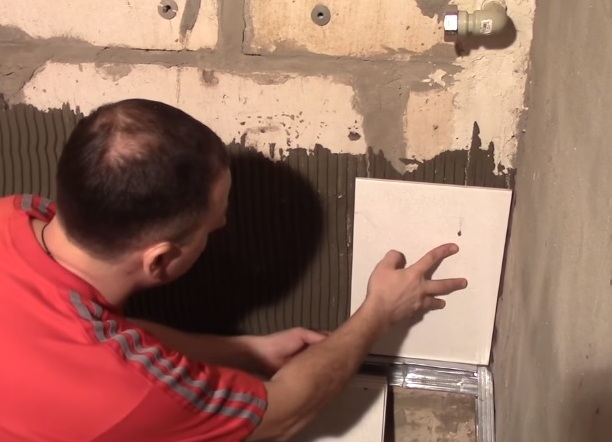
- The tiles on the back are also glazed with glue.
- The first tile is applied, leveled and pressed, so that the glue is evenly distributed.
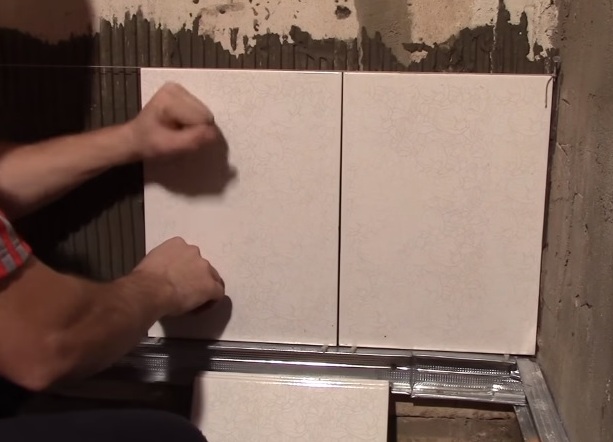
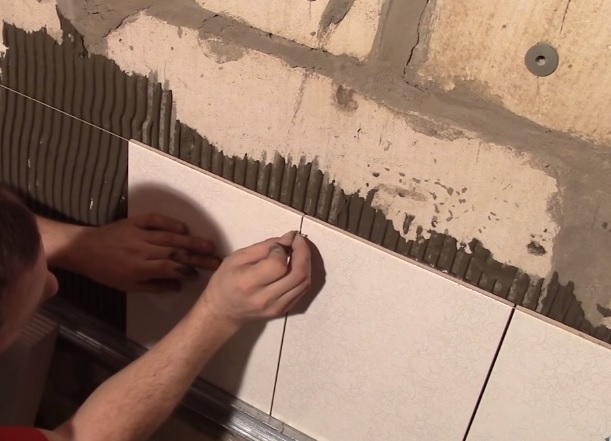
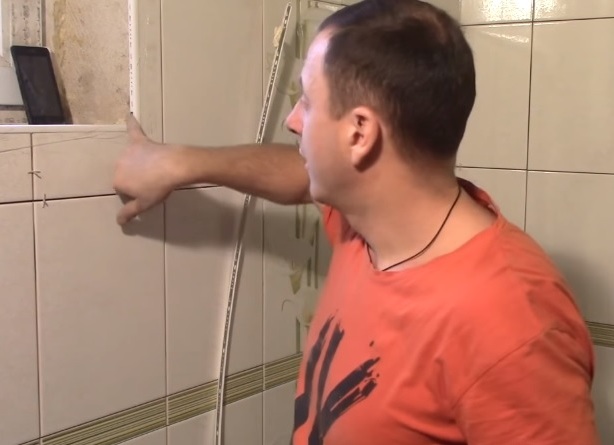
- A tile is placed at the end of the row, leveled, and a cord is stretched between them. Spreads the entire row on the rope. Between the tiles put crosses to ensure that all the gaps between the tiles were the same.
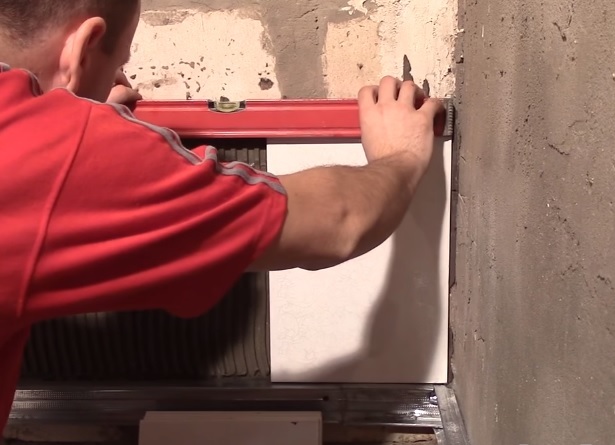
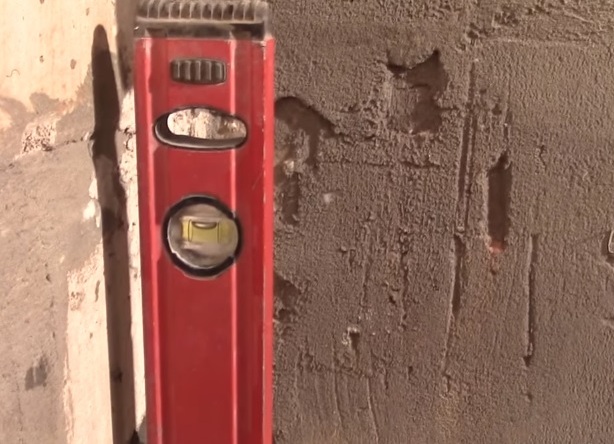
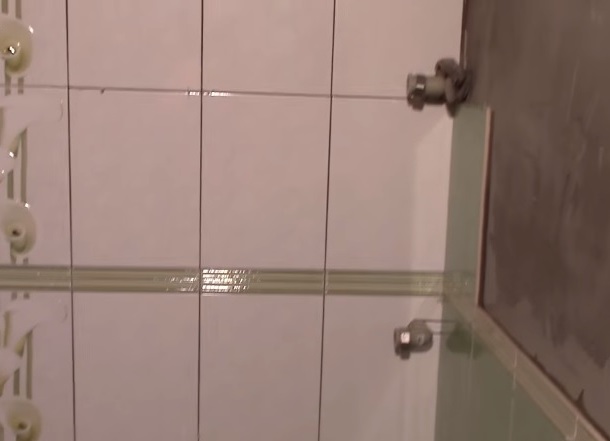
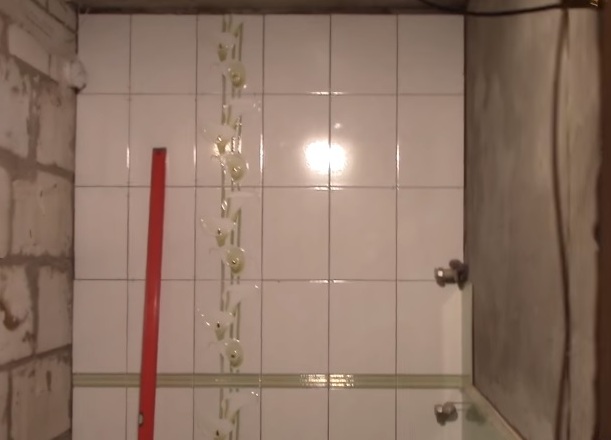
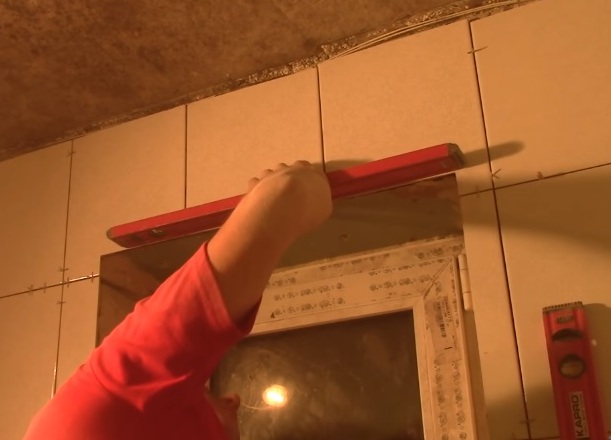
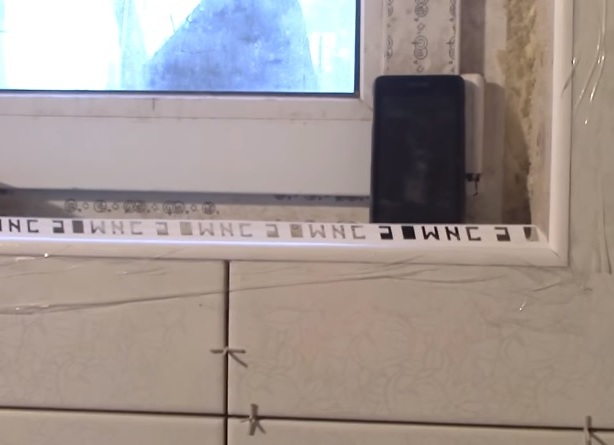
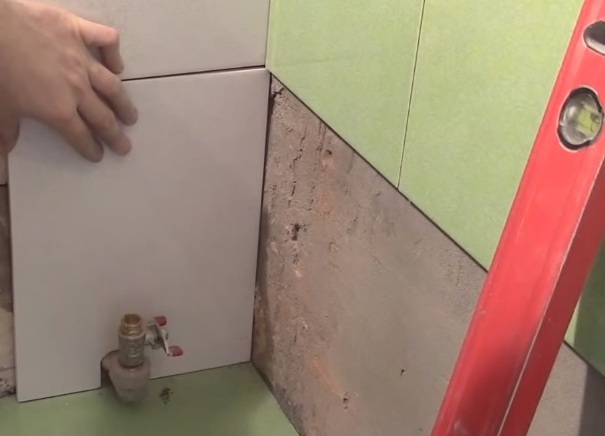
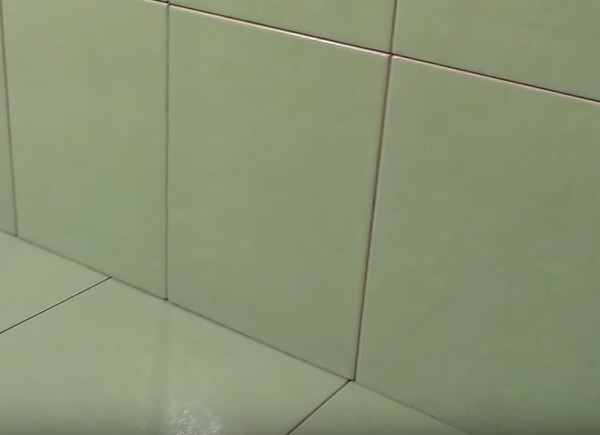
- Similarly put the top rows of tiles, add decor and friezes. The correct laying is controlled by a long level. Compliance with the level - a pledge of quality styling.
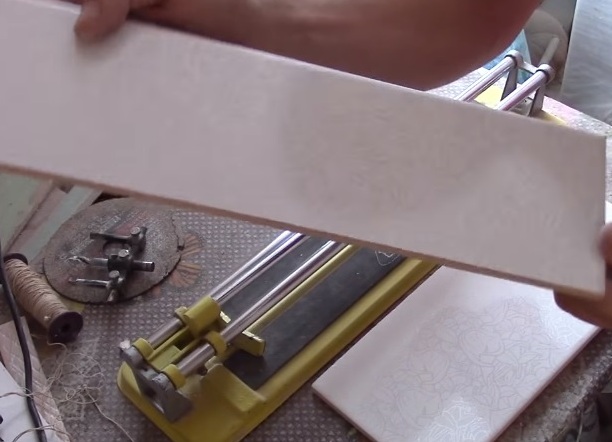
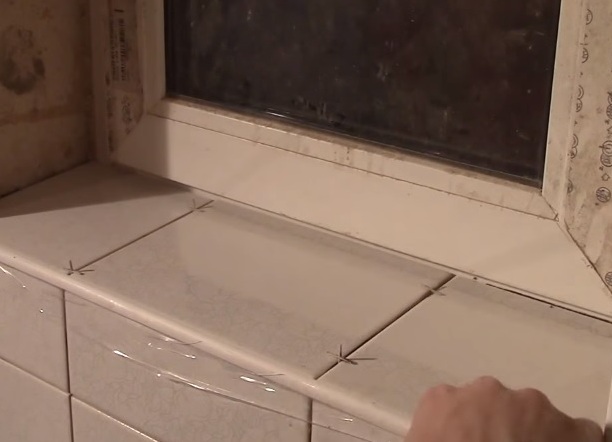
- Trimming the tiles on the sides and on the window is performed with tile cutter or Bulgarian (angled and small pruning, grooves). Cropped edges can be sanded with sandpaper.
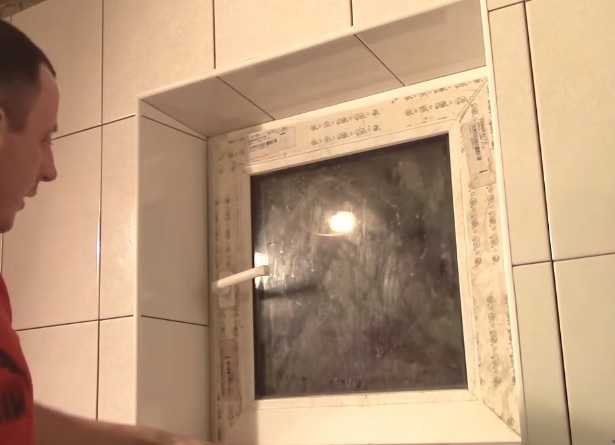
- In the outer corner, plastic corners are inserted. They are cut at an angle. The door and window slope are overlaid.
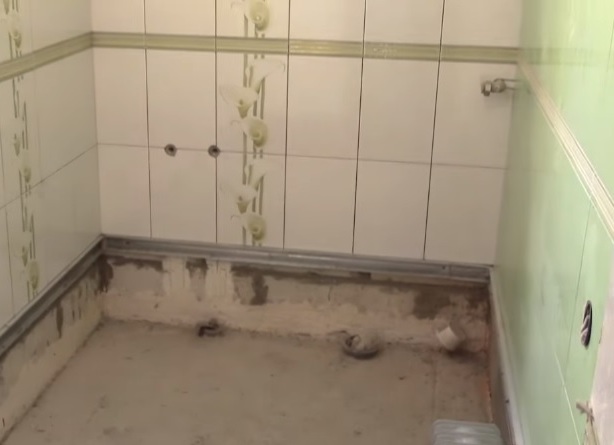
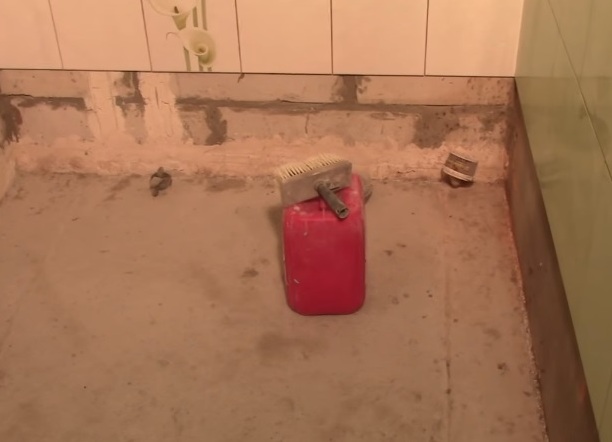
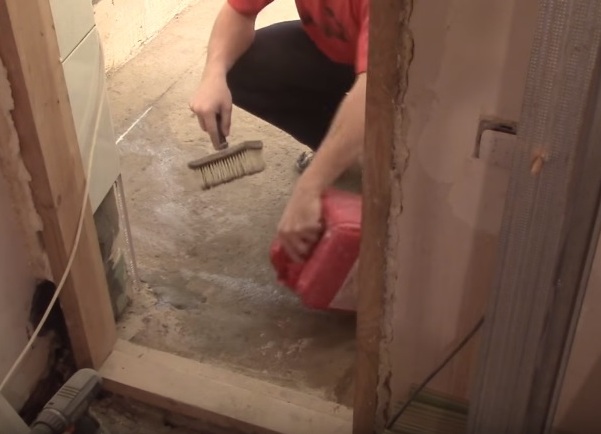
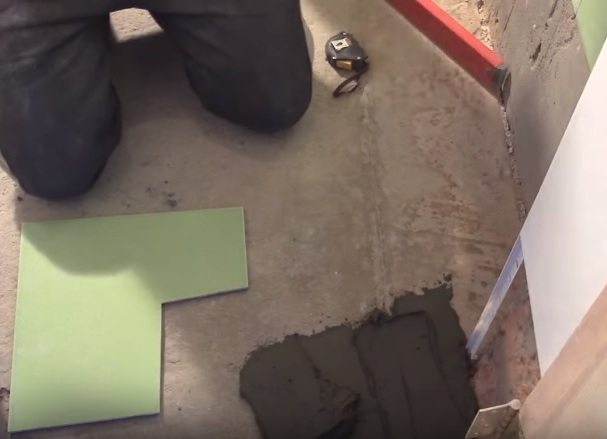
- After the walls are covered with a floor. The profile is cleaned, the surface is cleaned of debris.
- The floor is primed with a deep penetration primer with a wide brush.
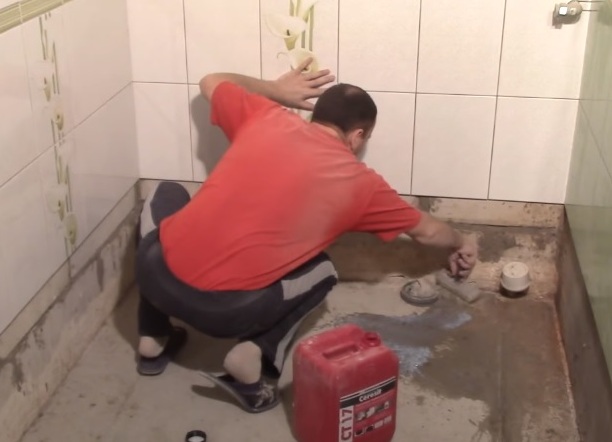
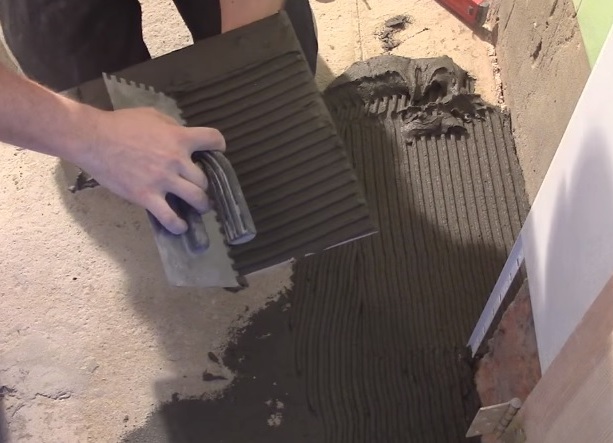
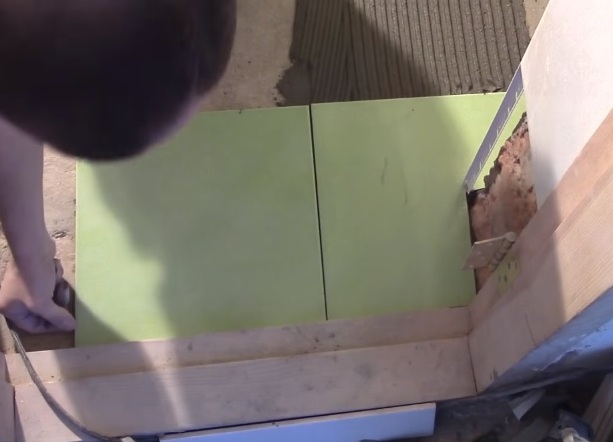
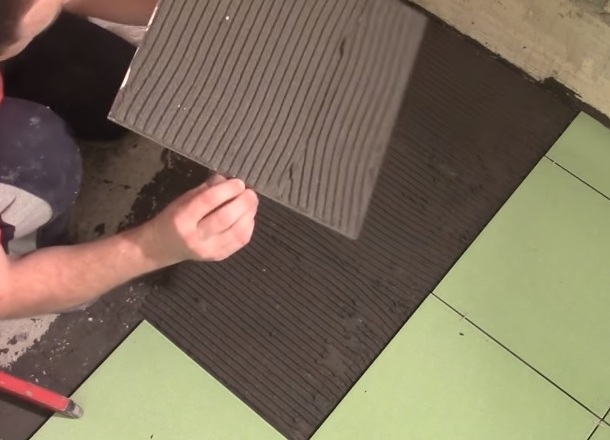
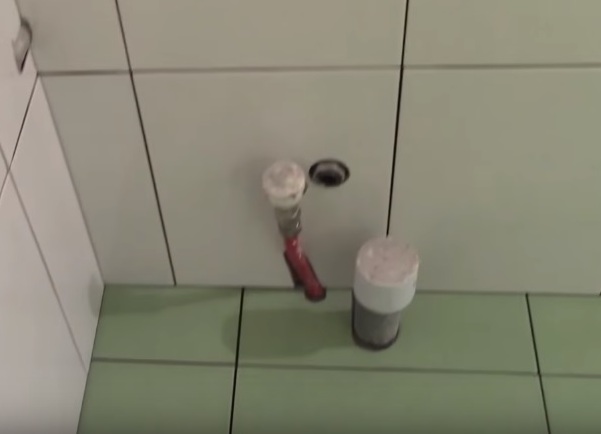
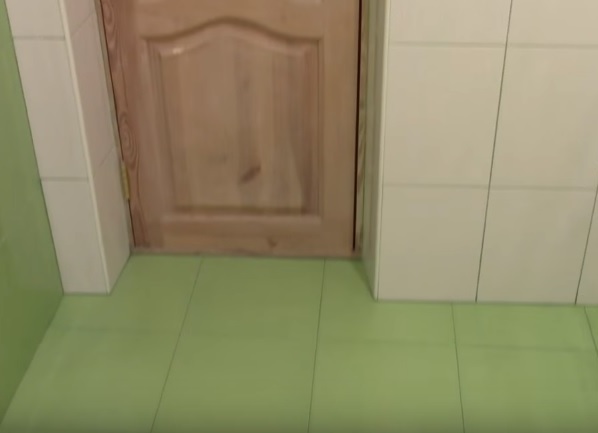
- Laying floor tiles starts from the threshold. First, the tiles are laid without glue, marking is done. The glue pounces onto the floor with a trowel, it is evened with a notched trowel. On the back side of the tile is also applied a glutinous mixture. The first row is laid out from the threshold towards the far wall. The tile is leveled. Similarly, the remaining series.
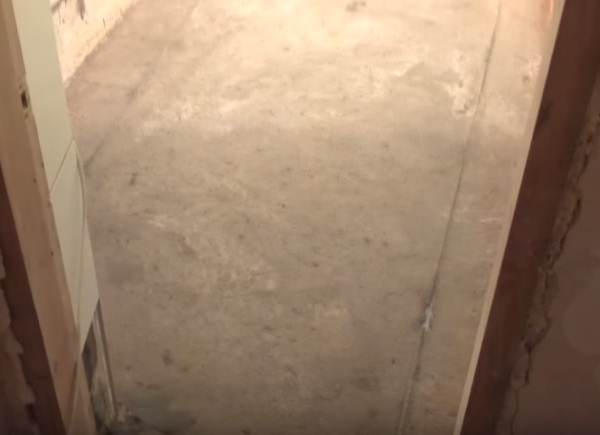
- The tile is cut at the edges of the floor.
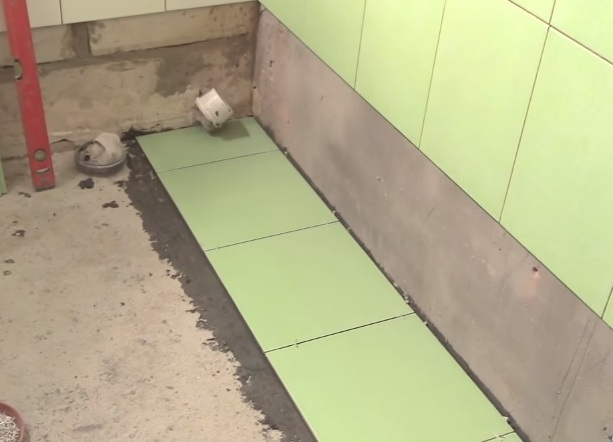
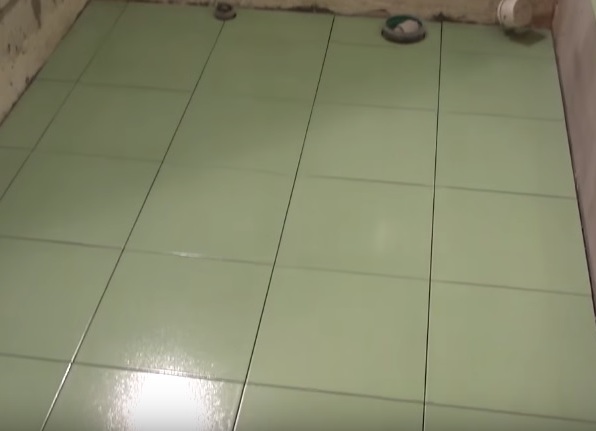
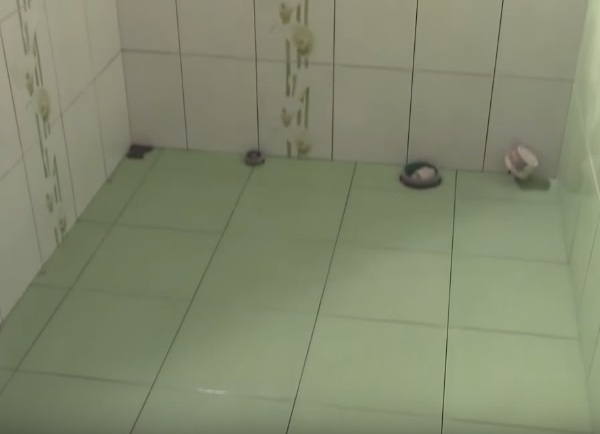
- Laying of floor tiles is finished.
- The bottom row of tiles on the wall is glued. Wall tiles are put on the floor, crosses are installed between them.
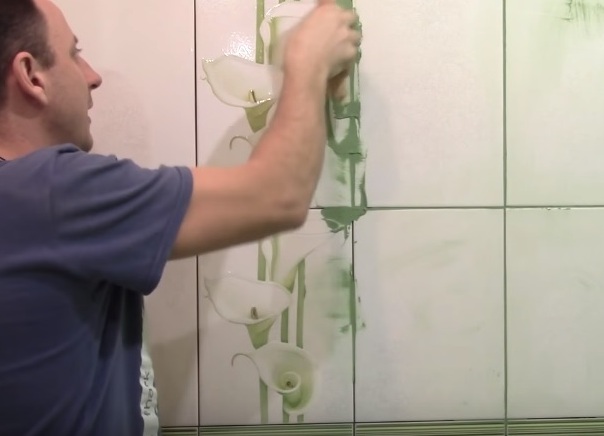
- Next you need to fill in the joints. A mixture is prepared according to the instructions.
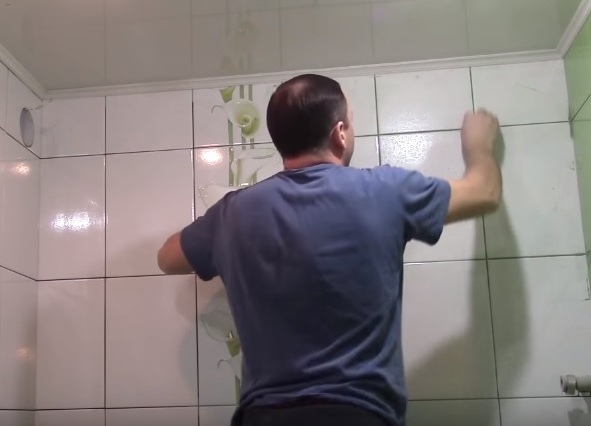
- On the rubber spatula, the mixture is applied and rubbed into the seam by diagonal movements.
- The remaining grout is removed with a damp sponge after it has dried.
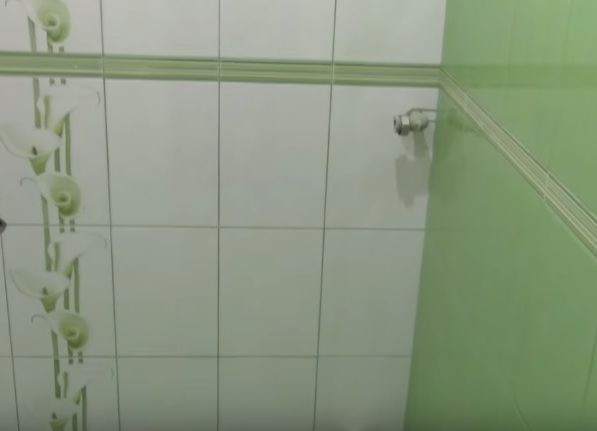
- The bathroom finishes are finished.
Laying tiles on the floor and walls in the bathroom alone makes it possible to reduce the cost of repairs and get an attractive and practical finish. Such coverage will serve for many years, and will create a special mood in the room during daily water procedures.