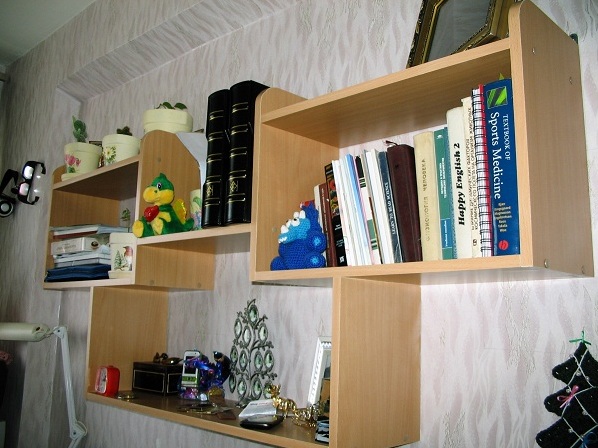
It is not necessary to place books or souvenirs in closed closets , hiding them from the gazes of household members and acquaintances. Sometimes you want, on the contrary, to brag of some valuable novelties that you can be proud of. For these purposes, stylish shelves made of different materials are suitable. Buy them in the store easier. But, nothing prevents us from doing them ourselves, because such work not only saves money, but also allows you to adjust the dimensions of the product to a specific place. In addition, homemade products bring a special joy to their masters.
How to make a wall shelf with your own hands?
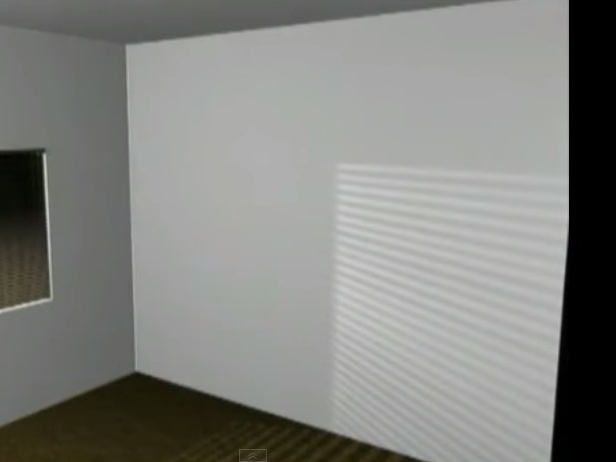
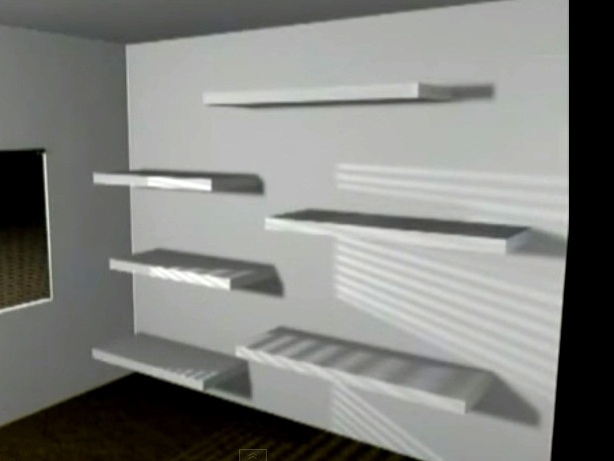
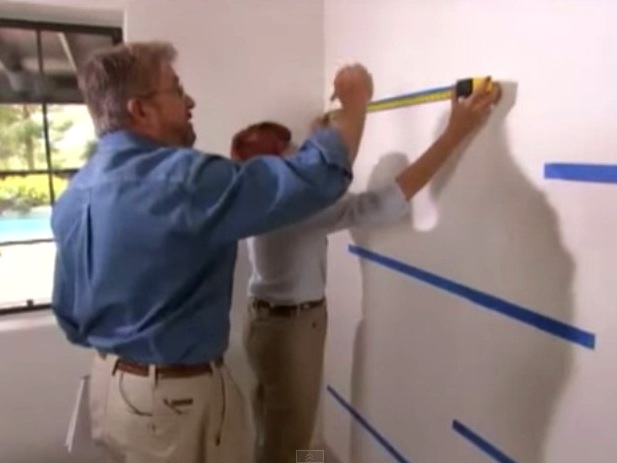
- The first thing you need to decide on where we will have a shelf , with its size. If there are several products, they can interfere with each other. Therefore, you need to determine in advance with the arrangement of your hanging furniture.
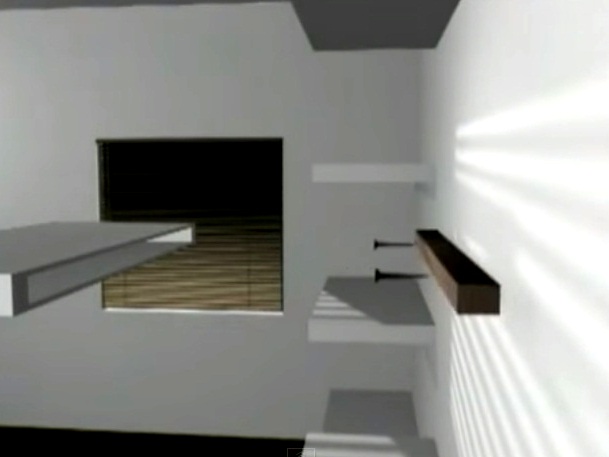
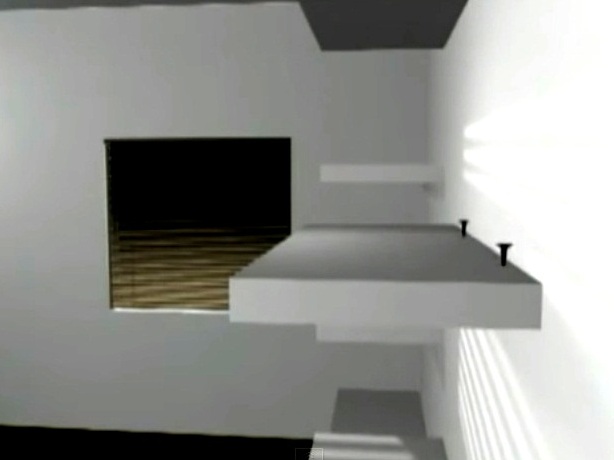
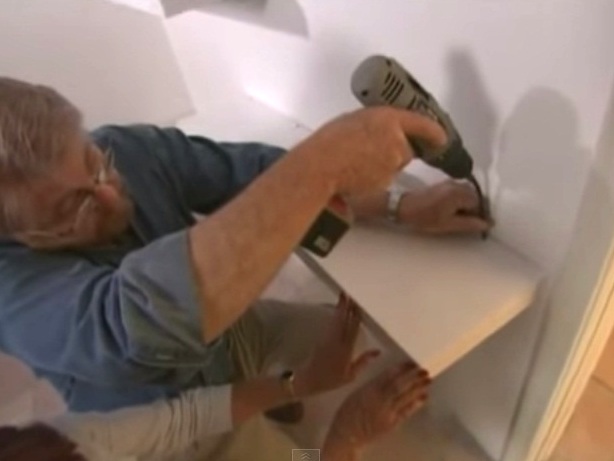
- The second important thing is how your book shelf, made with your own hands, will be fixed. In our case, it is put on a special rail and on top for reliability is screwed to it with screws.
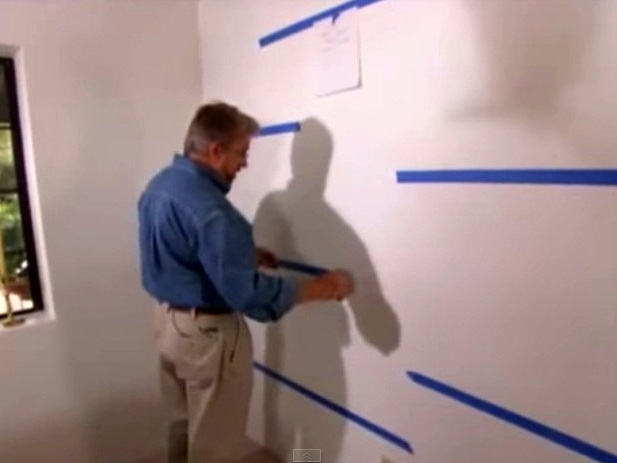
- We paste on the wall insulating tape in the places of the planned placement of their homemade products. This original method makes it possible to accurately determine the length of the shelf.
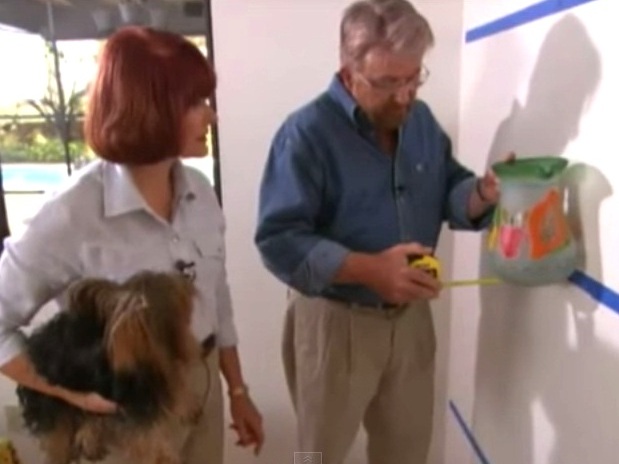
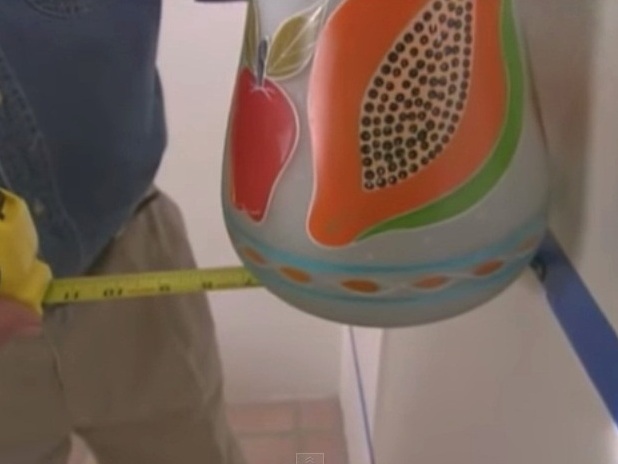
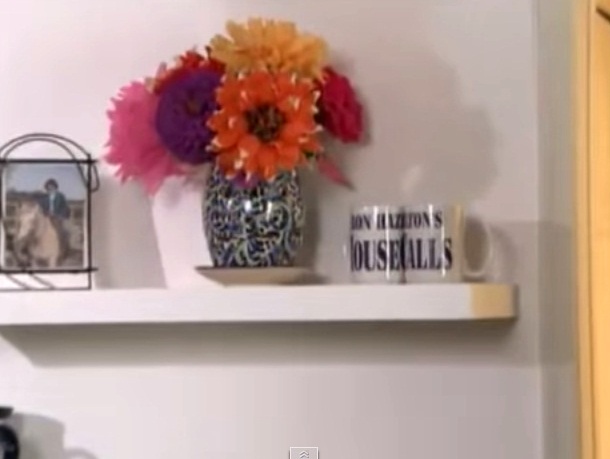
- Wall shelves, created by own hands, are used except books for different things. Taking the most dimensional thing that the landlady plans to place here (a large pitcher or something else), we can roughly calculate the width of the product.
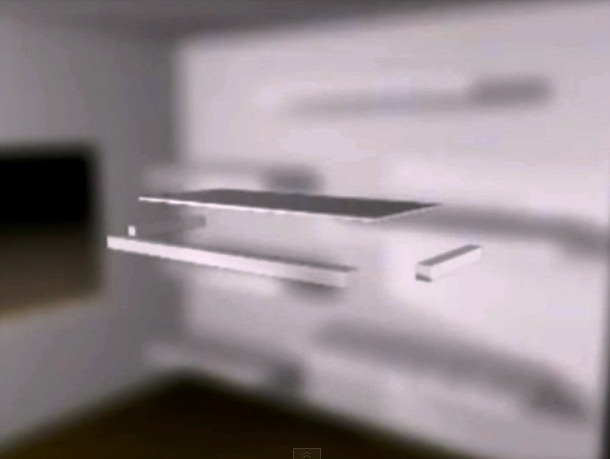
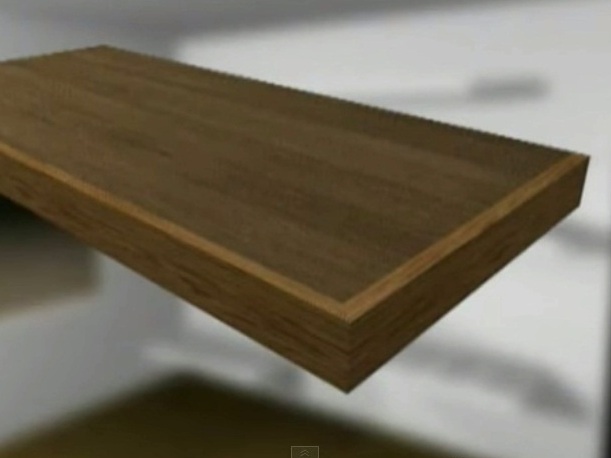
- The body we have consists of the top and bottom area, as well as the bars to which they are attached. Inside, the thing will be hollow.
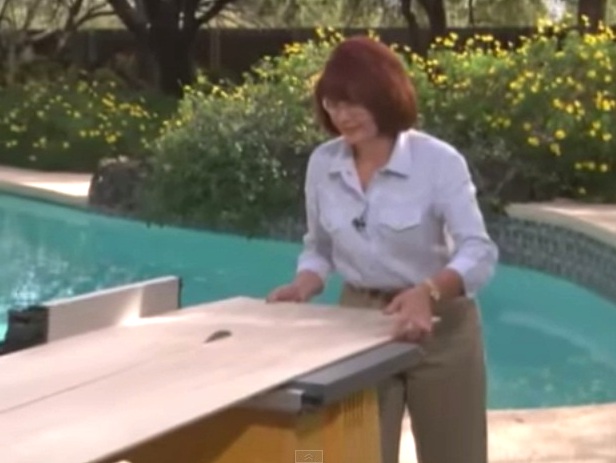
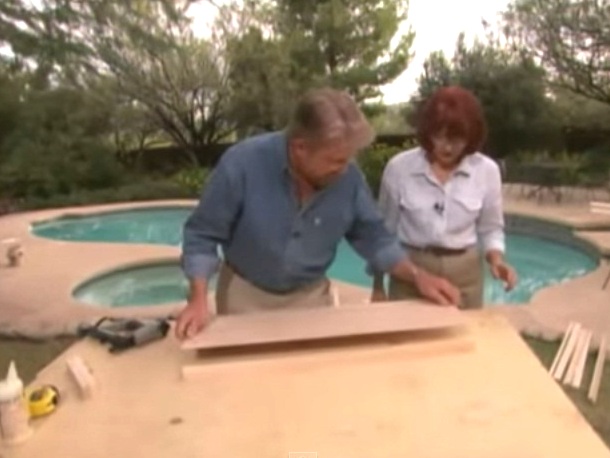
- Knowing the exact dimensions of the shelf width, we proceed to cutting the material. Saw a sheet of plywood or a board on a circular saw in length.
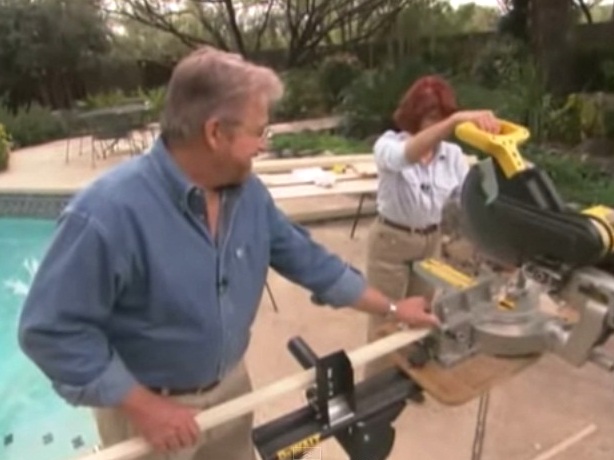
- Then, with a hacksaw or electric saw cut two identical blanks from the strip. This will be the upper and lower platforms.
- It's time to cut the brushes to which they are attached.
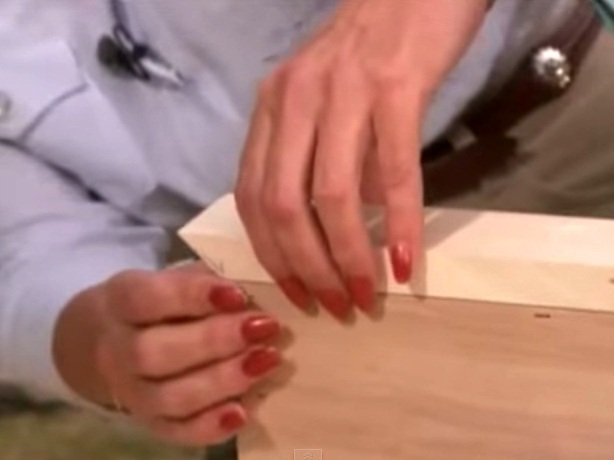
- We try to find out whether the cut pieces are suitable for each other in length.
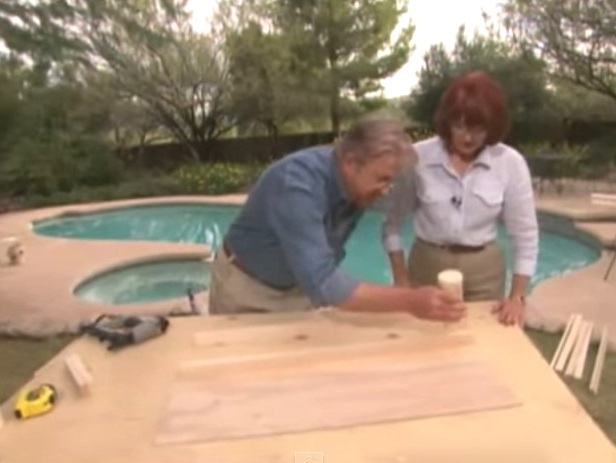
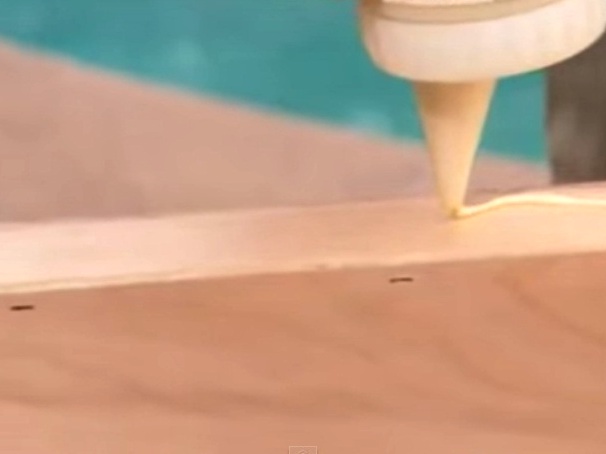
- First, wooden shelves, made by hand, glue, and then billets are attached to the bars with small nails or screws.
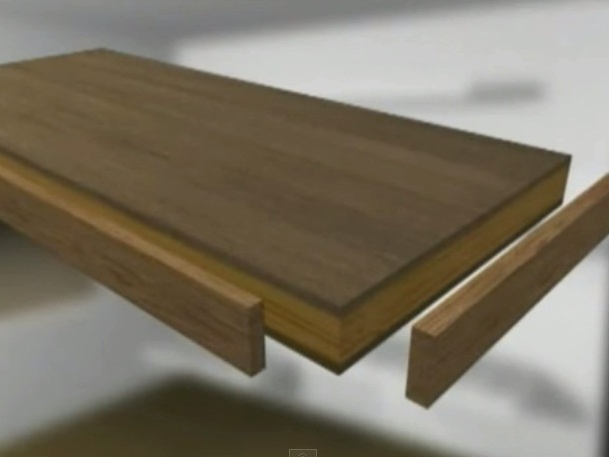
- The ends of the plywood are closed with slats, on which you need to choose chamfers.
- After this operation, our original shelves, which we will create with our own hands, will have a more presentable look.
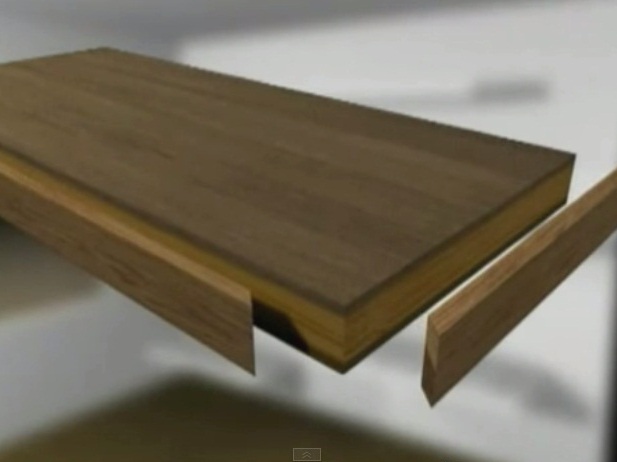
- Decorative face plank on the glue.
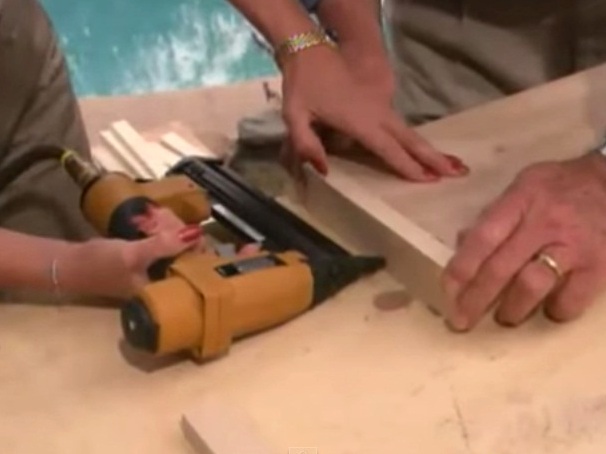
- For the fortress, we nail them with small nails or screw them with screws.
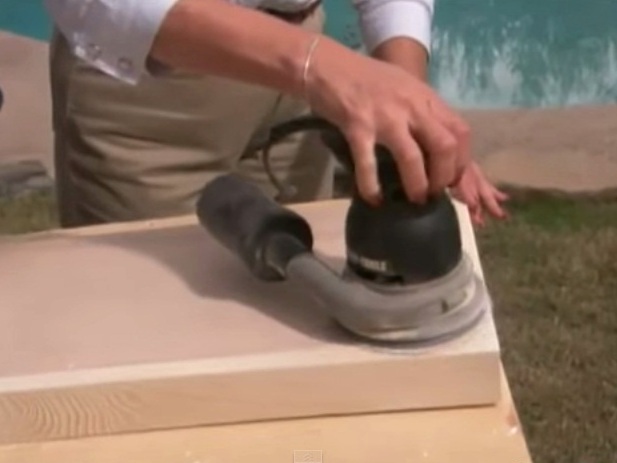
- In the end, you need to polish your shelves for yourself.
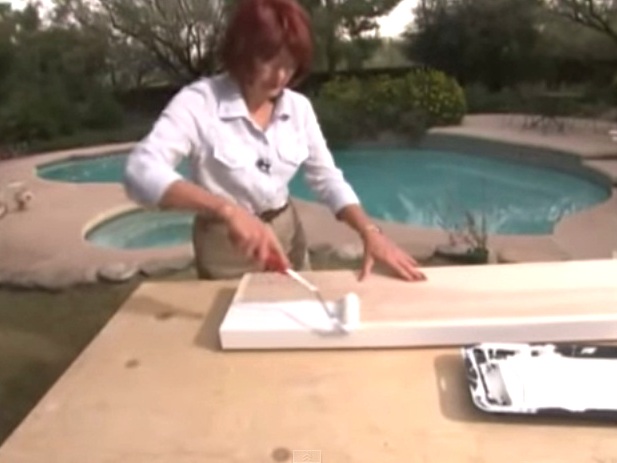
- We paint wooden surfaces with a suitable paint or varnish.
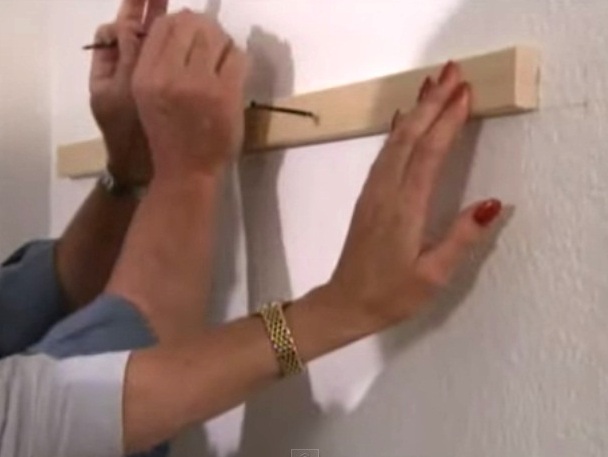
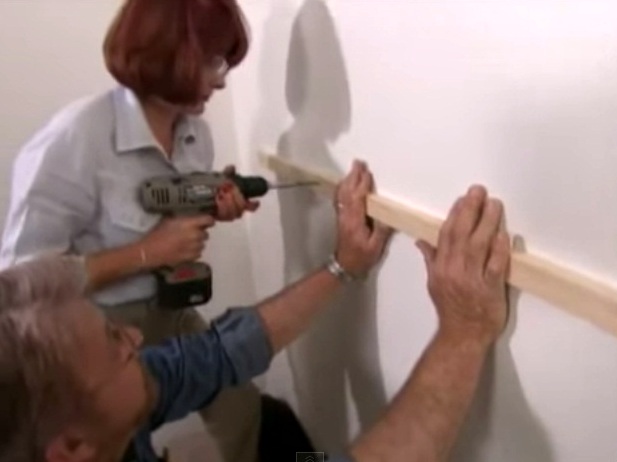
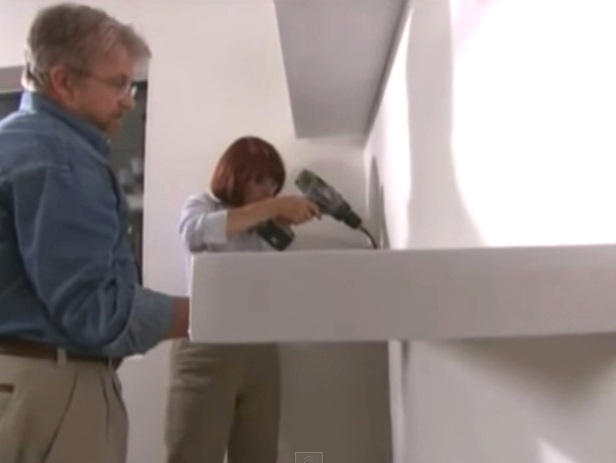
- We fix the leveling straps on the wall.
- We put on them our hand-made decorative shelves, and fasten them with screws.
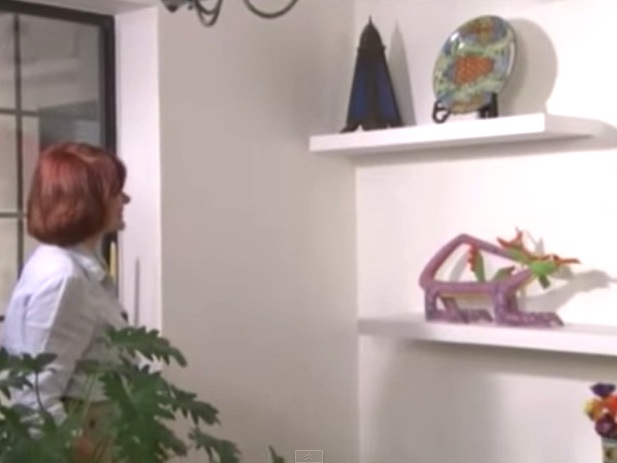
- The work is done, you can put all your wealth in place.