A braid with a woven ribbon is a classic combination that never loses its relevance. How to weave a ribbon into a braid, we will consider further.
What to weave into a braid?
Standard and familiar with childhood hair - a braid with a woven satin ribbon can be modernized and modified in every way to modern trends. This can be achieved if instead of an ordinary tape weave something else, for example:
- a bright silk handkerchief;
- strip of fabric with untreated edges;
- beads;
- a flap of skin, etc.
Thus, weaving different accessories into the braids, you can change your image depending on the outfit, situation and mood. In this case, the most successful option is when a contrast is created between the hue of the hair and the color of the interwoven tape (or other accessory).
Types of braids with ribbons
Scythes with ribbons can be weaved according to the most varied schemes, both simple and rather complex, accessible only to professional masters:
- Scythe with ribbon. Type of laying, which is characterized by ease of weaving and bright appearance; especially beautifully burned looks on straight long hair.
- "Fish tail" with ribbon. Spit, in its shape resembling a fish tail. It is quite simple in weaving and suitable for different occasions to girls who want to give a twist to their image.
- A single-spit braid with a ribbon. Elegant and feminine hairstyle, which has many variations. It is ideal for adult women and girls as a daily, festive and even wedding hairstyle.
- French braid with ribbon. Option for the refined and glamorous girls who will be able to emphasize the image in the best way. Here, too, there are several options for weaving and laying the braid itself: it can curl around the head , start from the vertex or splash sideways, the braid may be several, they can be pulled together in a bundle or left free, etc.
- Four-strand braid with ribbon. Here we mean a more complex technique of weaving, which requires accuracy and patience, but the efforts are worth the result - the hairstyle looks very impressive and stylish, helps to stand out from the crowd.
- Swiss spit with ribbon. The technique is similar to an ordinary three-strand braid, but each strand is twisted into a tourniquet before weaving. This hairstyle is both very simple and stylish.
- Greek spit with ribbon. Ideal for romantic natures, which is now at the peak of popularity. It is suitable for owners of straight and curly hair and is able to decorate and refresh the image in any situation.
- Dutch braid with ribbon. Hairstyle is a hit of the last few seasons, which is similar in technology to that of the French braid , but the weaving is made as if inside out. This hairstyle looks both tender and sexy.
How to braid a scythe with a ribbon?
Consider how to weave a braid with a ribbon, on one of the complex variants - a four-spit braid. After mastering this technique, weaving the tape into other types of braids will not cause you any difficulties:
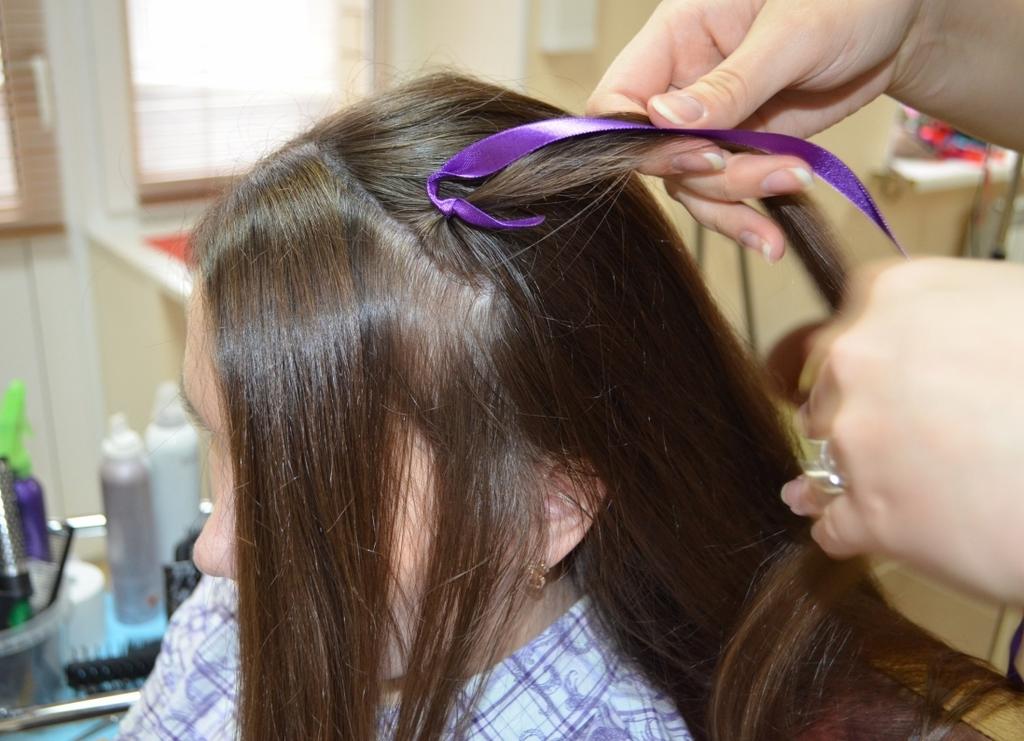
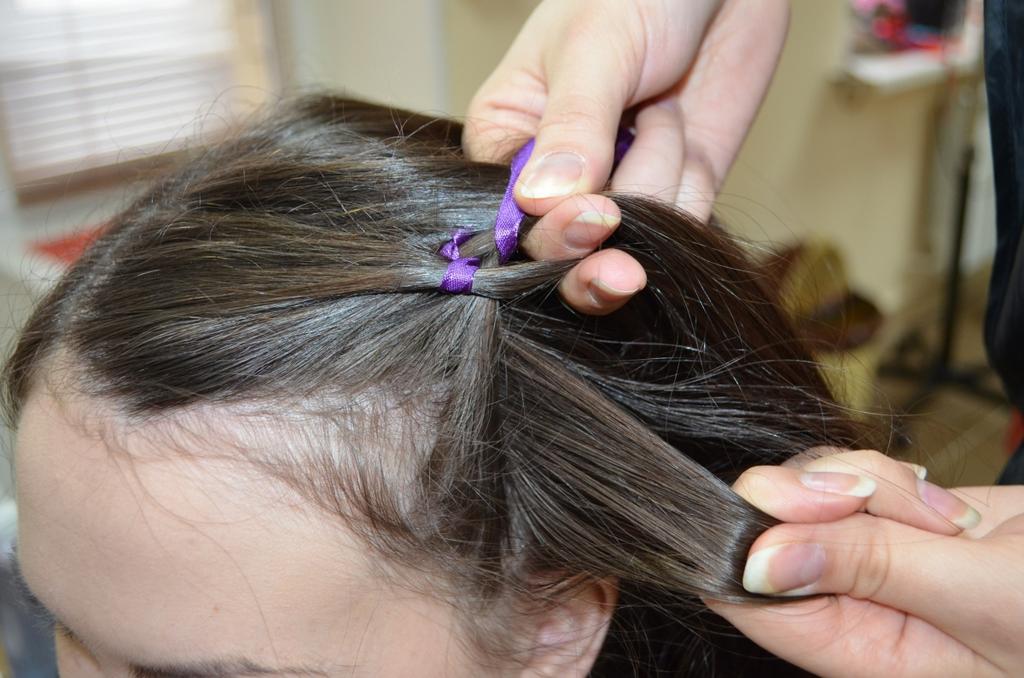
- Comb your hair back and separate a part of the hair on the vertex, then tie the tape to a small strand.
- Divide into three equal parts the previously separated part of the hair. The resulting three strands will be named from left to right: strand 1, strand 2 and strand 3. connect the strand with the tied tape to the strand 2.
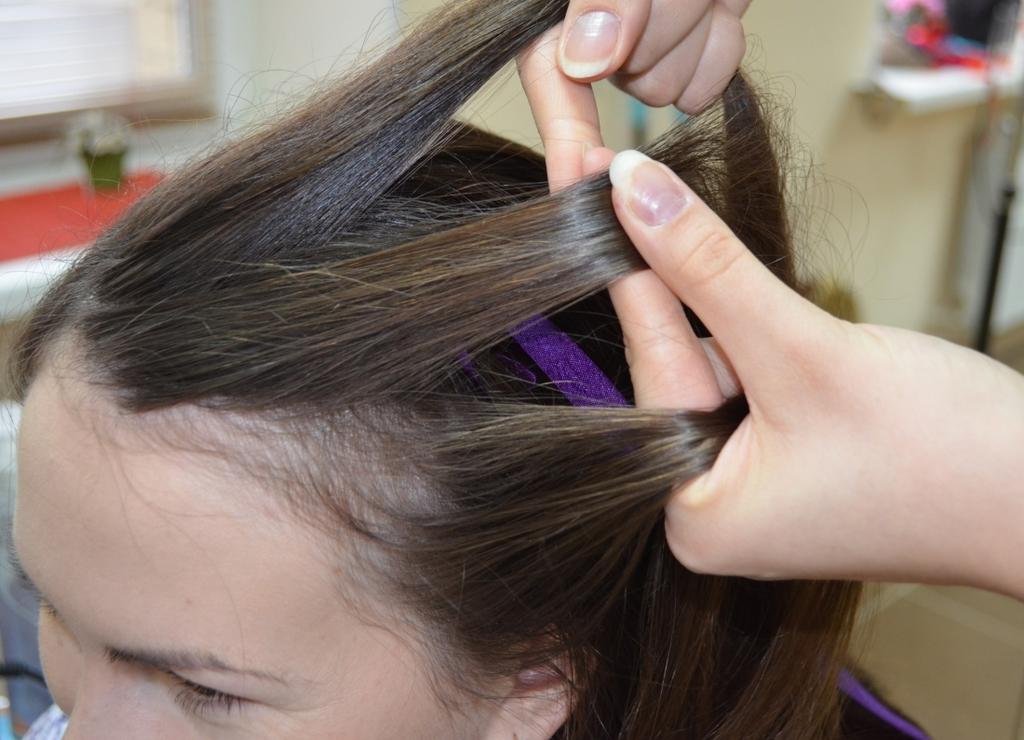
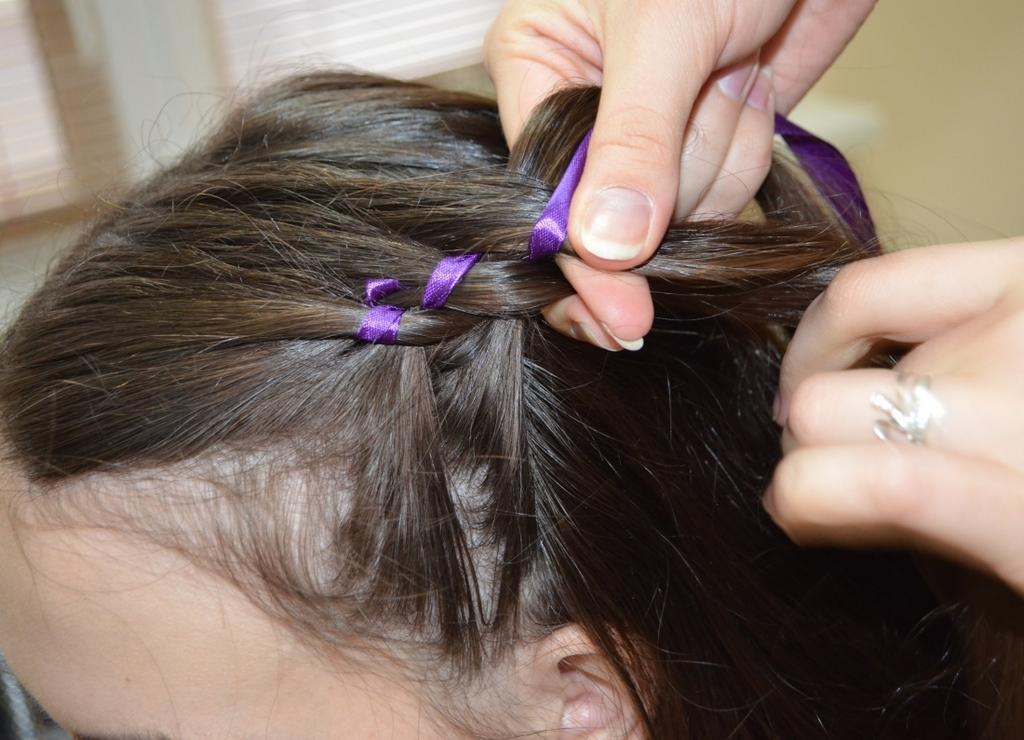
- Weave like an ordinary braid, but at the same time letting the tape pass between the strands. In the left hand take the strands 1 and 2 and the tape that we put on strand 2. In this case, in the right hand - strand 3.
- Strand 3 is placed on strand 2, and on top - tape; Thus, in the right hand there is a ribbon and a strand 2. Then we put the strand 1 under the strand 3 onto the ribbon, and we transfer it under the strand 1 to the left hand.
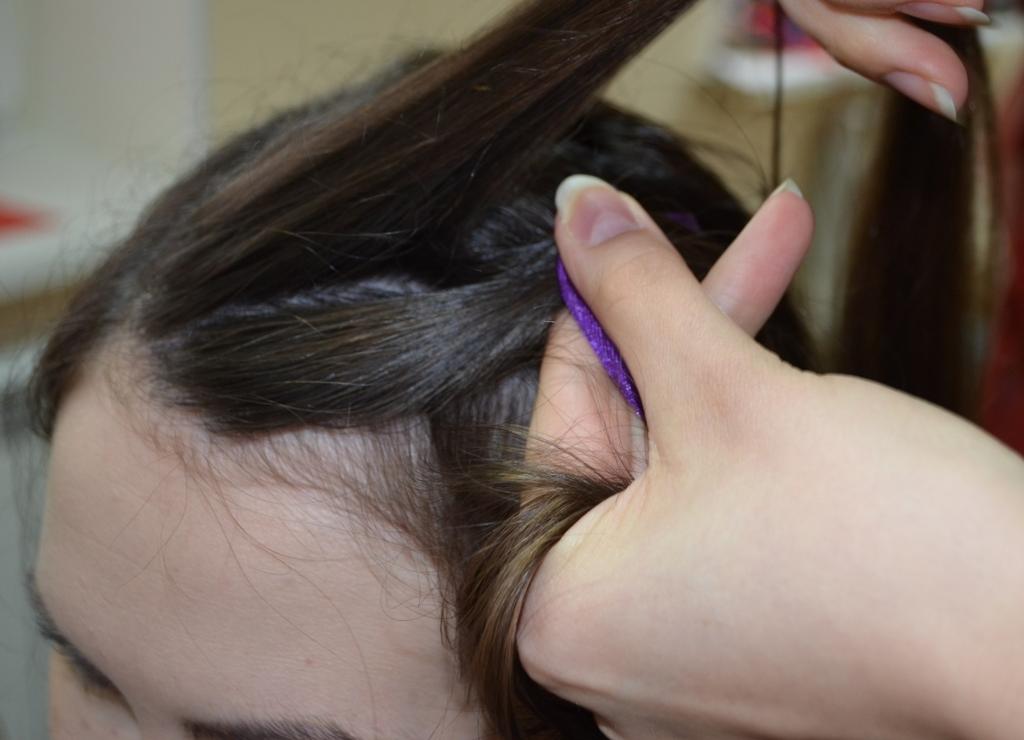
- Strand 2 is placed on strand 1 and we add hair to the right in strand 2. From top to strand 2 we put a tape so that in the right hand there was a lock 1 and a tape.
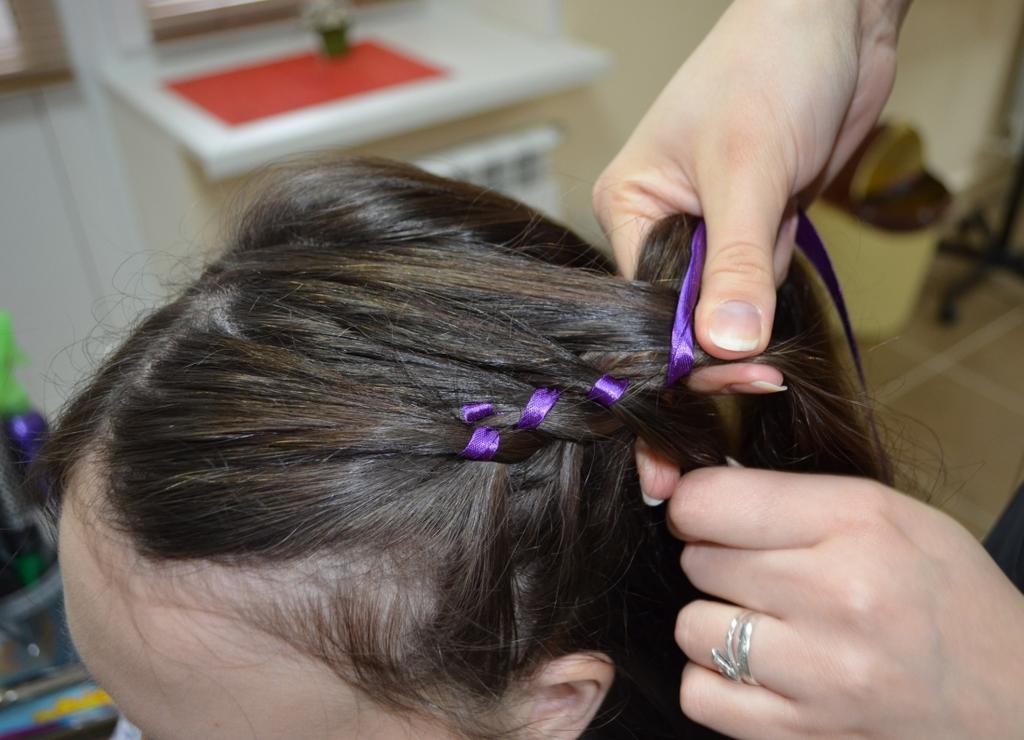
- After that, the plait is the same as in paragraph 4. That is, we lock the strand 3 under the strand 2 and, on the left of the temple, type the hair to thicken the strand.
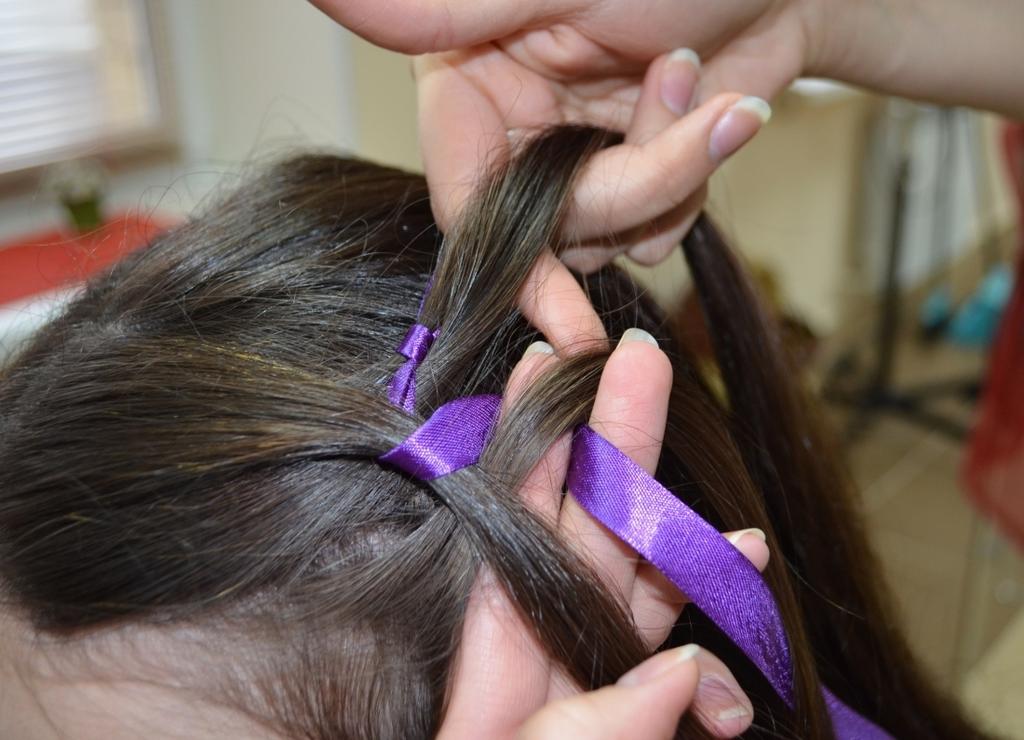
- Strand 1 we put on a strand 3, and when the tape is under strand 3, again we type hair from the right side into strand 3, applying a ribbon from above.
- Just as in paragraph 4, we lock a strand 2 under a strand 1 and we collect the hair to the left of the temple. Strand 2 - in the right hand, tape - in the left.
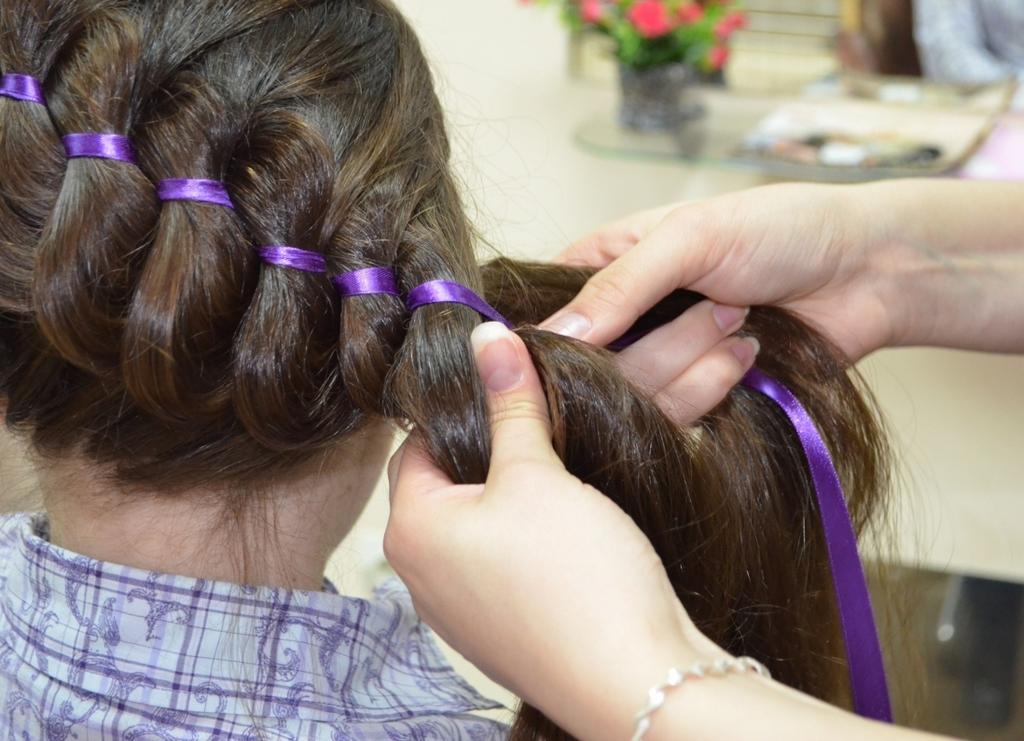
- We continue to weave all over the head, gradually picking up hair on both sides.
- To make the braid turn out to be three-dimensional, its edges need to be pulled out a little. Collecting all the hair, we continue to weave the braid, but without additional strands. After the end of weaving, the braid should be fastened with an elastic band and tie a bow on the top.