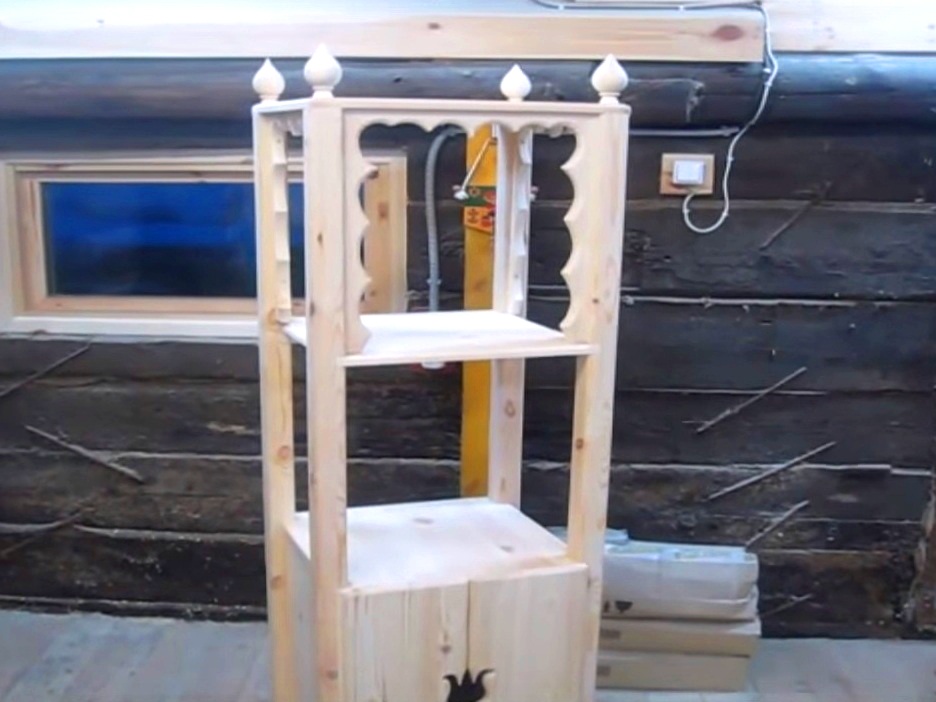
In the 1970s and 1980s, it was difficult to imagine a Soviet apartment or a house without a wooden bookcase . They were used to store press, books, various costume jewelery and souvenirs, as a stand for flowers. The fragile appearance of the structure gradually pushed the walls and the headset into the interior, although it possessed a lot of advantages, so finding this type of furniture of the appropriate shape and size in the store is now problematic. But this small furniture fits perfectly into the modern environment, functional, takes up little space and is suitable for storing a lot of things. It is not surprising that a floor shelf or a suspended shelf, made in the form of a bookcase with their own hands, will always find a place in the country or in the apartment.
How to make a bookcase with your own hands?
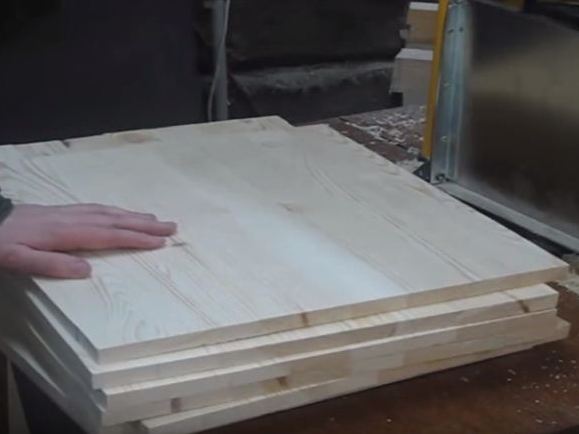
- For work a wide board, glued array or plywood is suitable. We also need a beam, which we use to produce the legs. In this case, we decided to make the shelves out of an array of wood .
- On the machine or with a manual circular saw, we trim the workpieces to the size of our shelves.
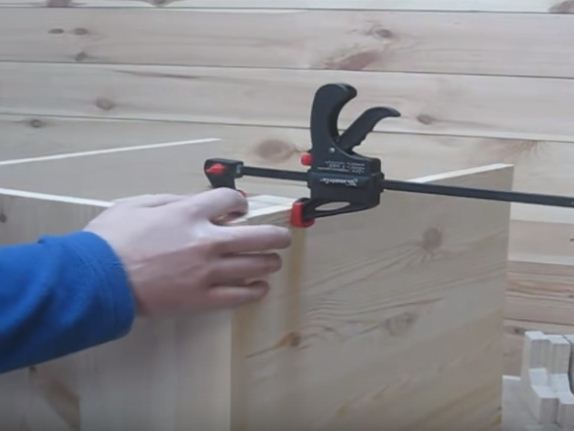
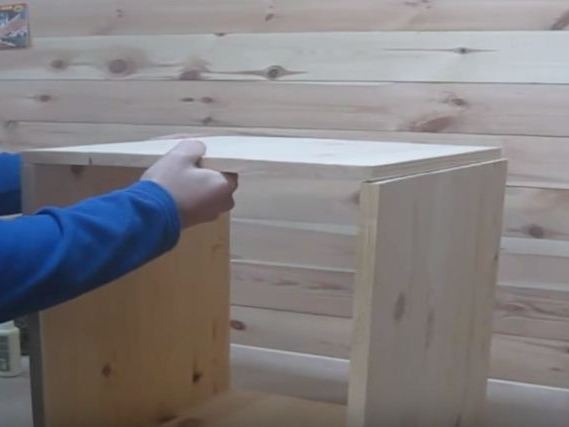
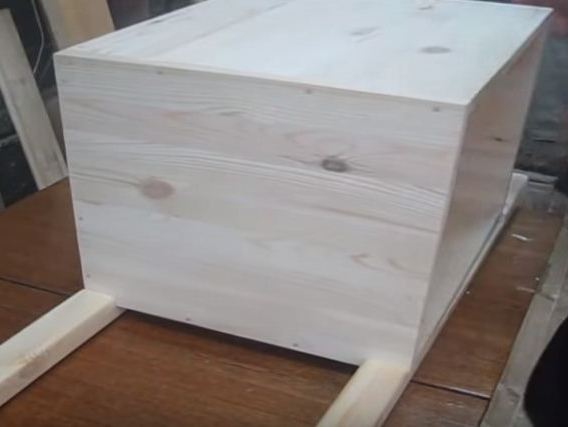
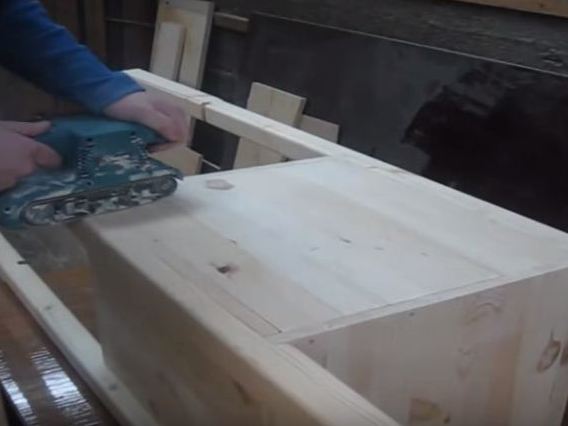
- At the bottom of the bookcase, we will have a closed box. First, the workpieces for it are clamped with clamps, combining them with each other as precisely as possible.
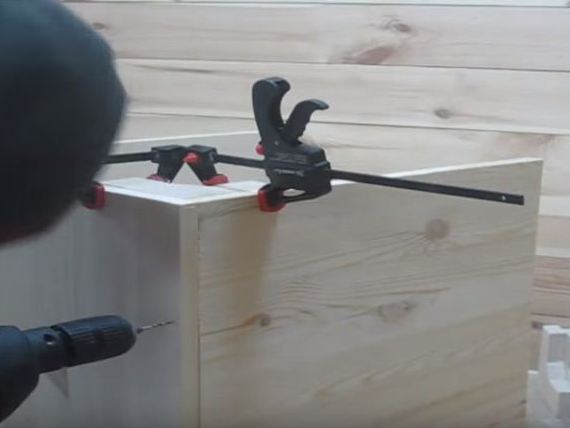
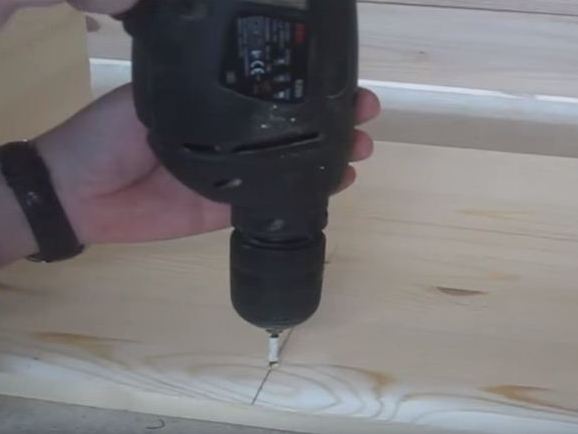
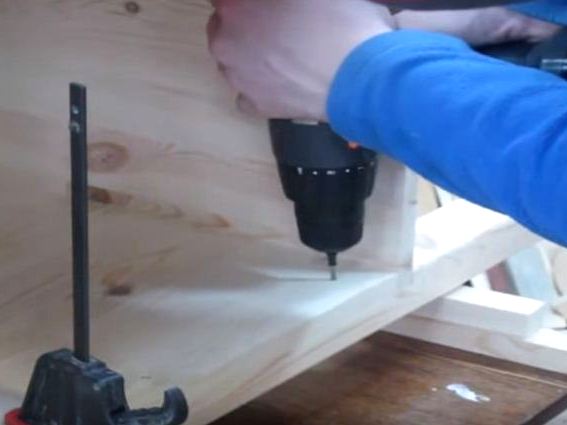
- Drill the drill holes in the fasteners.
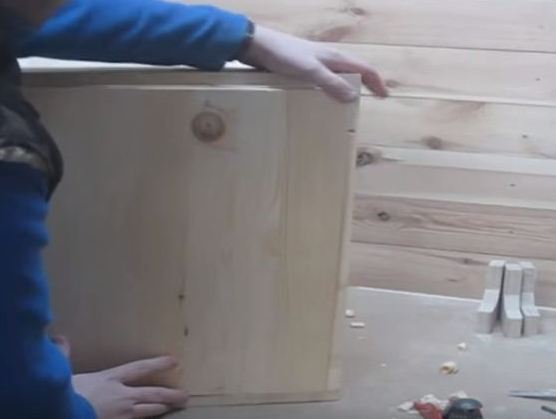
- We assemble the structure together without clamps.
- We fix the walls of the box with each other using several screws.
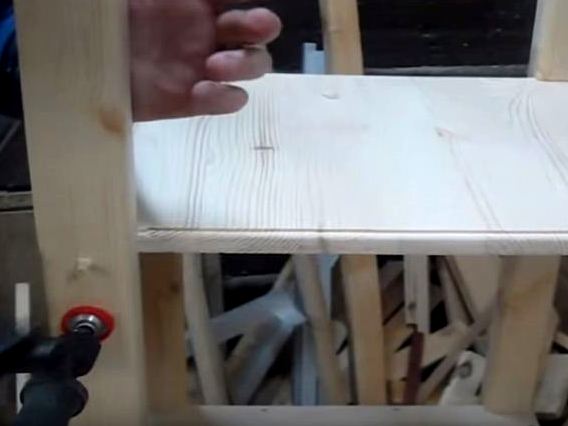
- Drill the holes for the pins on which the inner shelf will hold.
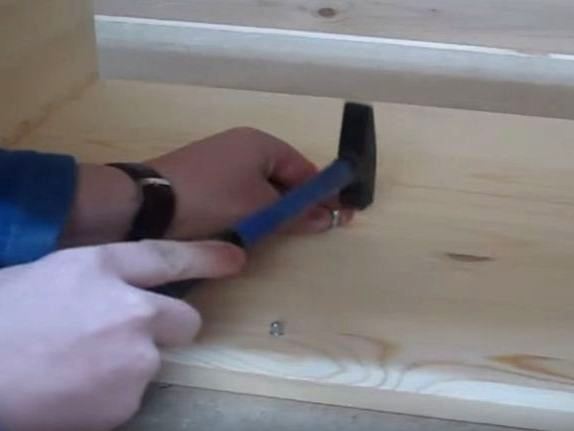
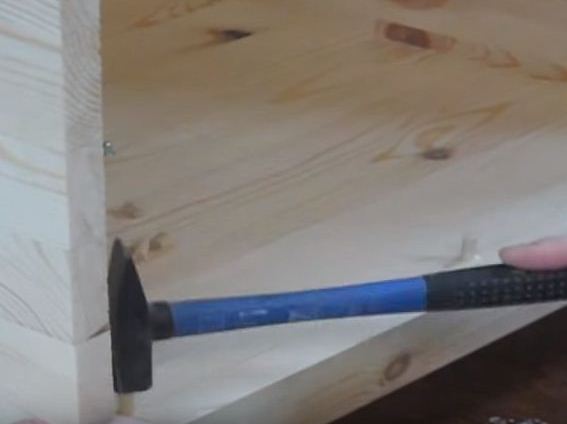
- We block metal pins in the holes.
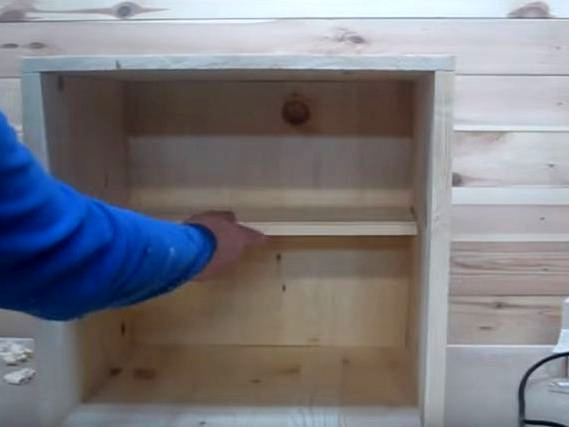
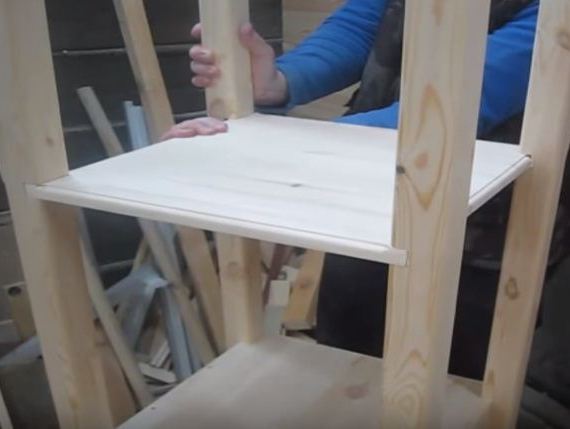
- We set the bottom of the box between the side walls.
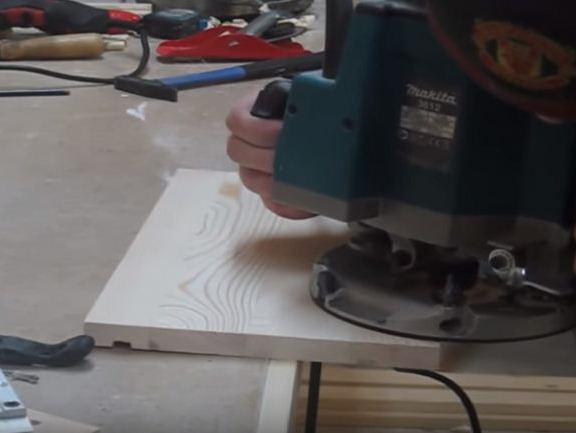
- The ends on the shelf are traversed by a hand-held router to make the part look attractive.
- We set the shelf in place.
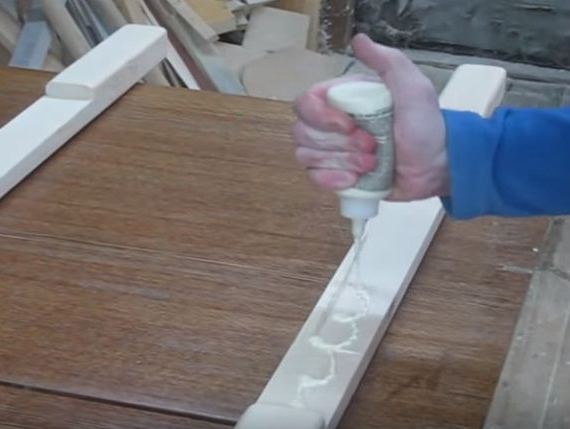
- Wooden dowels and grooves for them must be greased with joinery glue to make the structure strong.
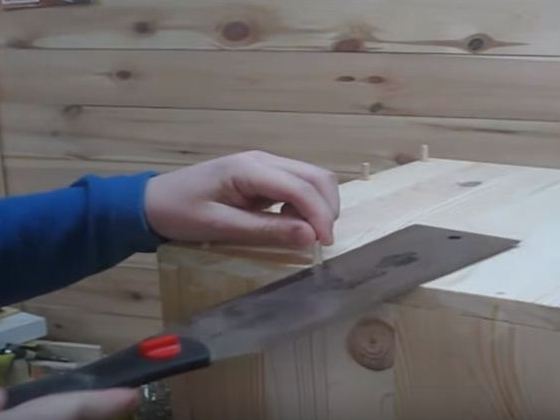
- The protruding part of the dowels is cut.
- The legs, made by hand, are processed by a milling cutter.
- In the places of fixing the shelves, the grooves on the legs are greased with glue.
- Install the top in the grooves of the box.
- We drill holes in the drawer under the fasteners.
- Sadim dowels on the glue and clog them in the holes.
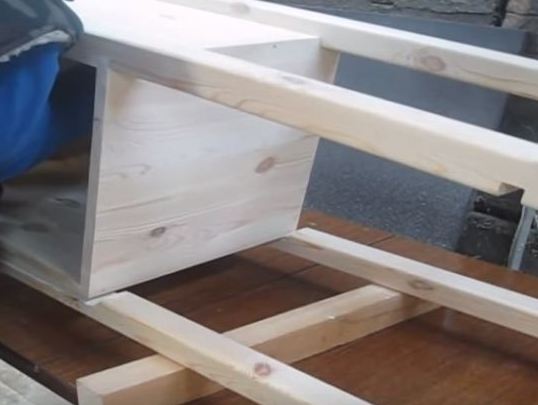
- Next, we attach two remaining legs to the box.
- We clean the surface of the shelf with a grinder.
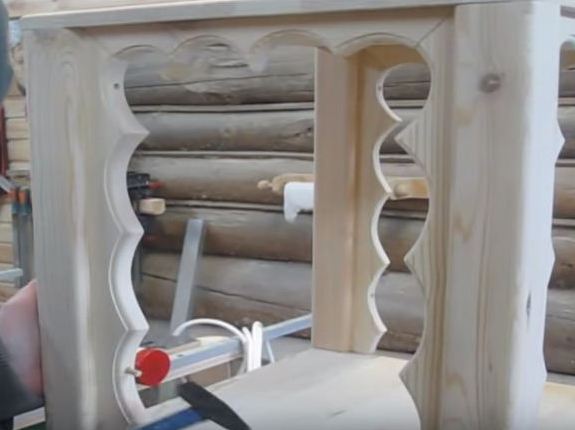
- We install open shelves in the grooves on the legs.
- We pull the shelves with the legs with clamps and fasten the workpieces together with dowels.
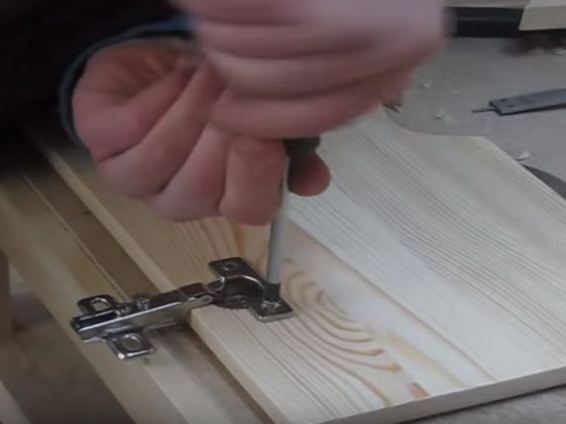
- We fasten metal hinges to the posts and doors.
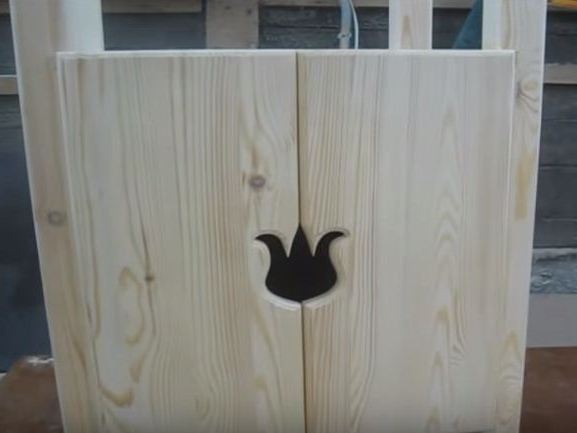
- If desired, the door can be decorated with decorative carvings.
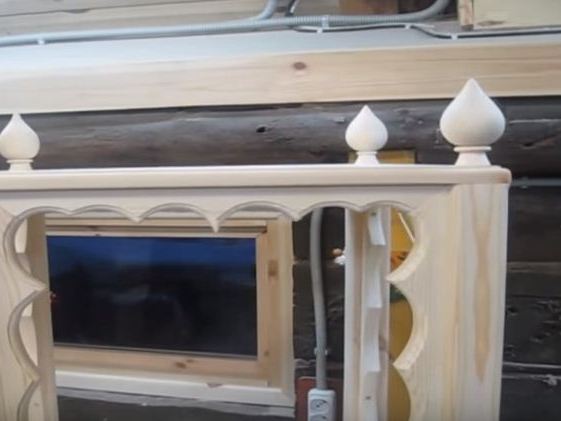
- The upper part of the bookcase, which we collect with our own hands, is also highlighted with wooden carved inserts.
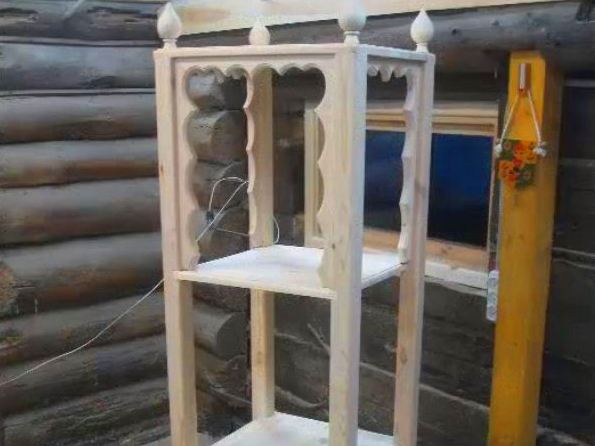
- At the very top of the product, on its "roof", we set up beautiful domes and on this we finish the work.
- Our shelf is completely ready.
A small master class on how to make a bookcase with your own hands can not be called very difficult. All operations are performed on accessible equipment. To work requires a little material and the simplest tools, so any master, using our instructions, can easily make this wonderful little thing at home.