The assortment of beds in furniture stores is impressive. Double, single and bunk models, beds covered with leather or cloth, products with a forged headboard - all this can be displayed on the site of one store. But all beds have one significant drawback - their overestimated cost. If you count everything on materials, it turns out that it is easier to make a wooden bed with your own hands than to buy a finished product. If this factor has become decisive for you, and you decided to work on your own, then you must remember that assembling a bed is a very difficult task, requiring appropriate experience with the tool.
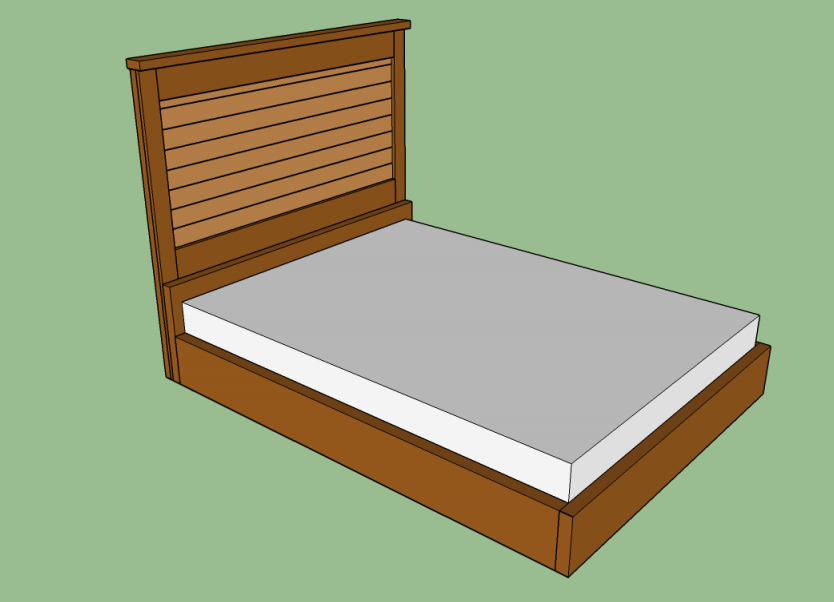
Wooden double bed with own hands: necessary materials
To make a bed you will need the following materials:
- two sheets of plywood;
- batten;
- furniture board;
- countertop;
- file;
- Bulgarian;
- screws.
To work with wood you will need to stock up a saw, hammer, drill and hand plane. Drawings also require paper, a pencil, a ruler and scissors.
Making wooden beds with your own hands
The work will be performed in several stages:
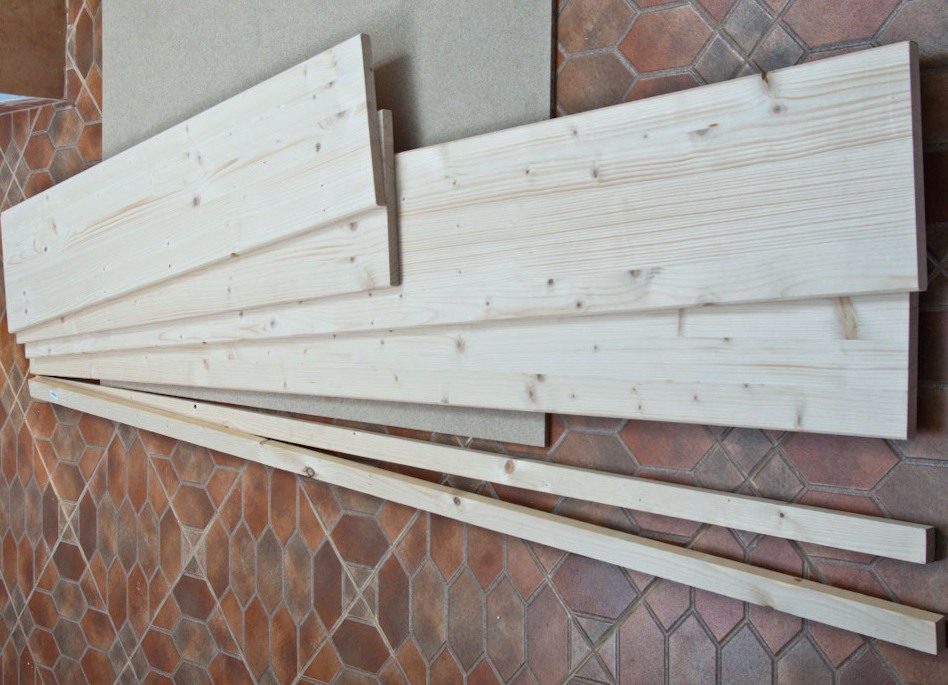
- Preparation of boards. First you need to saw all the boards in accordance with the size of the future bed and how to polish them with a file. As a result, you should get 4 boards for the frame, two long slats for the side frames and 7-9 thin slats, which will later be laid on the bottom of the structure.
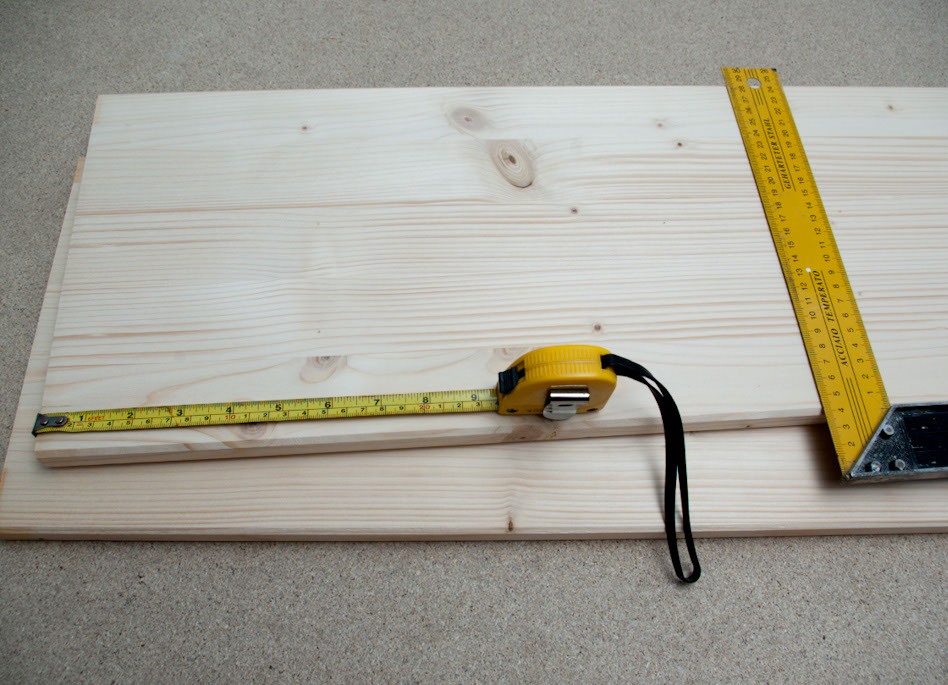
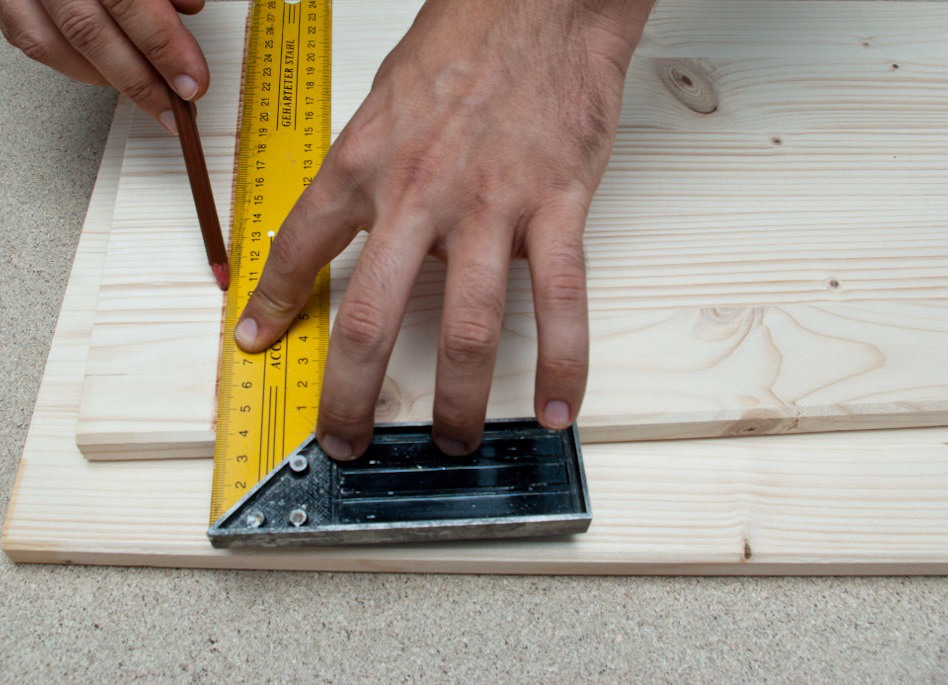
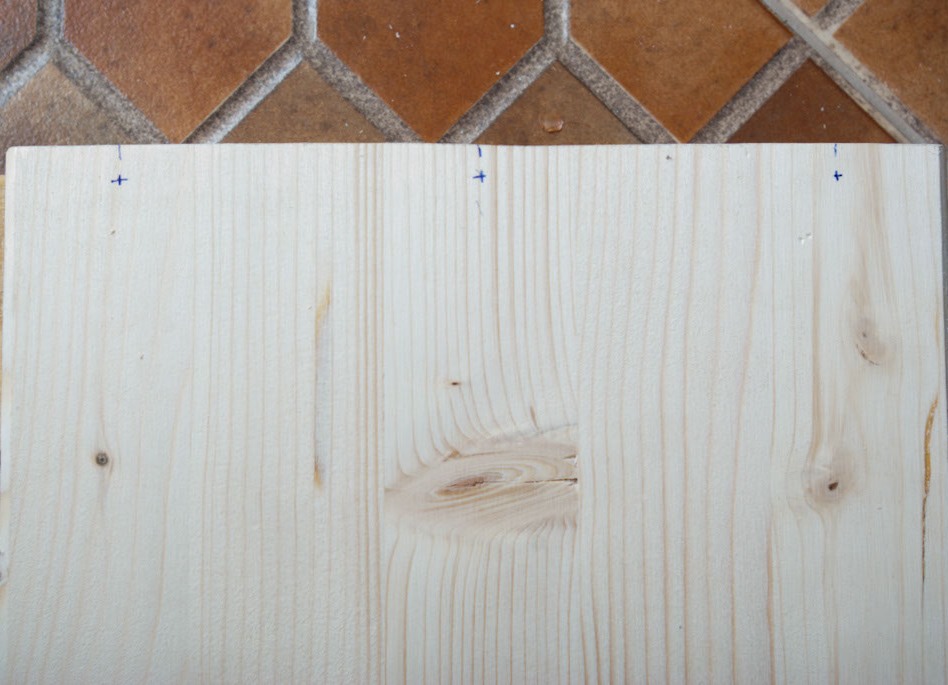
- Make markings on the boards intended for the longitudinal sidewall of the frame. Later in these places will be screwed screws that fasten the side and longitudinal boards into one frame. The holes should have an indentation of 1-2 cm (1/2 the thickness of the board) and be at the same distance from each other. In our example, the indent is 1 cm.
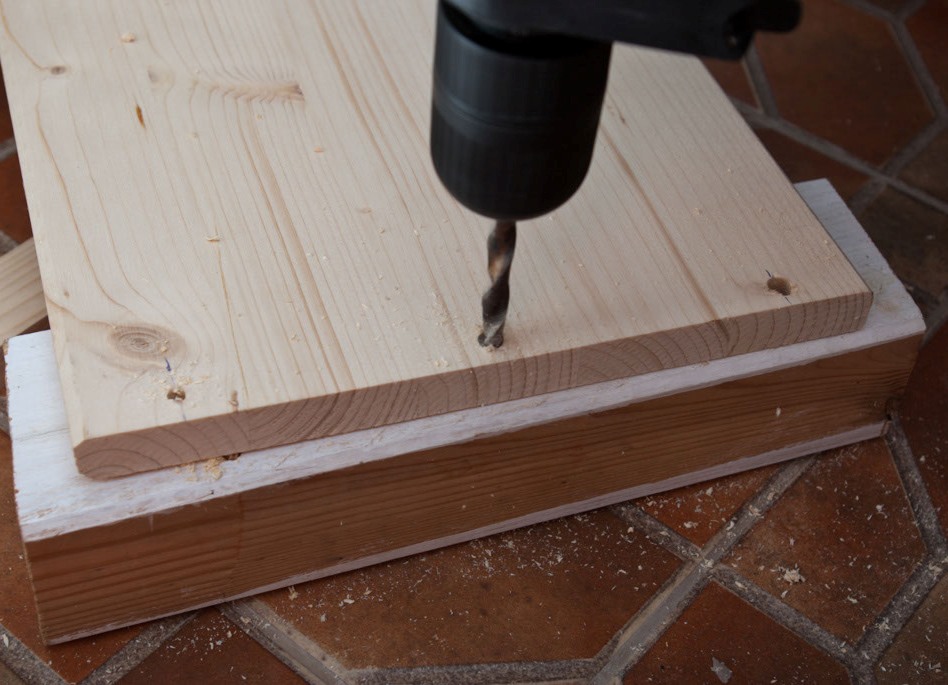
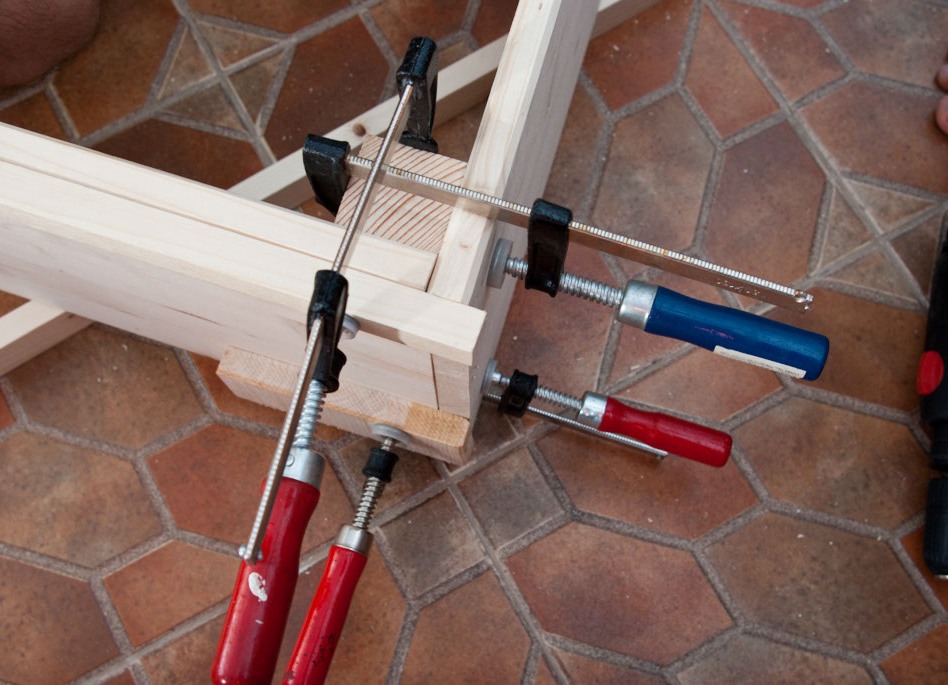
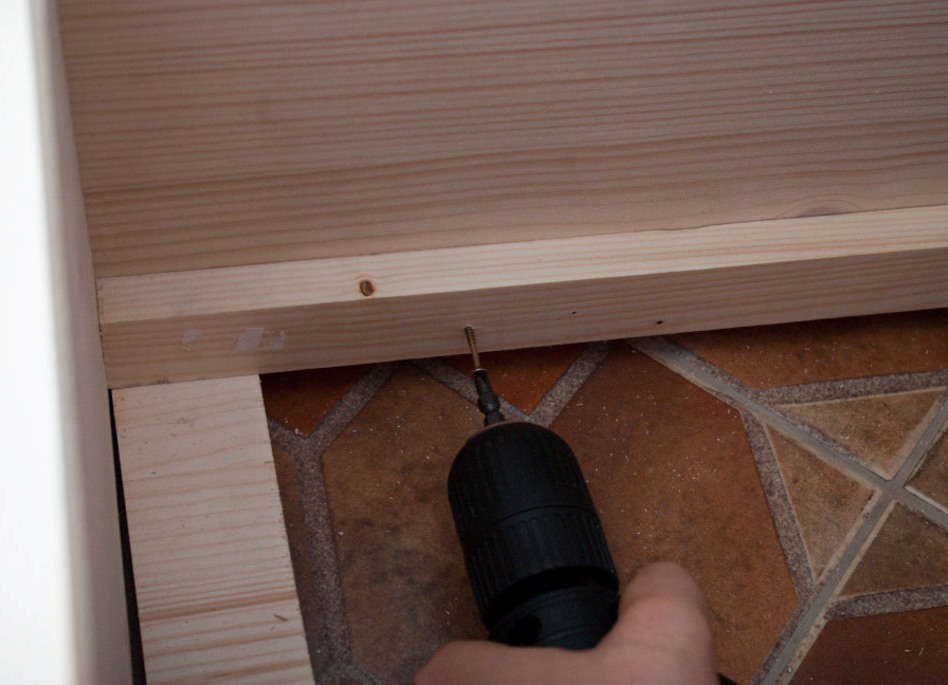
- Drill holes in the marked points with a drill. The drill must be of such a diameter that the screw easily enters the drilled hole. To connect two boards at an angle of 90 degrees, it is recommended to use special clamps. They rigidly fix the board in the required position and will allow to screw the screws.
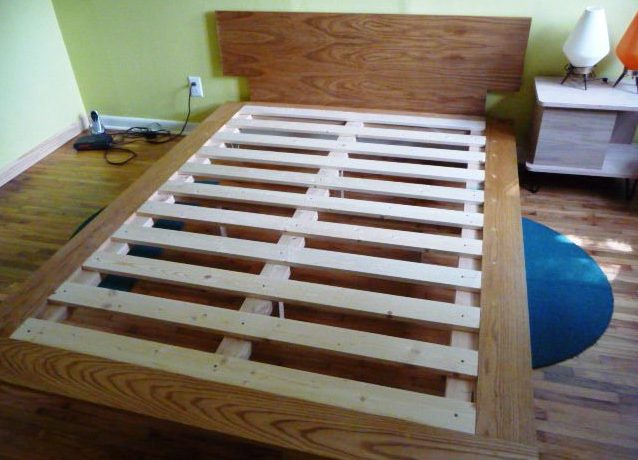
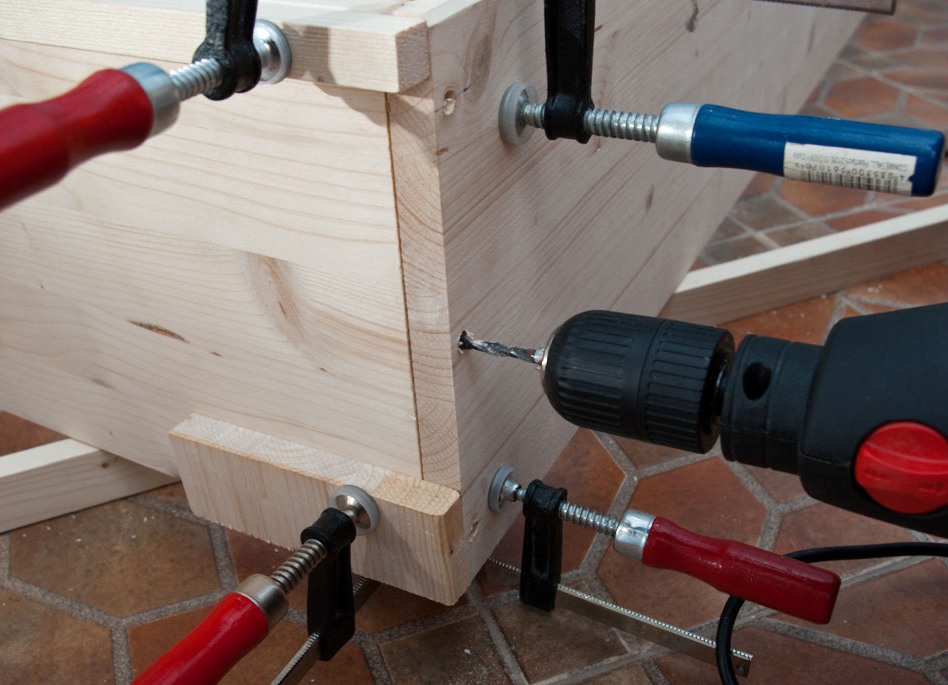
- Screw in the screws. With the help of a drill, set to a low number of revolutions, it is necessary to screw the screws into the board of the side panel of the frame. In order for the fastening element to enter the middle of the board, make sure that the drill is straight. At the end of the work you will get a ready frame for the future bed. The angles of the structure must be perfectly even, and there should be no slits and gaps between the boards.
- Side frames. Now two thin slats should be attached to the inner longitudinal part of the frame. In the future, they will serve as the basis for lamellas and mattresses. Screws in the strips need to be screwed in steps of 25 cm. At this stage, you can open the bed frame with stain and several layers of furniture lacquer.
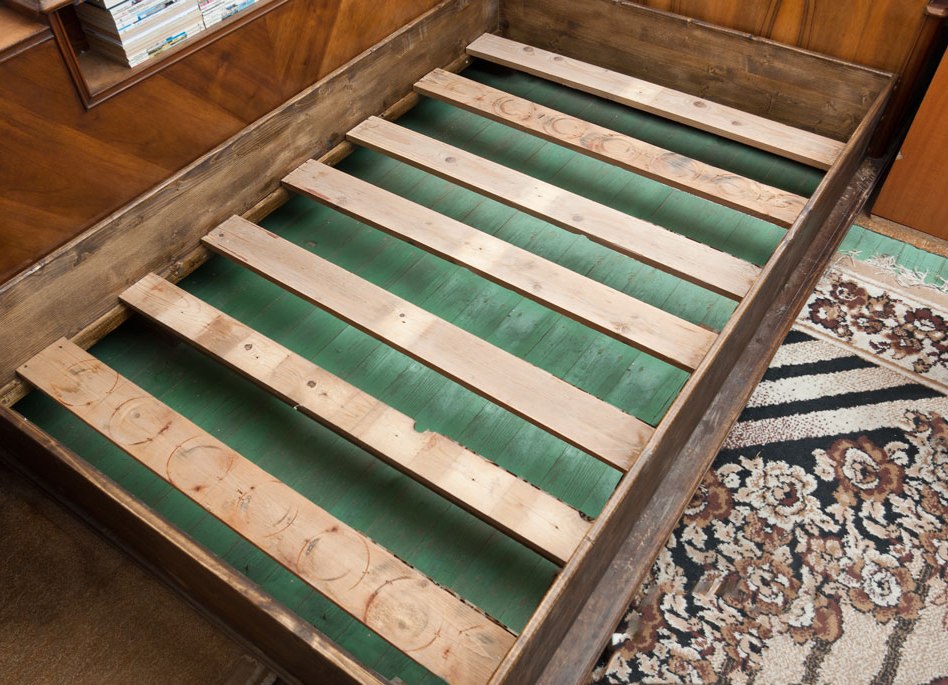
- Slat laying. Now on the side frames you can put a lattice of thin plates. Lay them at the same distance (ideally 25-30 cm). Use small carnations to fix.
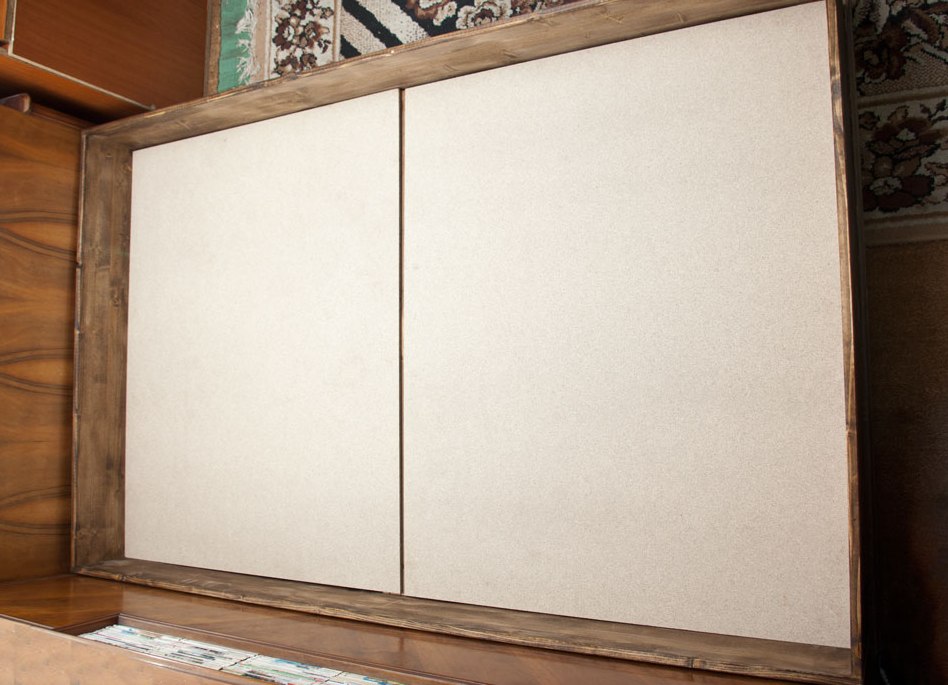
- Plywood. This point is not mandatory, but please note that the bed, the bottom of which is lined with plywood will last much longer.
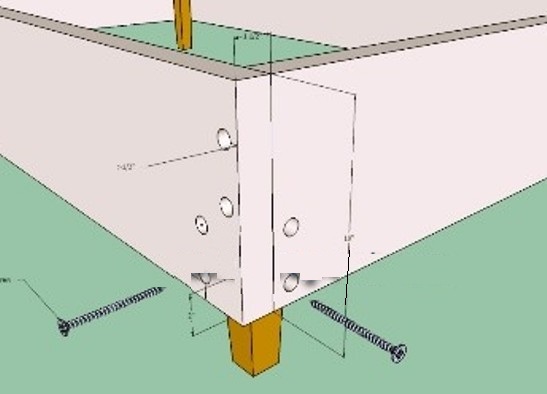
- Installation of legs. The ideal gap between the floor and the bed is 15 cm, therefore, the length of the legs will be twice as large. Mount each foot in four points - two fasteners in each corner. In the drawing below, on assembling a wooden bed with your own hands, the method of fastening the foot is shown in detail.
| | |
| | |
| | | |
| | |
Now the skeleton of your bed is ready for use. You just need to put on it an orthopedic mattress and enjoy the work done.