In this article, we'll talk about ornaments for the garden, made independently. In particular, how to make mushrooms with your own hands. Crafts (mushrooms, gnomes, jabs) made by themselves will not only help you decorate the site with unique, authoritative figures, but also save the family budget significantly. In addition, it is an excellent opportunity to develop your own creative abilities and to fantasize with the whole family - after all the shape, size and color of the future elements of the decor completely depend on you.
In this master class we show how to make mushrooms for a garden, but using the same technology you can create completely different shapes - dolphins, frogs, gnomes, lions heads or tigers, etc.
How to make a giant mushroom?
For this craft, you will need:
- mounting foam;
- vertical container-weighting (the easiest way is to take a plastic filled bottle filled with sand);
- a low cardboard box (for example, from under sweets);
- stationery knife;
- shovel for applying plaster (primer);
- Facade plaster;
- acrylic primer mixture;
- Finishing plaster;
- paint (best acrylic);
- clear nail polish.
Progress
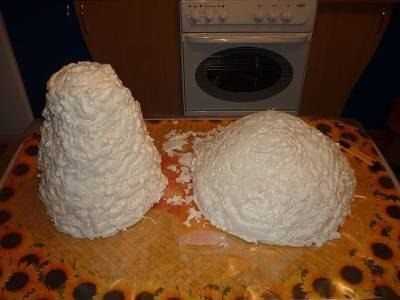
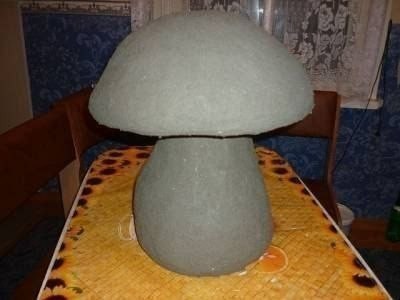
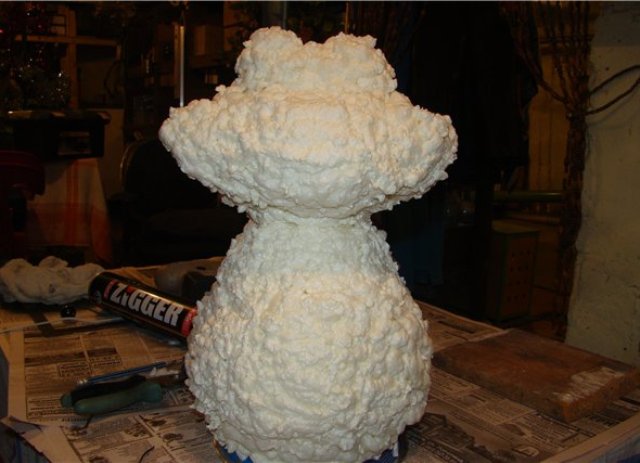
- We form from a foam a hat and a leg of the future mushroom. The frame for the leg will serve as a bottle with sand or water, and the basis for the cap will be a cardboard box. Apply the foam alternately in layers, letting each of them dry a little before applying the next one. Experienced craftsmen working with mounting foam recommend to take for the first artisan high-quality mounting foam for winter works - it is more dense and less spreads. No less important and a gun for foam - it should be of good quality and comfortable to lie in your hand so that you can easily control the process of forming a figurine.
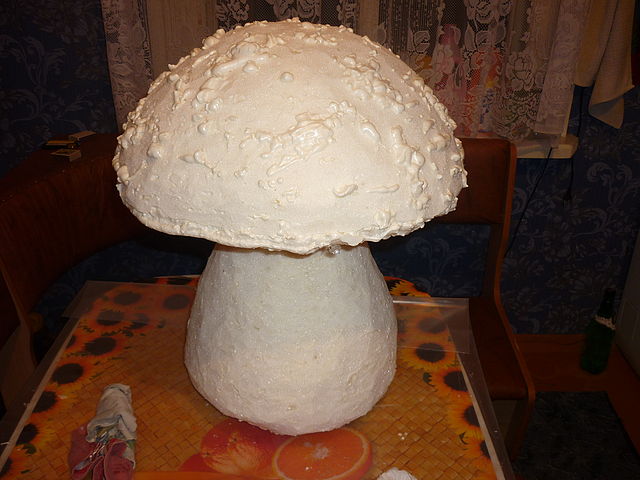
- After the components of the fungus have dried, we connect them together. This can be done with the help of nails, screws or metal rods and an adhesive substance (assembly foam or superglue). We let it dry.
- We inspect the finished structure and fill with foam all available holes, irregularities, voids. After complete drying, cut off excess foam with a clerical knife, we attach the desired shape to the fungus. After you cut off parts of the fungus, new voids can appear on it (those that were inside the foam will now be outside). They also need to be filled with foam. When the cap and the leg are already cut off, you can cover the entire surface of the mushroom with a thin layer of mounting foam and smooth it with water soaked in water - this way you will form a smooth surface.
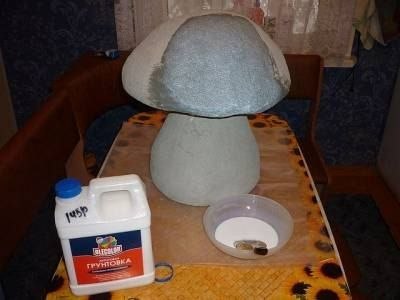
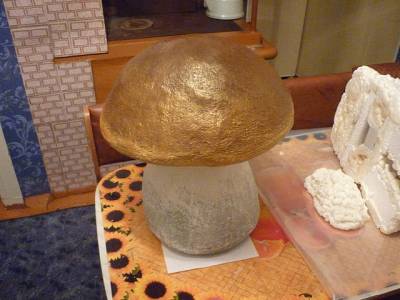
- Again we leave the figure to dry out, and after all the foam has hardened, we put a primer on the surface - if it is not, the usual wallpaper glue (first on the upper parts) will do. After the primed tops of the mushroom have dried, turn it over, and primer the lower surfaces. Dry again.
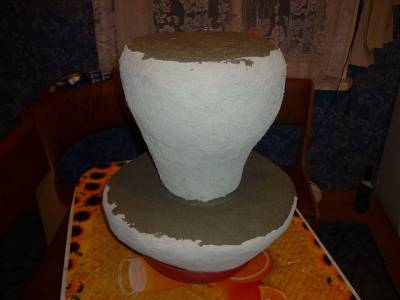
- Just like a primer, we alternately apply facade plaster. Then again ground and apply a layer of finish (smooth) plaster.
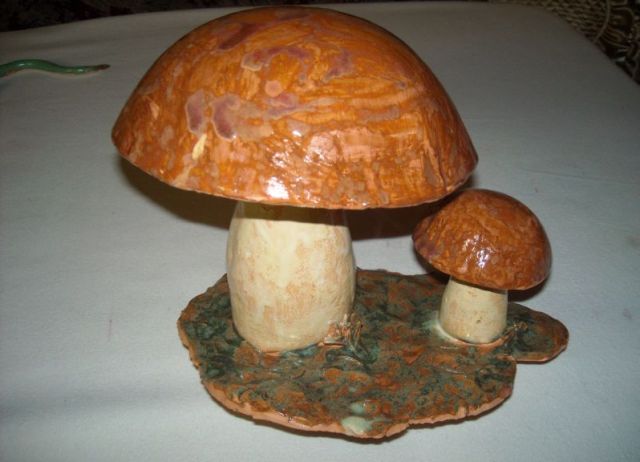
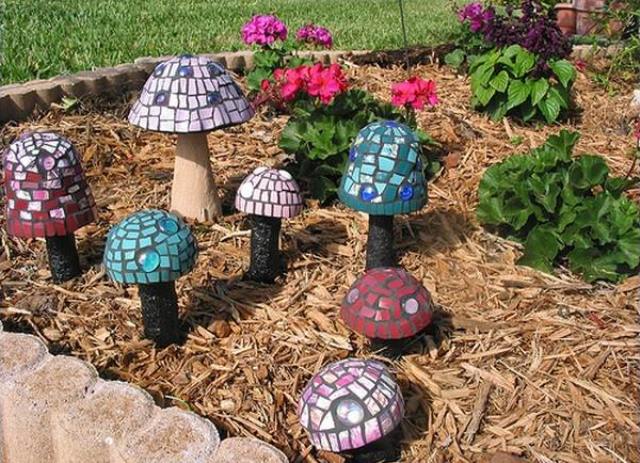
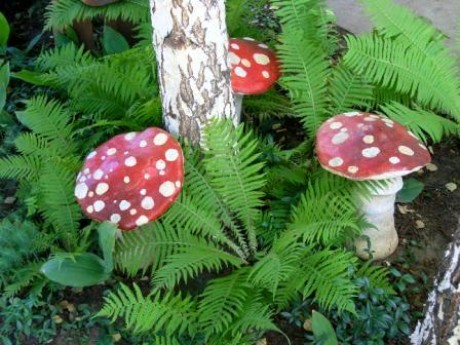
- After drying the finish plaster, we get a neat smooth figure of the fungus. You can start painting the product. If desired, you can decorate the mushroom with mosaic, colored glass, inserts from tiles, glass, mirrors, etc.
- On top of the mushroom is better to cover with a transparent varnish - this will prevent the burning out of the paint, and in addition, the varnished mushroom looks much more spectacular.
| | | |
| | | |
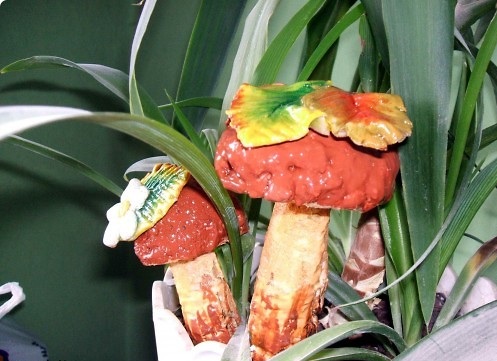
Such a mushroom can become the basis and it can be beautifully decorated or decorated with pieces of glass.
| | | |
| | | |
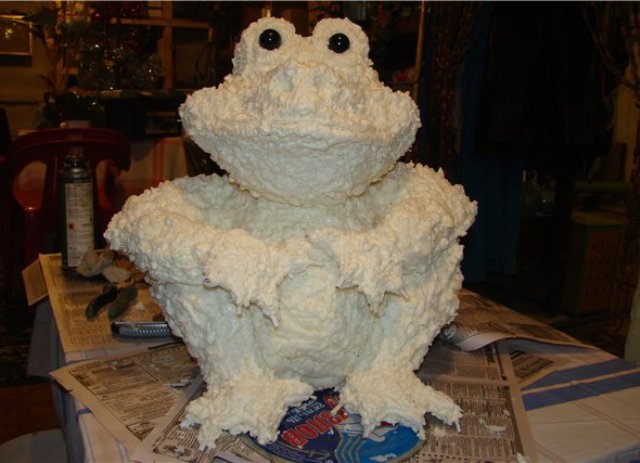
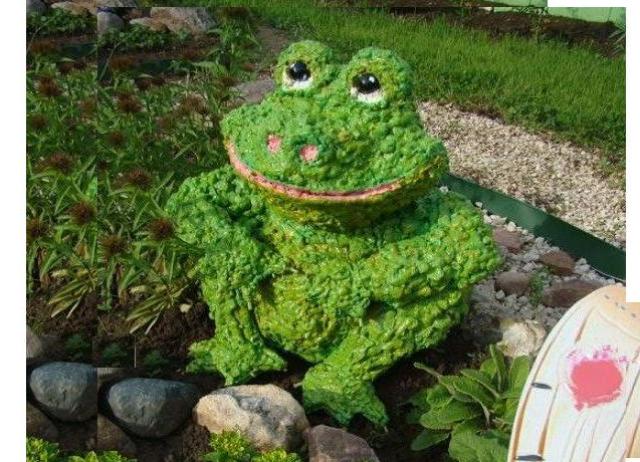
Fungus from mounting foam is an example of the simplest craft of this kind. If you have mastered the technique, you can complicate the task and try to make a frog like that.
| | |
| | |
Other crafts can also significantly revitalize your site!