A tunic is a simple and versatile wardrobe element that every woman, girl or little girl should have. After all, it plays the role of clothing for rest . This garment looks great with trousers or jeans, and with skirts. It is quite easy to sew a tunic with your own hands. To do this, it is not necessary to have special skills, but simply to be able to use a sewing machine.
In this master class we sew a tunic for a girl. But, following the same instructions, you can easily create a blouse for adults. Tunic - "butterfly" thanks to the air sleeves and loose cut will suit absolutely everything. And the simplicity of execution and a small amount of necessary materials will help to cope with the task even for beginner needlewomen. We'll tell you in stages how to sew a tunic with your own hands.
InstructionsFor work we will need:
- a piece of fabric of the necessary length, according to the size of the future tunic;
- sheet of paper, to create a simple pattern;
- scissors;
- thread;
- tape measure;
- sewing machine;
- Any jacket from the wardrobe, which will help to properly form the neck of the tunic.
Now you can start creating a new versatile garment. We sew a tunic, following our master class in stages:
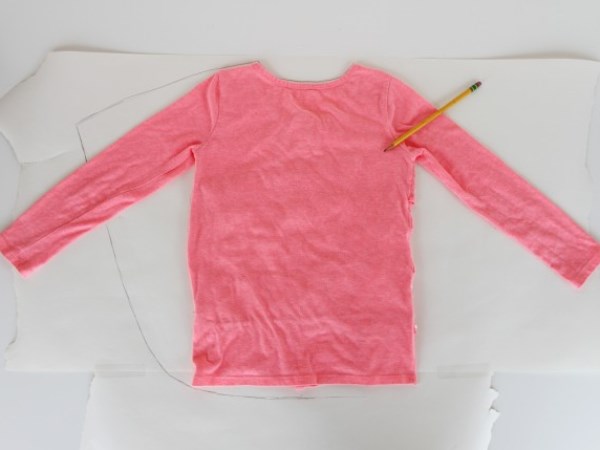
- To begin with, we need any blouse that will help determine the size of the neck and the height of the sleeves. The jacket must not be fitting.
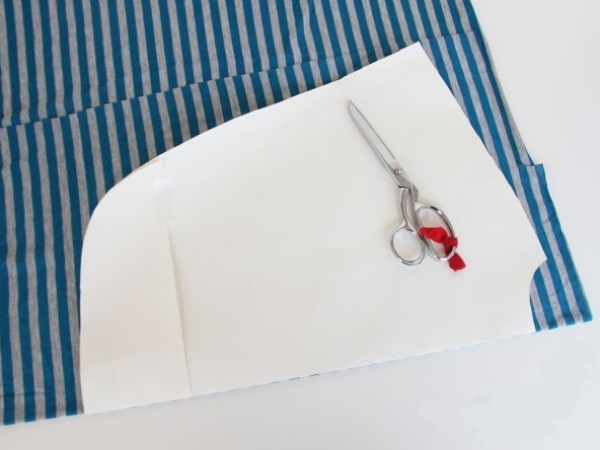
- We sew this tunic without patterns, which need to be built, possessing special skills and knowledge. To create this original thing, we need a very simple pattern, which can be drawn in just a few minutes on a regular sheet of paper, using a pre-prepared blouse.
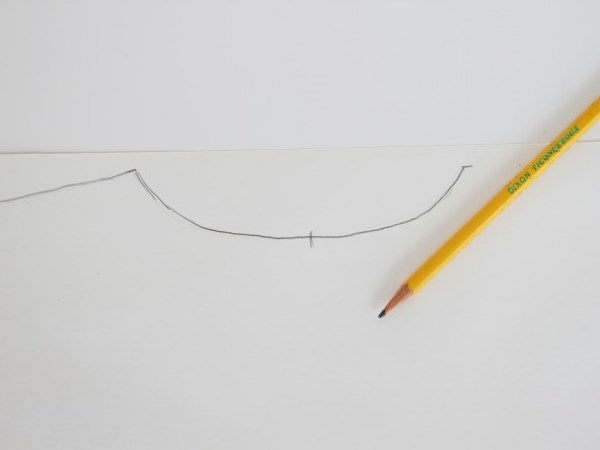
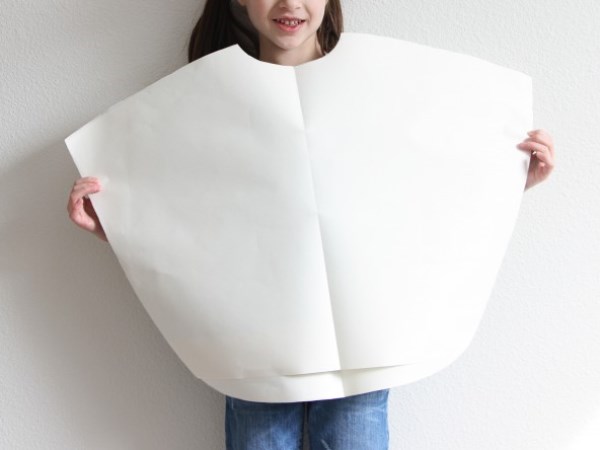
- Mark on the sheet of paper a cutout of the future tunic. And also determine the length of the product itself and the desired length of sleeves. In this manual, the length of the sleeve to the elbow is selected. This is a very sweet and gentle option for a little girl. On request, the tunic sleeves - "butterflies" may be longer.
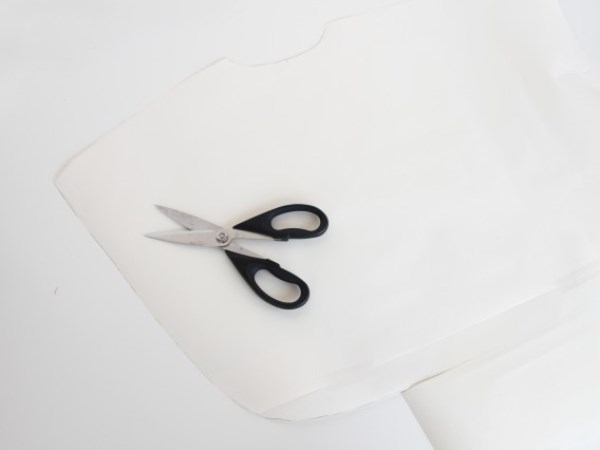
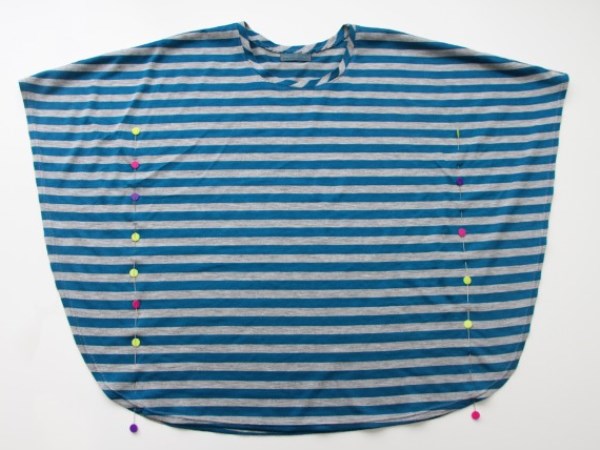
- Using a pattern, we cut out the workpiece for the future tunic from the fabric, leaving a small allowance.
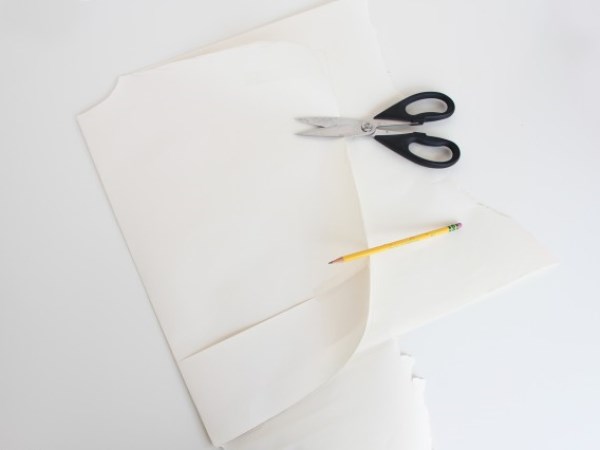
- Once again we apply to the workpiece jacket, to determine the depth of the cutout.
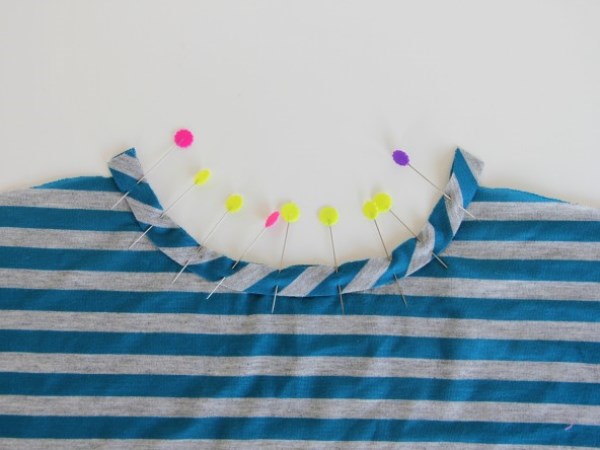
- From the remaining fabric, we cut out two strips with which we work the neck of the tunic.
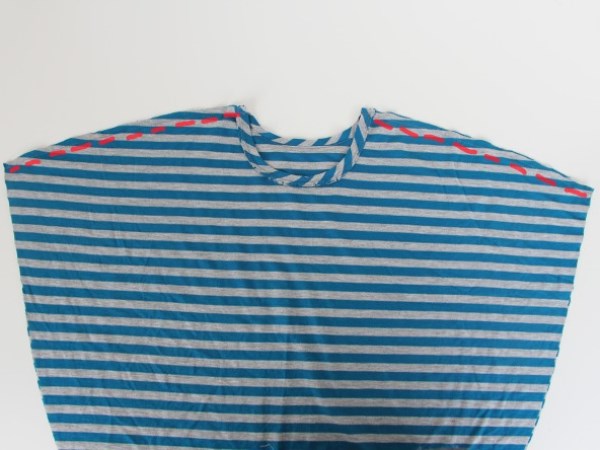
- Then we grind the shoulder seams.
- After that, you need to sweep the edges of the workpiece and stitch them on the sewing machine
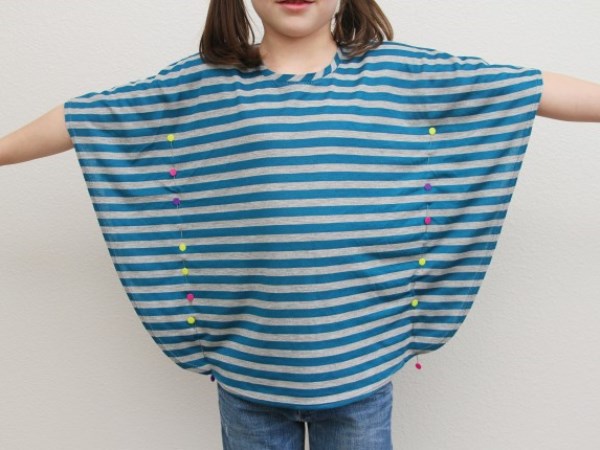
- We dress the tunic on the model and mark the height of the side seams.
- Stitch the side seams with a sewing machine.
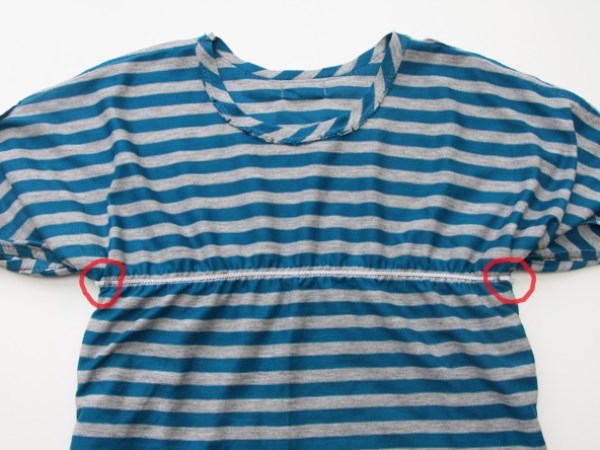
- Determine the height of the waist line and sew a rubber band.
- The creation of a simple and beautiful tunic is finished with this.
| | |
| | |
Also learn how to create a tunic without a pattern by yourself .