Autumn is a special time of the year, both sad and very elegant, especially when the trees are dressed in yellow-orange-red clothes from leaves. But you can raise your spirits to yourself and your relatives, using what nature itself gives. We offer to decorate your home with an unusual topiary - an autumn tree. Well, we will present several master classes.
Autumn Topiary: master class
To make such a lovely topiary in autumn, collect bright orange maple leaves (they look especially impressive) and clusters of mountain ash (Kalina). In addition, prepare:
- plastic pot;
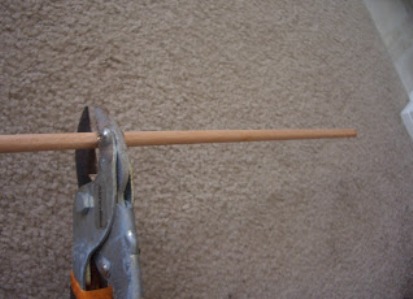
- a wooden stick;
- gypsum or balls of foam plastic;
- glue gun;
- black acrylic paint;
- moss or pebble.
So, we start to make a topiary from autumn leaves:
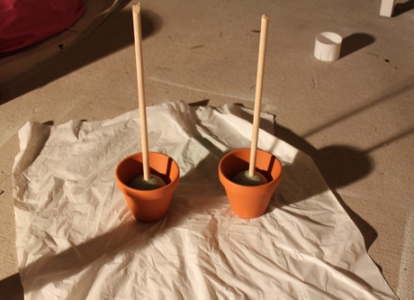
- At the bottom of the pot, plaster a wooden stick. If you find a ball of foam or a thick sponge, fix it there.
- Cover the stick and pot with black acrylic paint. It is very convenient to use aerosol paint, just do the work in the back room or on the street.
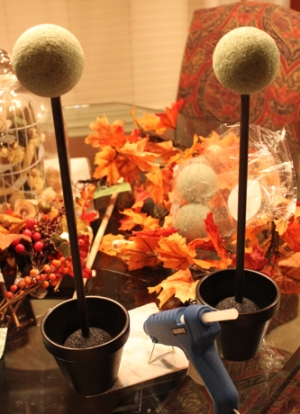
- When the paint dries, you can decorate the future of the topiary. Put a foam ball on the top of the stick. Prepare for work glue gun.
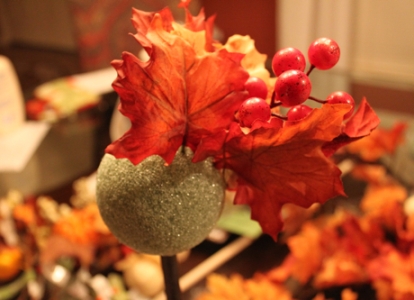
- The tip of the cuttings of each leaf is covered with glue and inserted into a foam ball. From time to time, "dilute" the leaves with branches with berries of mountain ash or Kalina. Do not forget to apply glue and on their cuttings.
- Decorate like the top of the topiary. Several leaves can be attached to the "trunk" of the topiary.
- Hide the gypsum or polystyrene in the pot with a layer of moss, leaves and branches of Kalina.
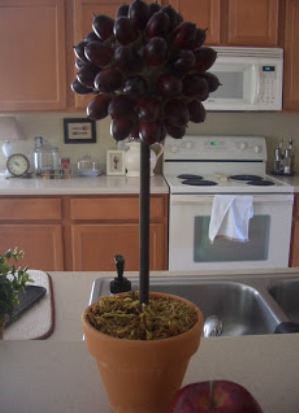
Done! You see how simple and bright! You can decorate your own house with such an effective craft. If your friends or relatives have a birthday in the autumn, congratulate the birthday boy and give him such a topiary.
Autumn topiary from acorns : a master class
Often, children want to take an active part in the manufacture of a variety of crafts. However, unfortunately, not all actions are under their power. But to make an unusual autumn topiary with your own hands from natural materials - acorns - is not at all difficult. Of course, the manufacture of crafts must take place under the supervision of parents, but the result in any case will be excellent.
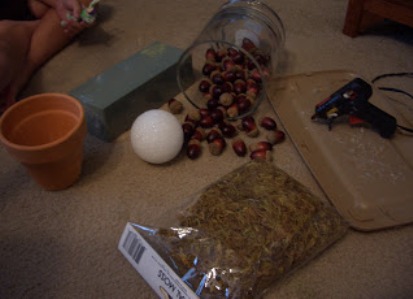
So, for work you will need the following materials and tools:
- the acorns themselves;
- plastic flower pot of small size;
- ball of foam plastic with a small diameter;
- sisal;
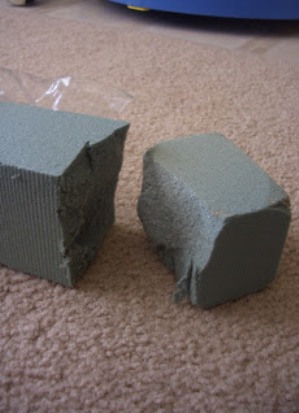
- Specialized sponge for bouquets or a dense sponge for washing;
- wooden stick;
- glue gun;
- brown paint.
As soon as the entire list is listed on your hands, you can go to the most interesting - the creation of topiary in the autumn style.
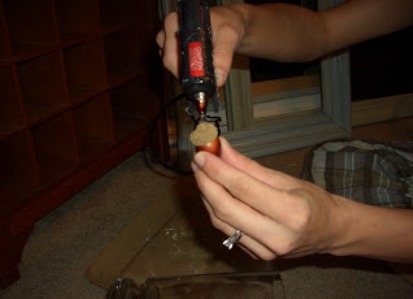
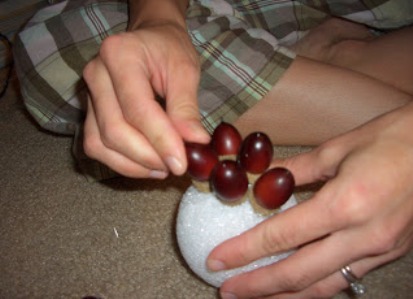
- We will begin work with the design of the top of the future topiary. We take each acorn, apply a sufficient amount of glue on its root with a glue gun and insert it into the foam ball.
- Wooden stick - the "stem" of the future topiary - shorten to the length that seems optimal to you.
- Sponge the sponge with scissors to the extent that it enters the flower pot, but is rather tight.
- Insert the left place of the top of the topiary stick, and then install the whole structure in the pot, fixing it in the sponge.
- It remains to paint the stick in brown.
- When the paint dries, apply this autumn composition the final touch - cover the sponge in the pot sisal. If it could not be found, use fallen leaves or pebbles for this purpose.
| | |
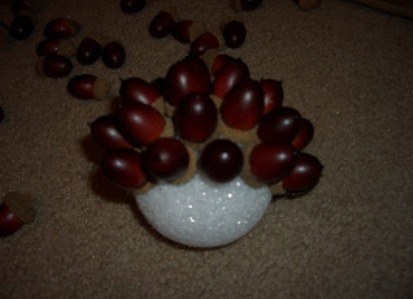
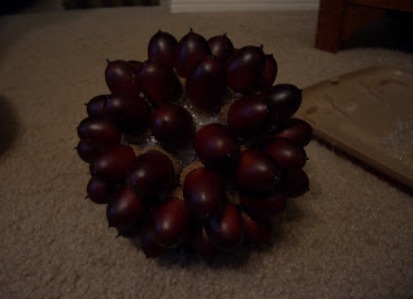
Similarly, draw the top of the topiary, starting from the top, until the whole ball is closely covered with oak fruits.
| | |
That's all! Beautiful autumn!