Stucco molding always gives the room a solemnity and makes it elegant. Decorate with a bas-relief can be any of the rooms, including the kitchen and balcony. Depending on the chosen theme and color solution, decorative bas-reliefs can be safely entered into any style of interior design from the classical baroque to the modern high-tech .
How to make a bas-relief with your own hands?
This kind of decoration of the walls in the performance of the masters of their business will cost you quite expensive. But this does not mean that you can not decorate the interior with plaster bas-reliefs with your own hand. If you ever dealt with gypsum, then nothing complicated for you is not to be. In this article we will consider how to make a bas-relief on the wall in the form of a grapevine. To do this, we need the leaves of the grapes directly from the bush or just a picture on the computer monitor as a template.
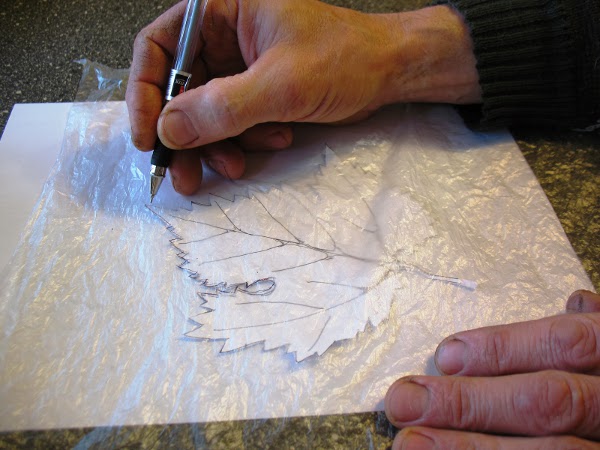
- It is necessary to transfer the image to the film. To begin, we transfer the contour to a sheet of paper, then circle it.
- Now consider two options, how can you make grapes for our bas-relief on the wall in the form of a vine. In the first case, we can just gradually roll balls in the fingers, then attach these hemispheres directly to the wall.
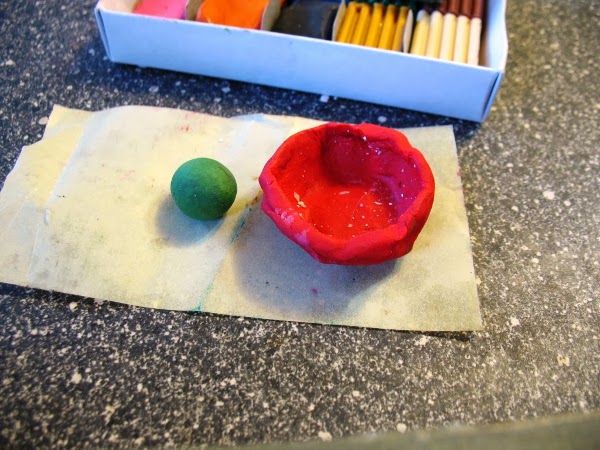
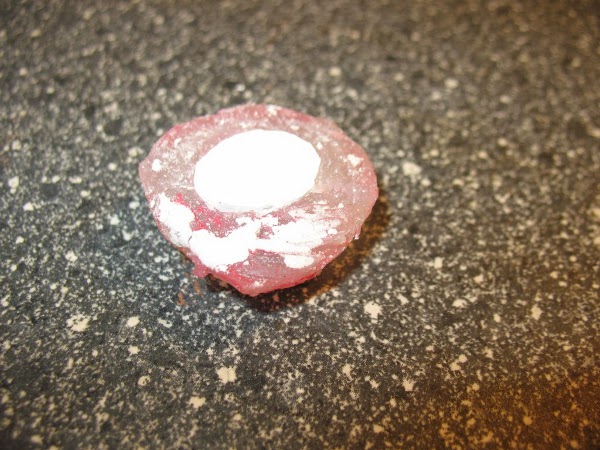
- The second method involves the manufacture of a small form. From plasticine you need to fashion a small container, as shown in the photo. Also, in advance from plasticine we make a grape.
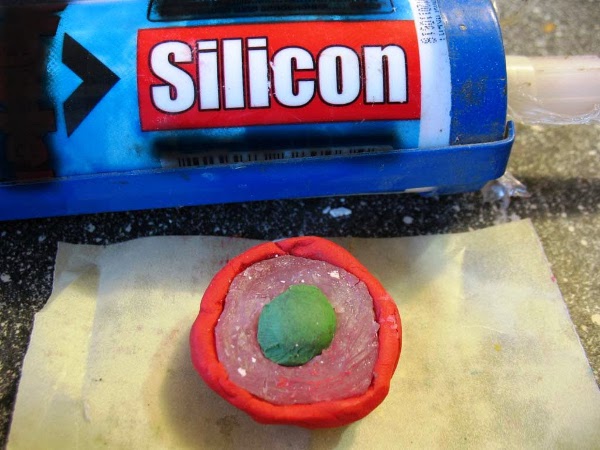
- The process of making our own hands the shape for the grapes of our bas-relief on the wall is very simple. You pour a silicone sealant into the plasticine container and immediately half-insert the grapes.
- Before we make a bas-relief with our own hands, we will prepare its elements.
- We spread the gypsum to the consistency of sour cream, pour this mixture into a mold and let it stand for a couple of minutes. We take out the ready grapes.
- The next stage of making a bas-relief in the interior with your own hands is the basis. According to the instructions, we cultivate acrylic putty or satygens.
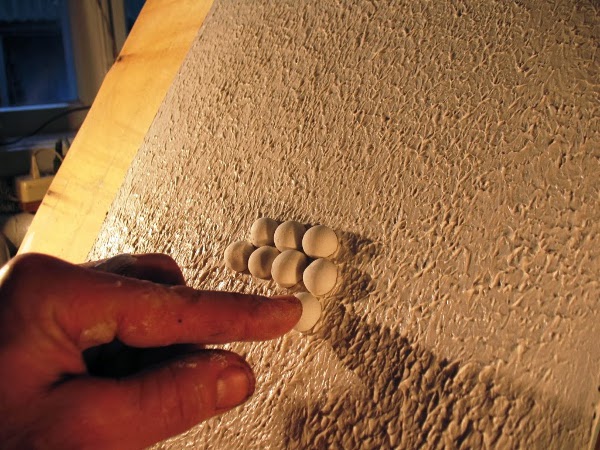
- We put it on the wall and immediately begin to work on the relief. In our case, something like a roller for paint.
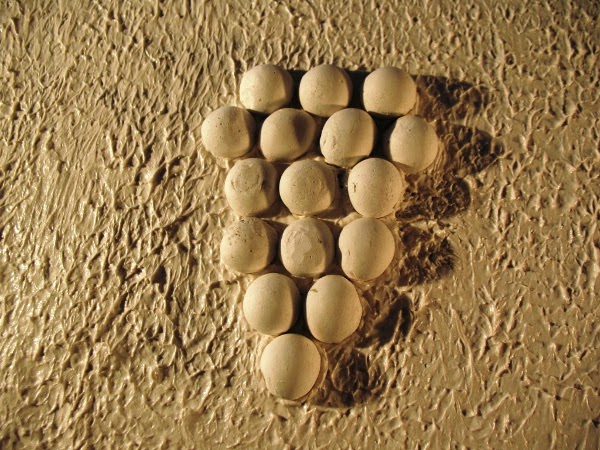
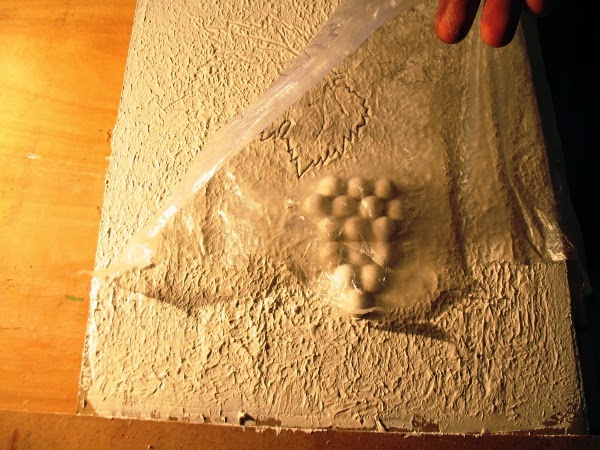
- Until all is caught, we spread the grapes and press them a little.
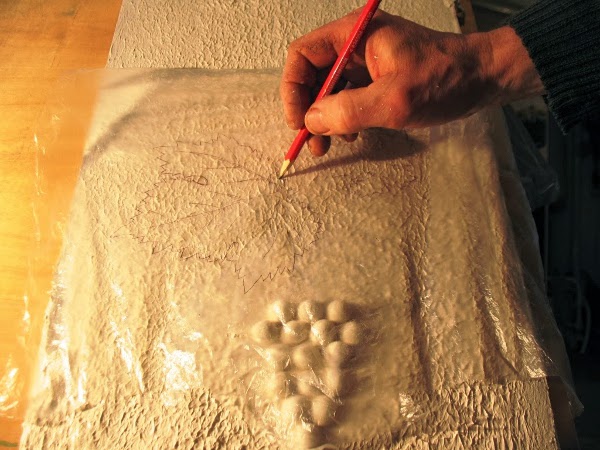
- Then immediately proceed to the leaves. We put our stencil from the film, where the sheet should grow, and we trace the outline.
- At this stage, the master of the class of making the bas-relief on the wall is as follows.
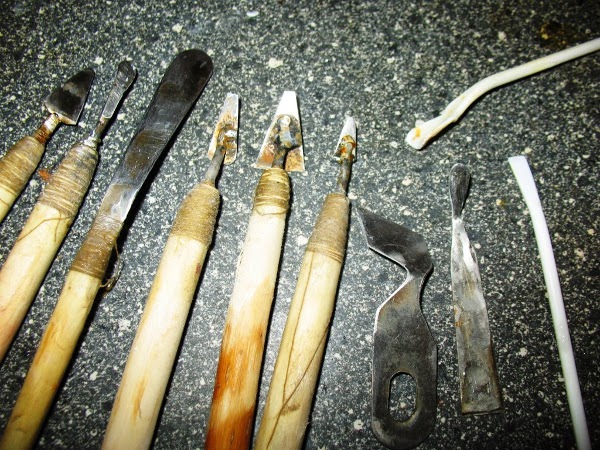
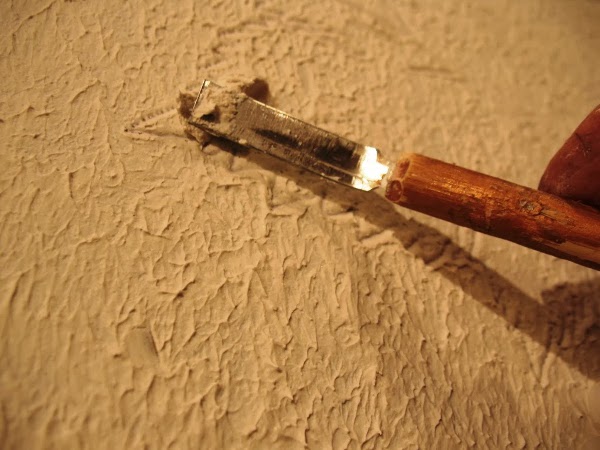
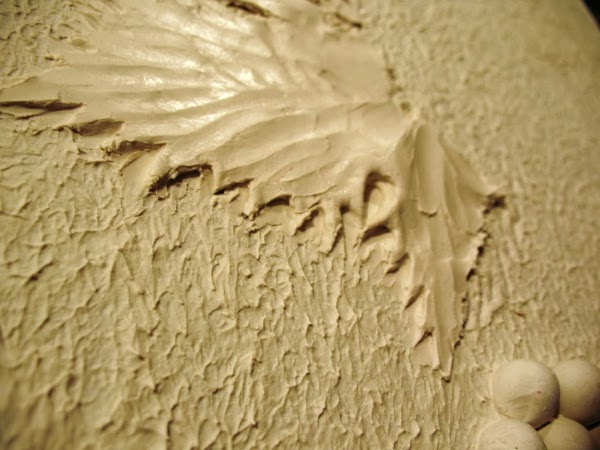
- Now you need to form a sheet. You can use completely different tools: from professional from building shops to improvised types of toothpicks or scapula.
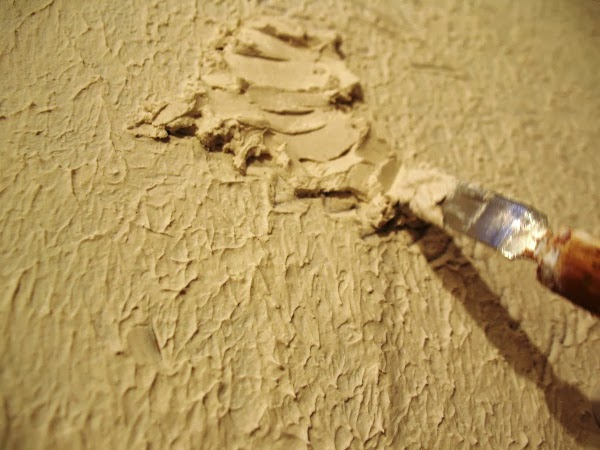
- To form a picture, you need to dilute the gypsum rather tightly. Next, we apply the convenient tools gradually layer by layer.
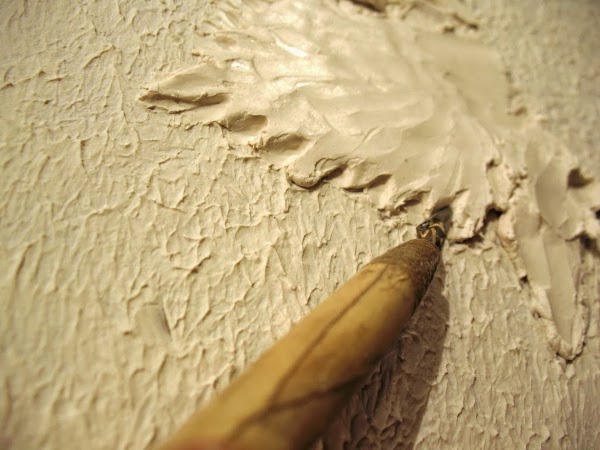
- The edge is made with denticles.
- Gradually attach a curved plate to the plate.
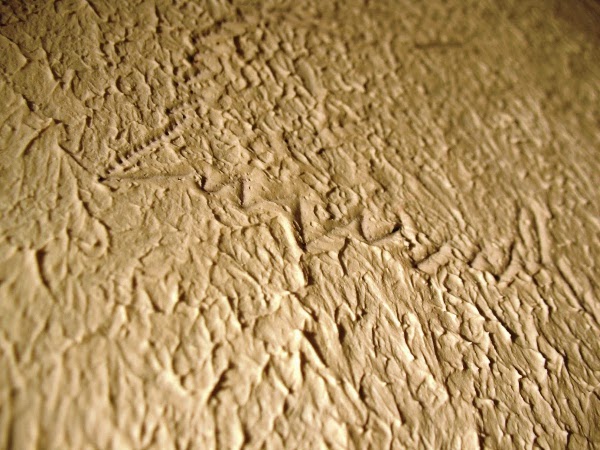
- We study the invoice and drawing.
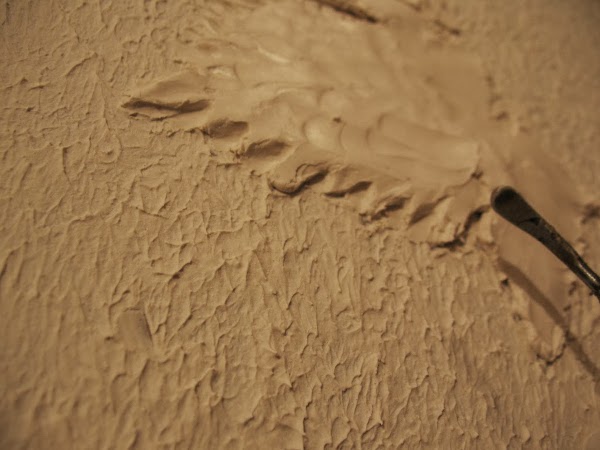
- After all the manipulations, the sheet looks like this.
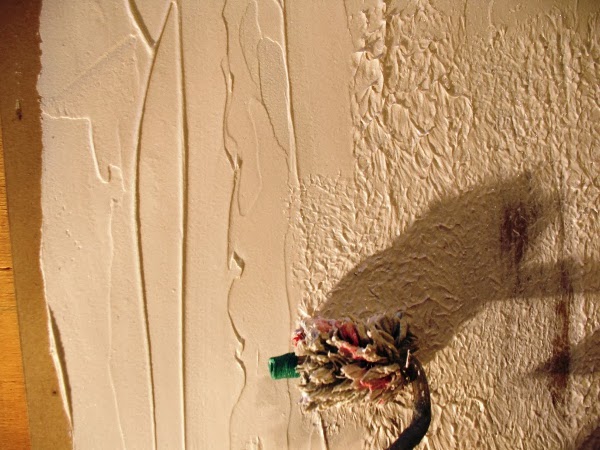
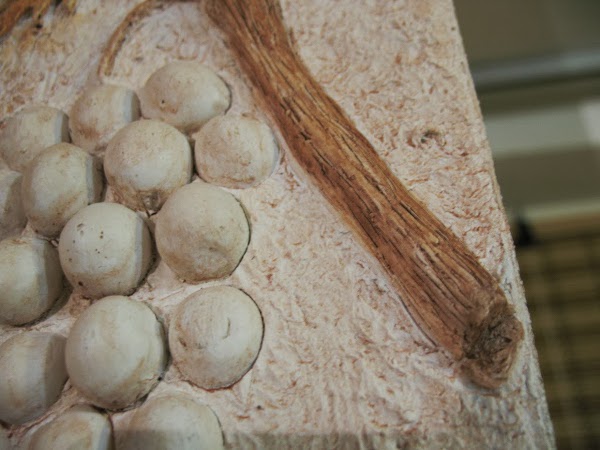
- We mold twigs. To give them a relief in the form of veins, you can use an ordinary syringe. We raise the gypsum to the state of thick sour cream and start to draw the lines.
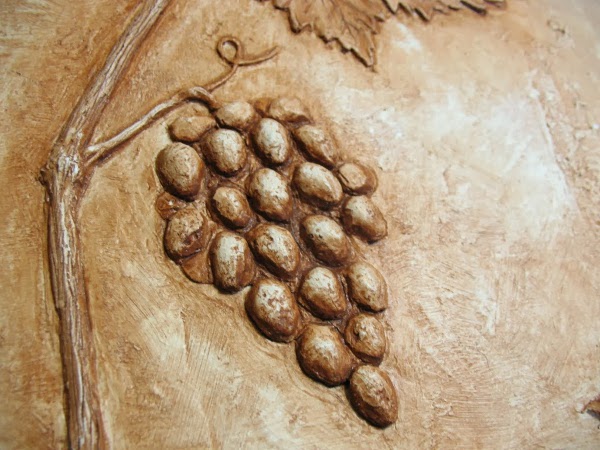
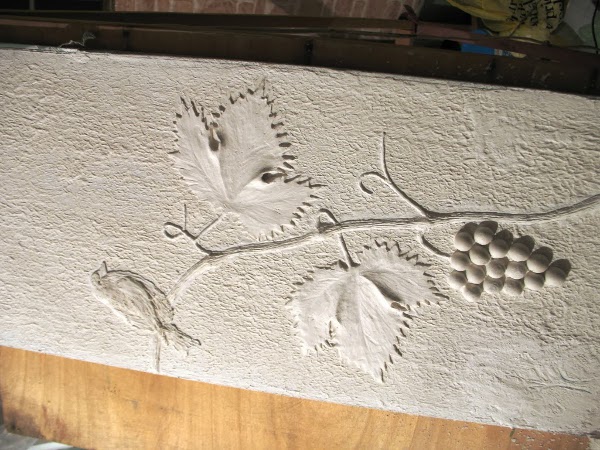
- To simulate the vines it is enough simply to make a thickening at the junction of the sheet and the bunch.
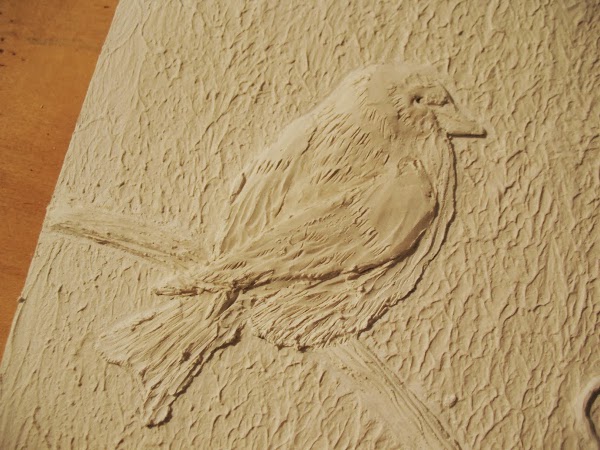
- You can supplement the composition with a plate or any other element.
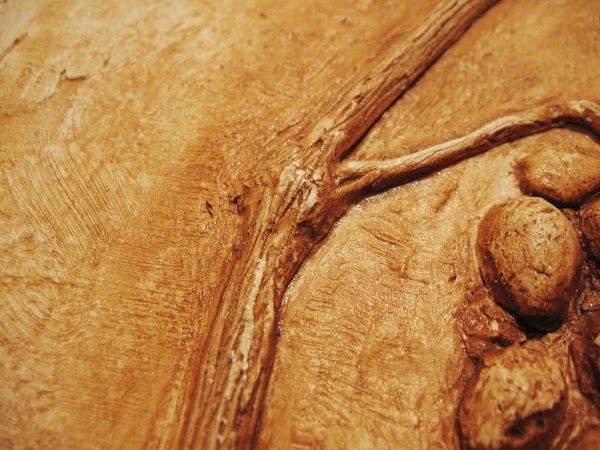
- For the finish coat we use a primer.
- Next, it only remains to decide the color scheme. You can take colored paints and make a bright autumn composition. The author of the lesson suggests using pigments intended for acrylic primer, they are also added to water-based paints. And the most reliable and safe option is special paints for plaster bas-relief. They are applied with a brush and the surplus is removed immediately using a moist sponge.
- Work on the bas-relief on the wall with your own hands is completed!