Easter drawings, which you can draw with your own hands, will be interesting for children of any age, and have your level of complexity, based on the artist's age.
Drawings on the Easter theme for children in pencil: master class
When choosing the level of complexity of Easter patterns for children, one should not strive for a masterpiece. The smaller the artist, the easier the details should be.
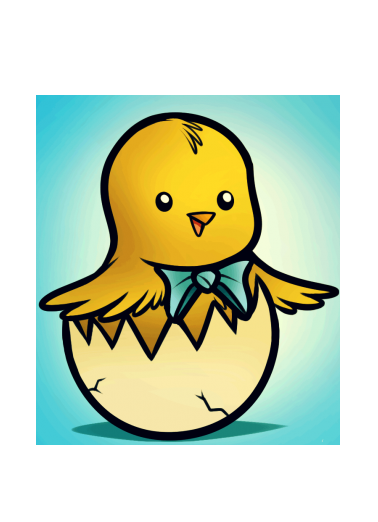
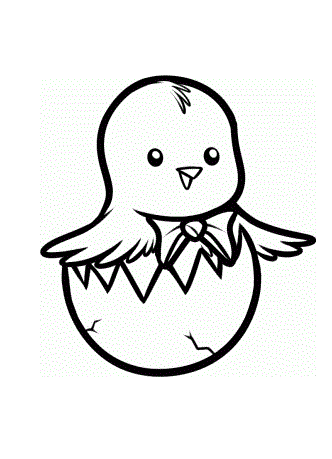
- For children of primary school and the senior group of the kindergarten, Easter drawings require simple tools - a sheet of paper, eraser, simple and colored pencils. Let's try to draw a small, just hatched chicken - after all, the chicken egg is one of the symbols of the holiday.
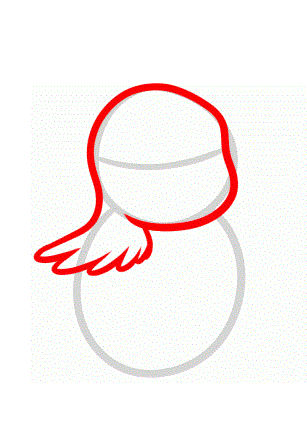
- First, in the center of the white sheet, draw a circle that is the head, and the bottom oval is the trunk in the shell. In the middle of the future head, draw a horizontal slightly rounded line, relative to which the eyes and beak will be placed. Together with the head draw the right wing - it's very easy to do.
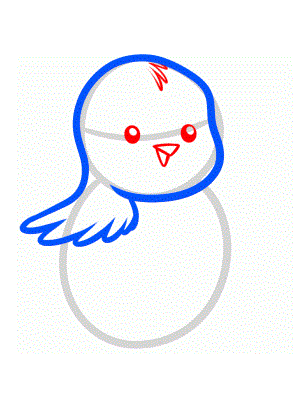
- On the central line will be located round eyes, and just below - a slightly opened beak. It is also possible to chart the chubby chick.
- Now came the turn of the left wing, the contours of the shell and the bow on the neck of the chick.
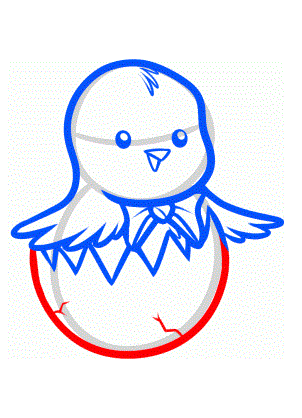
- Slightly round the shape of the shell, in which our chicken sits, and we make the bottom of the slightly cracked cracks.
- Remove the eraser unnecessary lines and the chick is ready to paint with colors or colored pencils.
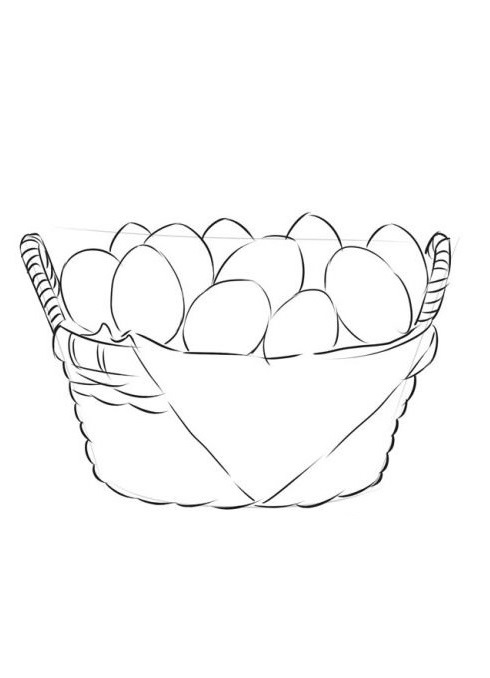
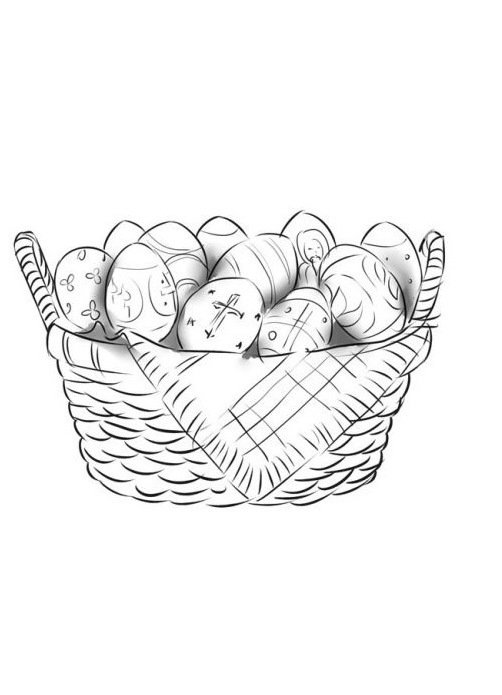
Easter basket with eggs - master class
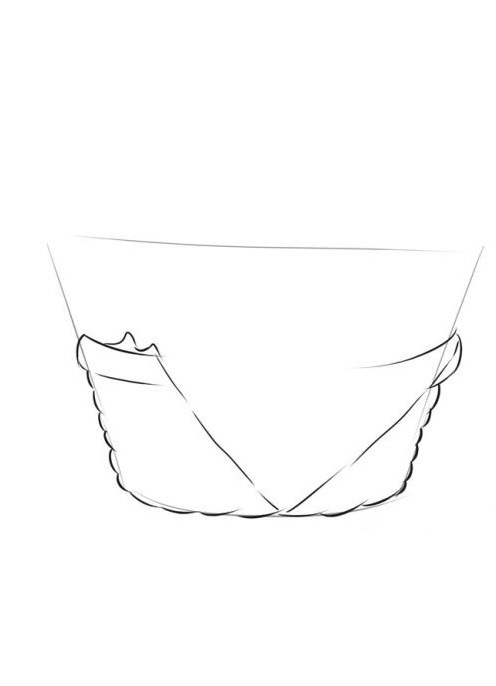
A more complicated variant for children of 6-7 years is the drawing of the Easter basket filled with colored eggs, with a sketch and the subsequent coloring with felt-tip pens, paints or pencils:
- We unfold the sheet along and determine the location of the future basket.
- We outline the uneven contours of the basket and the edge of the napkin.
- Attaching the handle basket.
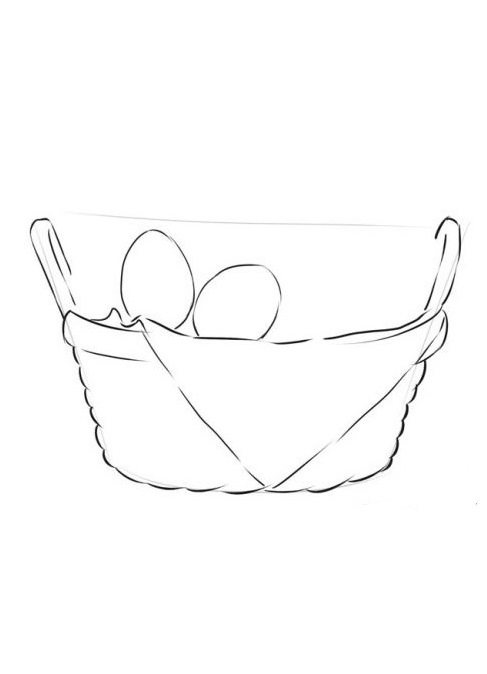
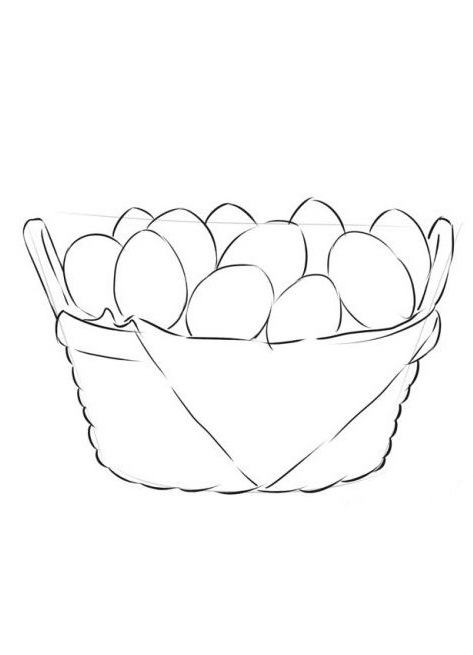
- The next step is placing the eggs in the Easter basket.
- We fill it up to the top.
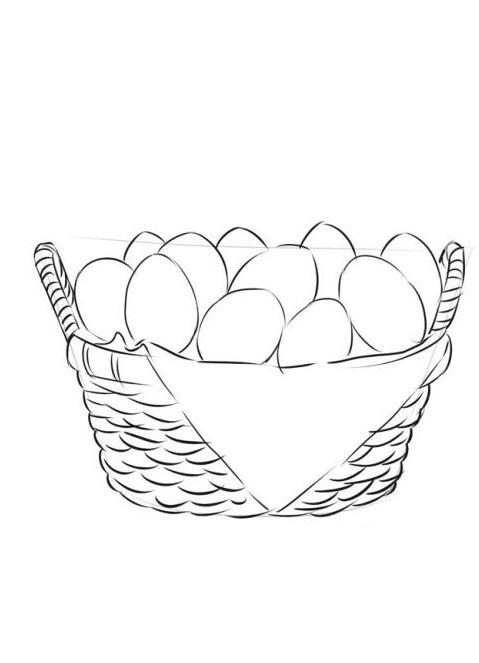
- We indicate with stripes that the basket handles are wicker.
- Wave strokes give the texture of the basket itself.
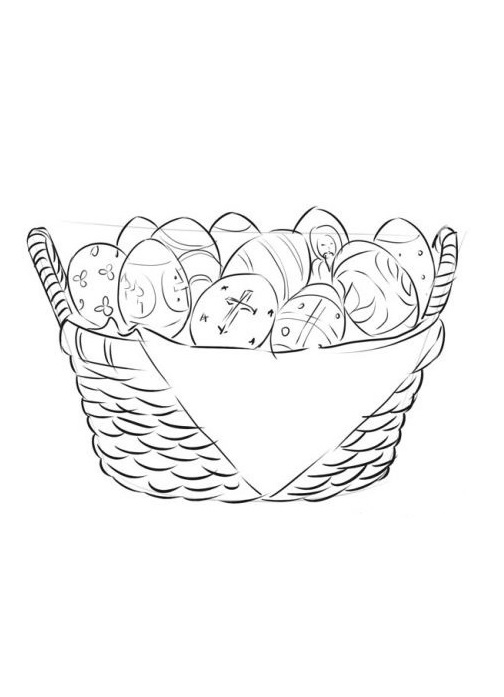
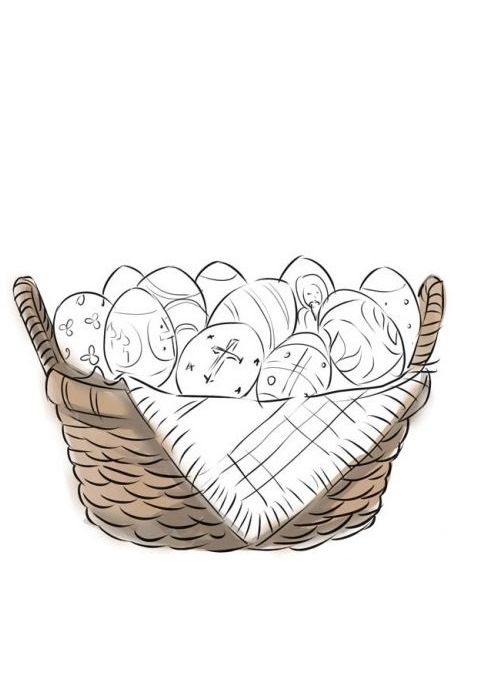
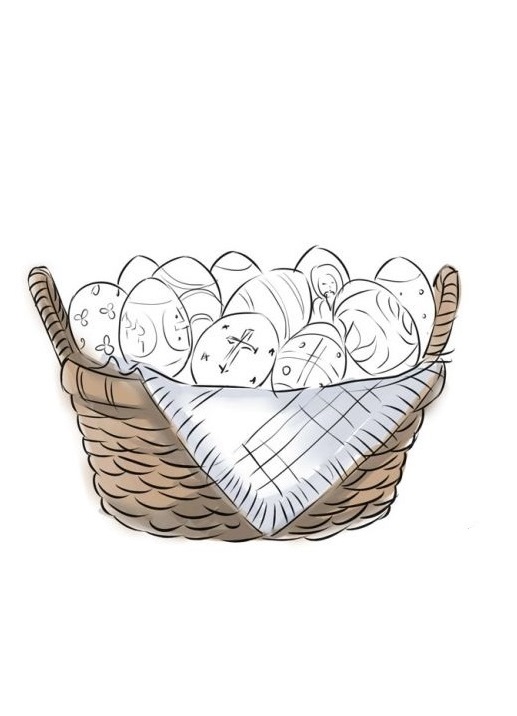
- Now you can paint eggs, as suggested by fantasy.
- Do not forget about the picture on a smart napkin.
- Using a simple pencil, it is necessary to obscure the free space near the eggs.
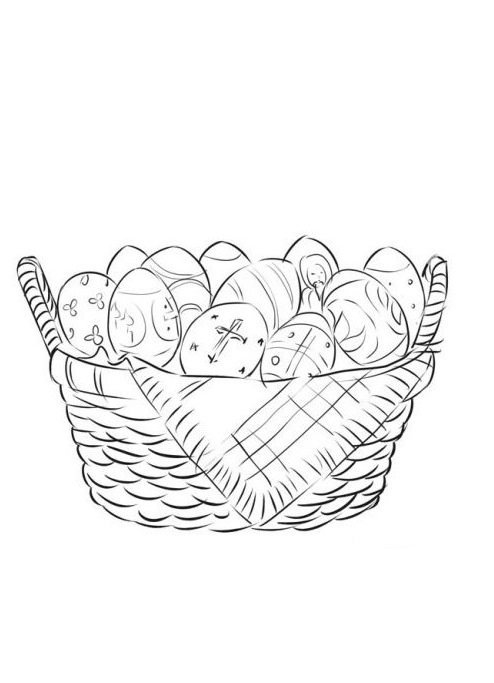
- Brown paint or pencils color the basket.
- The napkin is lightly toned in a gray-bluish hue and an ornament is applied.
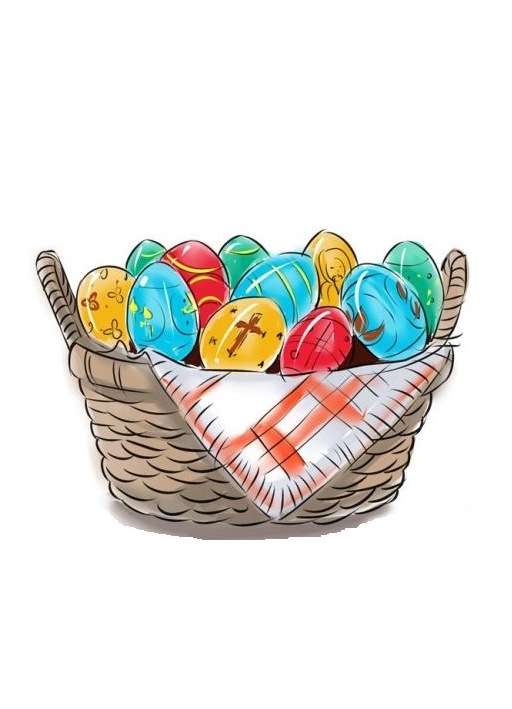
- The final chord will be the coloring of eggs.