Children are very fond of playing with different models of equipment - cars, planes, helicopters. And the helicopter made with paper hands will become not only a favorite toy, but it will certainly be a legitimate reason for pride. There are a lot of techniques for making a helicopter out of paper - it's origami, and paper models of helicopters, completely repeating real flying machines. For crafting a paper helicopter, in any case, expensive materials and great skills are not required, and the choice of the technique of its manufacture is determined by the age of the child and the amount of free time.
Paper helicopter in origami technique
We need:
- a sheet of A4 paper;
- ruler.
Manufacture:
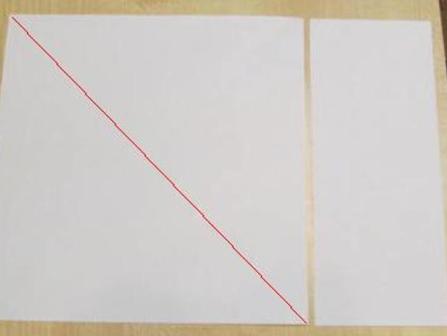
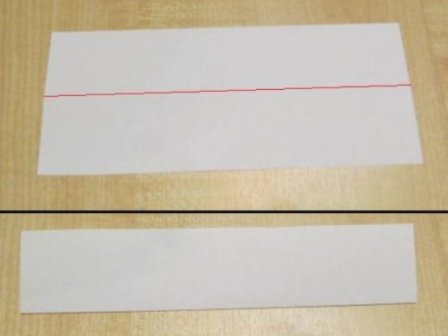
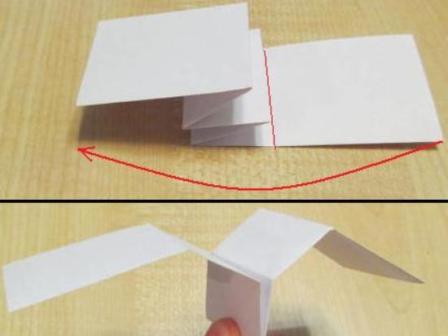
- Let's divide a sheet of paper into a square and a rectangle, bending the corner. The square part will be used for making the fuselage, and the rectangular part for the screw.
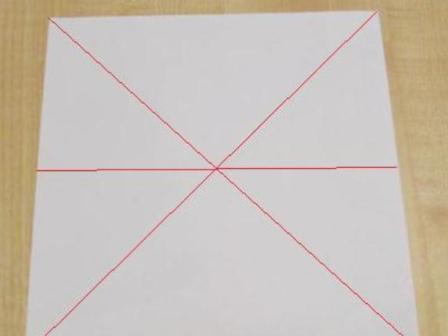
- Let's take the square part and bend it in half and diagonally. Note the inflection line.
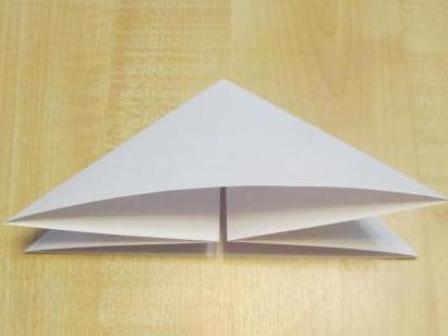
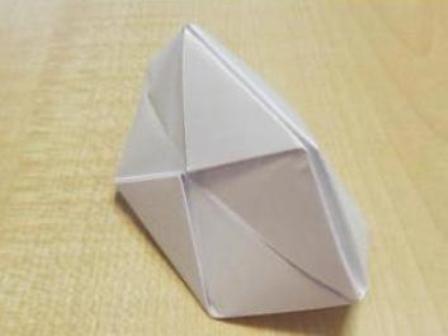
- We add a triangle from the square, by inserting the sides into it for this.
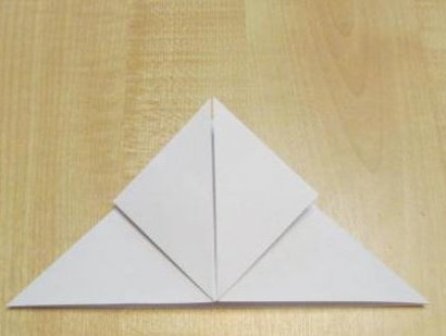
- Deflect the lateral angles of the triangle toward the center.
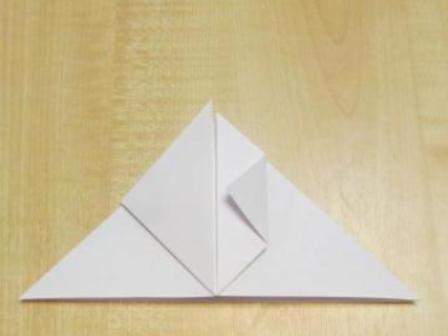
- Let's bend the lateral corner to the vertical axis.
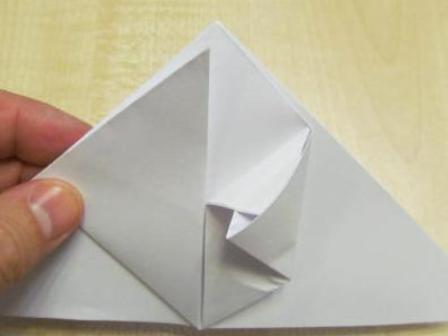
- Deflect the upper part of the right petal to the right, indicating the inflection line.
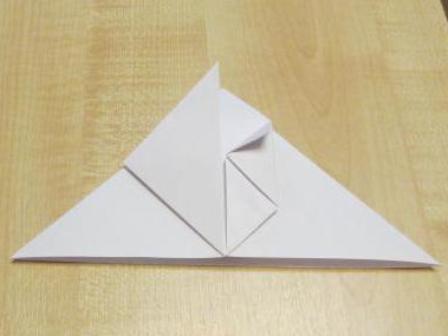
- Corner straightened and folded down.
- Bend the folded corner to the right.
- Fill the corner in the formed valve.
- We repeat all these operations for the second corner.
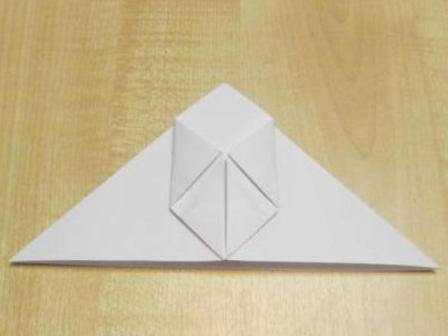
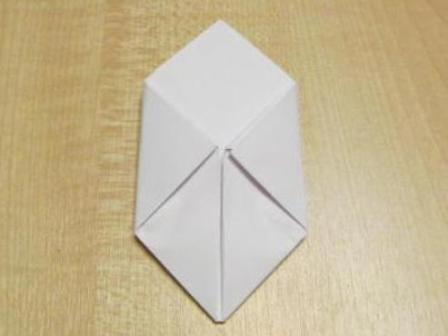
- Turn the workpiece over to the other side and do the same operations to fold and refill the petals.
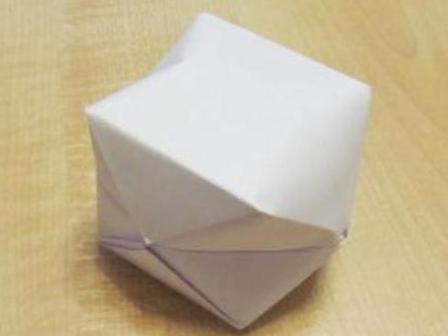
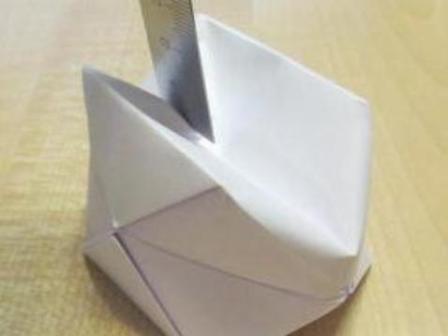
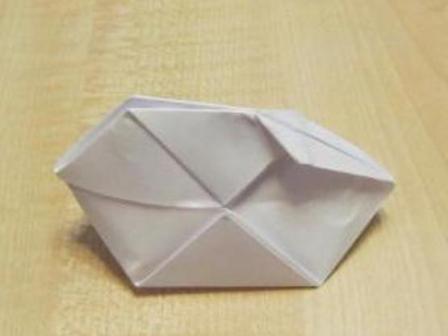
- Blow the workpiece through the hole, resulting in a cube.
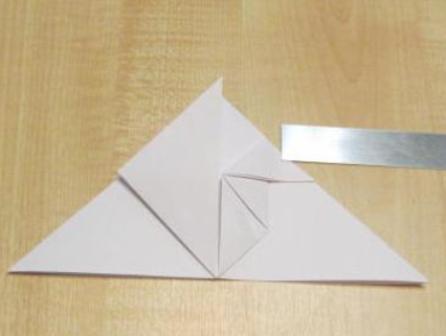
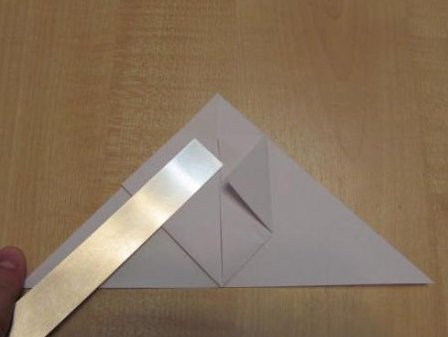
- Using the ruler, we press down the top face of the cube and fold it inward.
- We connect together the upper edges of the cube and get the fuselage.
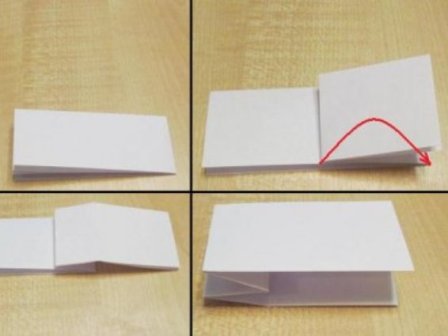
- For the screw, take the remaining rectangle and bend it in half along.
- The resulting strip is fattered in half across. Unbend the upper part and fold again in half. Then we divide into two parts those quarter-leaves that are adjacent to the center.
- Bend the blades in different directions - the screw is ready.
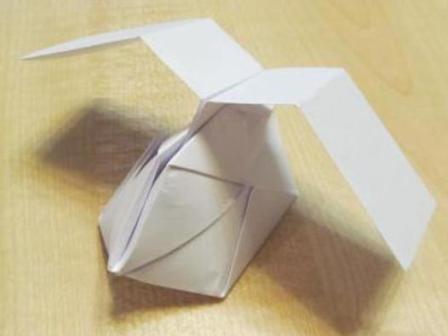
- Let's bend the corners of the fuselage in different directions.
- We will insert the screw into the formed slot. Our helicopter is ready for flight.
Helicopter from paper in Kirigami technique
We need:
- a strip of paper;
- ruler;
- pencil;
- scissors;
- clip.
Manufacture:
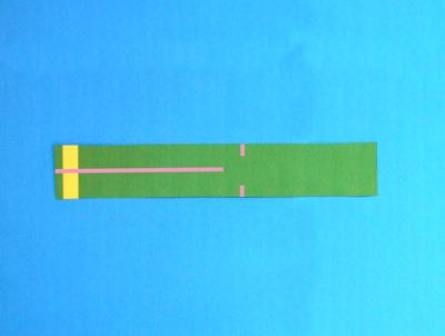
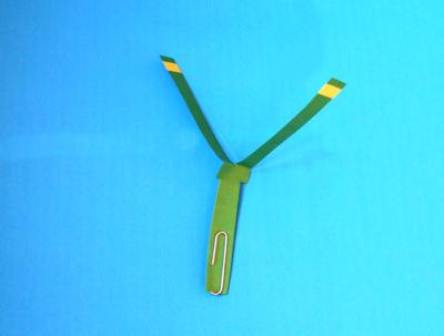
- Cut the paper strip 3-4 cm wide from the paper. The paper density should be chosen depending on the desired size of the helicopter - the larger the screw, the more densely you need to take the paper.
- Note with the help of a pencil the middle of our strip and make an incision along this mark. Let's step back from the notch 5 mm and draw a transverse line. We make incisions along this line 10 mm from each edge.
- Put the workpiece in front of you in such a way that the notches stay on the left side. The right part of the workpiece will play the role of the fuselage, and the left will serve as blades. From the side of the fuselage, note the horizontal lines, retreating 10 mm from the edge. Over these lines, fold the paper inside.
- We lower the lower edge of the fuselage inwards and secure it with a paper clip. You can do without a paper clip, but with it the helicopter will fly better.
Deflect the propeller blades so that they are perpendicular to the fuselage. The helicopter is ready for launch.
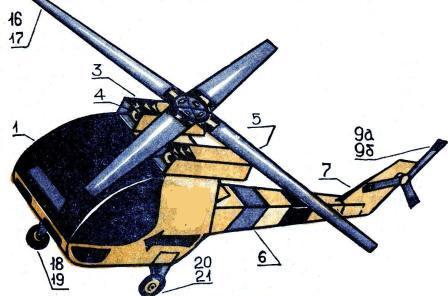
Paper model of the helicopter
This is perhaps the most time-consuming option for how to make a helicopter from paper. As a result, we get a beautiful bright paper model of a helicopter that can not fly, but will be a good gift to the pope, grandfather or big brother.
We need:
- scissors;
- glue;
- helicopter diagram.
Manufacturing