Go to work! Lambruck can include one, two or more sections. The width of the section depends entirely on the length of the cornice . And also it is necessary to know that each section in the middle is smooth - it is one-third the width of the part, and on two sides - priborenny details, somewhere one third of the width of the part.
How to carve a lambrequin with your own hands?
If the lambrequin includes one section, the width of the part must correspond to the length of the cornice.
In the event that the lambrequin includes 2 parts, and when one part covers one third of the other, the width is calculated as follows: the section is 3/3, that is, only 6/3. Further, the need to subtract 1/3, that is, how much one part overlaps the other. Remains 5/3. It is necessary to measure the length of the cornice and divide by 5, which will give 1/3. Then you multiply the received value by 3. This gives you the width of each individual part of the product.
And for a three-section lambrequin, the calculation is as follows: first, the sections overlap by 1/3, and finally - 9/3 minus the overlapping 2/3, we get 7/3. Then the length of the cornice is already divided into seven, and after - multiplied by three.
Then you calculate the stages of work on the product. This, of course, pattern, then cut and finally go to sewing. But before rushing to complex structures, it is better to try to make your own hands a simple lambrequin with tails.
Master Class
Have you decided to decorate the bedroom? Make it more comfortable and elegant, so that after a day's work, relax from the gray and dusty civilization? Well, this master class for producing lambrequin with your own hands is for you.
Simple draperies are good for windows that do not need curtains at all, but around which you want to create a fairy tale. For example, by creating with your own hands a simple lambrequin in your own bedroom, you will get exactly the design that you wanted to have for a long time.
What we need:
- the basic fabric;
- lining fabric;
- bar of the necessary length for the product, size 5 x 2;
- decorative cord;
- tape;
- pencil;
- carnations and a hammer or a stapler.
Getting Started
Step 1
We fix the bar for lambrequin above the window so that it is 10 cm above the window frame, and the ends go beyond the frame for the same segment.
In order not to be mistaken, you make a pattern of half of the final pattern, on which you will continue to work.
If you want the resulting lambrequin to hang at 50 cm, cut 70 cm of fabric. That is, the length of the fabric can be determined by the length of the cornice and by the two lengths of the lateral tails. If the length is less than 140 cm, cut off a piece of cloth in 70 cm. And do not forget that you need to leave one and a half centimeters on the seams.
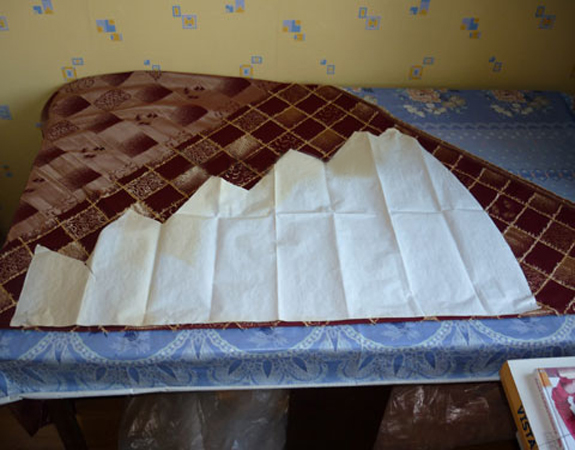
Then apply the template to the material folded twice and make a pattern.
The lining fabric is exactly the same as the lining fabric. The lining will make the lambrequin bulky, and its folds will assume a more smooth shape. But it is not necessary to apply it.
The finished pattern should look as shown in the picture /
Step 2
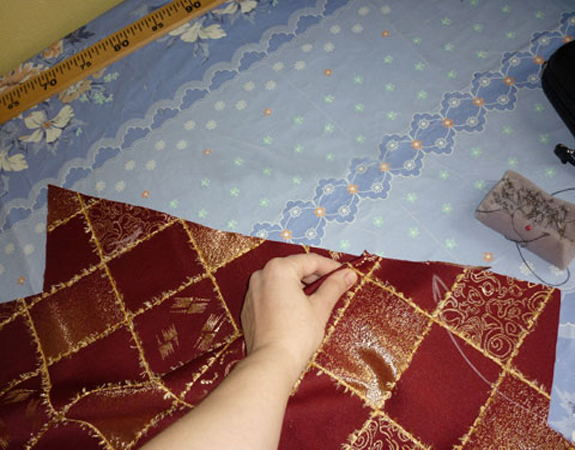
We collect and weave the fabric /
All the fabric should be stitched a half centimeter from the edge, but 30 cm from the edge to leave it not stitched. From the untouched sides, remove the pins and turn the product out and sew the side of the turn by hand.
This is done if you have folded up the main fabric and lining the face to each other and so begged. If you do not use the second fabric - just stitch around the edges without turning. Stroke the ready matter.
After the done procedures, mark the middle of the bar and lambrequin. Using furniture nails or a stapler, attach the middle of the fabric to the bar. In this case, the ends of the matter should hang freely around the edges, if you make one lambrequin for the curtains.
Step 3
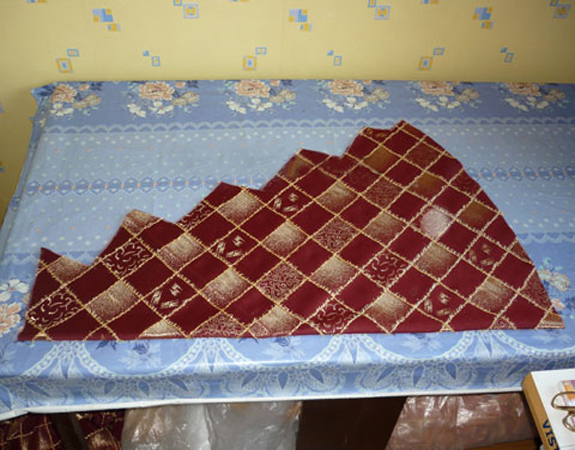
Lambrequin is measured again.
If it is part of a large curtain, it should look as shown.
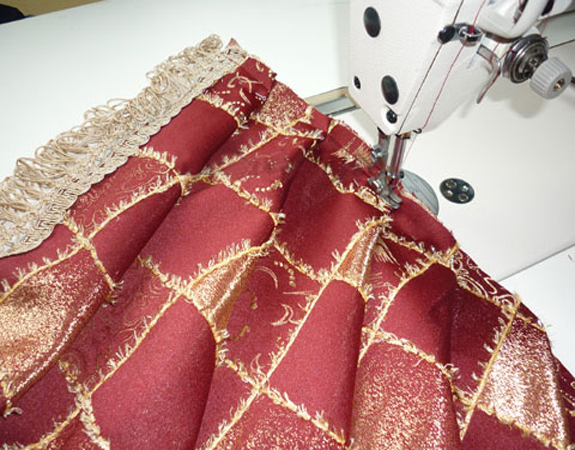
And when you collect the curtain, she will decorate the window with a beautiful frame.
Well, if you made the first lambrequin scarf with your own hands, then you can collect the dangling ends with a beautiful cord.