Gypsum plasterboard partitions have become an integral part of the layout and redevelopment of the interior, whether it is a house, apartment, office or something else. They are light in weight, easy to install, they do not create additional load for bearing walls and beams, and you can create partitions of any shape and design. In general, the merits of this type of structures are mass.
Perhaps you need to break one large room into two or simply select a separate zone in it. And maybe you want to move the doorway or fence off the room from the balcony . Probably in the office room it was necessary to fence off part of the staff. In any of these cases, you will not be prevented from knowing how to build a drywall partition with your own hands.
Partition of plasterboard with their own hands - preparation for work
First you need to decide on the desired thickness of the future partition. In accordance with this, we select the profile and GCR. If the wall thickness in the room is 13.5 cm and you need to achieve a coincidence with this value, then you need a profile of 100x40 mm and a plasterboard of 12.5 mm. As a result, after very simple calculations, we determine that the thickness of the partition will be 100 + 12.5 + 12.5 + 100 = 125 mm. The difference of 1 cm is not critical.
We prepare the necessary tools and materials:
- laser and bubble level;
- profile with the specified parameters;
- screwdriver and perforator;
- self-cutters for wood, plasterboard and metal, dowels;
- scissors for metal;
- a hammer;
- stationery knife.
The process of manufacturing in the room partitions from plasterboard with their own hands
We begin our step-by-step instruction on manufacturing with own hands of a partition from gypsum cardboard.
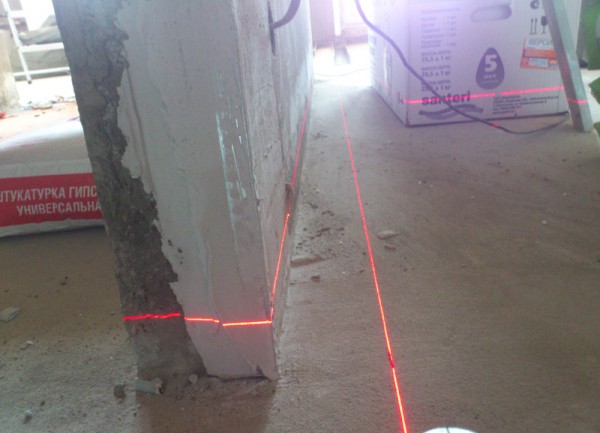
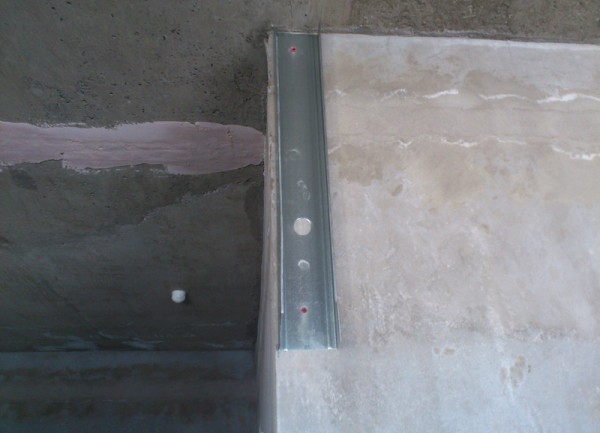
- With the help of a modern laser level, markings are made by putting the marks with an indentation of 10 cm from the central wall from both edges. We put a laser on them and see the whole picture at once: a very fast and highly accurate method.
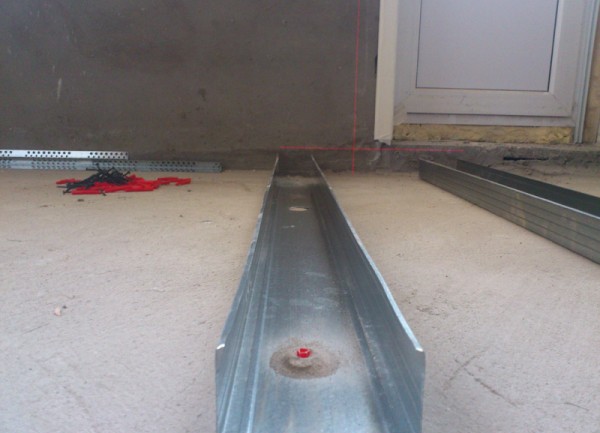
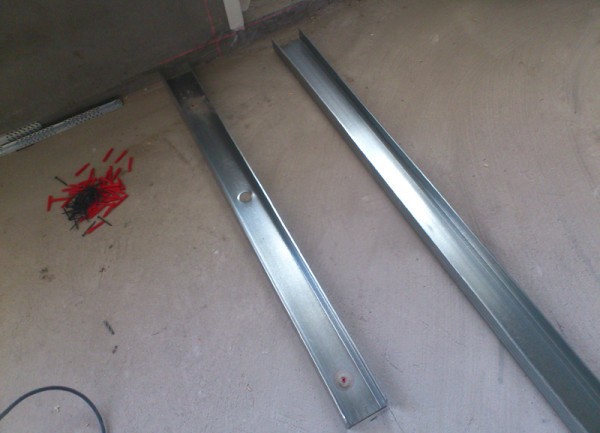
- Now cut off the guides of the required length and attach them to the floor at a distance of ten centimeters from the laser beams. Fastening is made with a screwdriver, dowels and screws.
- Similarly we fix the profile on the ceiling and the wall.
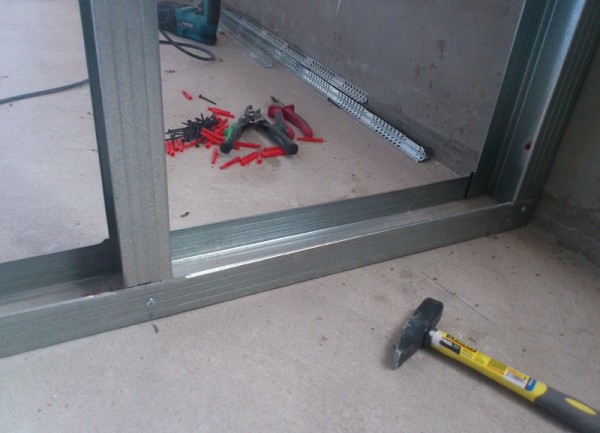
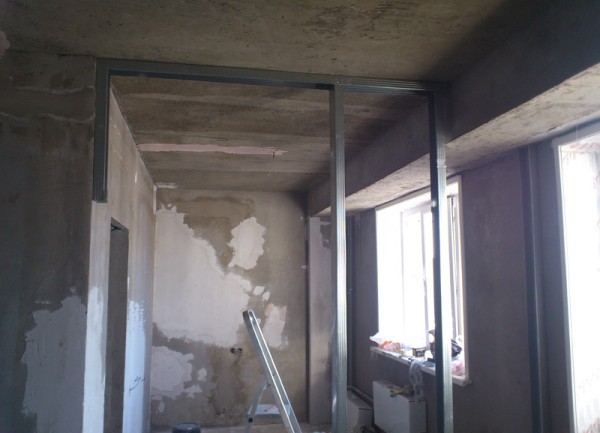
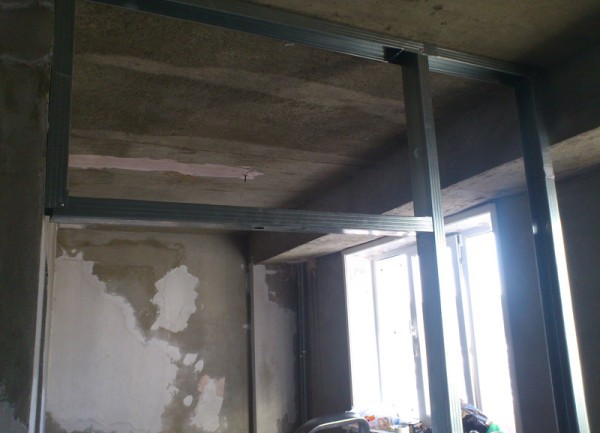
- We collect and fasten the partition by inserting the rack profile into the guide profile.
| | |
| | |
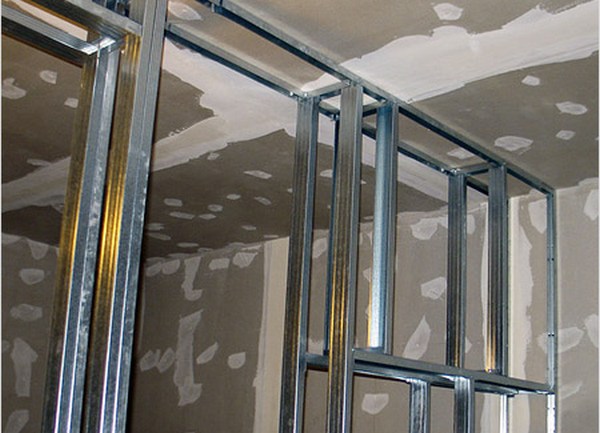
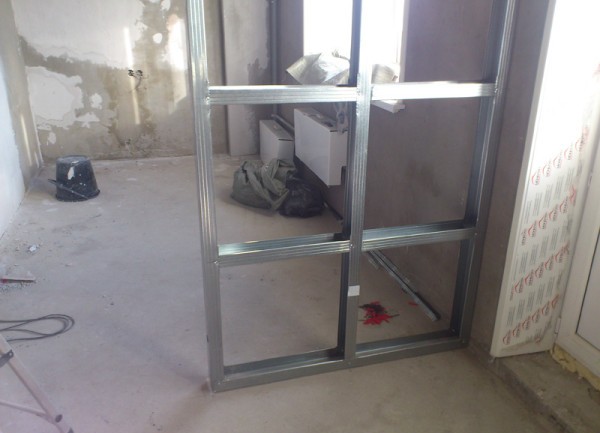
Since the standard width of the gypsum board is 120x250 mm, we will mount it exclusively vertically. Accordingly, every 60 cm you need to install a rack-mount profile. But for a more solid design, you can put them in every 40 cm. It remains to mount a horizontal jumper.
In the course of installation of all the necessary horizontal jumpers, we get here such a "skeleton" of our future septum.
In this case, all profiles can be fastened together with self-tapping screws without a drill, and cut with scissors for metal. In the end, be sure to check the plane of the frame and, if necessary, add fixing points to the ceiling, floor, walls.
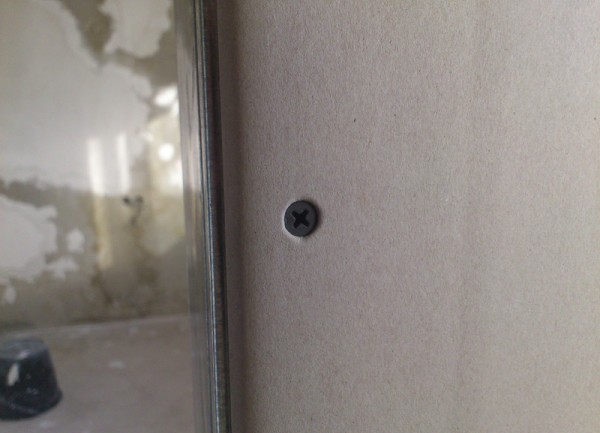
Then we proceed to the installation of the GKL. We retreat from the corners for five or seven centimeters and screw the sheets with screws. We twist them at a distance of ten to fifteen centimeters from each other.
"Utaplivaem" samorezy in gypsum cardboard for 1 mm.
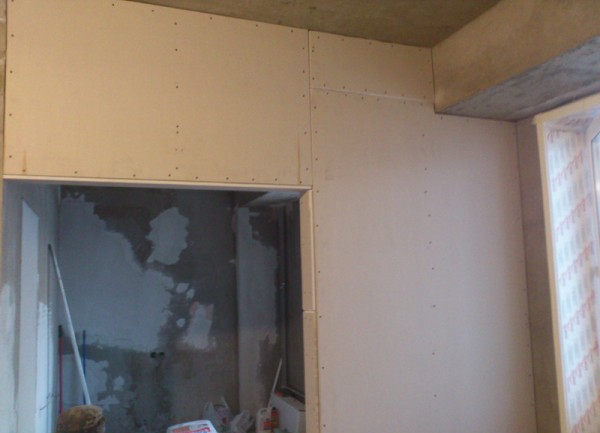
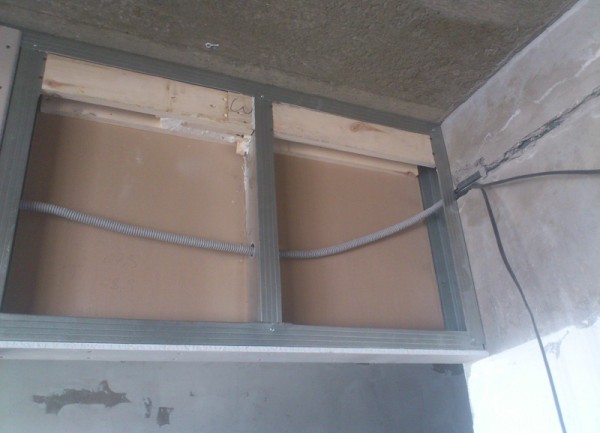
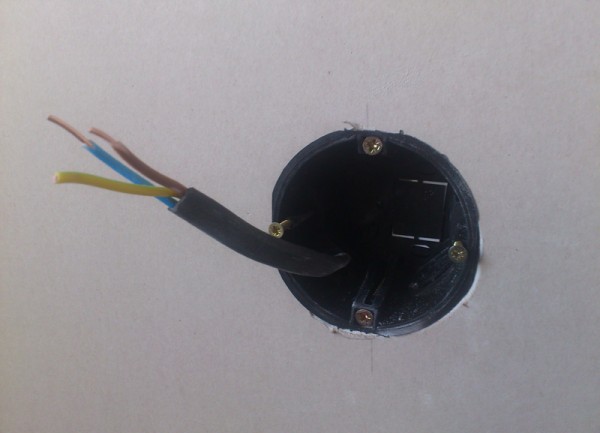
First, we cover one side of the partition, and the second one starts only after all the communication systems inside it have been installed - sockets, wires, switches, etc.
| | | |
Places of joints GKL with the help of a stationery knife "we extend". This is done so that when the joints are sealed, the solution enters the joints well, and the finish is smooth and qualitative.
That's so easy and not costly you can make a partition of gypsum board with your own hands. It remains only to process the seams and paste the protective corners, after which you can begin the finishing of our new stenochki.