Not quite an ordinary summer hat - a kerchief on an elastic band - can be sewn by hand. To do this you will need the simplest materials and sewing tools. A pattern for a kerchief on an elastic band is not needed, rather elementary measurements using a conventional ruler.
We sew a kerchief with an elastic band with our own hands - a master class
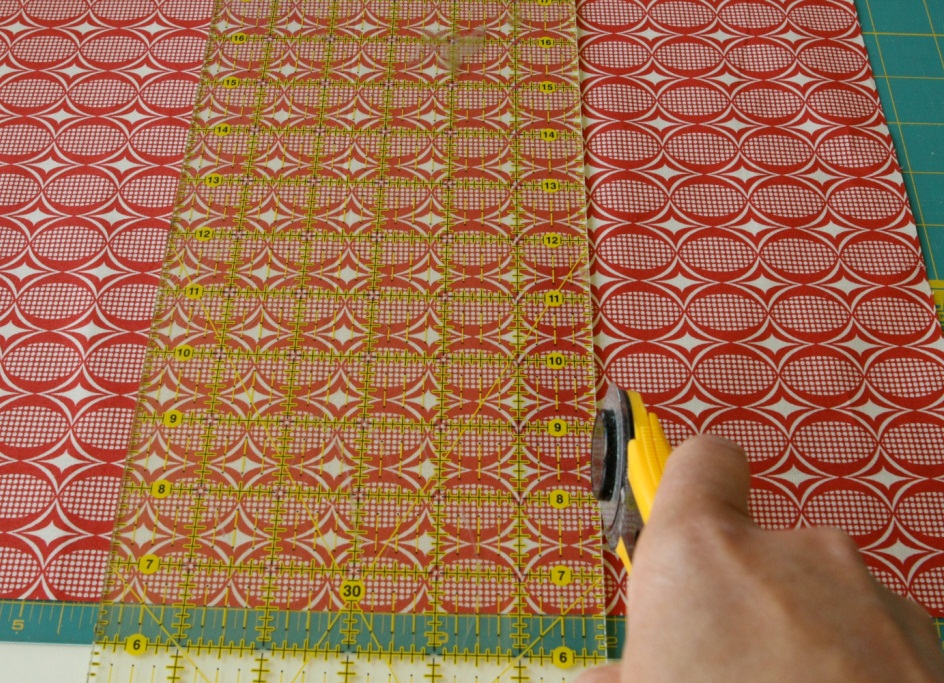
- Typically, to sew a baby kerchief on an elastic band, you need a square of cloth measuring 25x25 cm. For an adult, take a cut of a little larger size (about 35x35 cm).
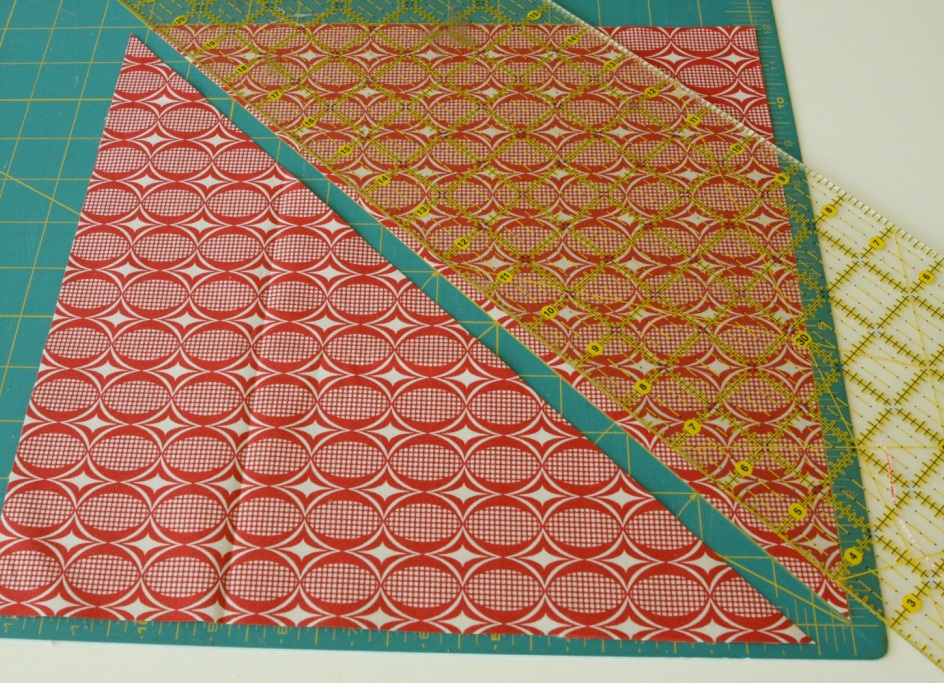
- Cut the square diagonally into two equal parts.
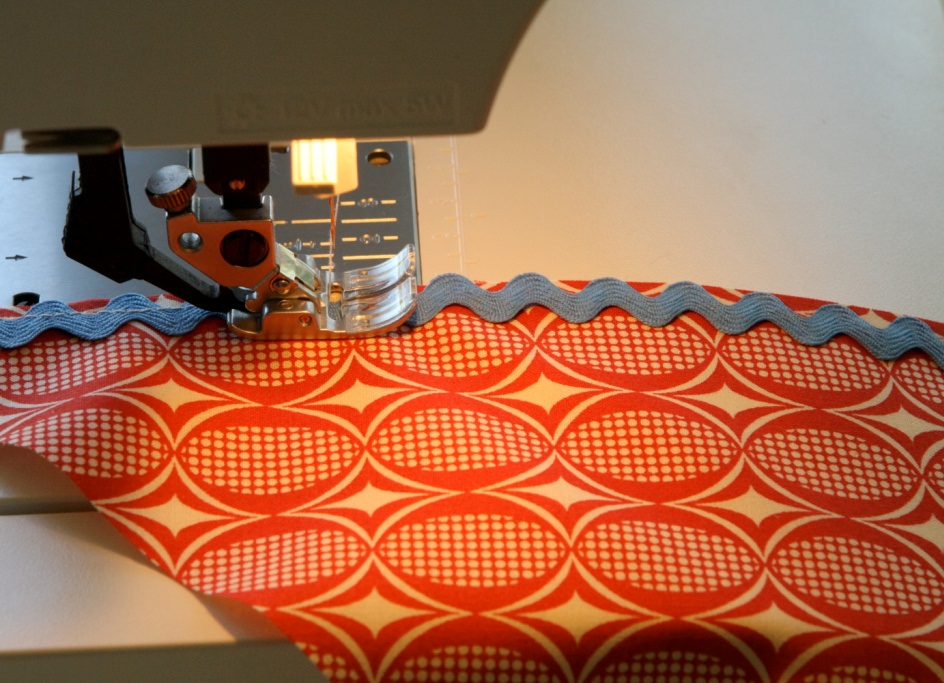
- Sew a braid along the wide edge of the triangle.
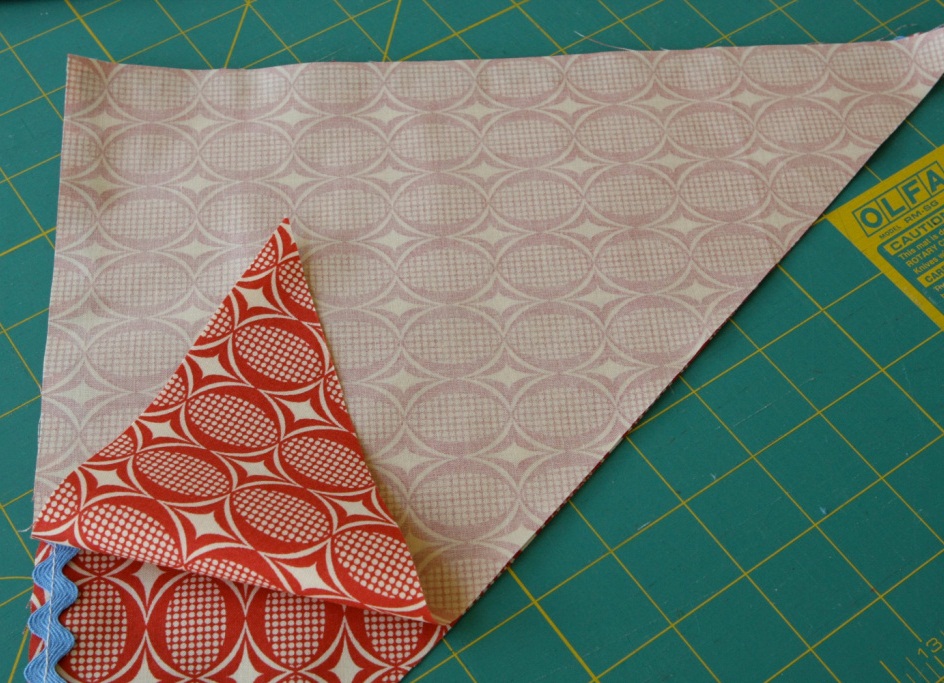
- Fold the resulting triangles face to face.
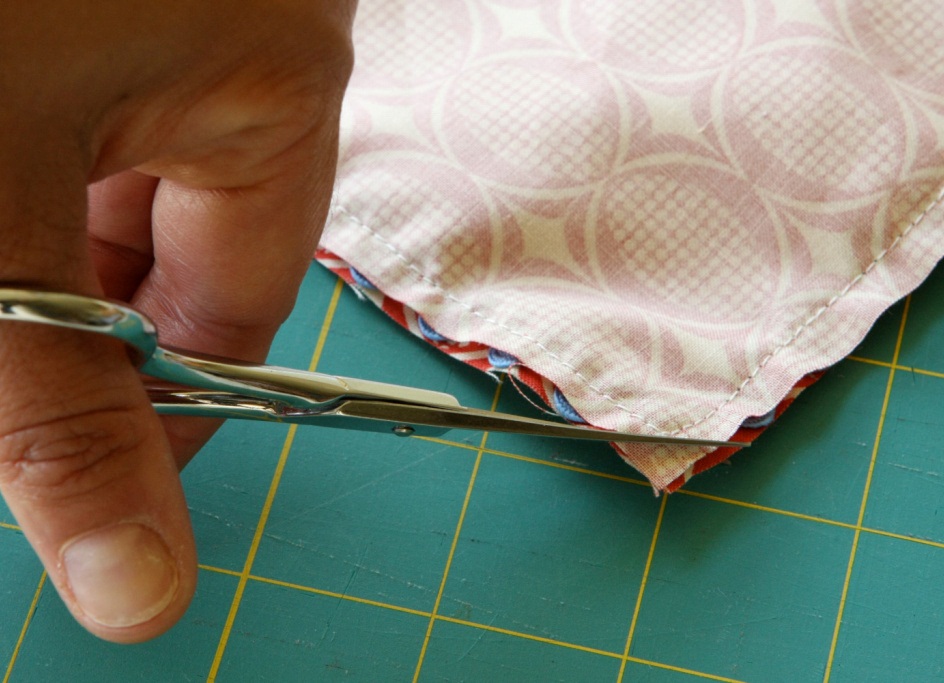
- Route the machine stitch on the lower side from the inside.
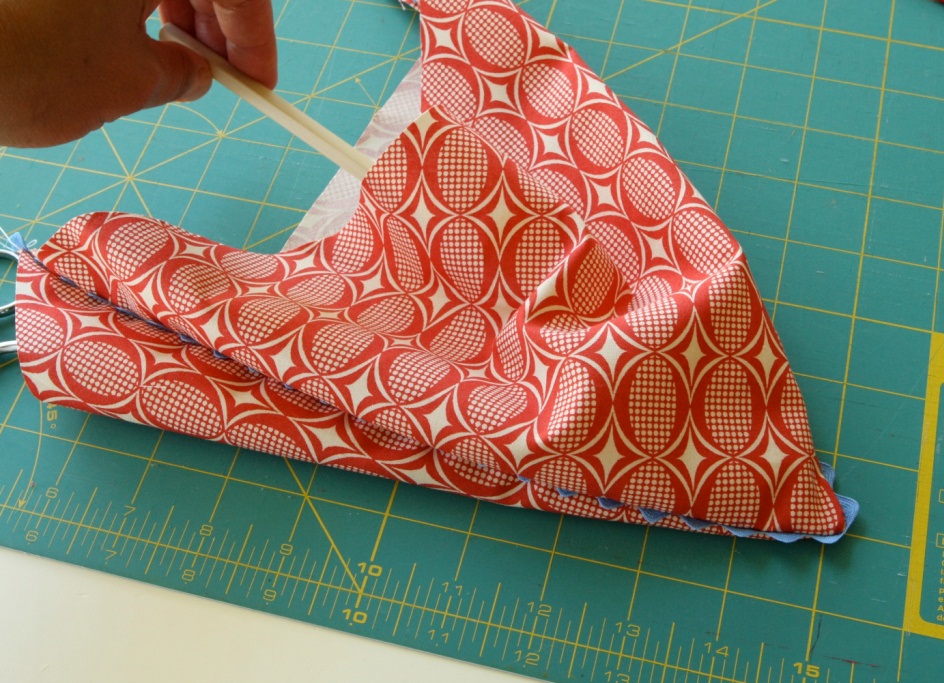
- Unscrew the kerchief on the front side.
- Now the seam needs to be ironed properly, carefully leveling the edges.
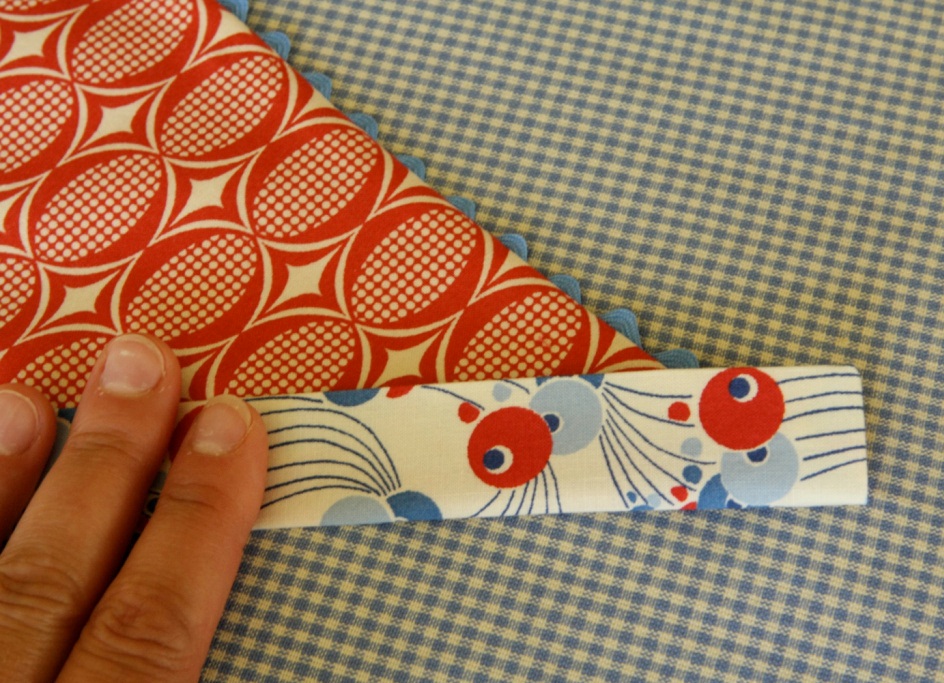
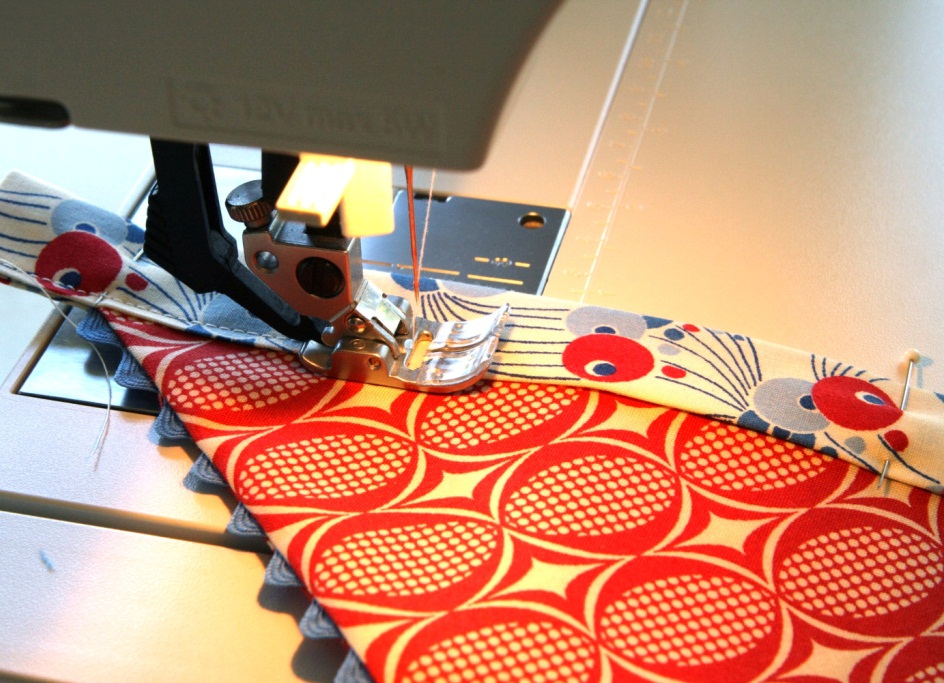
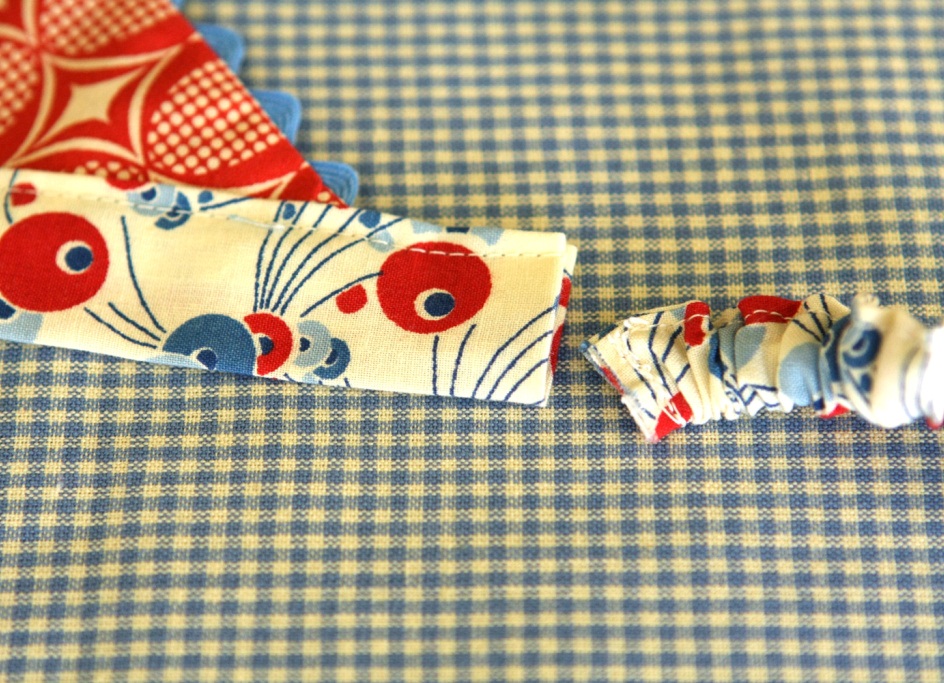
- The next stage is the design of the rubber band. Take a piece of fabric that is suitable for texture, thickness and pattern.
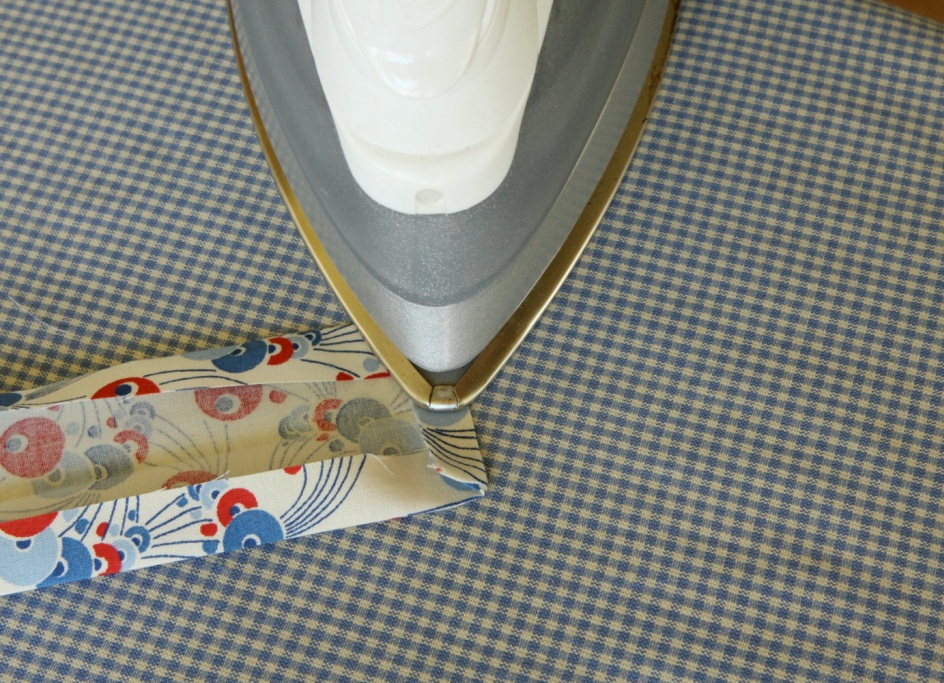
- Measure out a strip 4-5 cm wide so that you can bend it on both sides. Use the steamer to fix the edges.
- The end parts are also iron.
- Attach the resulting strip to the untreated side of the headscarf so that it is located on both sides at the same time, as if wrapping the edge of the fabric.
- Fix with pins and run along this line machine stitch. The edges of the narrow strip should be free - they will need to be connected with an elastic band.
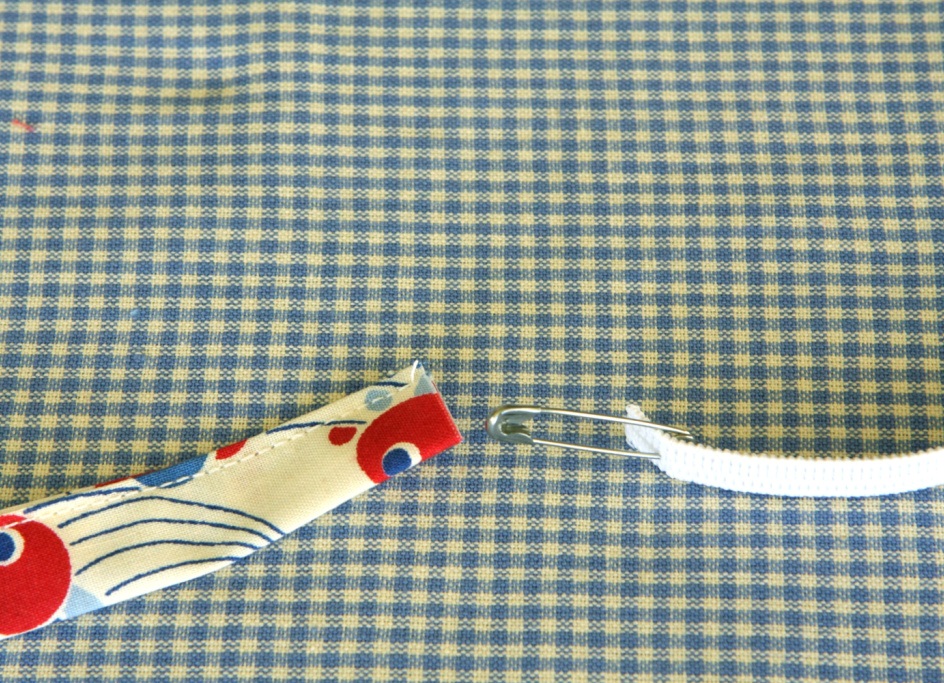
- The simplest option is to sew to the ends of strips an ordinary rubber band. But we'll do it differently: we'll hide the elastic band inside the strip, so that only the fabric can be seen from the outside. This will make your kerchief on your head on an elastic band more cute. So, prepare the same strip as in paragraph 9, and fold its edges accordingly. Then stitch them, turning the strip of fabric into a narrow tube.
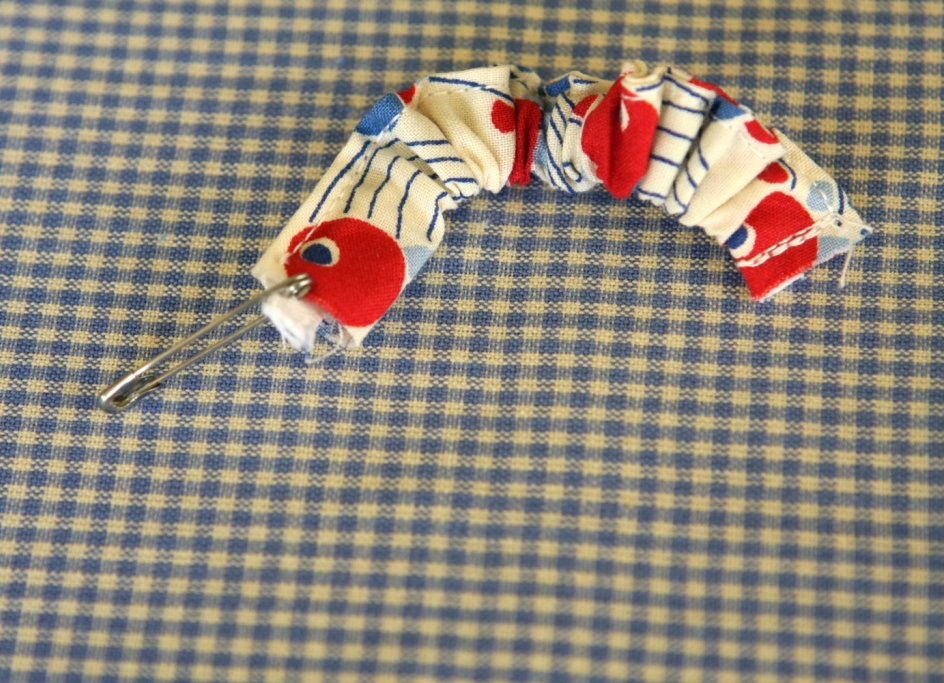
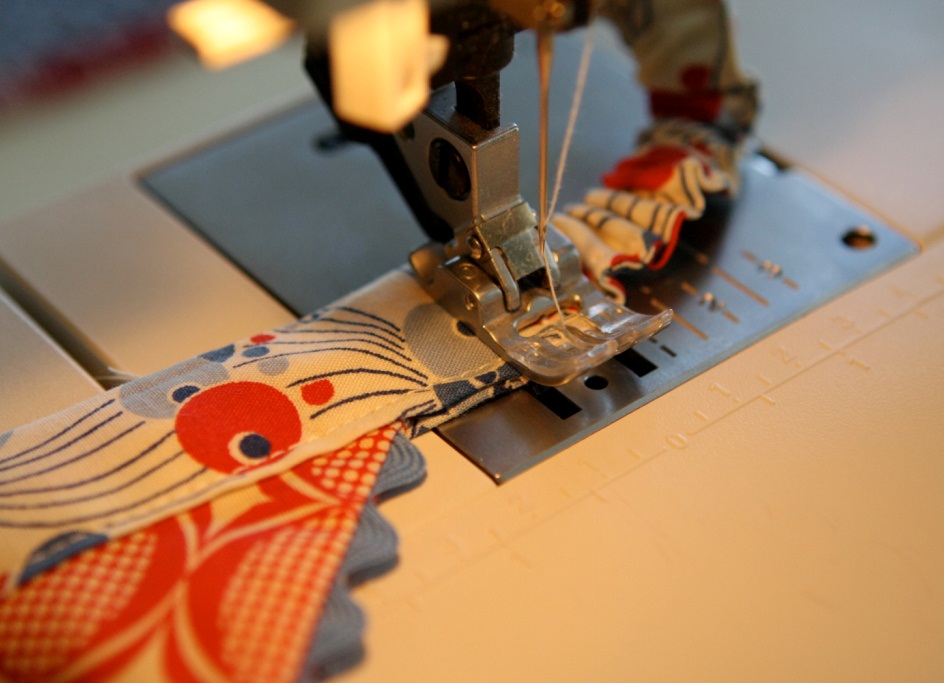
- Now pin to the edge of the rubber band pin and stretch it inward, leveling the entire length.
- This is how your gum should look like at this stage.
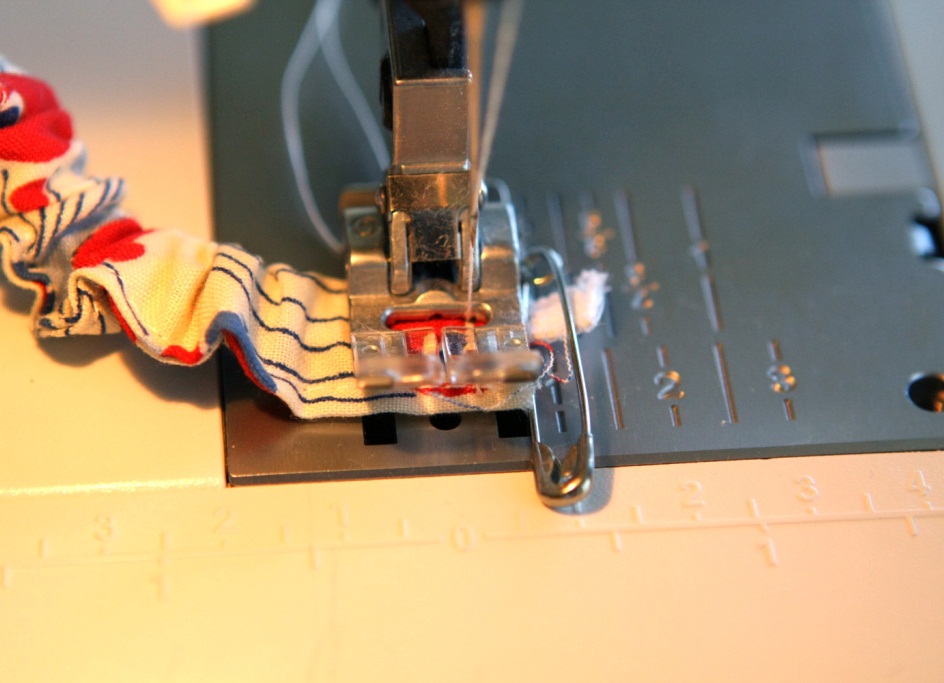
- We fix both its edges with a machine line "zigzag", so that the elastic band does not "run away" and you can remove the pin.
- And we connect both the details of the scarf - large and small.
- To do this, make two neat seams, which will be located on the inside of the scarf.
- The product is ready!
The kerchief on the elastic band for the girl looks very neat, the elastic band is located behind the head behind the ears and, if you did everything correctly, nowhere presses.
Also with their own hands, you can sew another headgear - a cap .