When we have a little free time, we try to spend it with loved ones or doing something we love. Everyone has fun in different ways: active prefers sports, quiet ones - reading books, needlewomen like to create cute trinkets. Well, they follow fashion, try to decorate your wardrobe with interesting accessories. By the way, decorations made by own hands look in a special way. The technician of their creation can not be counted, but in recent years, products from small elastics have been particularly loved by the beautiful half of humanity of all ages. Due to the interlacing of them on their own fingers , forks or special equipment (machine, crochet), very unusual patterns are created. At first, this hobby was popular with girls of school age. However, many girls who have achieved a good level of skill in this "art", are happy to wear bracelets or necklaces made in this technique.
Beginners, of course, try to create jewelry with simple patterns. However, if you have achieved some success, we recommend you try your hand at braiding the bracelet from the rubber bands "Hexafish". This unusual name comes from the English word hexafish. That is, the resulting pattern will look like a fish tail, while it is created on six rubber bands in a circle. So, we'll tell you how to weave bracelet "Hexafish" on the machine.
How to make a bracelet "Hexafish" - weaving
To work you will need a machine, a special hook, rubber bands (we have two colors). So:
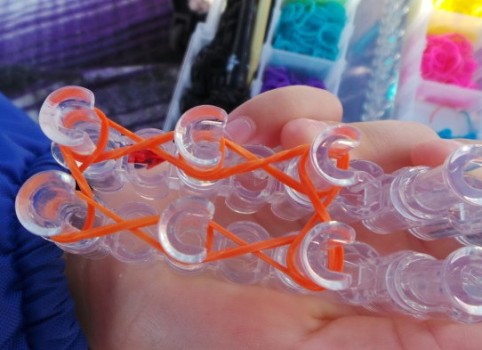
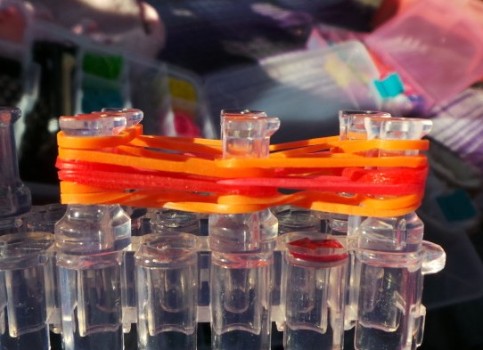
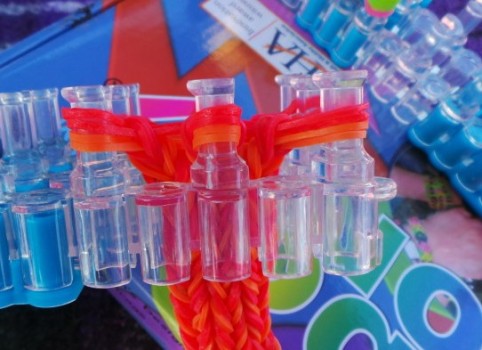
- The weave will be conducted on the first three pairs of pegs of neighboring rows. The yellow rubber bands are put on the next eight pegs at the first pegs along the rows and across the first and last pairs.
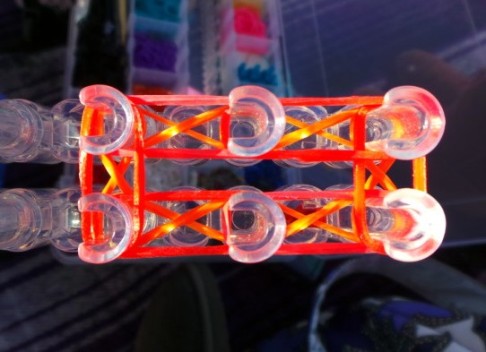
- After that, different color gums are used. They are also worn in pairs on 6 pegs of the machine, but usually, and not in the form of a figure-eight. The result is a rectangle shape.
- In the same way, that is, pairwise on adjacent pegs, we put on elastic bands, but again yellow.
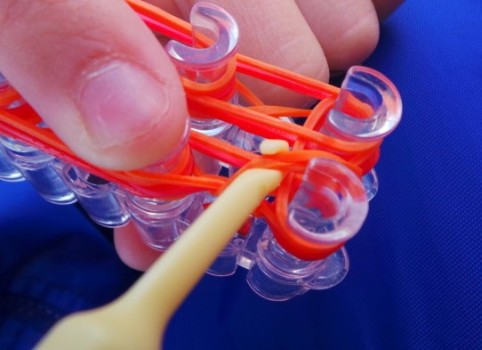
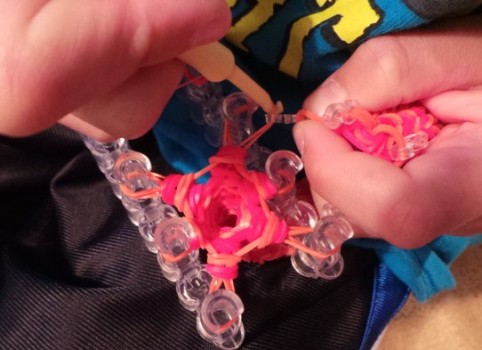
- Then we hook on the first peg from the outside with the lowest pair of yellow rubber bands. After this, we transfer the loops to the inner part of the peg.
- Similarly, we act with the second peg, then with the third, and so on along the perimeter of the "rectangle". At the end of the gum on the machine, you need to lower it slightly down the peg.
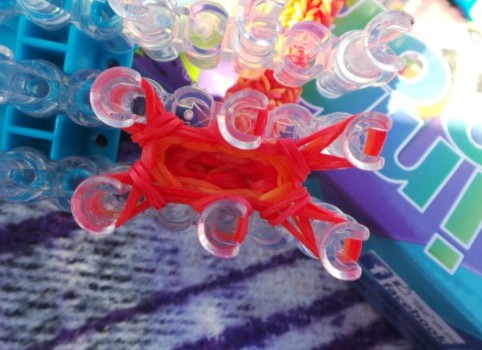
- In the future, all the braiding of the bracelet "Hexafish" is reduced to the repetition of point 3-4. It is important to constantly alternate the colors of the rubber bands - in our case it's yellow with orange. Very impressive look in the bracelet alternating gum bright colors with black. Gradually, a hollow bracelet appears at the bottom of the machine. Weaving continues until the accessory reaches the required length.
| | |
| | |
Bracelet "Hexafish" - the final stage
When you create the bracelet of the desired length, finish the weaving as follows:
- On the machine on each of the six pegs there should be one loop of rubber bands. From the first peg, the loop is hooked to the second peg. From the third peg, the loop is transferred to the fourth peg, and from the fifth to the sixth. As a result, there are three occupied pegs, on which there are 2 loops.
- On each column the lower loop is hooked and crocheted into the center of the bracelet. There are 1 loop on the pegs.
- Two loops should be transferred to one of the pegs so that all three hinges are on it.
- The loops are thrown by the S or C-shaped clamp. The bracelet is removed from the machine.
- The bracelet is turned with the other end, the end loops are put on the six pegs of the machine.
- Then they are dealt with in clause 1-3.
- After this, through three loops on the machine, we engage the clip from the other end of the bracelet. The bracelet is removed from the machine. Done!