An important aspect of normal growth and plant life is refreshing, because light for them is another source of energy. And in addition to the amount of light, factors such as spectrum and light period are important for growing seedlings .
LED lamps for highlighting seedlings
The advantage of LED lamps in front of other light sources for seedlings is obvious:
- the use of LEDs makes it possible to obtain beams in red and blue spectra, which contribute to a better growth of seedlings;
- the length of light waves that photosynthesis requires differs from the wavelength from a conventional incandescent lamp, whereas the LED bulbs produce the desired wavelength;
- LEDs give a very narrow spectrum, as a result of which their efficiency reaches 99.9%;
- the consumption of electricity when using LED lamps is much lower, besides, the need to change burnt-out light bulbs disappears;
- The water hit on the LED does not lead to its failure;
- in the LED fixtures there is no flicker;
- they do not form ultraviolet and infrared radiation, which is very important for some plants.
As we see, the illumination of seedlings with LED lamps, also made by own hands, not only saves money, but also much more beneficial effect on plants.
It is important to calculate the correct power of the LED strip to illuminate the seedlings. And to check if the backlight of your seedlings has come up, just watch it - if it looks quite healthy, with sturdy stems and green leaves - everything is in order.
The fact that the plants have received enough light when illuminated, they themselves will say: if their leaves began to close, occupying a vertical position, it's time to turn off the lamps. The average duration of illumination is 13 hours, although some cultures will need all 17 hours.
Next we will tell you how to make LED backlight for seedlings.
LED seedlings
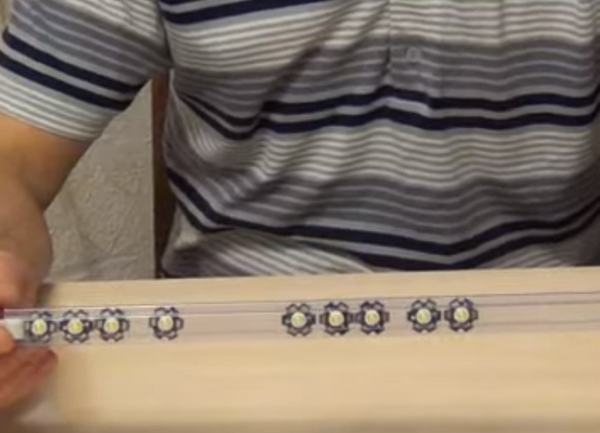
In our master class we will prepare a LED module from single LEDs. Later it can be used as a highlight for seedlings.
We will need LEDs, which can be purchased from an online store or a lighting store. In this case, they are endowed with a power of 3 watts and are mounted on a star board.
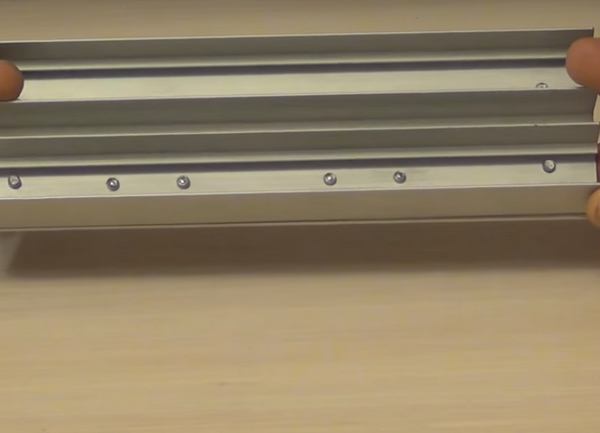
We will install the LEDs on the aluminum profile used in the manufacture of doors. In principle, you can use special profiles for LED lamps, but they are much more expensive. We are quite suitable option with a door profile.
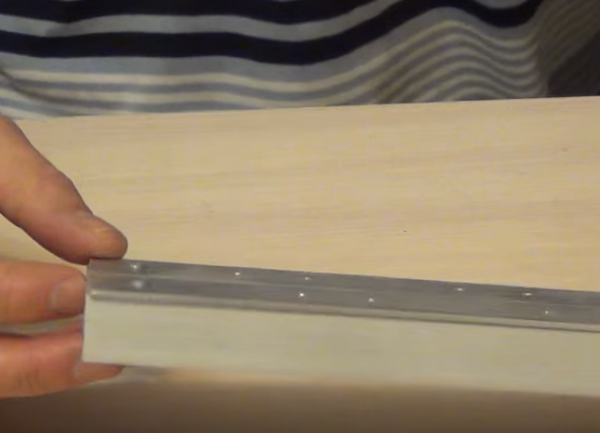
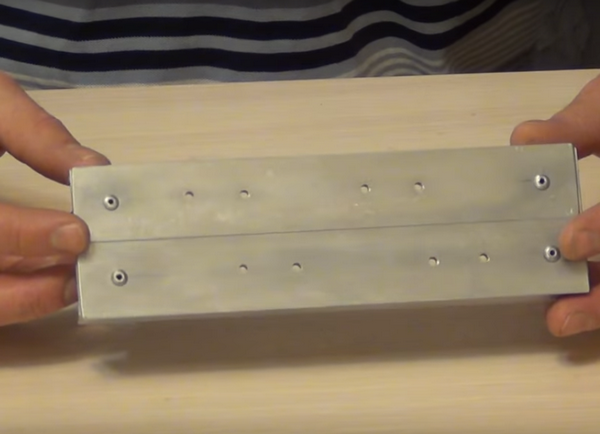
The thickness of this profile is 1 mm. And for its thickening it is necessary to attach to it plates made of aluminum, their thickness - 2 mm. You can do it with rivets. Also, to further increase heat transfer, cover the plates with a layer of thermal grease.
| | |
Drill holes in the profile for attaching LEDs. In general, there are several options for attaching LEDs to the profile: screws, rivets and hotmelt. The cheapest option is to use rivets.
To ensure that the rivet does not close the contact on the board, it is necessary to fasten them through insulating washers.
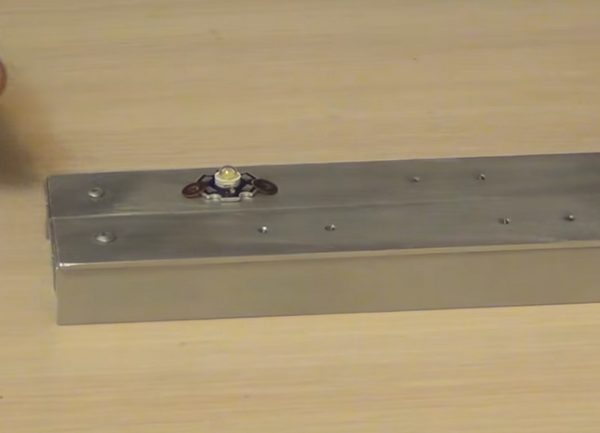
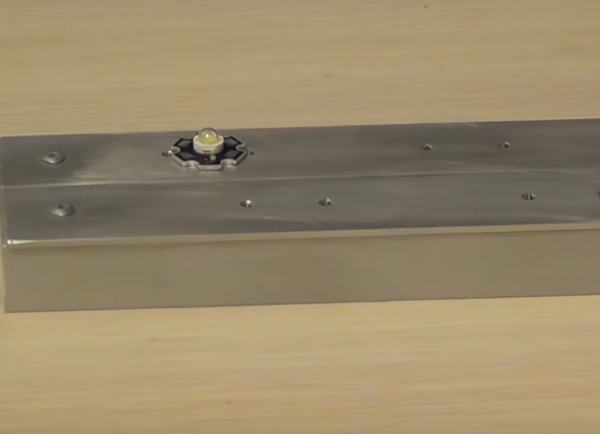
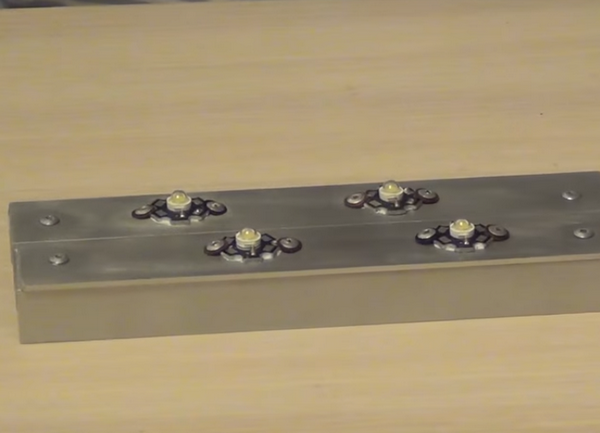
As a result, after fixing all the LEDs with rivets, this is the module. Its power will depend on the number of LEDs and their power.
| | |
Next, wire the LEDs in series and solder to the driver module. Choose it in accordance with the power of the received module and the current of the LEDs.
Turn on the module to verify the health of the network. After this, it remains only to hang it over the seedlings and start to use as directed.