A real way out is if the hairstyle is not quite right, is a turban. Chalma, or as it is also called a turban, entered the European fashion in the 40s of the last century, and has enjoyed immense popularity to this day. Elegant headgear gives femininity and helps to create a complete image. Especially exquisitely, the turbans look with long outfits from light flowing fabrics such as chiffon and with trouser suits made of dense shiny or matte silk fabric. Such headgear can also be used successfully when preparing an oriental outfit for a carnival or performing at a concert.
You can build a turban from a scarf, but such a product will fall apart at the most inopportune moment. It is better to sew a turban, laying the best wrinkles. Few know that making a turban with your own hands is not at all difficult - it will take about an hour of free time. How to make a turban with your own hands, we will tell you in detail in the article. For the turban is preferable to plastic fabrics, forming beautiful folds. The product from two contrasting fabrics looks wonderful. In our case, we used a monophonic knitted shirt, which was out of fashion, but did not lose its presentation.
Master-class: turban with own hands
You will need:
- a small piece of fabric or a jersey;
- strong thread (you can use a fishing line);
- sewing accessories.
How to sew a turban with your own hands?
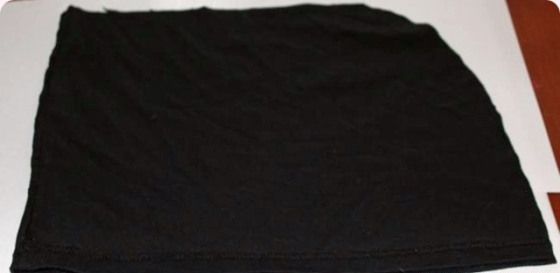
- The shape of the turban is extremely simple: a piece of fabric folds in half and cut out a rectangular shape measuring approximately 60 cm by 30 cm with rounded upper edges at the top. Please note: the lower hemmed edge of the jersey will be the lower part of the turban!
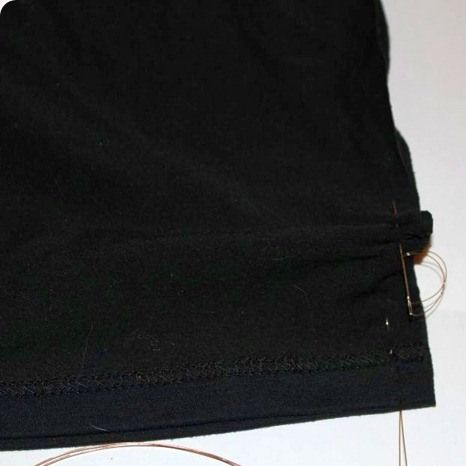
- A strip, folded in half with the front side inside, is swept out (except for the bottom edge). We spend the upper and lateral parts of the workpiece on the sewing machine.
- The thread, without taking out the product from under the foot of the sewing machine, is slightly tightened so that the upper and lateral sections turn out to be pruned.
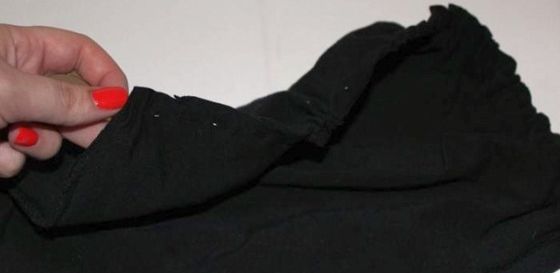
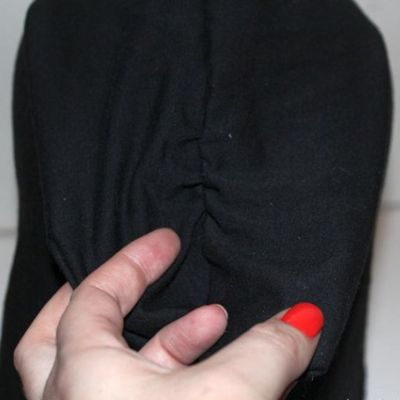
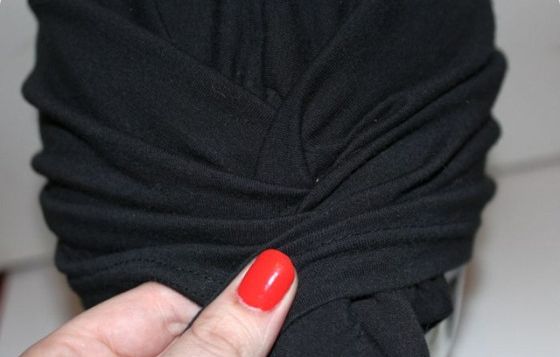
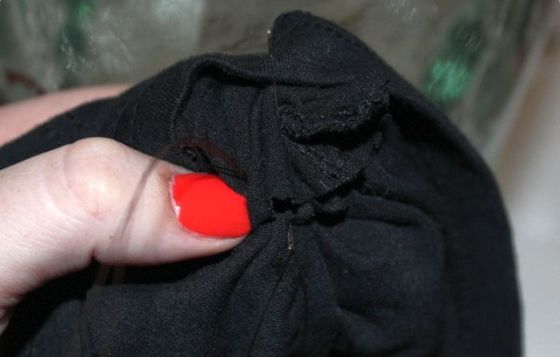
- We turn the product outright and put it on the mannequin head (a three-liter glass jar will also fit). We grasp the product from both sides symmetrically and connect it in the middle.
- We take the fabric stitches.
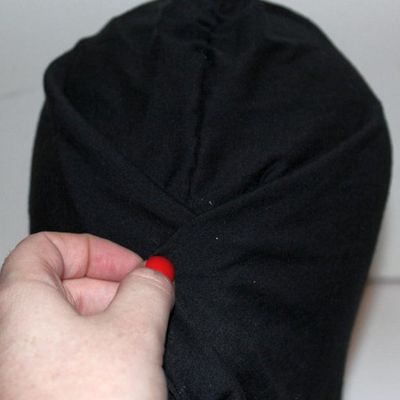
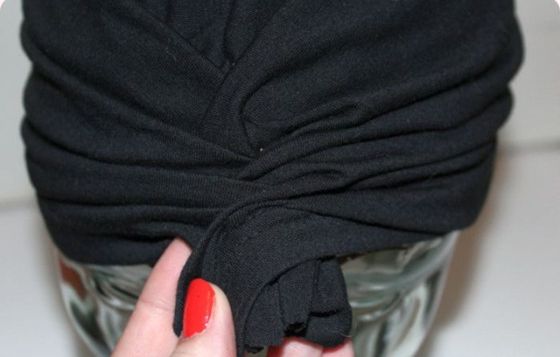
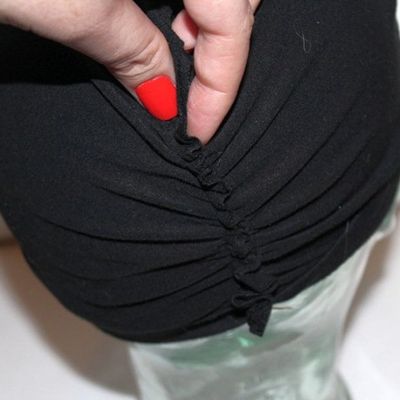
- We grasp the fabric a little lower and also fix the creases with stitches.
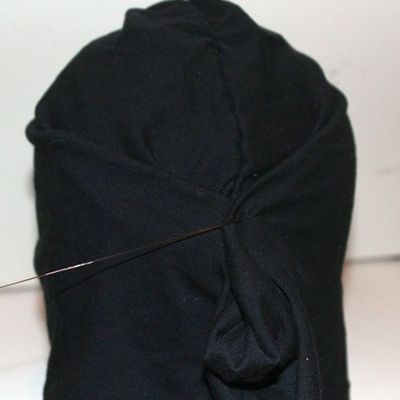
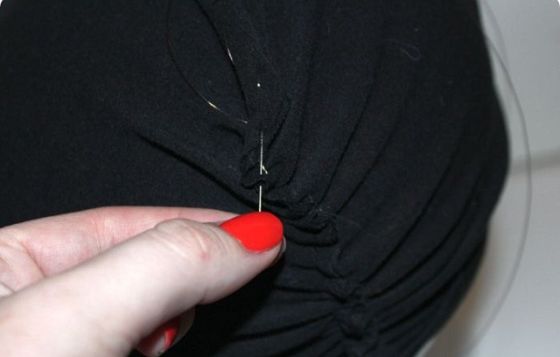
- Similarly, create a third group of folds and fix them with a needle and thread.
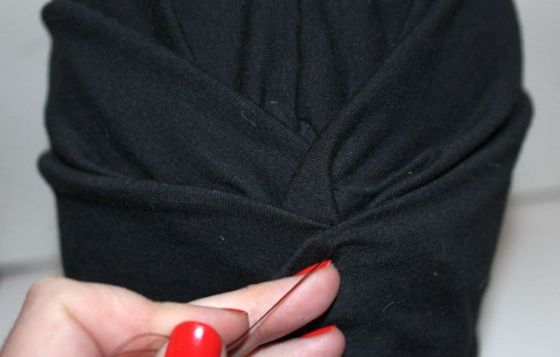
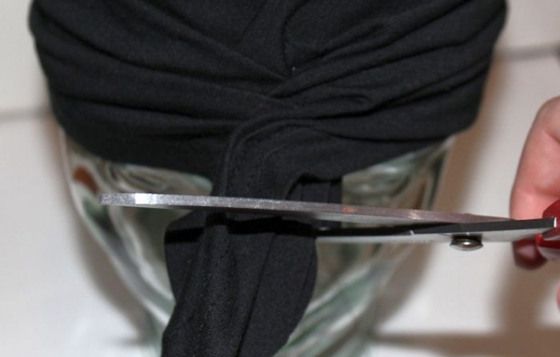
- The remaining "tail" is cut off, leaving 2 cm for processing.
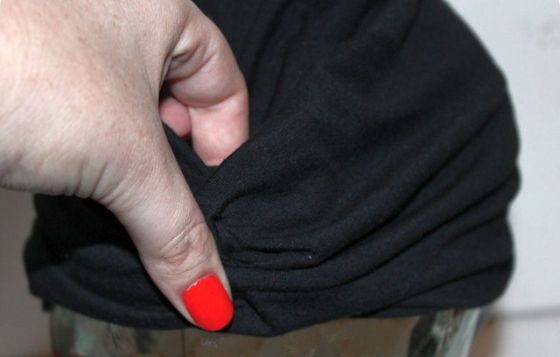
- "Tail" is hidden in the folds and carefully sewn.
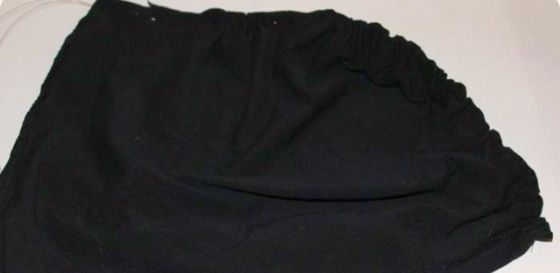
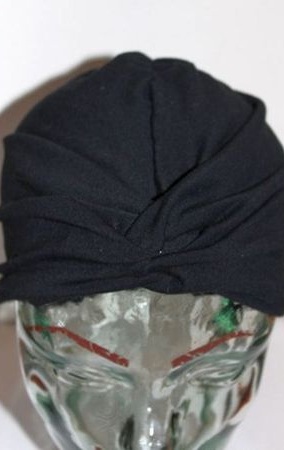
- We turn the product inside out, put it on again. We do the assembly on the back of the head. We try the turban, if necessary we correct the seams and assemblies.
- Our turban is ready!
| | |
| | |
| | |
| | |
| | |
| | |
| | |
| | |