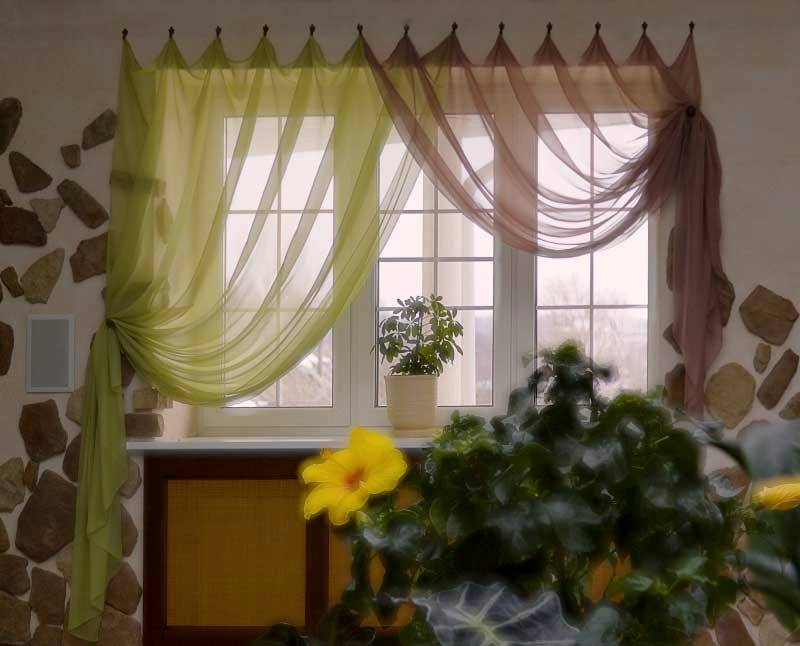
Stylish curtains - this is an important detail of the interior of any kitchen. They disperse the rays of the bright sun, provide privacy of privacy and add comfort to the room. In addition, correctly selected curtains can make the design more harmonious and emphasize the original taste of the owners.
To choose the perfect curtains, you need to take into account the lighting, the layout and color of furniture in the kitchen. Sewing can be entrusted to a professional seamstress, but if you have experience working with a fabric and a sewing machine, then the work itself can be done by yourself. So you will save money for the work and implement the boldest design ideas. To make curtains for the kitchen with their own hands, you must first remove all the necessary measurements, pick up the fabric and purchase a set of some tools. More details about all the stages of the work will be described below.
Design of curtains in the kitchen
The window in the kitchen is the only light in this room. This fact needs to be taken into account when choosing curtains. It is desirable that they are made of translucent lightweight fabrics that do not interfere with the penetration of light into the room. For the kitchen, tulle, veil, organza, lace, net and micro-wave will perfectly suit. To make textiles more interesting, use the following stylistic details:
- Attach the eyelets;
- beautifully beat the draperies;
- experiment with the length of the curtains;
- Use interesting details: picks, ribbons, brooches with stones.
Note that the design of the curtains must match the design of the entire room. In extreme cases, they should act as a bright spot against the background of a modest monochrome kitchen.
How to sew curtains in the kitchen?
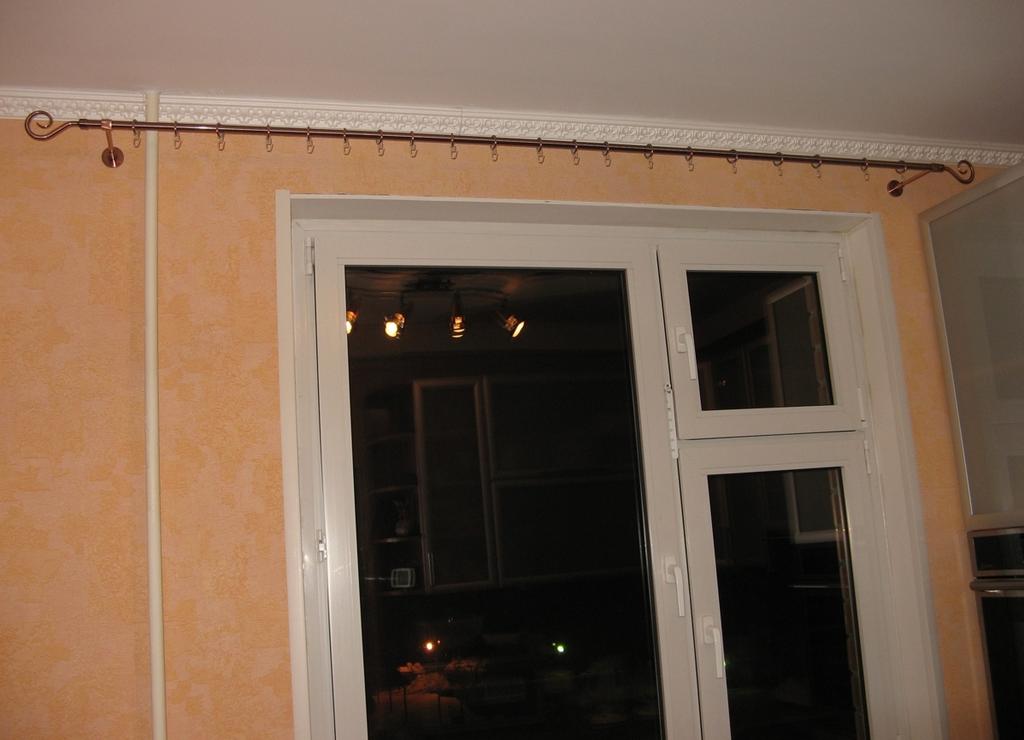
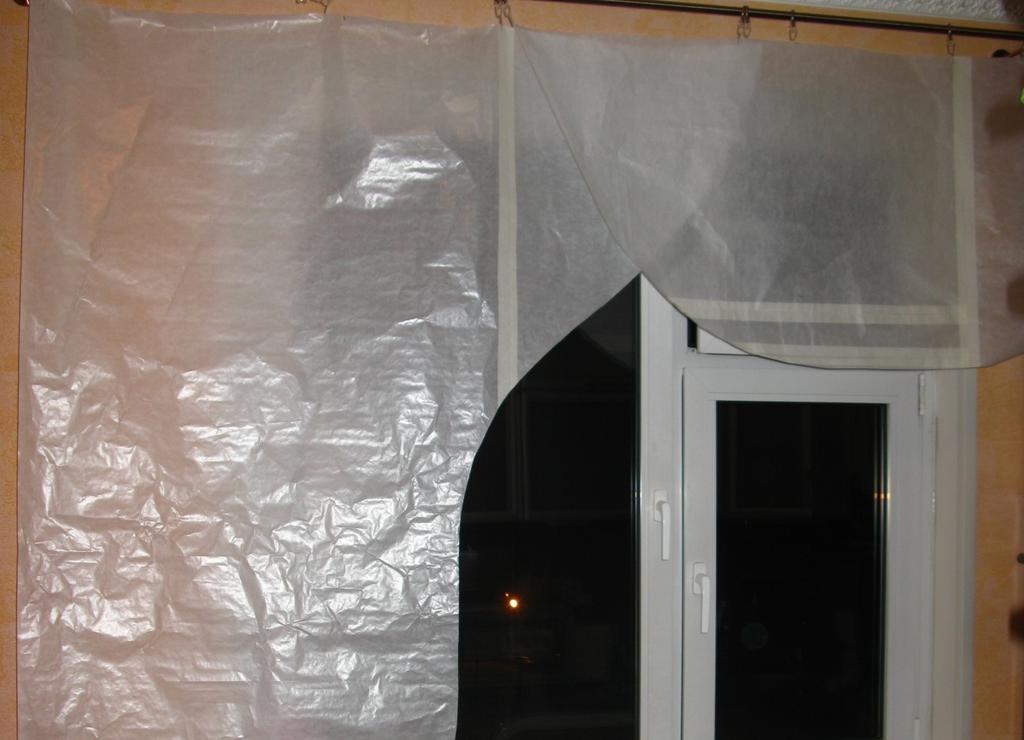
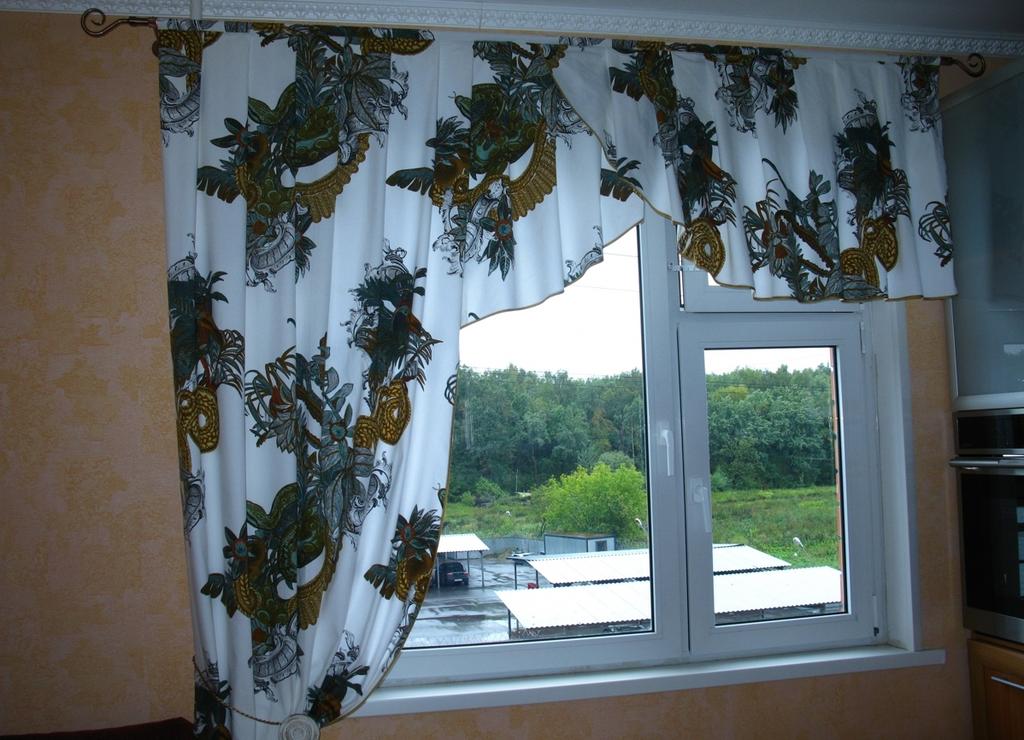
We will study the process of making curtains using the example of this room.
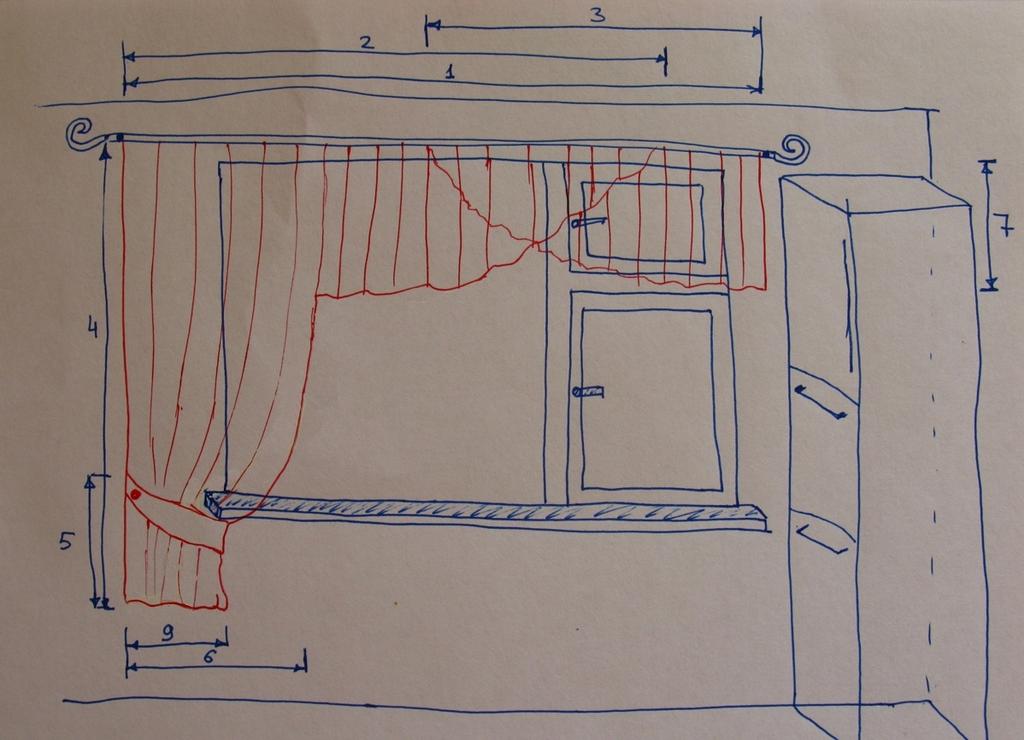
As you can see, on the right side of the window is a high kitchen cupboard, to which you need to provide easy access. In addition, curtains can not be arranged in two rows, since we have only one pipe. After analyzing the features of the room, we will draw a sketch of the curtain, which we will sew later. On the sketch, we will display all dimensions of the product.
After the preparatory work, you can start making curtains in the kitchen with your own hands. Tailoring will be carried out in several stages:
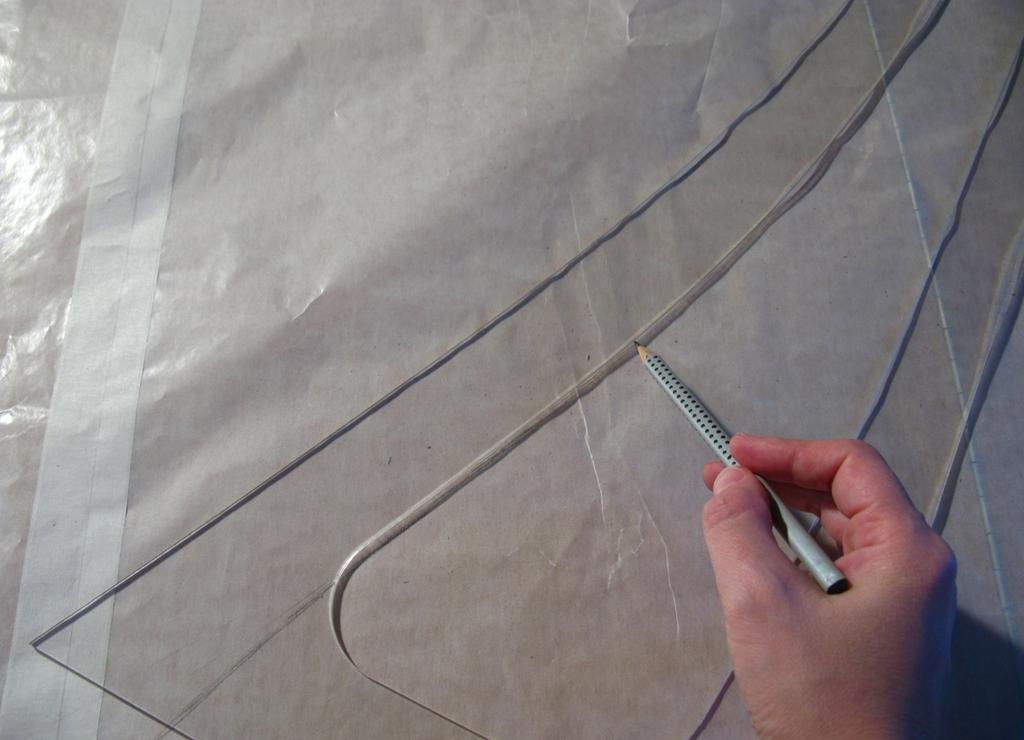
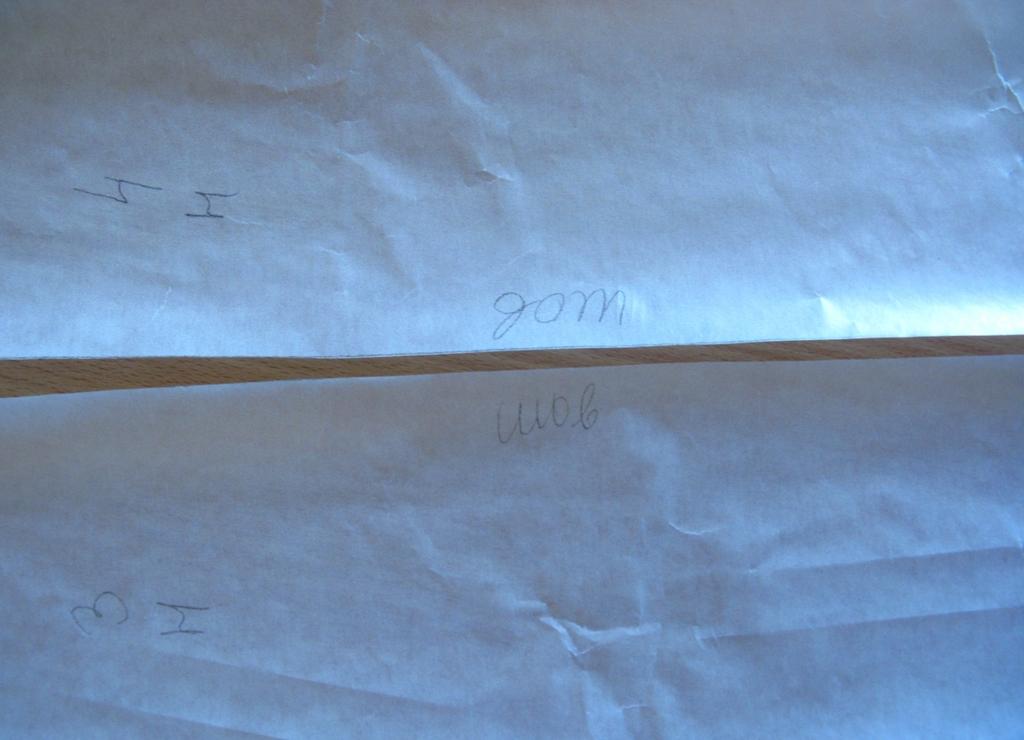
- Cut out the details of the curtain from the paper. This is required to visually see the shape and length of the product. Note that the paper sketch does not take into account additional seams and creases.
- Calculate the stock of matter for folds. Let's assume that the visible part of the curtain between the adjacent folds is 10 cm, while the depth of the fold is 5 cm. Now the sketch from the tracing paper should be marked on strips 10 cm wide. Start from the side that is closer to the edge of the window. In the digital equivalent, it looks like this: if the width of the right-hand side is 110 cm, then 11 bands are obtained (divide by 10). The depth of the fold is 5 cm, therefore, the distance between the visible parts of the gradient is 5 x 2 = 10 cm. For curtains, you will need as much tissue: 110 + 10 x 10 = 210 cm.
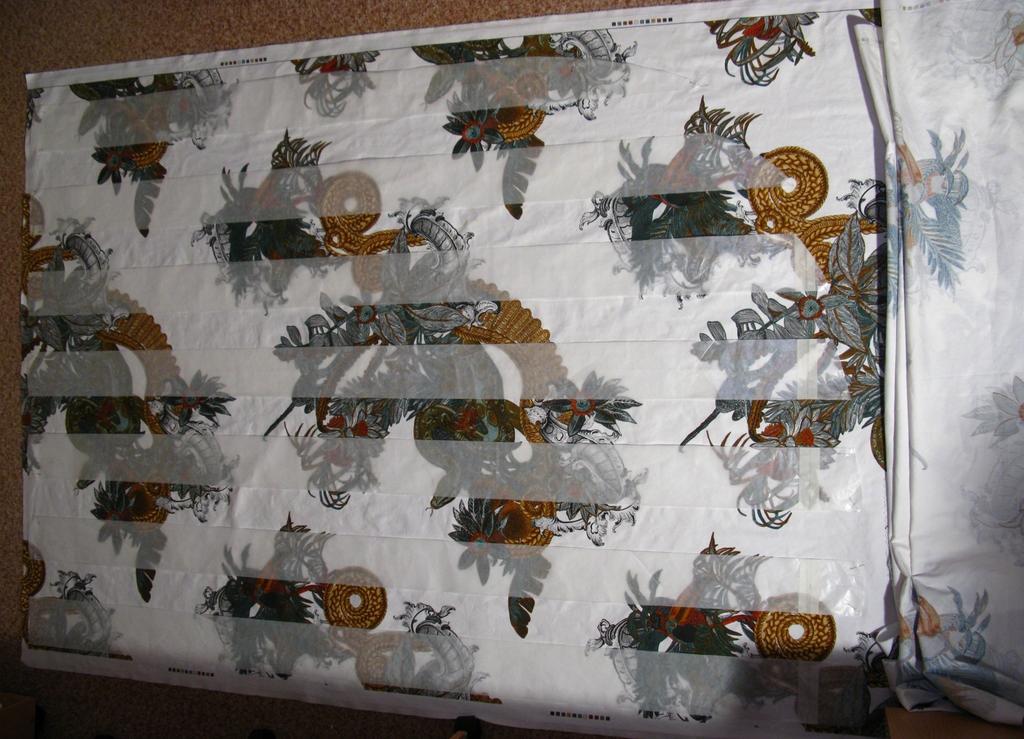
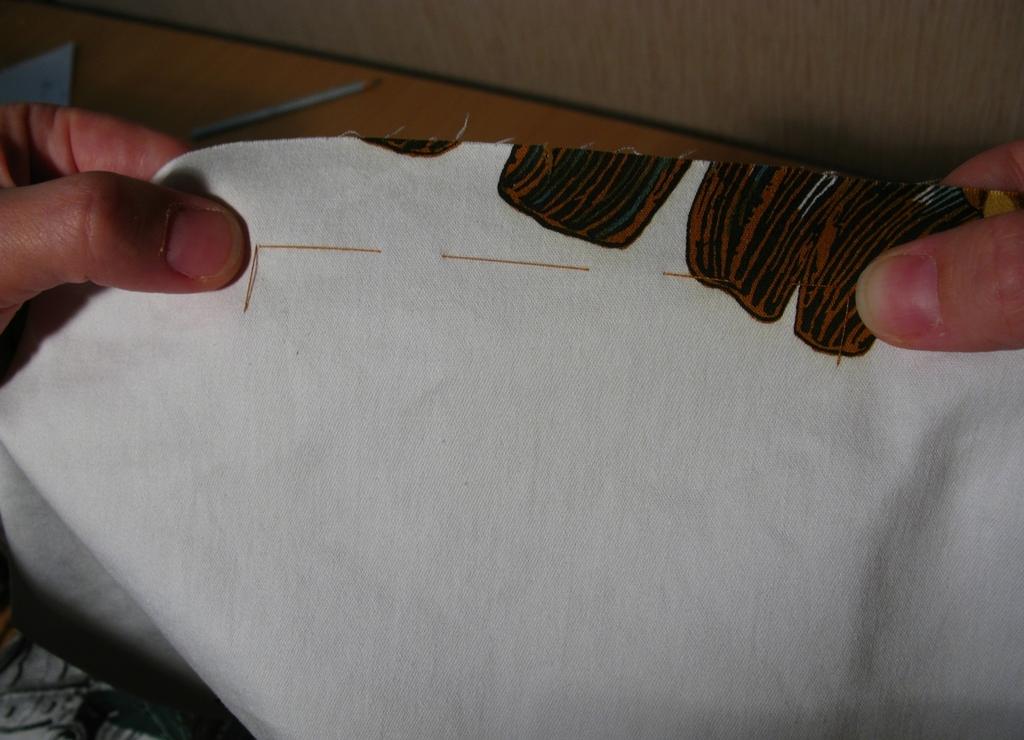
- Pin the paper strips to the fabric, taking into account the allowances. Remember that the picture on the details of the curtain must match. To make the curtains not lose their appearance, place the stripes along the warp threads.
- Dissolve the details from the matter by marks. As a result, you will get such details: kuliska, 1 detail of the right and 2 details of the left part of the curtain, strips of satin fabric and cotton fabric.
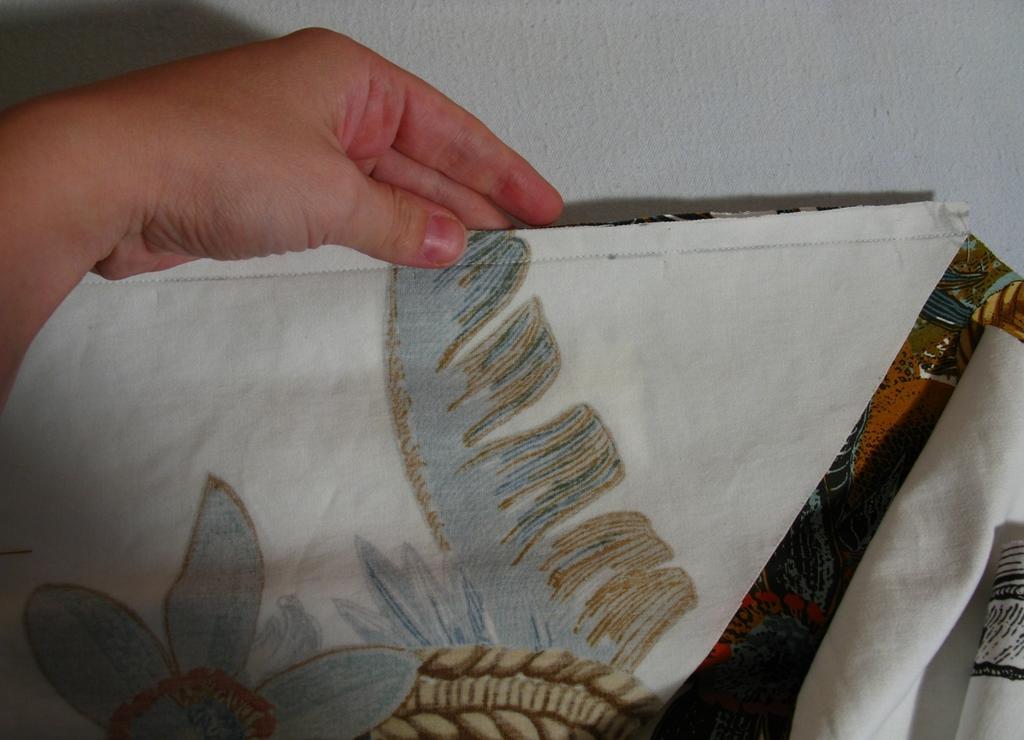
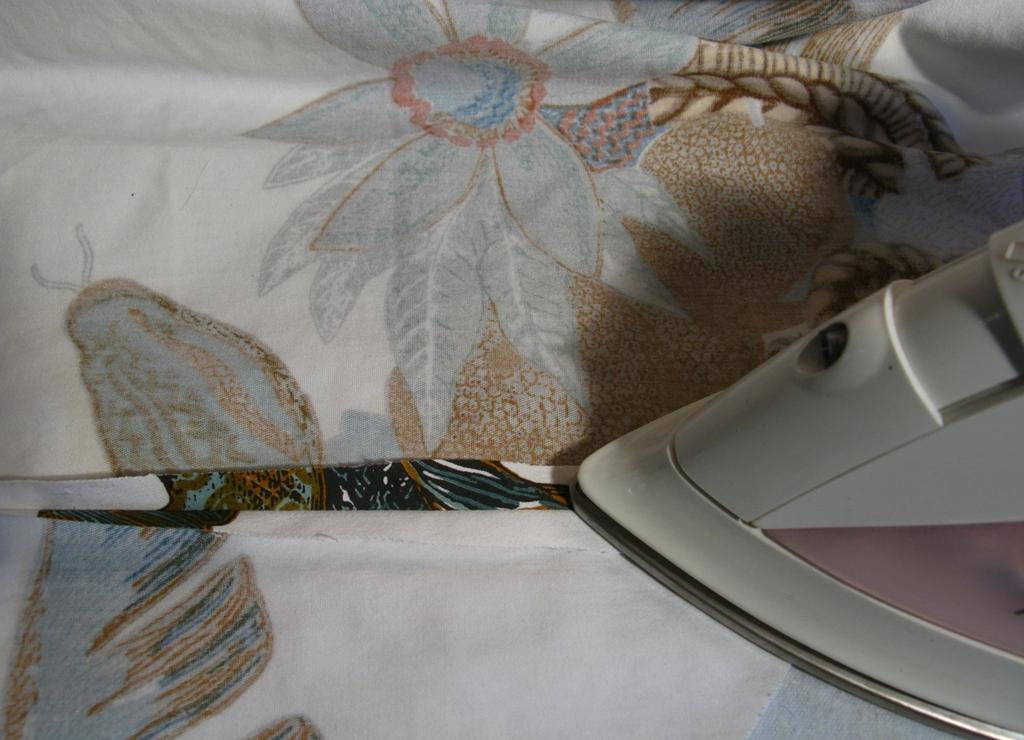
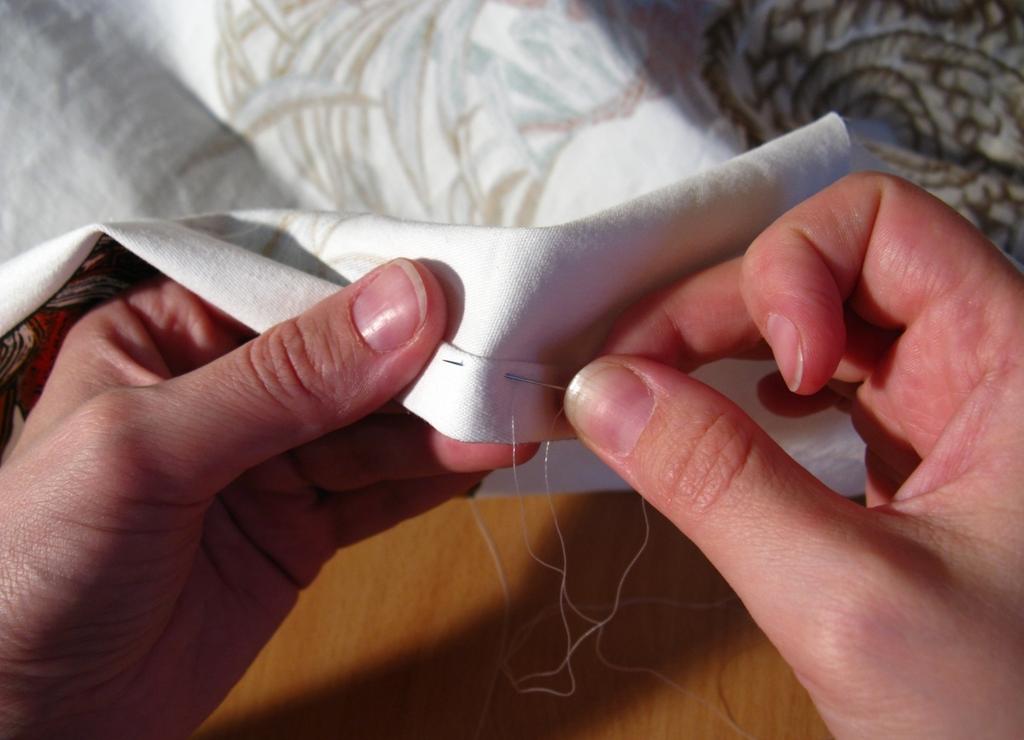
- Wait 2 parts of the blind at a distance of 1 cm. Align the bottom edge of the product near the seam and iron it.
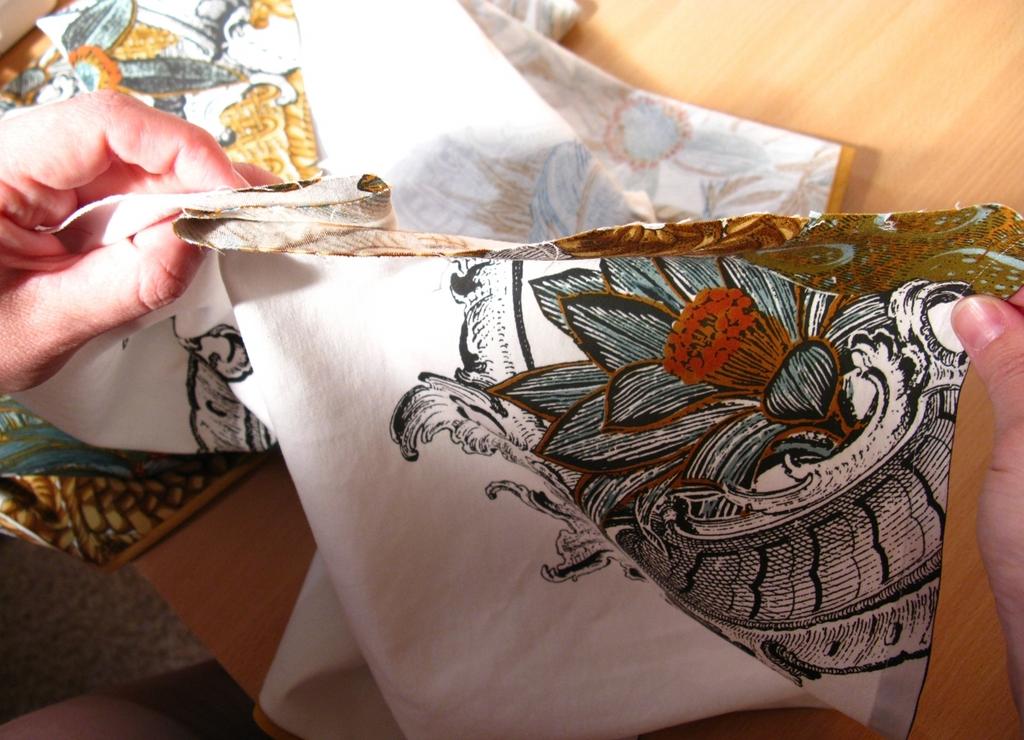
- Fold the folds on the top of the product and secure them with pins.
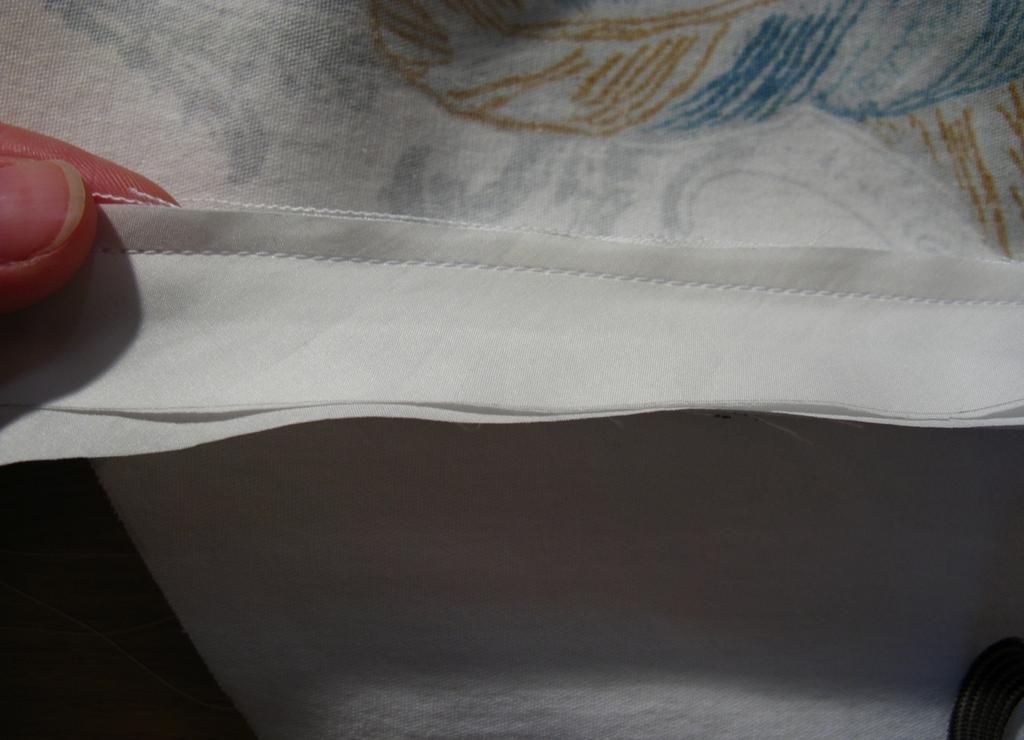
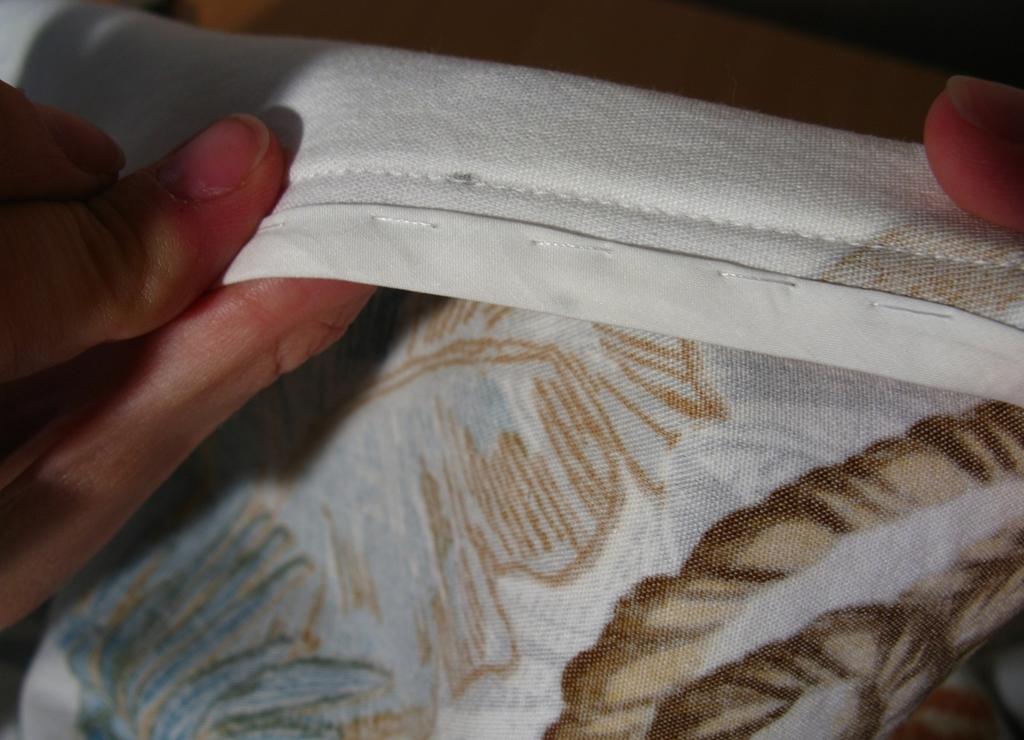
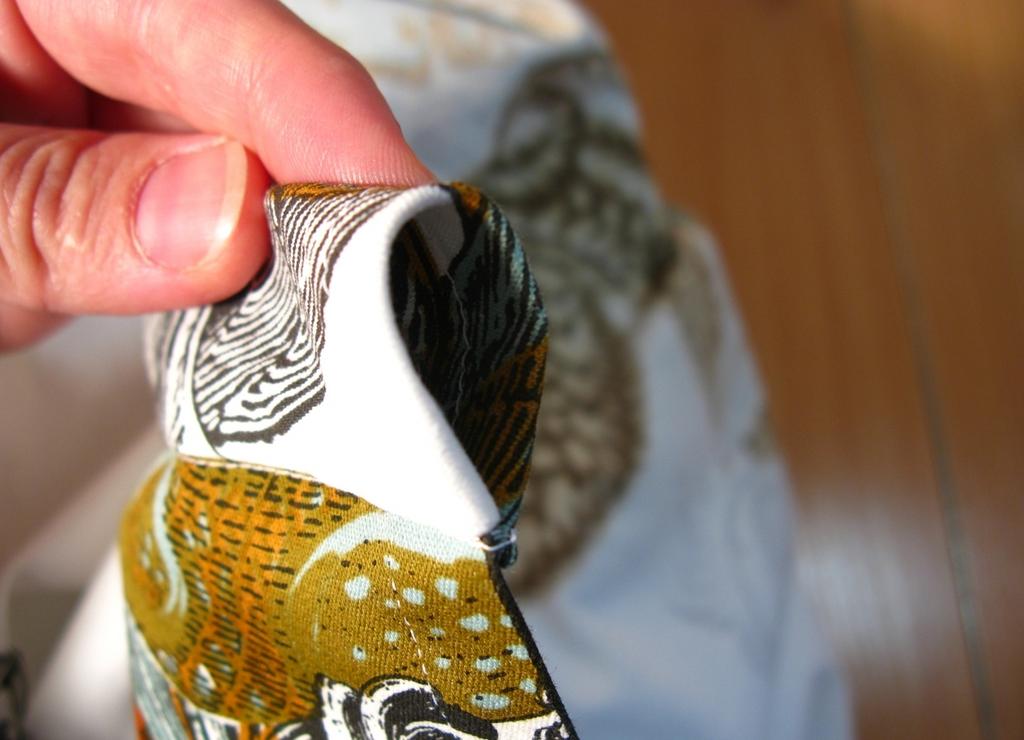
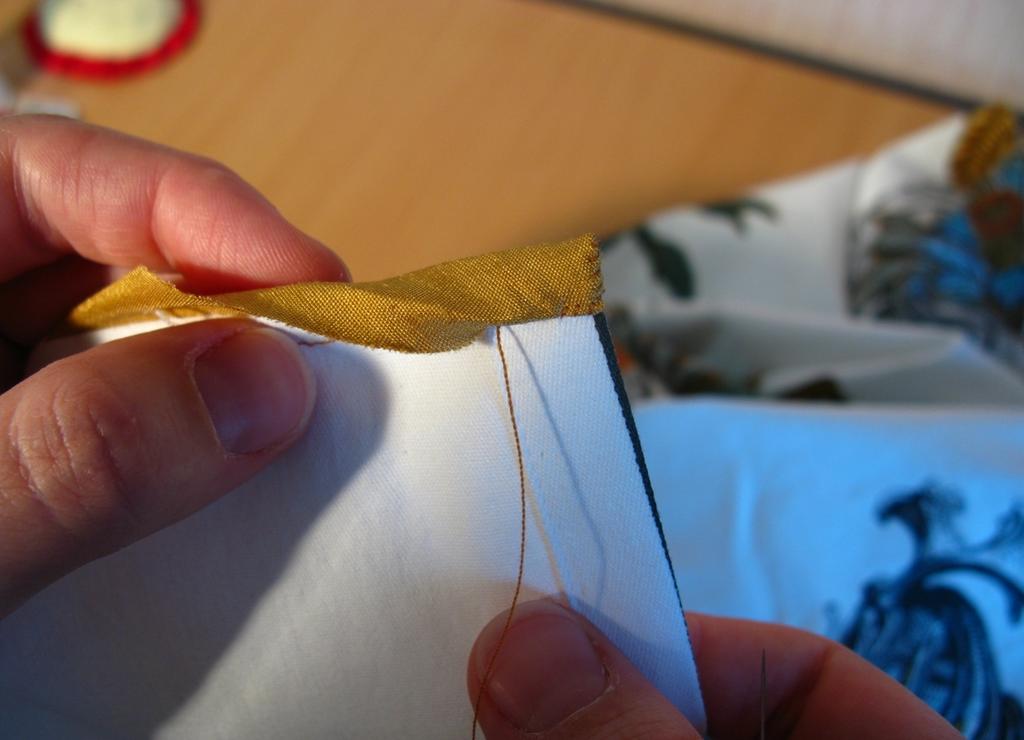
- Fold the fabric and the slanting bake and sink, retreating 0.5 cm from the edge. Turn over the bake and attach it to the edge of the fabric, after which the remaining cut is bent in half and sweep at a distance of 0.6 cm from the edge.
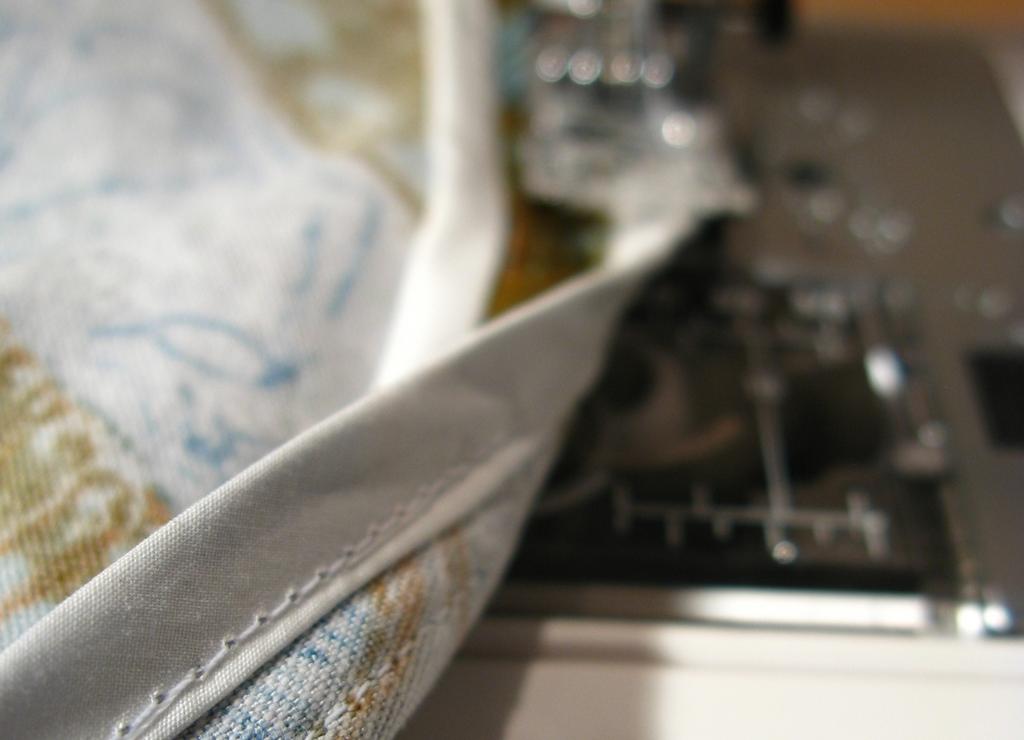
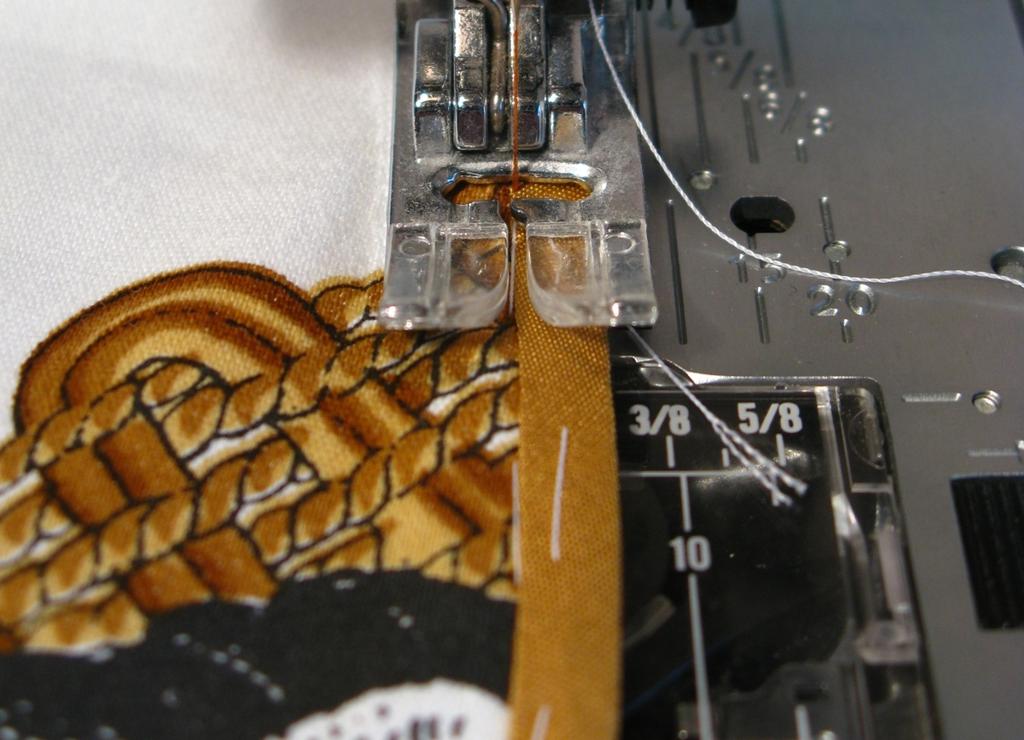
- Slash the slanting side from the outside of the fabric, trying to get into the punctures that were made when the first stitching was performed. So you process both edges of matter.
- Sweep, and then pritochite stocks on the seams.
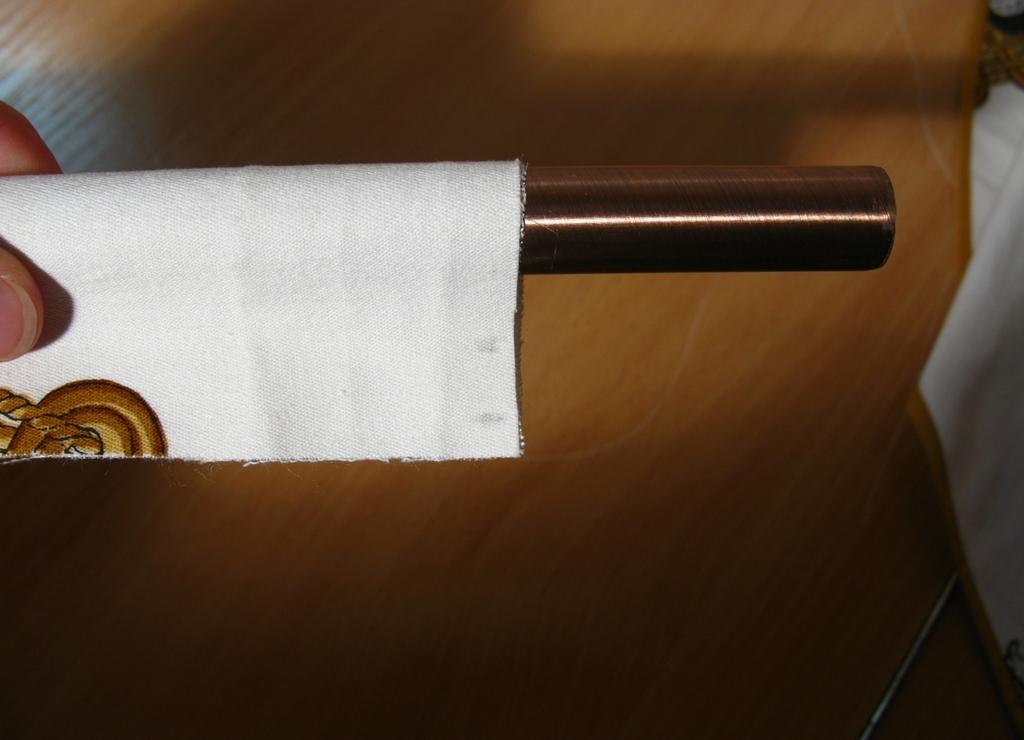
- Expect the kuliska. Note that the diameter of its internal hole should be greater than the diameter of your eaves.
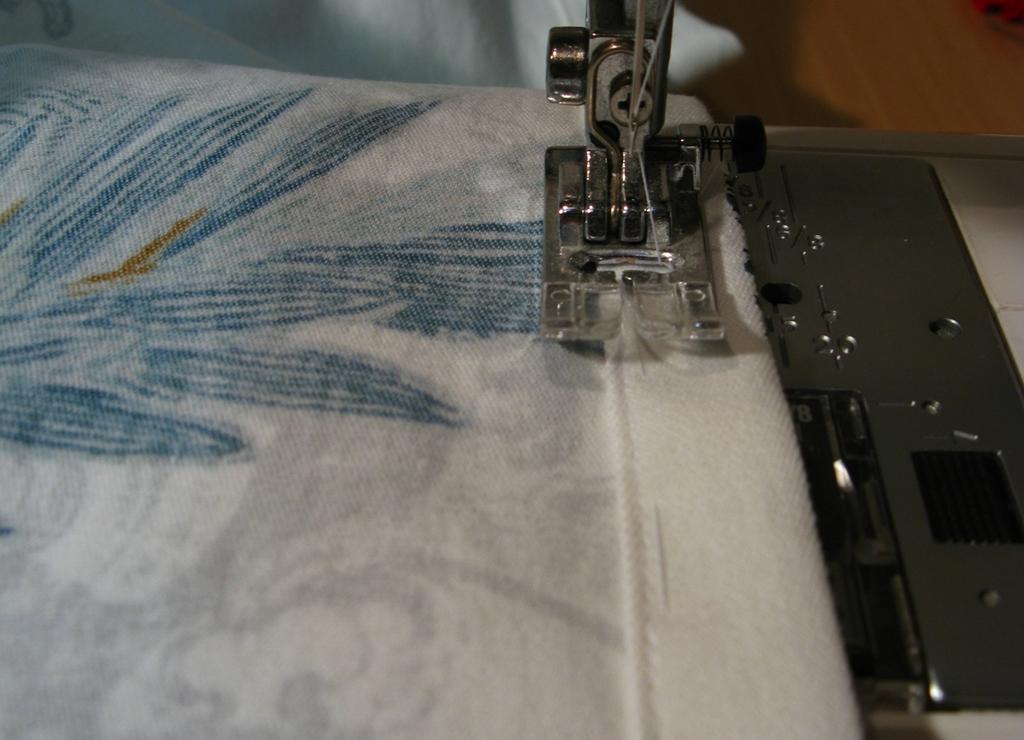
- Sharpen the bottom edge of the curtain with silk bake. After this, do a wet-heat treatment of the curtain.
- The curtain is ready!