Drawing promotes the development of space-shaped thinking, sensory perception, imagination. In addition, the very process of creating a picture brings up in the kids perseverance, attention and patience. On paper, a child can express his thoughts and problems, as well as draw himself, his beloved parents and, of course, various animals, including fairy-tale characters.
While walking through the forest or in the crumb park, you can see a beautiful bird with bright plumage, which is incredibly beautiful singing. Sooner or later the child will necessarily want to draw it and will certainly ask you to help him.
In this article we will tell you how to easily draw a beautiful bird with pencil and paints.
To begin with, try together with the child to try a simple instruction that helps to draw a lovely winter bird - bullfinch.
How to draw a bullfinch step by step?
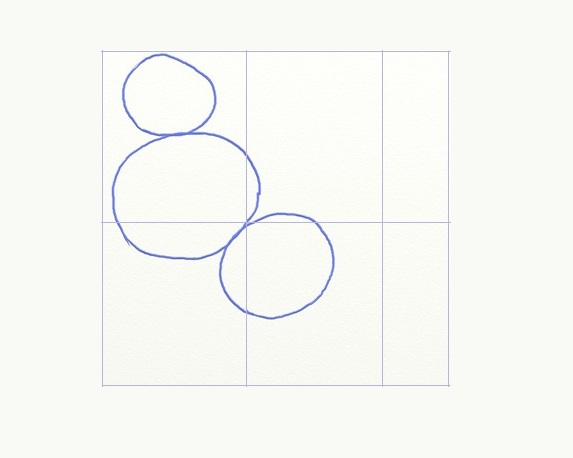
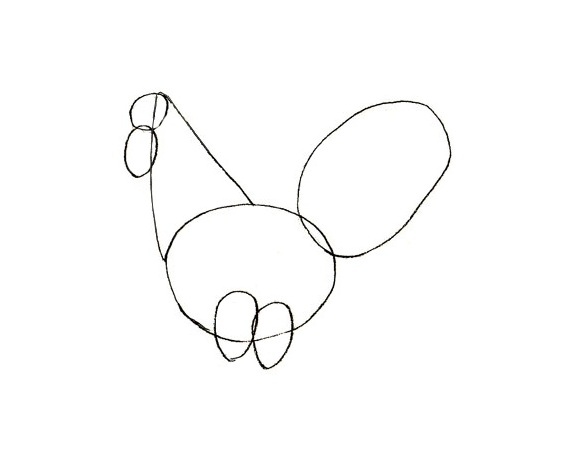
- To draw a bullfinch quickly and simply, first, we will distinguish a sheet of paper - divide the plot for the picture into 4 squares and 2 "halves". With the help of auxiliary lines, we represent three circles.
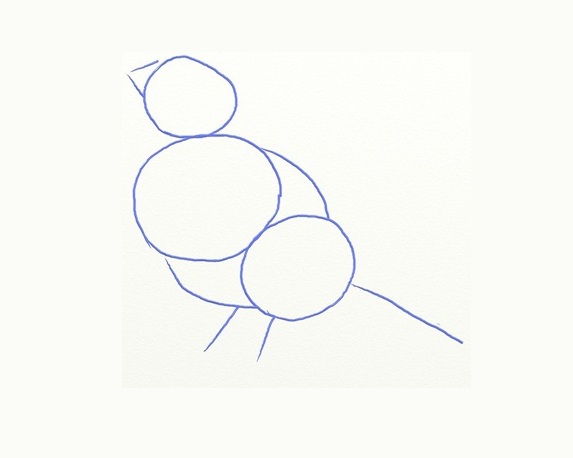
- Draw the beak to the left of the upper circle, and draw the lines of the trunk and the legs of the bullfinch. The auxiliary lines can be gently wiped off.
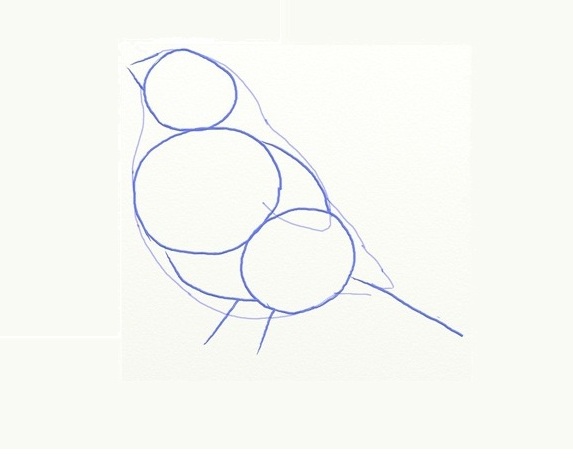
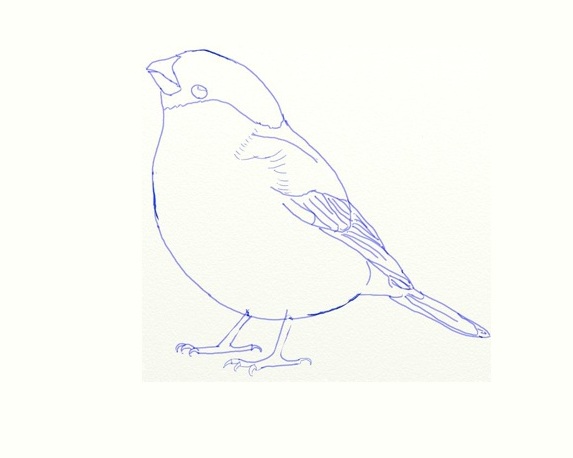
- Next, we draw a general outline of the bird with a thin line of pencil.
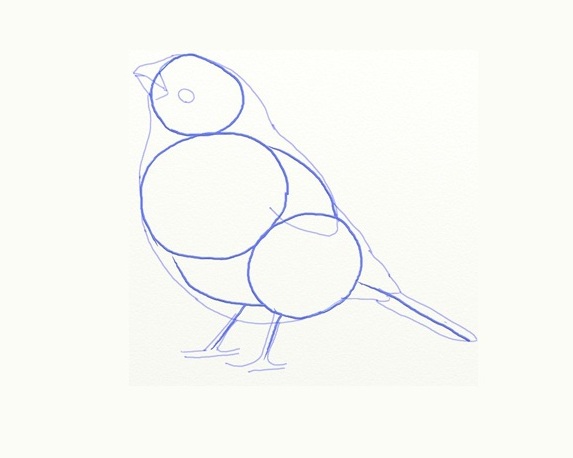
- We draw an eye, paws and a beak in details, we draw a tail with a thin line.
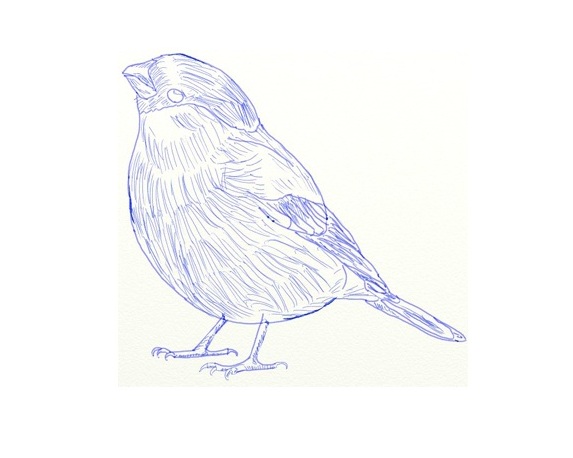
- Add small details of plumage and legs as shown in the diagram.
- Shrink the remainder of the plumage.
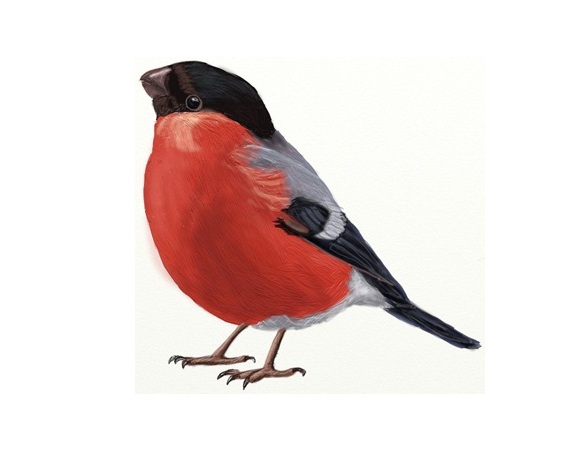
- Now paint the drawing with colors and get an image of an incredibly bright and beautiful bird.
Bullfinch - a bird is very unusual, and you can see it only in winter. Next we will show you how to correctly draw all the famous poultry - the cock.
How to draw a rooster step by step?
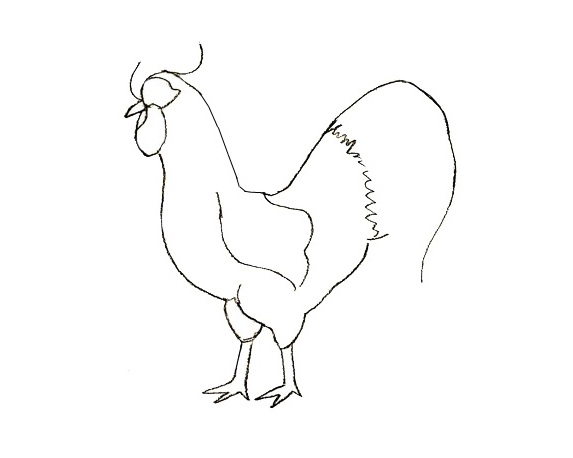
- Let's divide a section of the future drawing into 4 identical squares and mark out the contour lines of the neck, tail and trunk.
- Draw 4 small ovals - contours of the head and bearded cockerel, as well as two legs.
- Circle the general outline and delete all the auxiliary lines that are not used anymore. Also draw a few "sticks" for the paws of our birds.
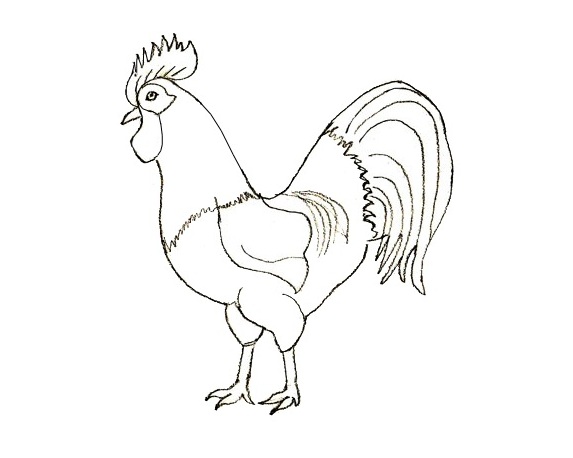
- In details we finish the head, legs and tail. Draw the contour of the biggest pen.
- The most difficult step is to draw a beautiful plumage. Accurately complement the picture with the necessary strokes.
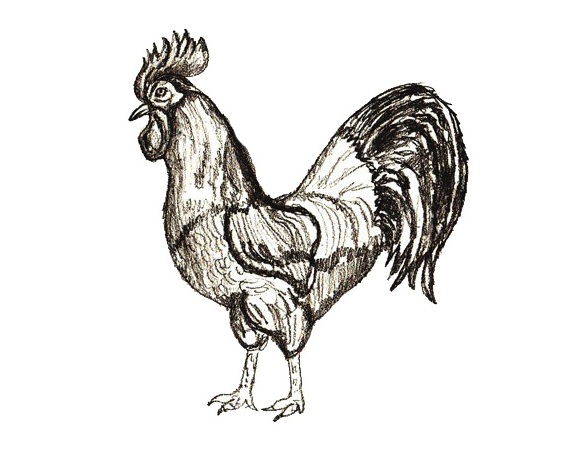
- Finally, we shade the picture completely and shade where necessary.
Next, we offer you a fairly complex master class that shows how to stage a fairy-tale bird in stages, for children who are seriously addicted to drawing.
How to draw a Firebird in stages?
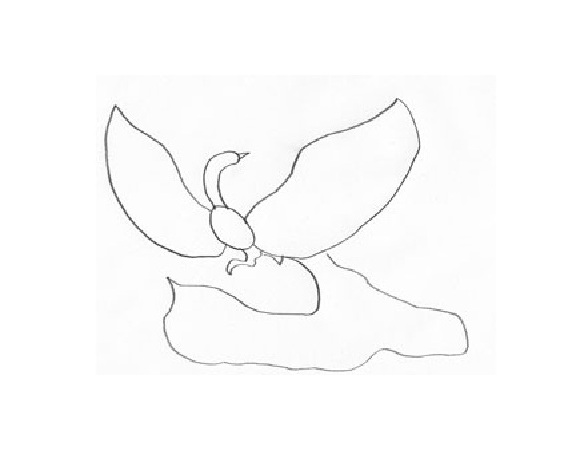
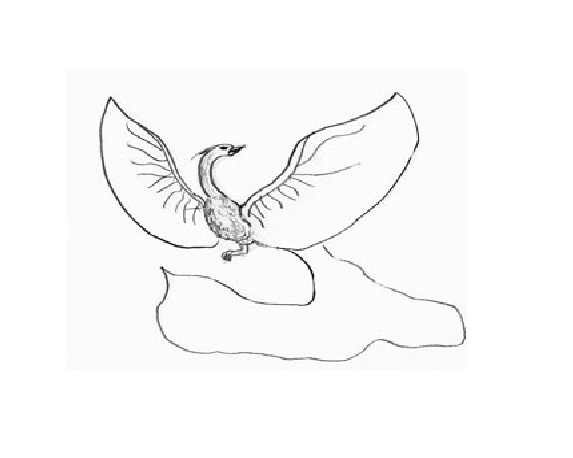
- We depict the general outline of our future drawing-the trunk, head, tail, wings and paws. Do not forget that Firebird is a fairy-tale character, and everyone is free to draw it as his imagination tells. Lines make thin enough that in the future, if necessary, they can be easily erased.
- Draw the wings of our bird, like twigs on a tree, and also draw curved lines of feathers. You can try to depict them like scales of fish. On the head add a crest and eye.
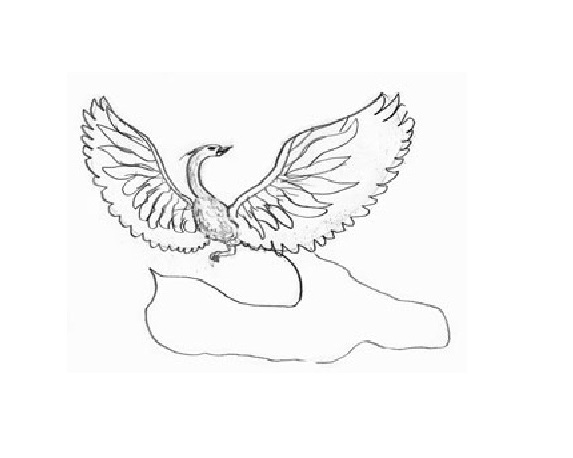
- Now it is necessary to draw feathers of Firebird in detail. Do it neatly, as shown in the figure, and you will definitely get a beautiful plumage.
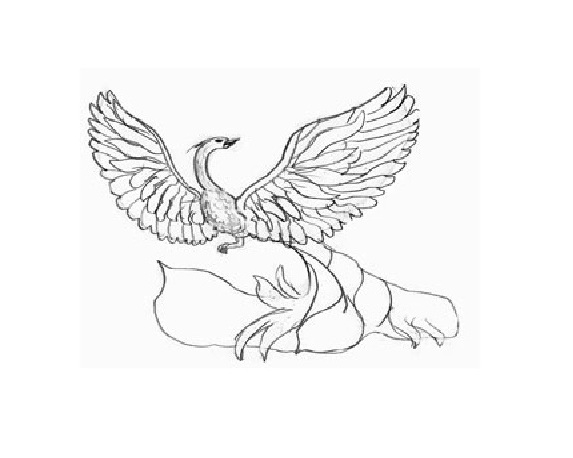
- We begin to draw the tail of our fairy bird.
- Finally, the most difficult part is a detailed image of the tail. To do this, draw ovals with a dark center, similar to the eyes of a person. They need to draw a lot of strokes, and the whole picture a little shade.
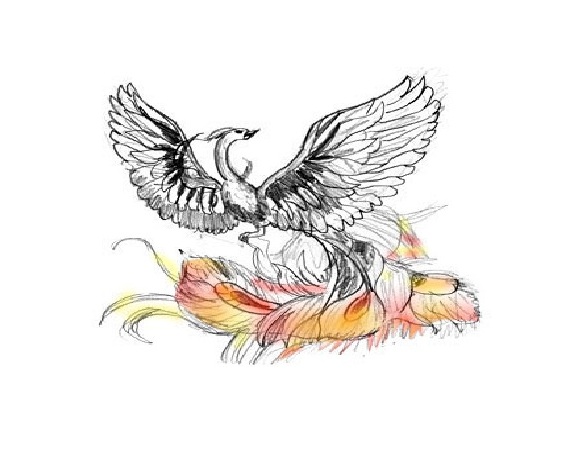
- Gorgeous Firebird is ready.
- That's what can happen if we paint our drawing with colored pencils.