Wall and ceiling cladding today is very popular, as in a short time you can not just beautifully decorate the room, but also to solve the problem of uneven walls. Mounting the lining to the wall is quite simple, as it is enough to install special staples and do not have to work with putty or other materials for surface preparation.
How to fix the lining of wood?
It is often used both plastic and wood . The first option is usually chosen for finishing rooms or bathrooms, and wooden blockhouses are used to decorate balconies or rooms in private houses. First we will consider the installation of a wooden lining.
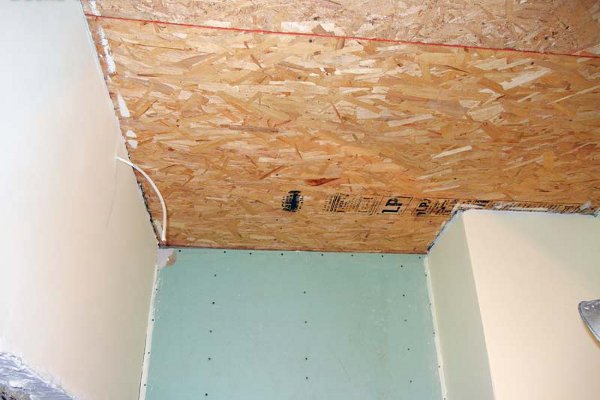
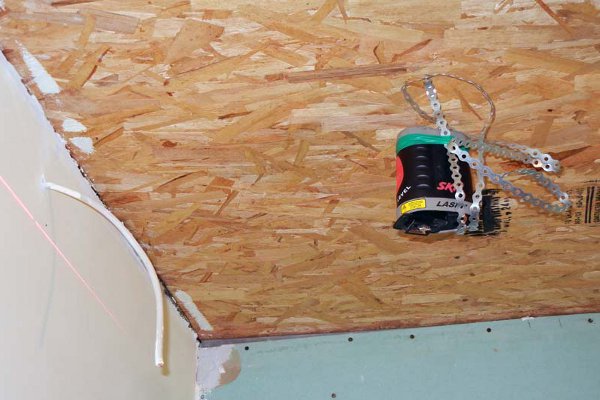
- For a house with wooden ceilings this is the best option. So, the first thing to note is the level where our ceiling will be. To do this, take a laser or ordinary level and draw the horizontal lines.
- Markup done.
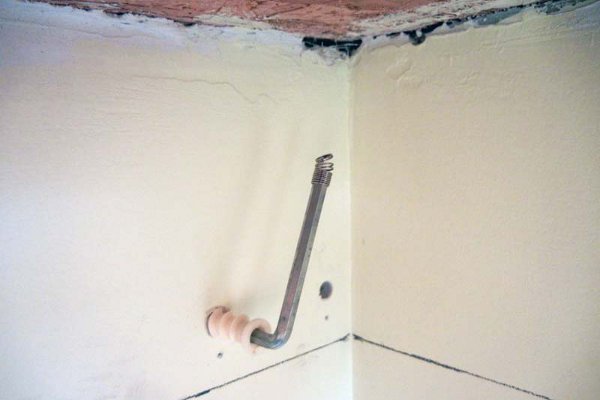
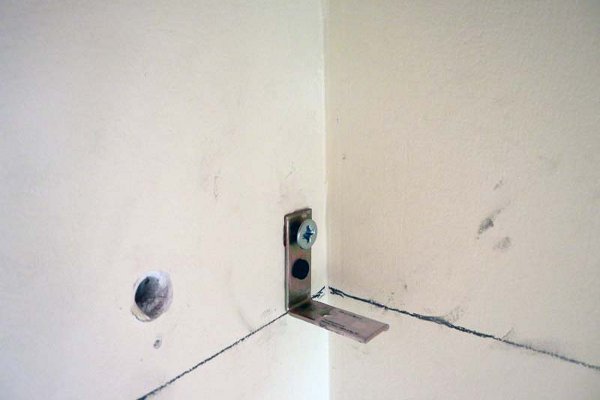
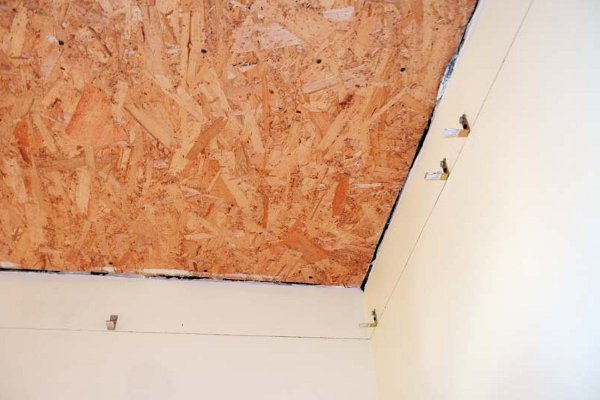
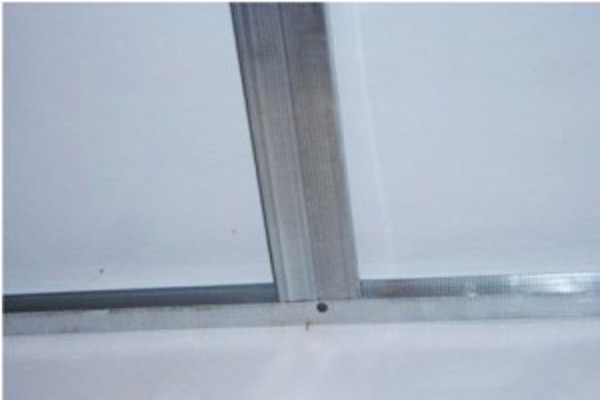
- Next, we need to fix the metal corners for the guide rails. The usual furniture corners for these purposes are quite suitable.
- One more stage of preparation is completed.
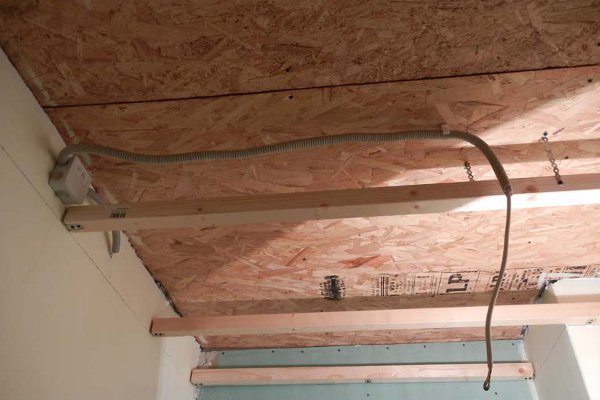
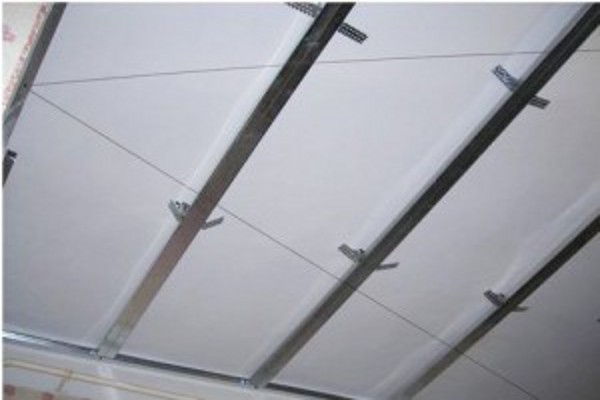
- Now it's time to install and fix beams for the suspended ceiling from wooden blockhouses.
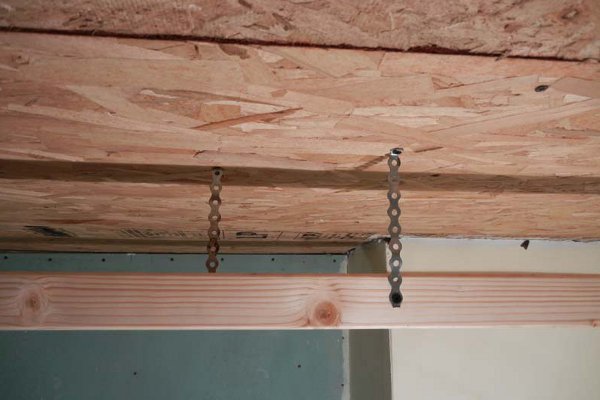
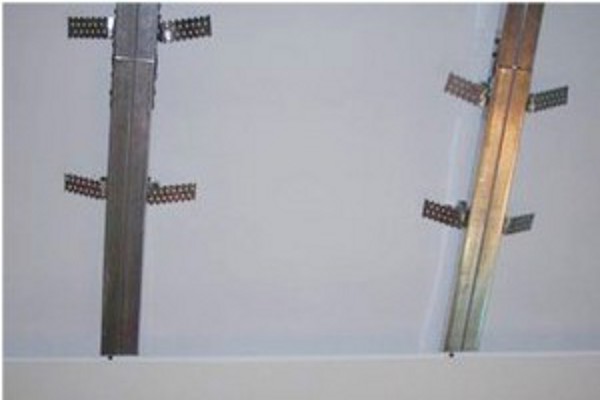
- To prevent the sagging of the ceiling in the middle part, use the mounting tape. When walking on the second floor, you will not notice the vibrations of the whole structure, since the connection of the beams themselves is not rigid.
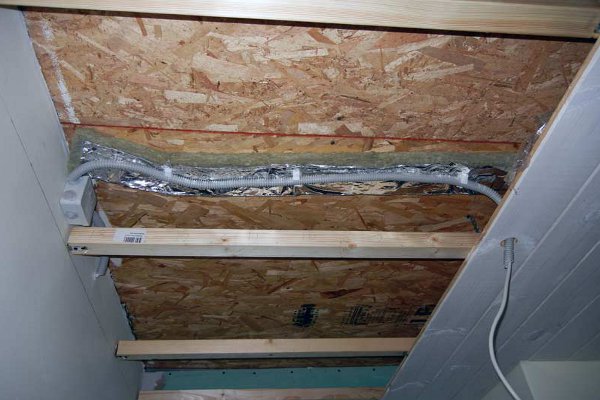
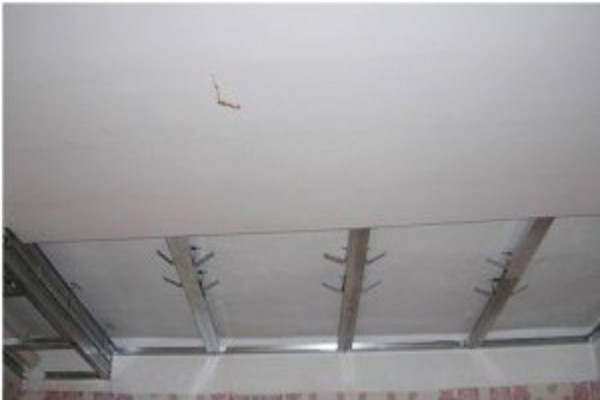
- Before installing the lining on the ceiling, fix all the connecting cables. We use a corrugated plastic tube.
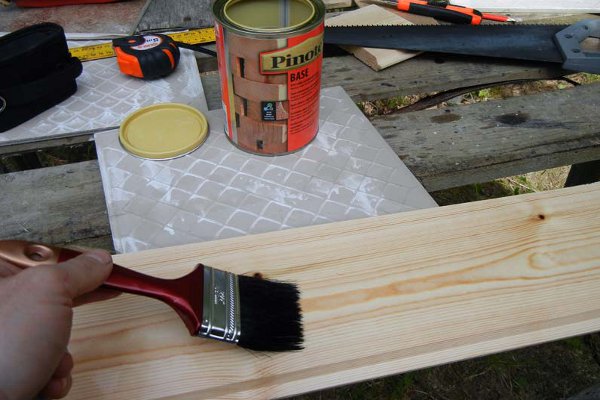
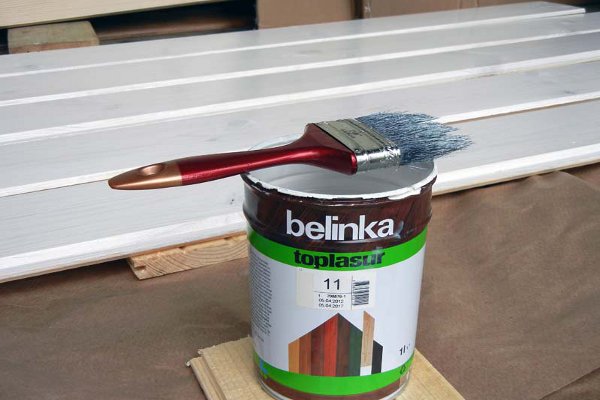
- Before fixing the lining, it should be primed with a pinotex. This will give an opportunity to get a beautiful prominent picture of the tree after applying an antiseptic. Over a dried layer of antiseptic we apply a layer of white azure.
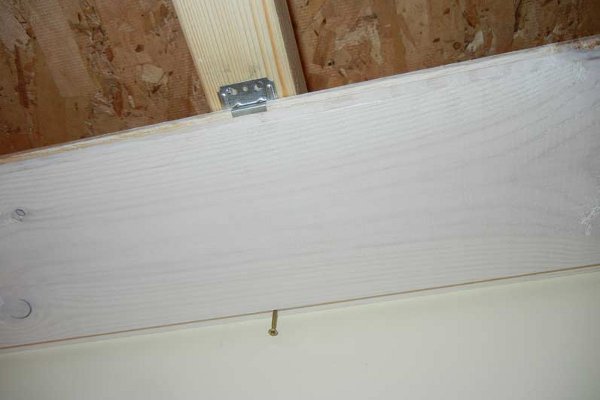
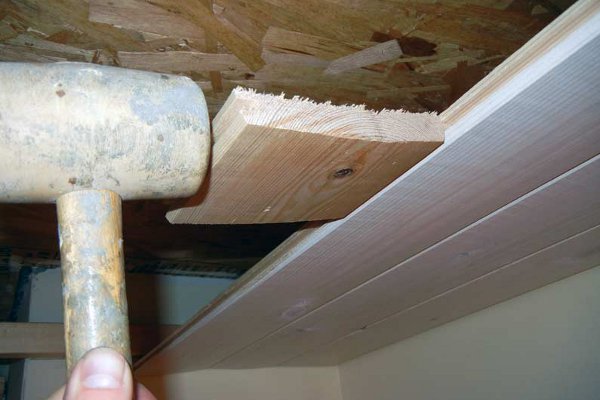
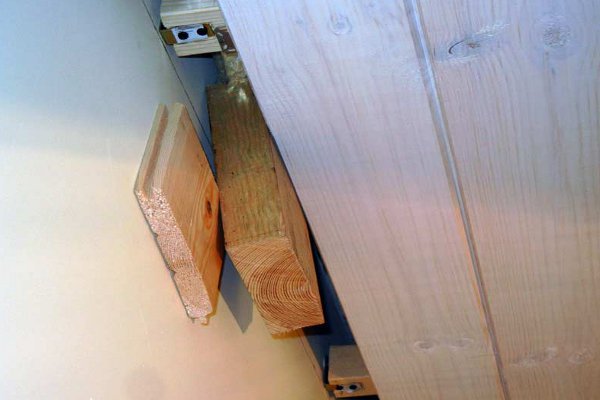
- The first rail is fixed with self-tapping screws, as well as with clamps for blockhouses. The rest is fixed in the usual way. To not leave a trace from the hammer on the lining, you can use a piece of wood.
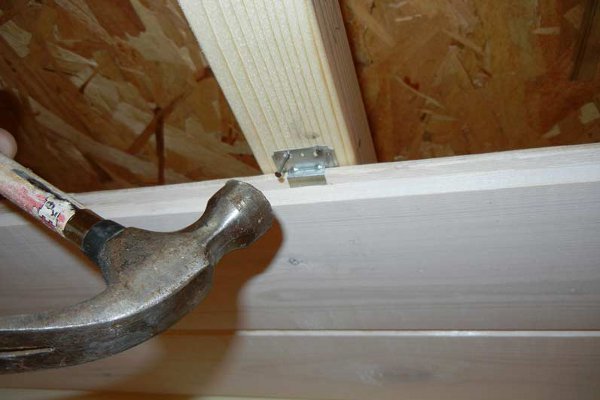
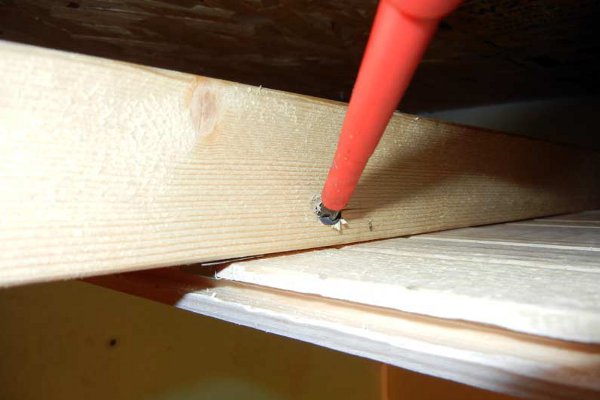
- The clamps are fixed as follows: first they are punched with thin nails, and then they are pushed to the rail and finally fixed with a thin nail in the center.
- Additionally, you can use a screw if the guide rail has gone screw.
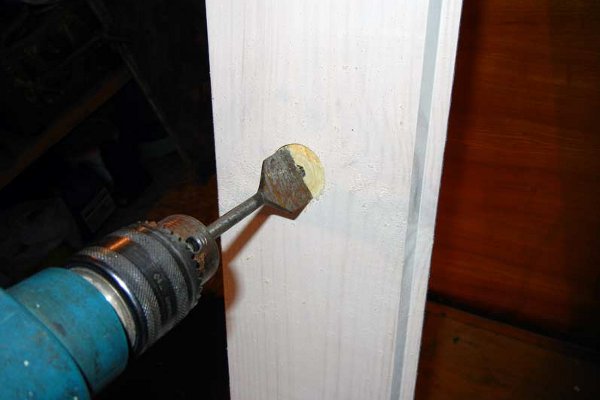
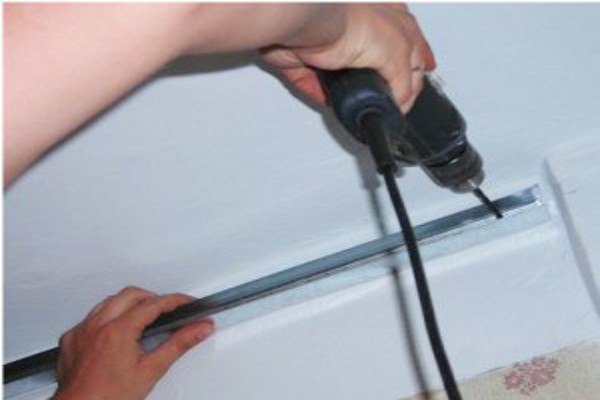
- Make holes for the backlight cable.
- For the insulation of wood from the cable, we must lay a layer of basalt wool.
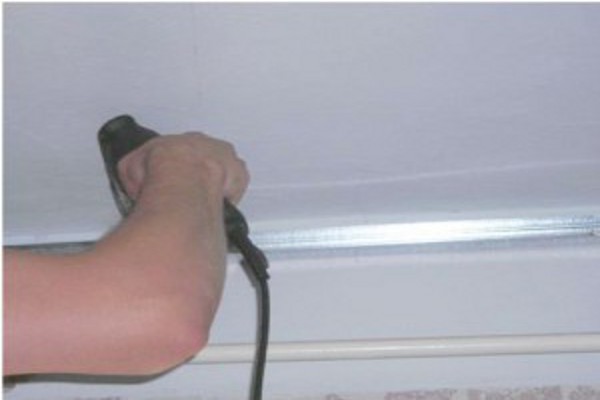
- The last detail is slightly compressed with blades.
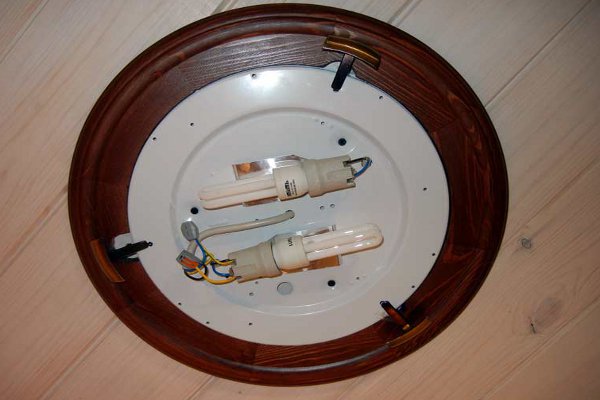
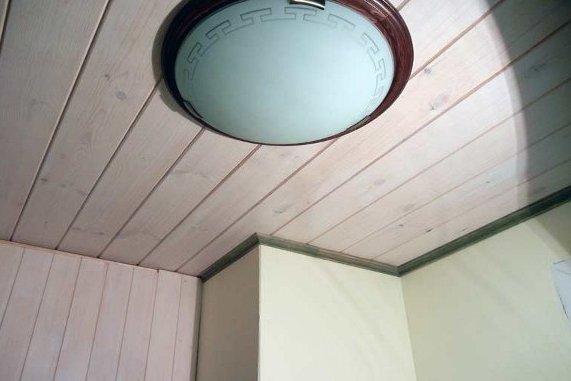
- The installation of the lining on the ceiling is completed. Now it remains only to attach the luminaire and the cornice along the perimeter.
How to fix the lining from plastic?
Now let's see how the plastic lining works, since the principle of operation in this case is somewhat different.
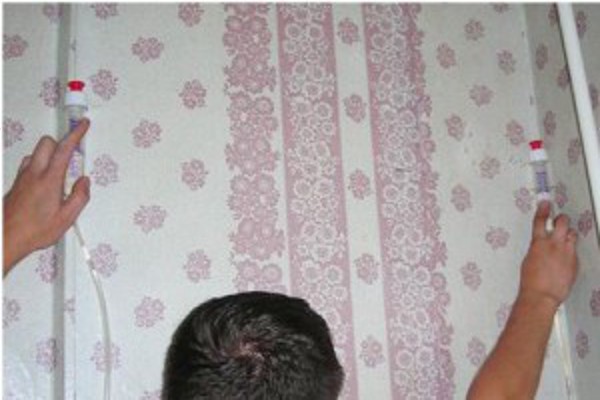
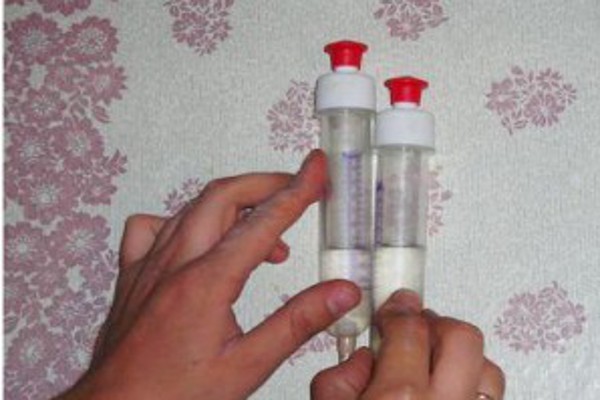
- With the help of combined vessels it is necessary to measure the height in each corner. Otherwise, all work will be a nuisance.
- Your task is to find the lowest angle, then retreat another 4.5 cm and mark the horizontal with dots.
- In the corners you will have such measurements.
- Then we take the paint line and beat the line along the whole wall.
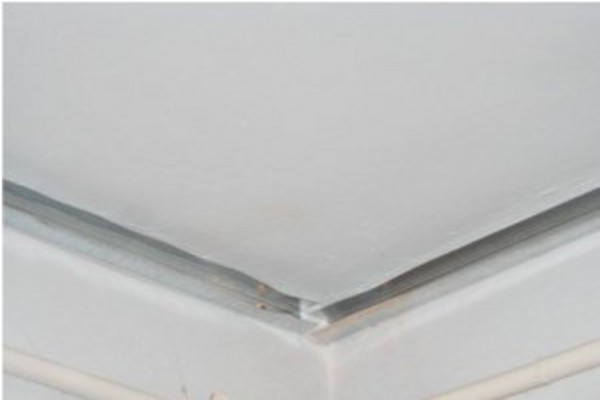
- Fix the profile using dowels along the planned line.
- Profile is fixed. Its standard length is 3 m, if necessary, it is increased by inserting one into the other.
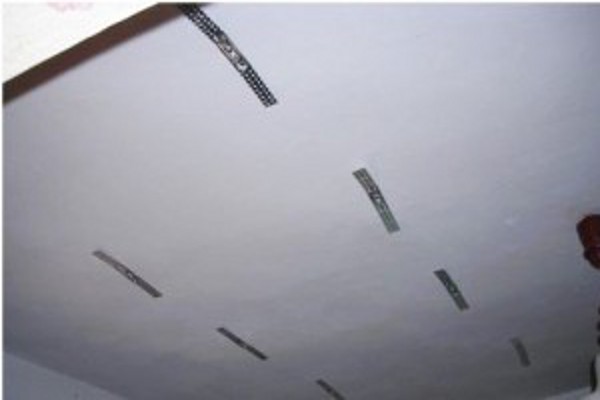
- Next, fix the brackets for the lining. To do this, we mark the lines and, at a distance of about 60 cm, attach the brackets.
- The preparation of the ceiling for the installation of the plastic lining is almost complete.
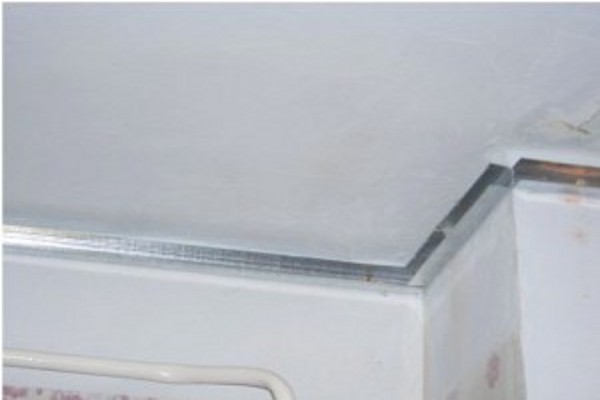
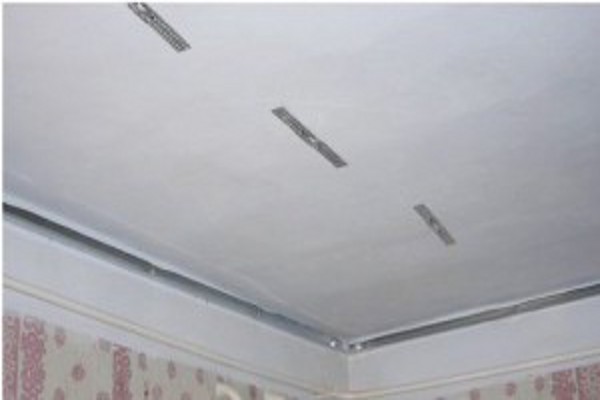
- Next, pull the fishing line to get a horizontal plane and attach the profile.
- The profile is fixed, the staples are bent.
- As a result, you get this kind of ceiling.
- Now we begin to gradually build our skeleton with plastic.
- Before you fix the lining, you should carefully prepare the first lane. It must be cut in such a way that all other stripes are fixed only at a right angle to the profile.
- Mounting the ceiling from plastic is ready!