Assembling furniture at home is currently enjoying great interest. A children's bunk bed will cause curiosity in adults and toddlers. Children love such designs, because they can quickly be turned into a playground. And parents - for compactness, even in a small room, such furniture can accommodate two children.
Consider how to make a two-tiered baby bed with your own hands. It saves space in the room and makes it more comfortable and functional.
We make a bunk bed with our own hands
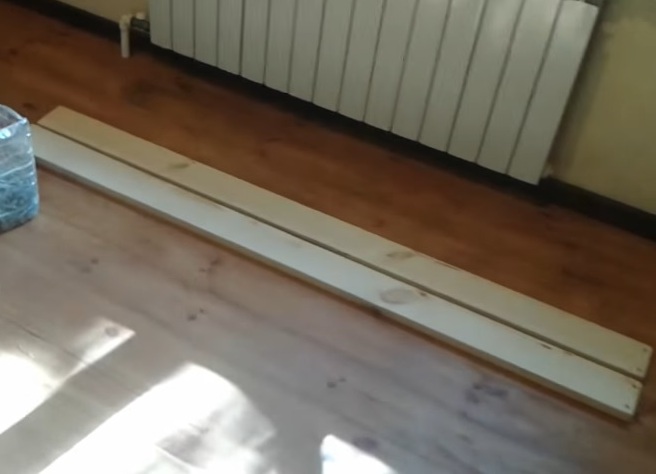
For making a baby crib, a soft tree is used , for example - a pine. Such wood is cheap, it can not be bought. From polished pines the entire frame of the product is made. When buying, it is desirable to choose straight and well-dried boards.
To make a bunk bed for children with their own hands, you will need materials and tools:
- wooden boards;
- laths on the base;
- glue;
- milling cutter;
- Clamps;
- long self-tapping screws;
- drill;
- screwdriver;
- varnish.
Master Class
- Manufacturing of any furniture design begins with the drawing. It calculates the desired size. The distance between the floors should be sufficient so that the child can sit quietly on the lower tier. The length of the product is also desirable to be calculated with a margin of several years, because children grow. Then only you can get the materials you need.
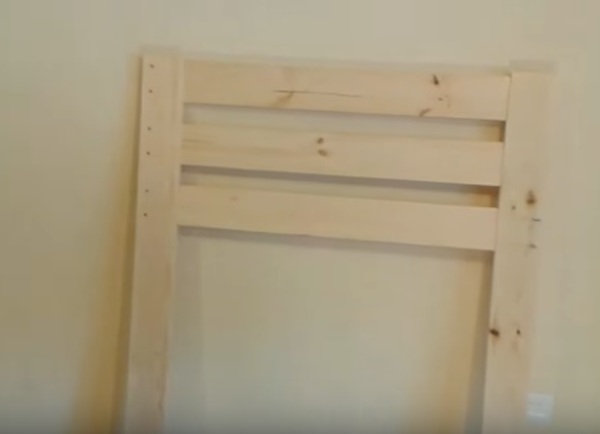
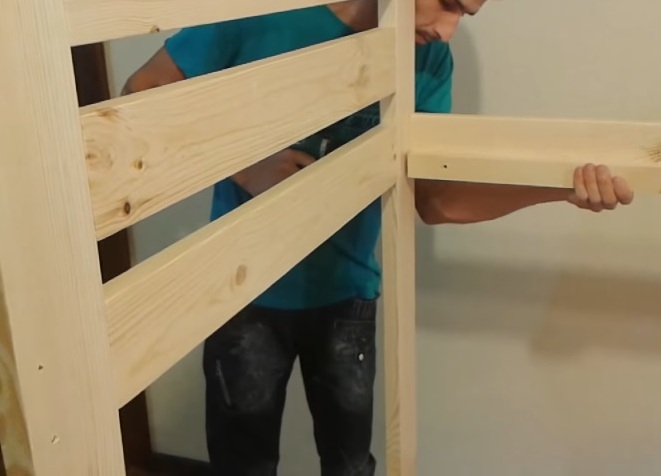
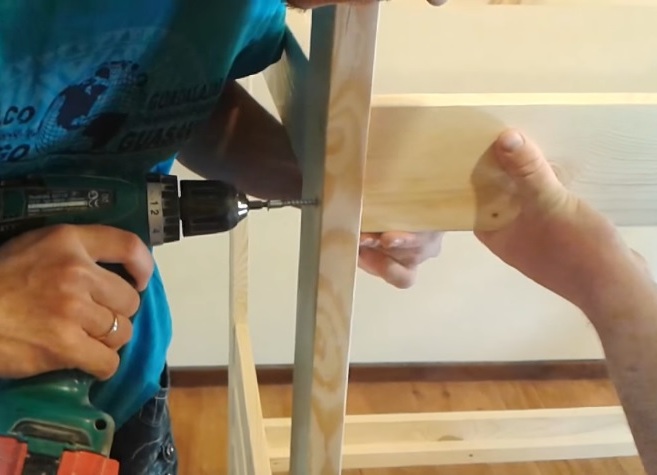
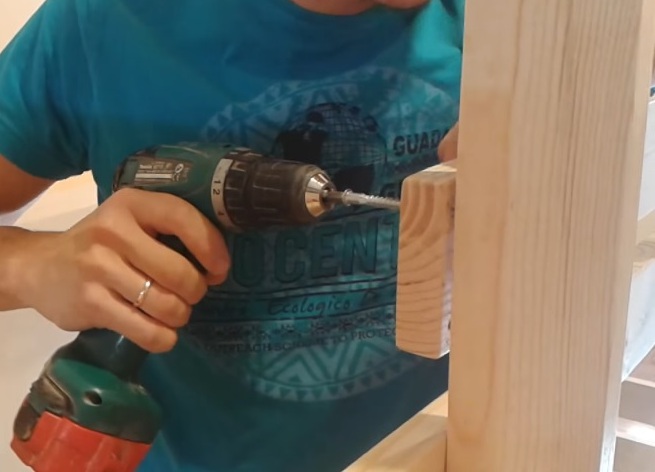
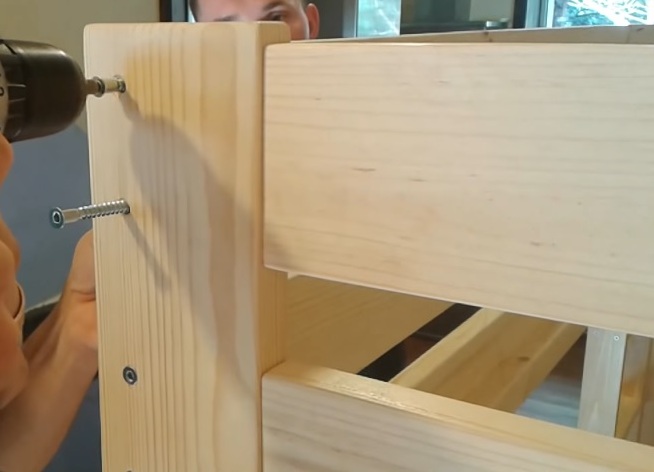
- The wood is pre-treated, ground, cut to the size of the desired elements of the bed. The side parts of the bed are made. Headboard upper and lower - identical. With the help of the cutter, grooves are cut into half the thickness of the tree in the posts for connecting the transverse end walls. Above and below, three boards are glued to the posts using glue and clamps.
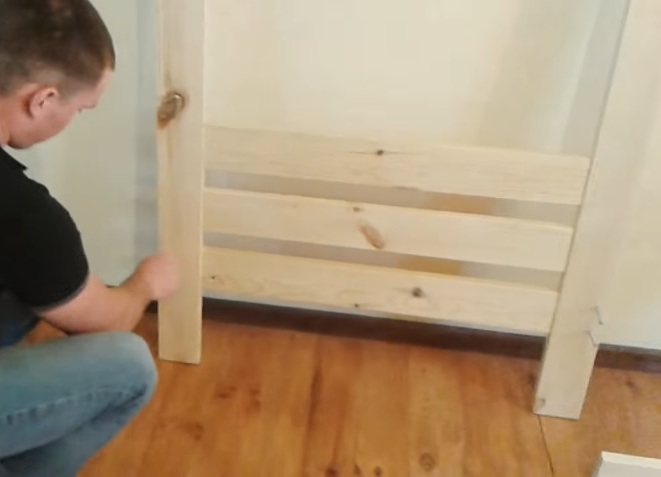
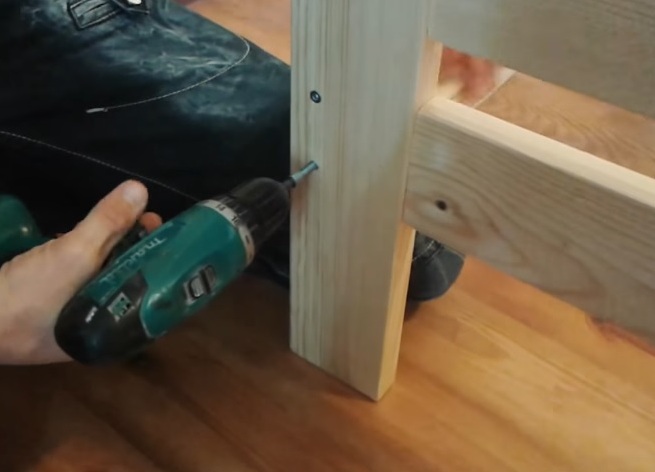
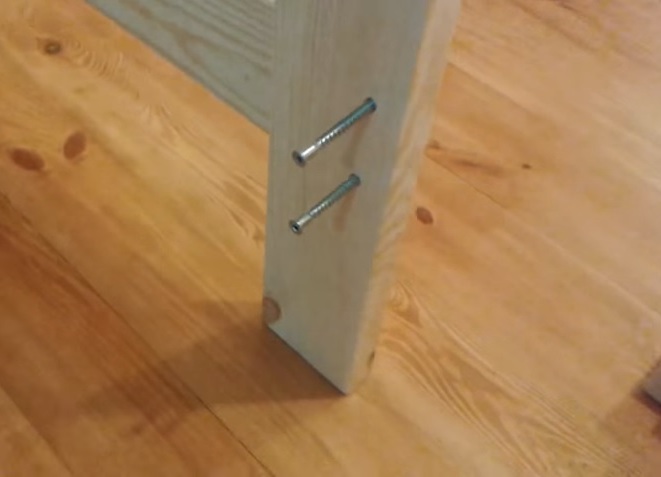
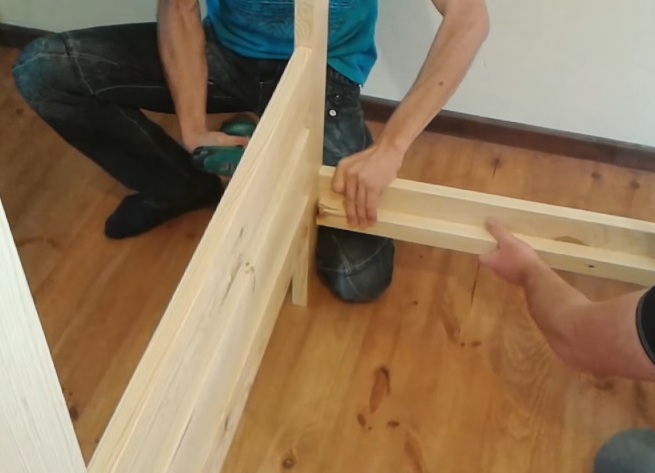
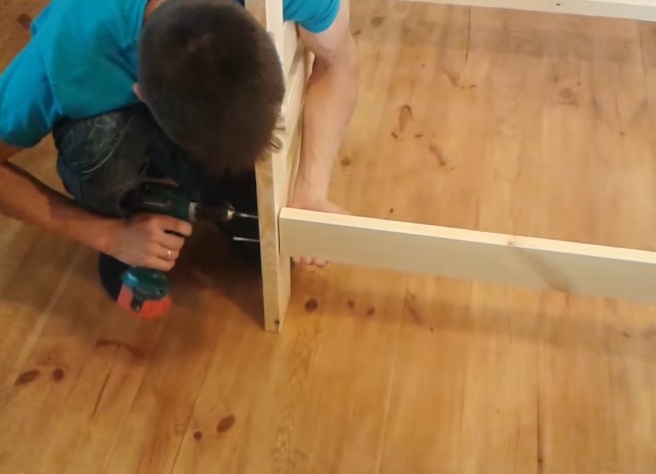
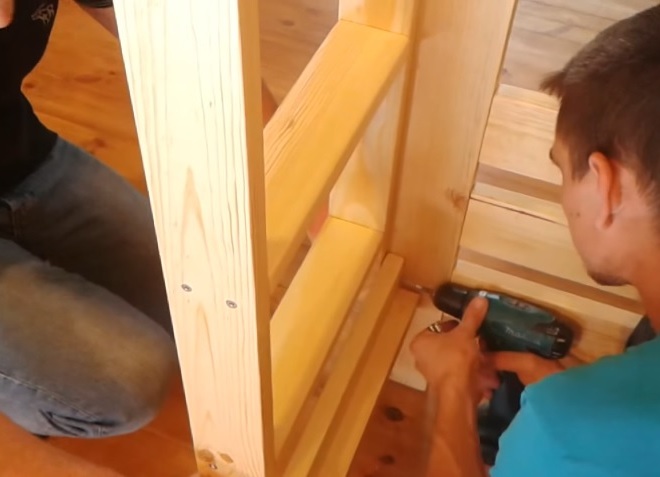
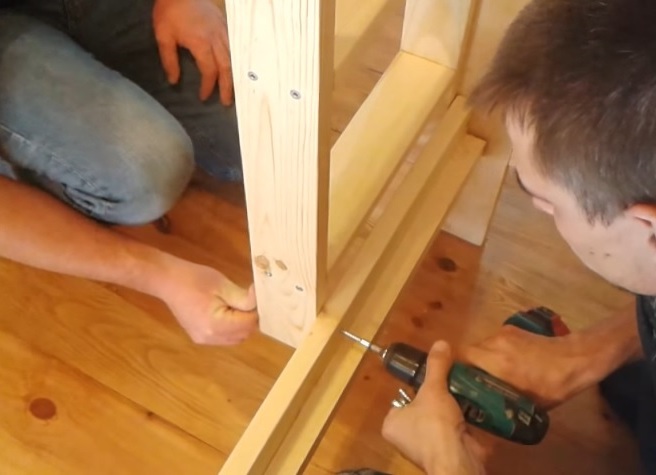
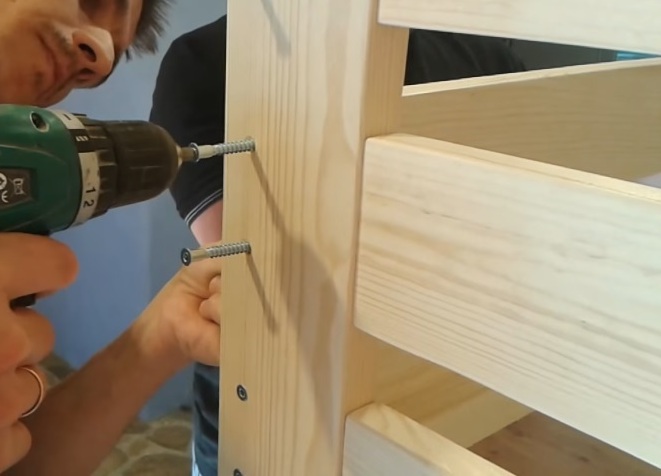
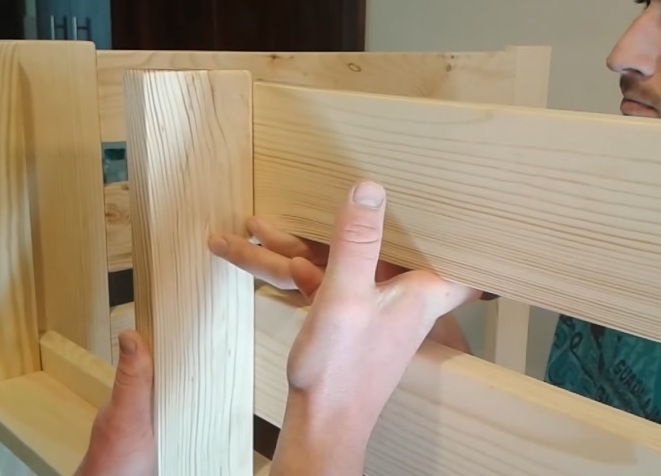
- To the side boards under the base is attached a support bar to the screws from the inside of the frame at a right angle. The rear lower and upper sidewalls are screwed to the posts using long self-tapping screws - two in each board. The side part is fixed at the level of the end plate at the top and bottom of the structure.
- The front sideboards are screwed to the cot legs.
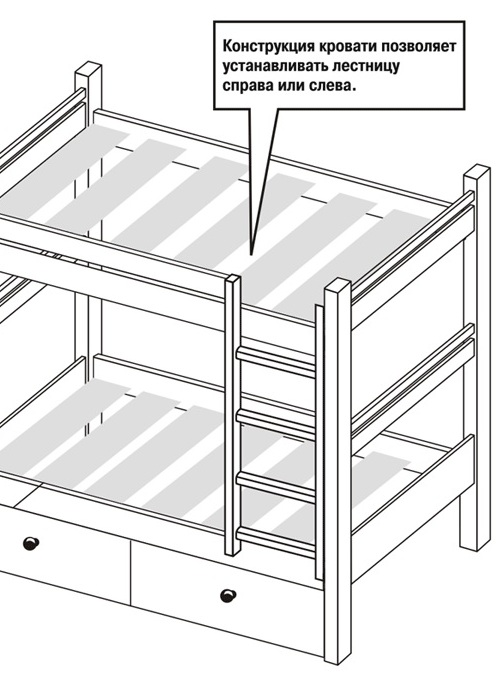
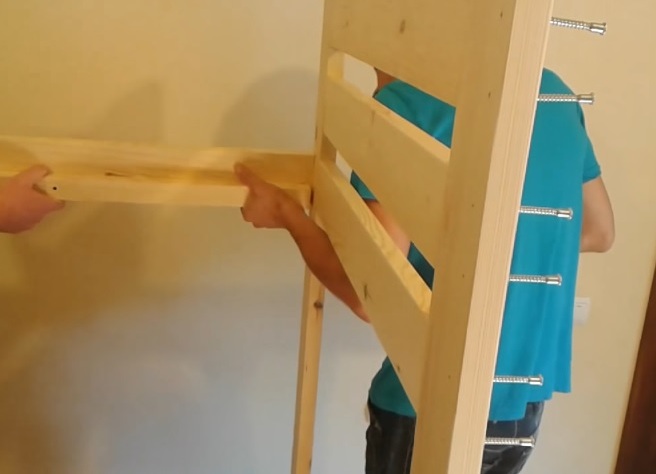
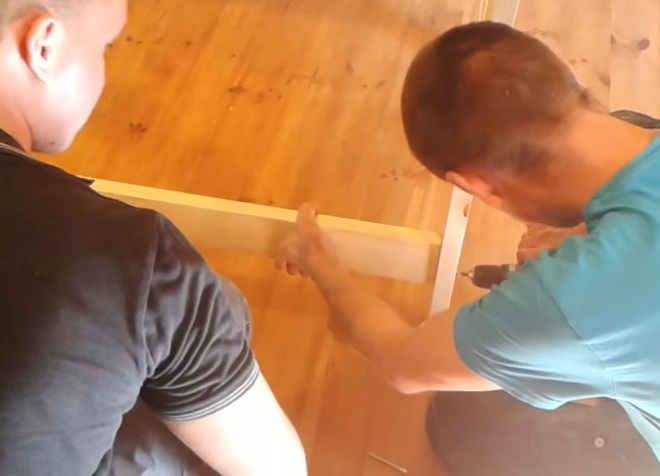
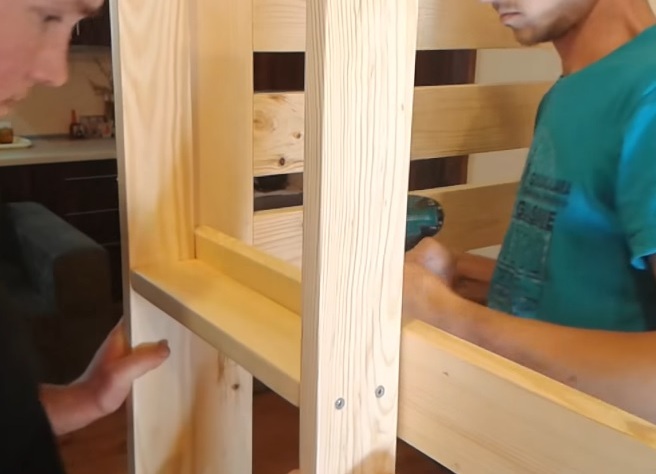
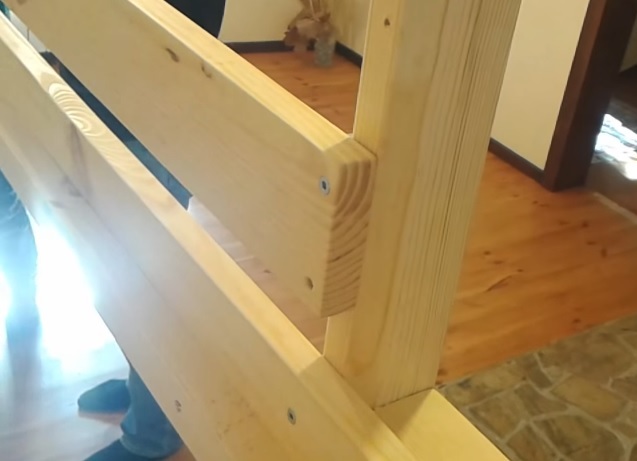
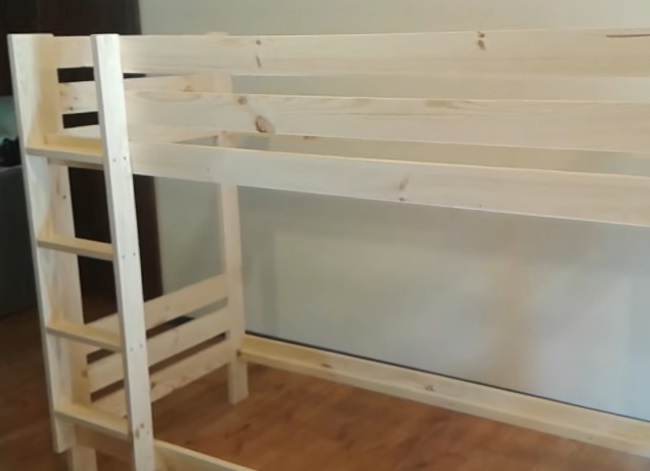
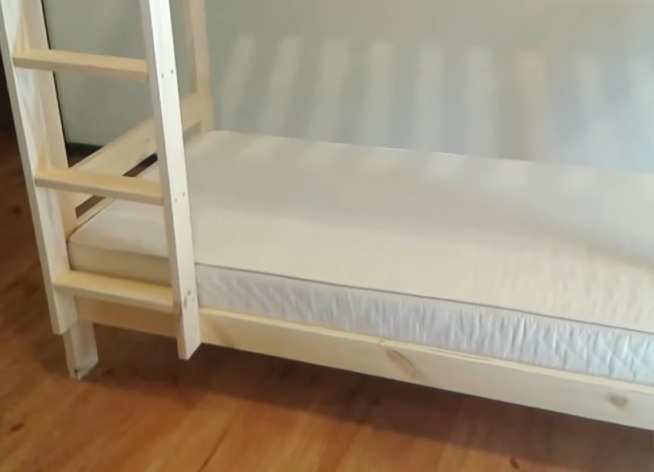
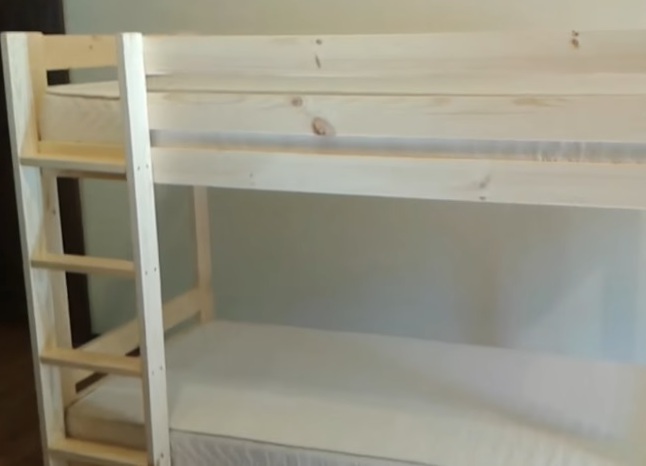
- Of the narrower boards, a simple ladder is assembled. It is fixed vertically to the upper and lower side of the bed.
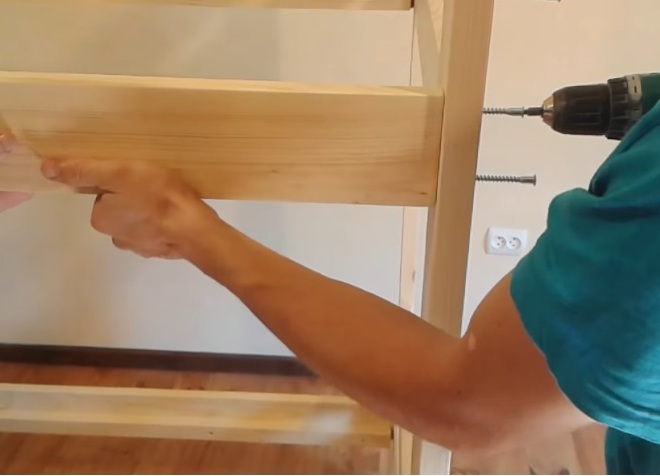
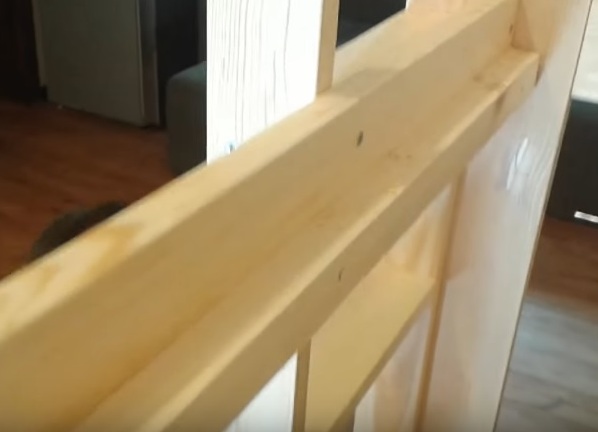
- Two upper front side strips are fastened - to the ladder, overlapping, and to the stand back to back. They are designed to prevent the child from falling out of the second tier.
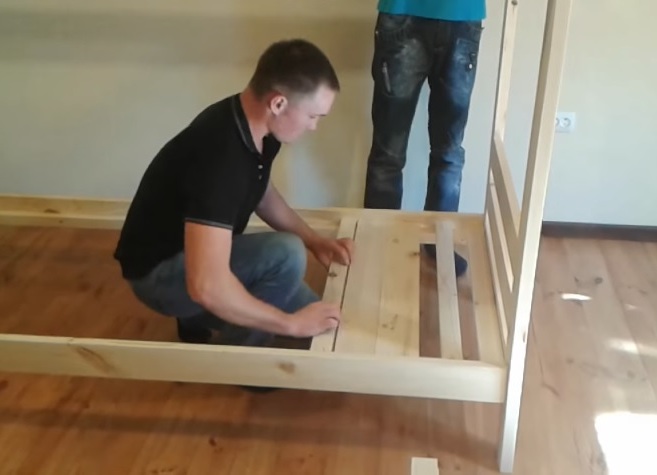
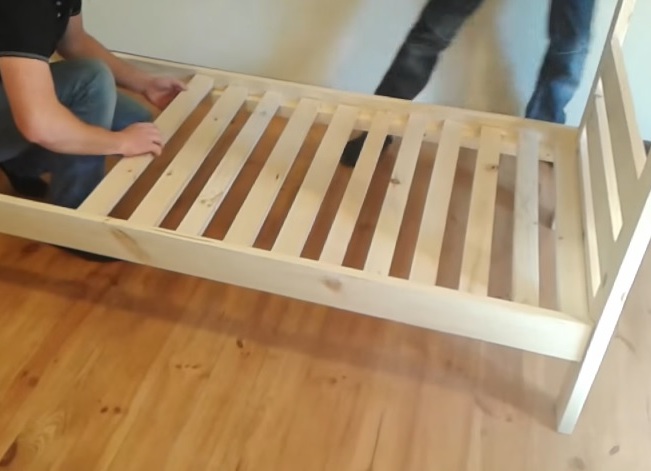
- The cut strips are laid on the upper and lower base with uniform pitch. They will be held in the structure by gravity.
- Mattresses are placed on the upper and lower tier. The rear wall of the bed is not equipped with bumps, as it is designed to be fitted tightly to the wall.
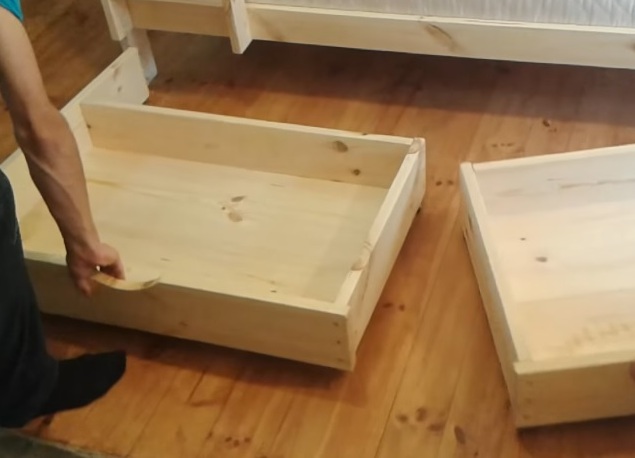
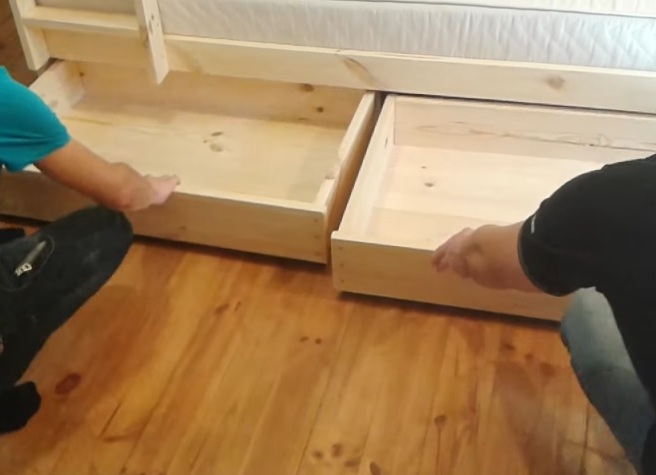
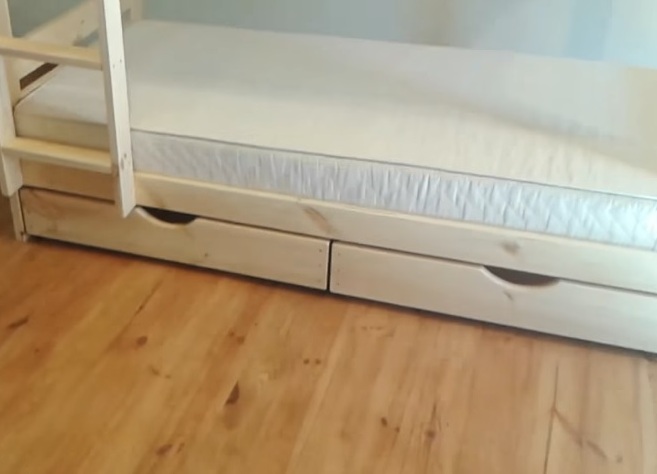
- Two boxes are made from the boards. At the bottom to them are screwed wheels. Boxes move under the bed. The design is ready.
The cot is ready. It remains only to protect the wood (and extend its service life), covered with a layer of varnish. To pick up a transparent varnish, toned or glossy depends on the taste of the owner.
By the way, due to the use of self-tapping, the product is easily disassembled and can be transported in unfolded form.
A self-made bunk bed, made by own hands, is sure to please children. It is attractive for its compactness, it allows the children to spend their time interestingly and cheerfully.