Suspended ceiling - a common solution when decorating a room during repairs. This design allows you to get a smooth smooth surface, without labor-intensive leveling putty.
Gypsum plasterboard ceiling has the following advantages:
- demarcate the functional parts of the room;
- allow you to apply point lighting;
- visually increase space;
- have excellent sound insulation ;
- on gypsum cardboard it is easy to apply finishing materials;
- Excludes the use of building mixtures (cement, plaster, masonry mortars).
These qualities make gypsum plasterboard ceilings the leaders in use in construction. Make a suspended ceiling from gipsokatona is not difficult for a beginner, and for his monotazha requires a few auxiliary tools.
We make a suspended ceiling from plasterboard: the selection of materials and equipment
Before you make a ceiling of gypsum board yourself, you should buy ancillary equipment:
- plane;
- level;
- construction knife;
- roulette;
- putty knife;
- drill;
- sandpaper;
- screwdriver.
The main material for the installation of the ceiling is plasterboard (GKL). For the ceilings of apartments, use a GCR with a thickness of 0.95 cm or 0.12 cm. Select a moisture-resistant GPL in the bathroom, and fireproof sheets can be purchased in the kitchen. In addition to drywall you will need:
- ceiling profiles;
- self-tapping screws;
- direct suspension;
- profile connectors (crabs);
- Anchor wings or dowel-nails.
A bit about every point. The ceiling profile can be chosen of any length, and if the piece is too small, it can be extended with a butt joint. Direct suspension acts as a fastener. Instead of connecting crabs you can use the design of screws and profile.
Installation of suspended gypsum plasterboard ceiling
First you need to decide how many levels will be in the ceiling. This will determine the course of your work.
One-level ceiling from GPC. Installation has how many stages.
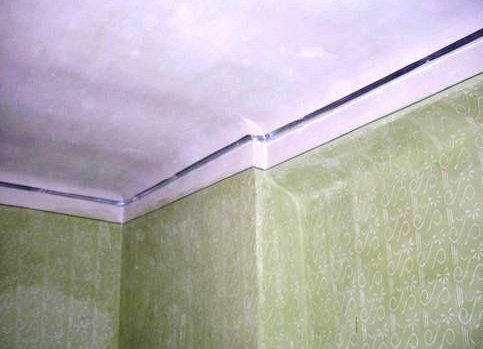
- First you need to designate the level of the suspended ceiling. If spot - oriented LED lighting is used , leave 10 cm of space to prevent overheating and air movement. Mark the level zero with the hydraulic level and attach the profile guides with the dowels.
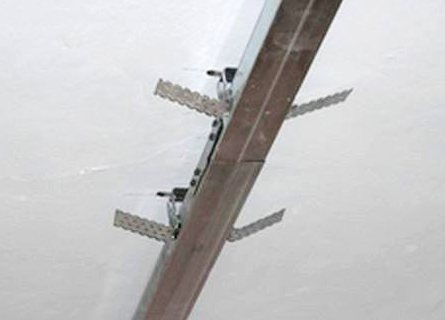
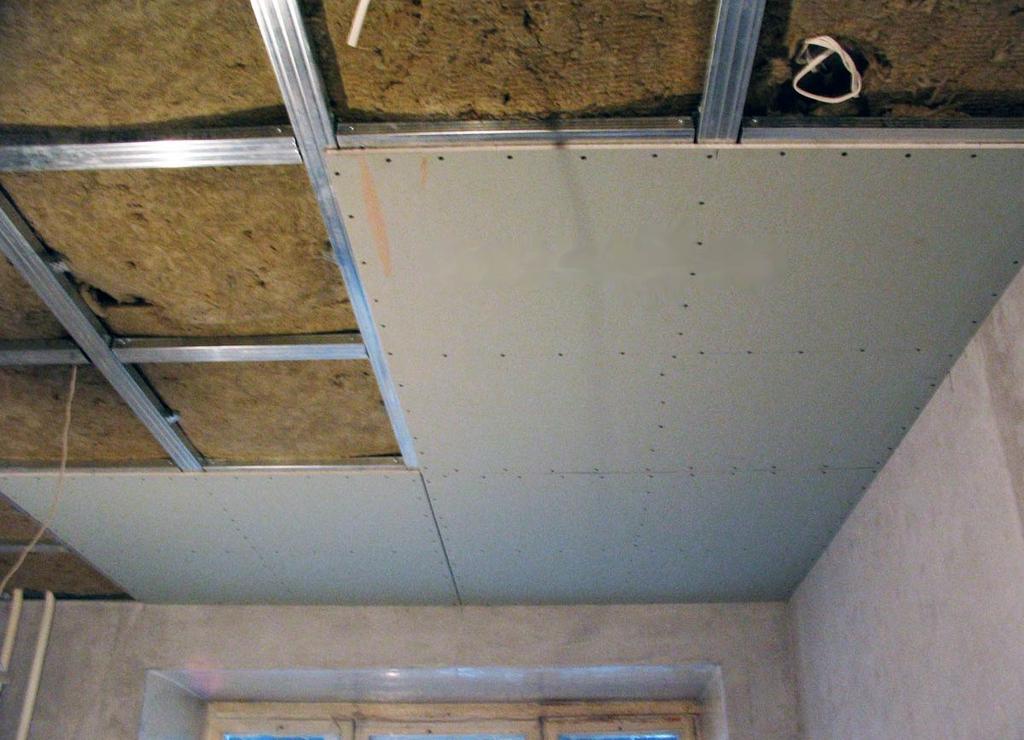
- Attach the profile to the montage profile. To prevent deformation of the frame, check the level of the tension cord.
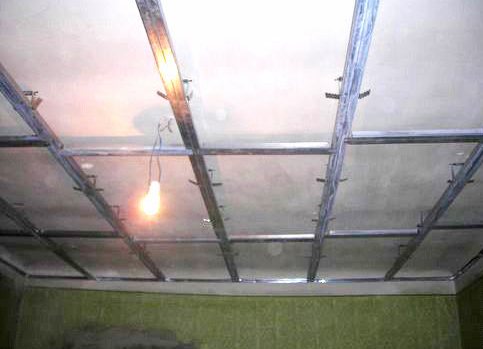
- For strength, use crosspieces, mounted from the ceiling profile. Stick them with crabs. At this stage, the main work on the installation of the frame can be considered completed.
If you want to make a two-level ceiling from gypsum board, you just need to add the necessary levels of guiding and ceiling profiles. If you are planning to make wavy forms, then you will need to bend the sheets. This is done by several methods: to drill the grooves from the bend side or to moisten one side of the GCR with water and place it in the prepared mold.
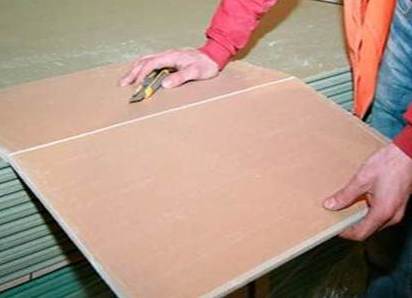
After mounting the structures, you can attach sheets. With a knife, cut the GCR into the required dimensions. The burrs left after cutting can be removed with sandpaper or plane. The holes for the luminaries are cut with the help of crowns.
Prepared sheets can be mounted in the ceiling using the following order of works: first lay a solid sheet, then half the GCR sheet and so on to the end. Thus, you smooth out the swings. Fix the sheets with metal screws. After installation, fill in the joints and cracks. The ceiling is ready for wallpapering or painting.