In order to grow strong seedlings, several factors are important. As a rule, this is a quality planting material, suitable soil and the creation of favorable conditions. But one of the central moments of caring for young plants is lighting, or rather, lighting. The fact is that a short light day in January and February is not enough to make the seed turn into a full seedling. But resourceful gardeners, who grow seedlings all in the apartment, found a solution to this problem. At the same time, many make such a highlight on their own, especially since it is not particularly difficult.
How best to make the highlight for seedlings?
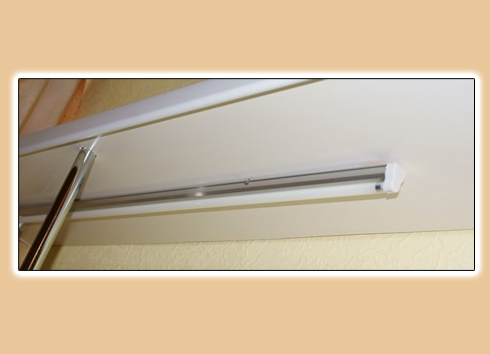
Specialists and amateurs agree that LED lamps are ideal for replenishing seedlings at home. Unlike mercury, sodium and fluorescent lamps, LED lighting is more durable and economical. Another important fact is that it's much easier to choose the necessary spectrum and adjust the intensity of lighting of LED lamps. So, let's look at the example of how to make the highlight for seedlings your own hands:
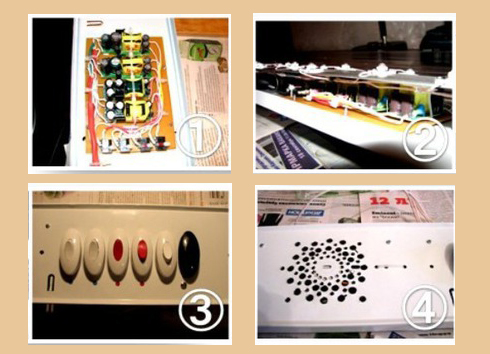
- Prepare the source materials: computer cooler, 24 V, 2 A (direct current) and 12 V (cooler) power supply, anodized aluminum strip, blue and two red light diodes. You will also need wires, hot melt glues and epoxy glue. First, clean the ends of the wires and irradiate them with tin using a soldering iron. Solder the diode arrays to the ends of the wires so that the adjacent diodes are connected ("plus" to "minus").
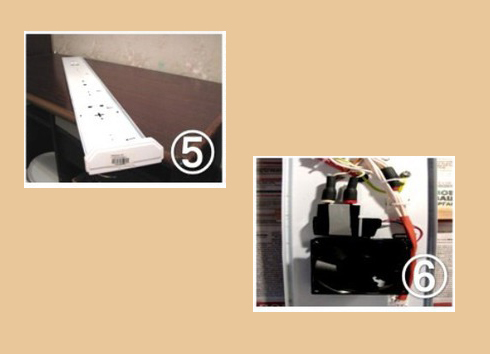
- The wires leading to the power supply must be soldered to the outermost wiring. In this case, the total voltage of the diodes should be equal to the parameters of the block (in this case 24 V). From the strip of aluminum make a mount for the cooler.
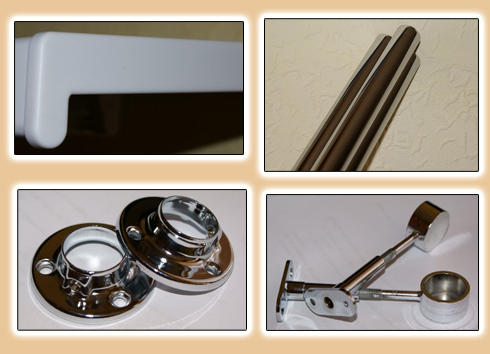
- A chain of diodes fix on aluminum with epoxy glue. The edges of the strip should be folded so that it turns into a reflector of light.
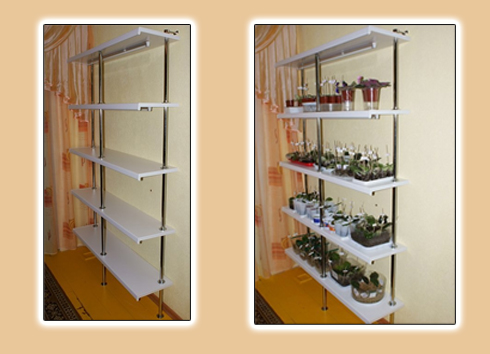
In addition to solving the issue with backlighting, you need to know how to make a shelf or shelves for seedling yourself:
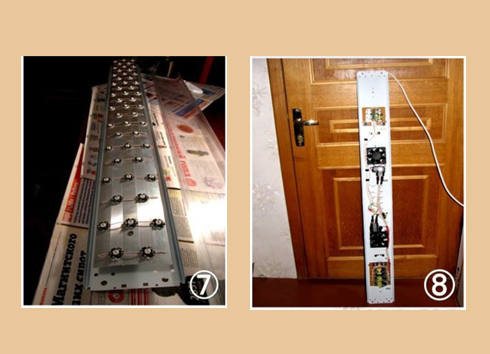
- To do this, you need sources such as several sills with end plates, metal pipes in the amount of 3 pieces and consoles for their fastening, as well as bracket, lamp, wire and switch.
- The window sill can be cut so that the right number of shelves of convenient size under the cassettes or boxes with seedlings is obtained.
- Using a pipe and fasteners it is very easy to construct a rack that will not be afraid of water. In addition, the lower part of these windowsills is usually glossy, which allows you to do without reflectors.