The main thing in working with wallpaper is attentiveness and accuracy. The algorithm of actions is almost the same for different types of finishes, however, there are some nuances.
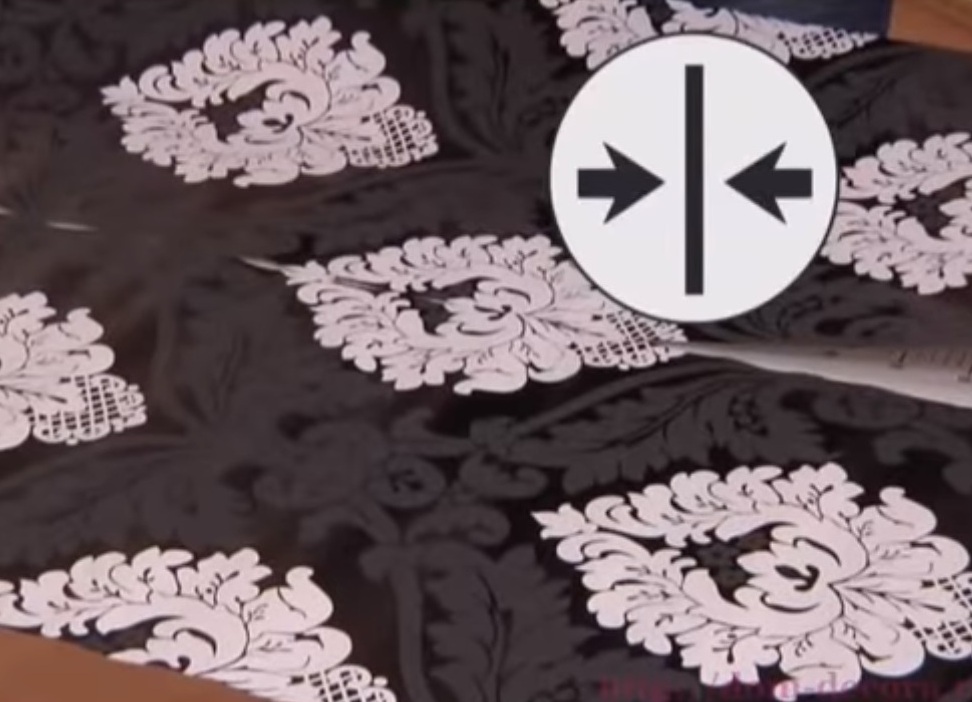
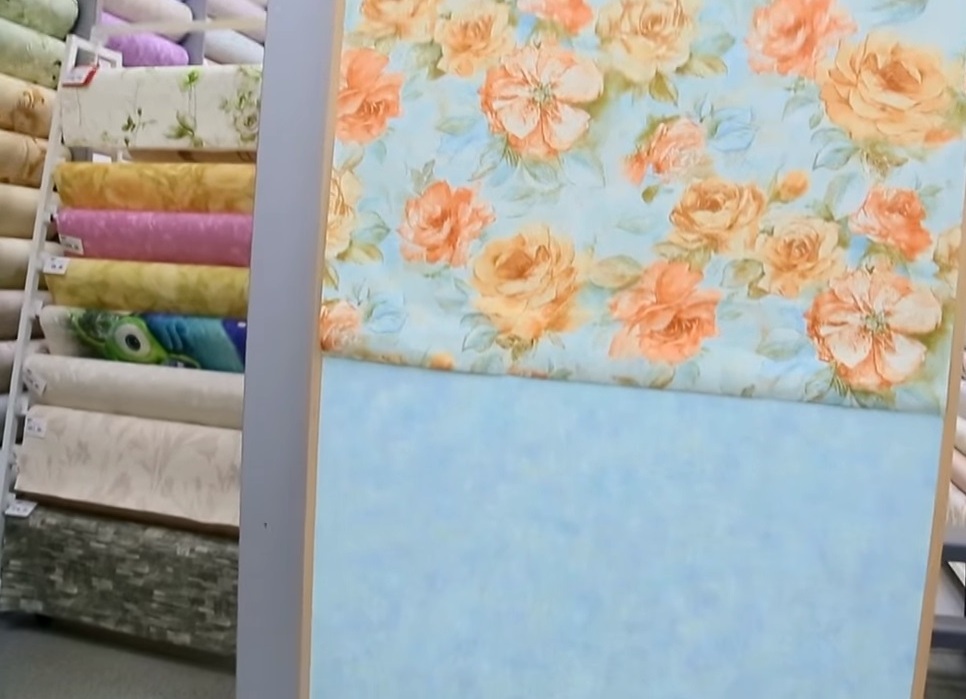
First of all, pay attention to the labels on the roll packaging, which is especially important if the coating is with a pattern. The wallpaper with a direct beginning of the pattern will go in parallel, have the following designation:
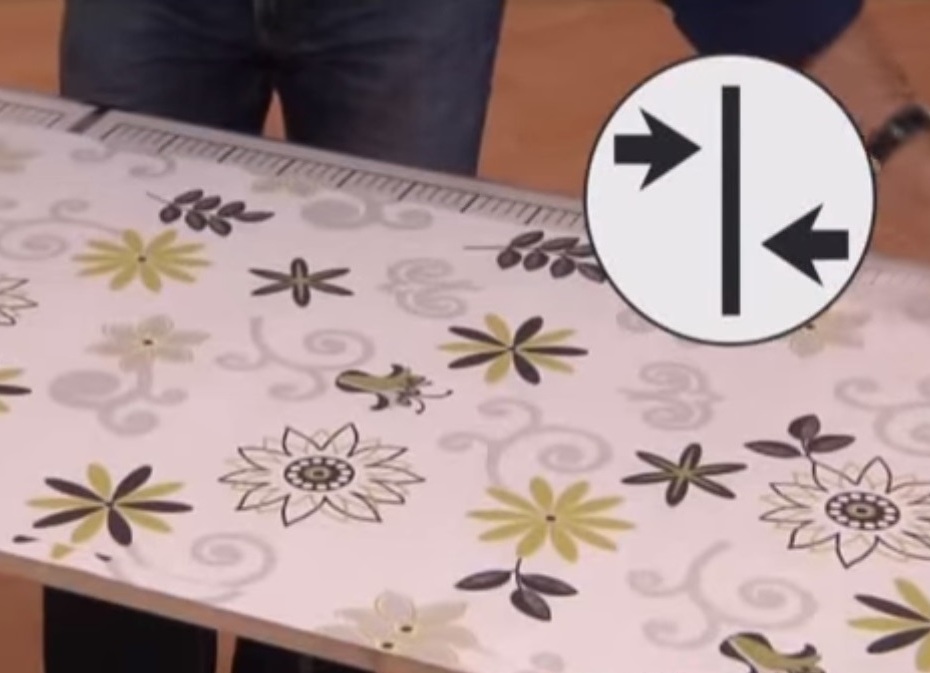
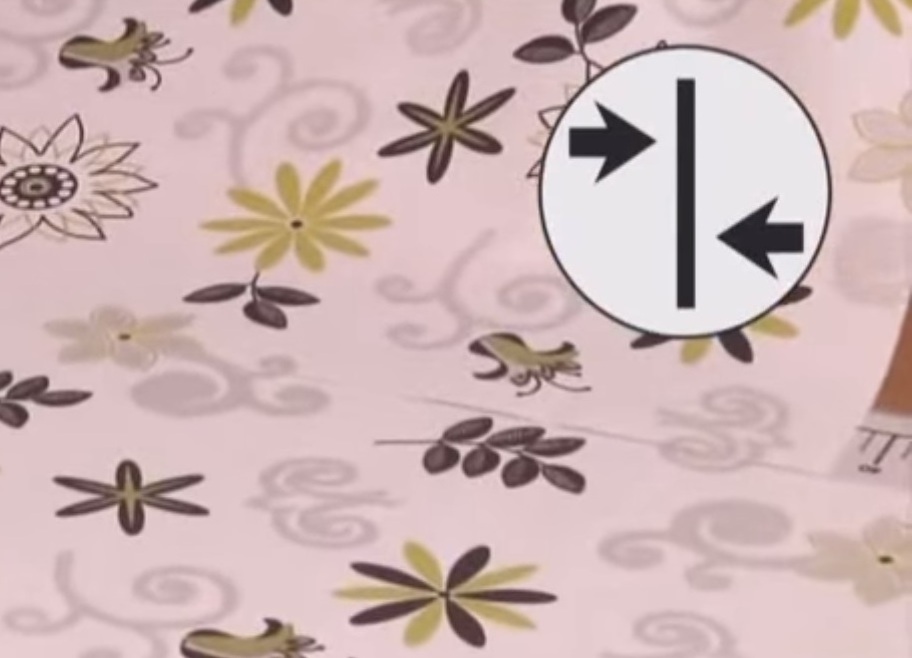
If it is a question of the moved beginning of the pattern, then the element must shift relative to the neighboring part by the specified size of the report.
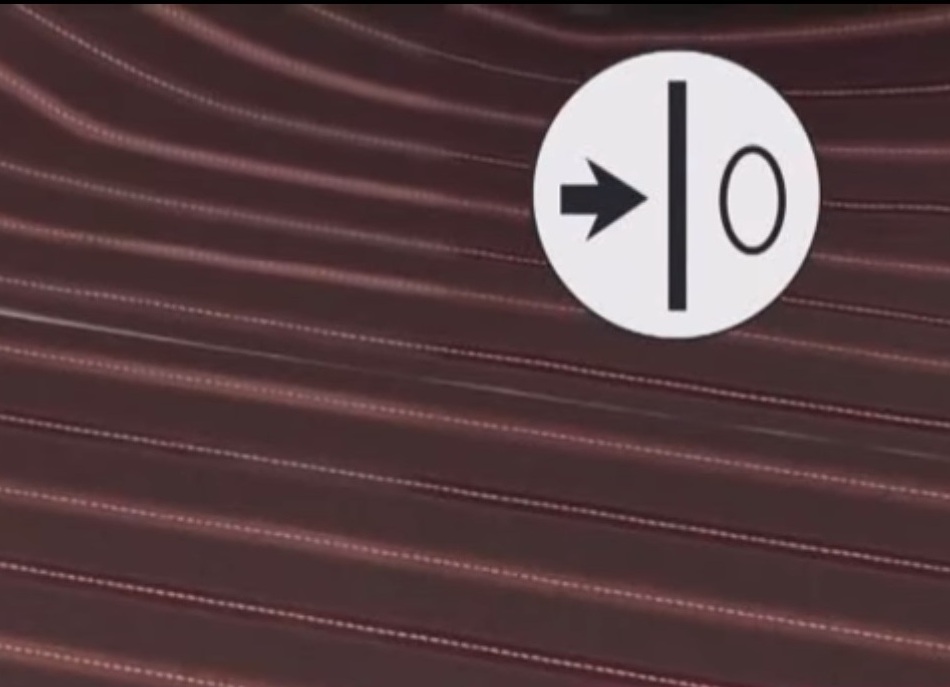
For some products, the matching process does not matter:
Some models need to be turned 180 degrees through one sheet.
This icon indicates that the glue is applied to the wallpaper.
This one is on the wall.
On products with a particularly durable coating, you can see this icon:
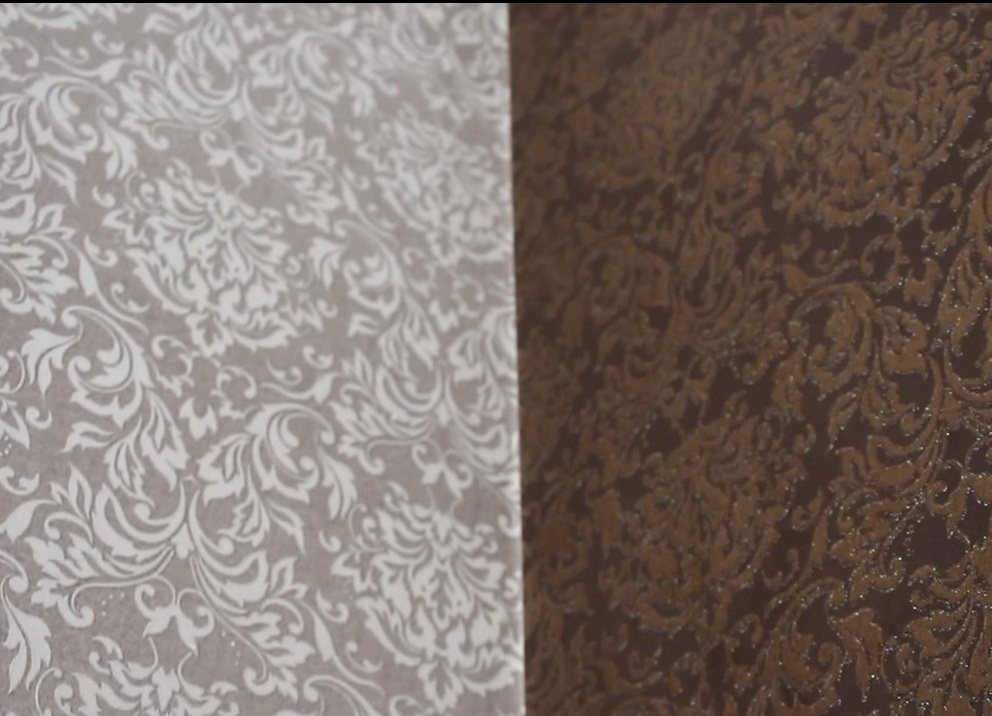
Interesting are the models for which clearly designed curtains or upholstery are provided.
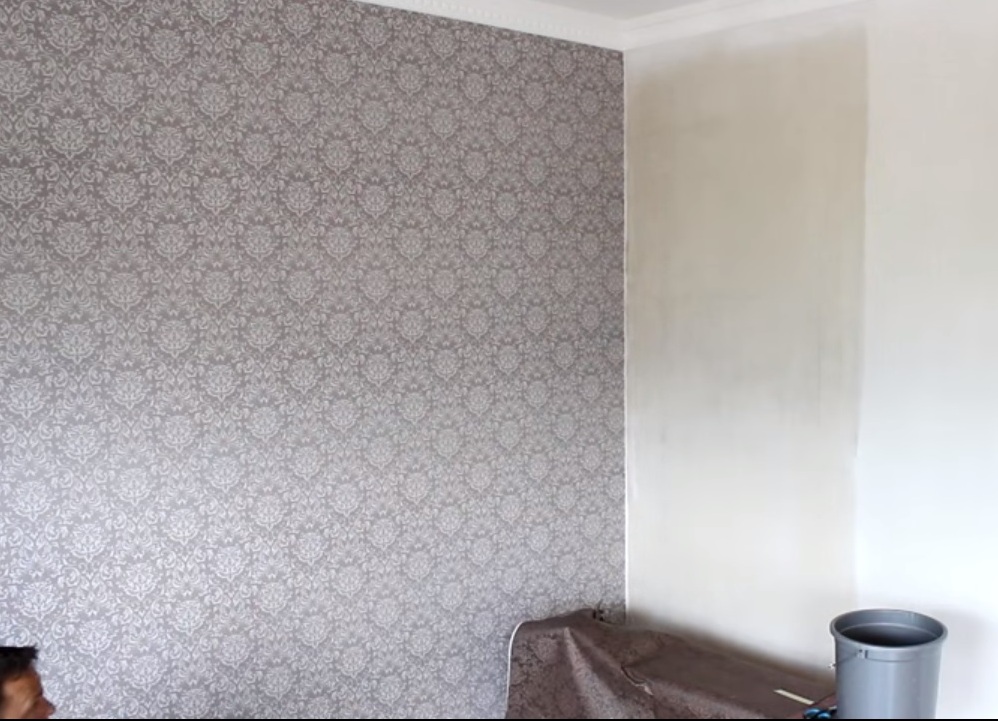
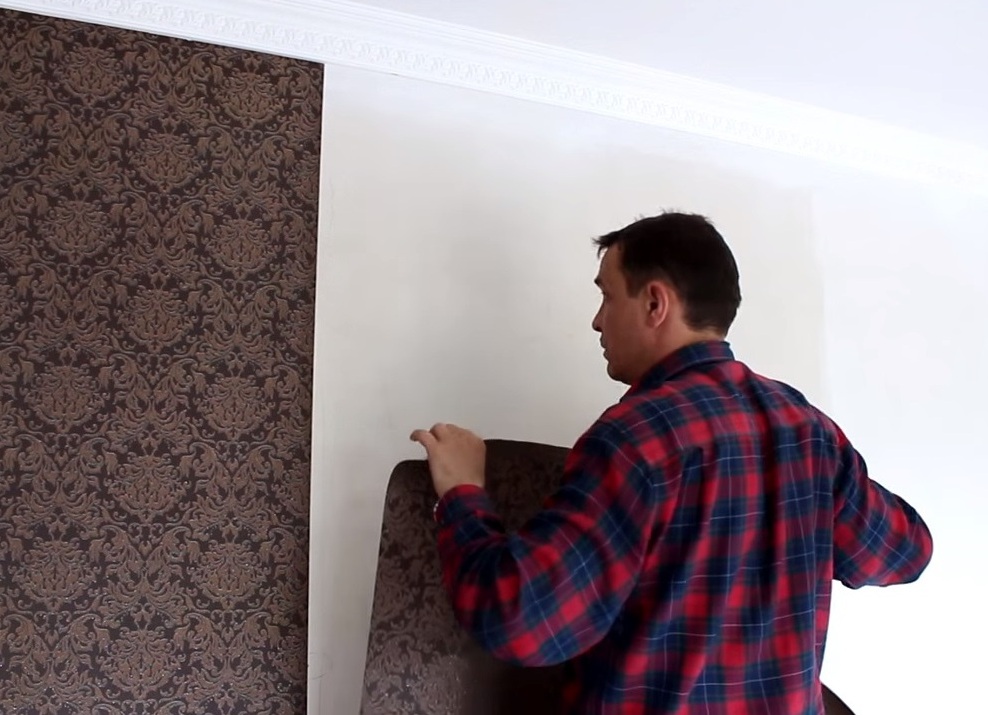
How to properly glue vinyl wallpaper on the wall?
- The workflow begins with a markup using a level, laser level or plumb line.
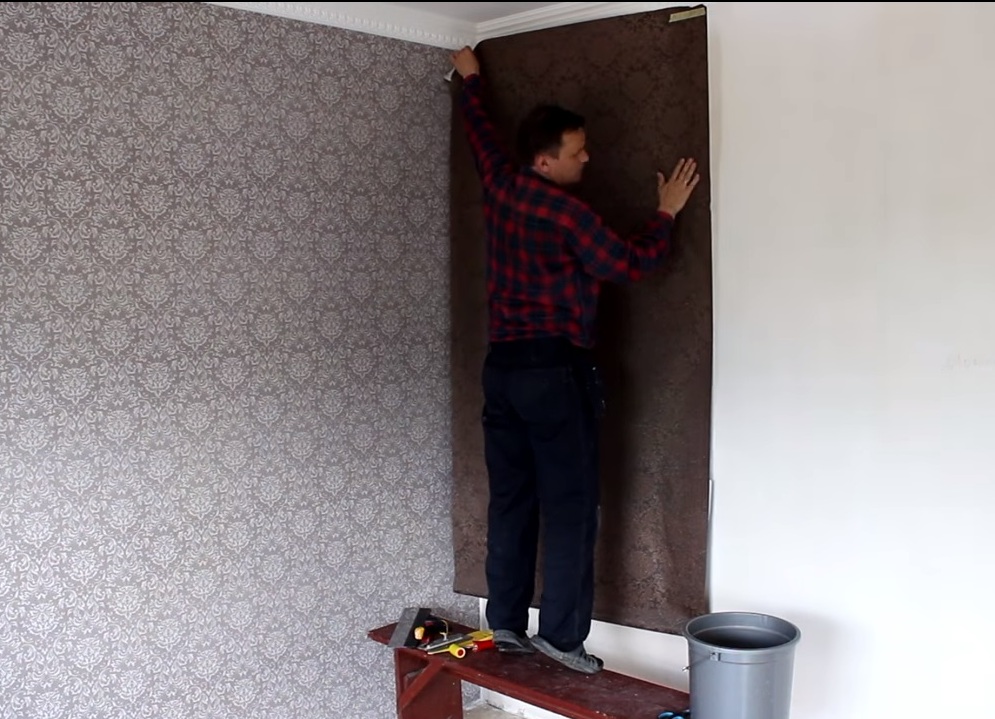
- Apply glue on the wall a bit wider than the canvas itself. Choose a special adhesive for vinyl. Apply it not only on the wall, but also on the reverse side of the finishing material.
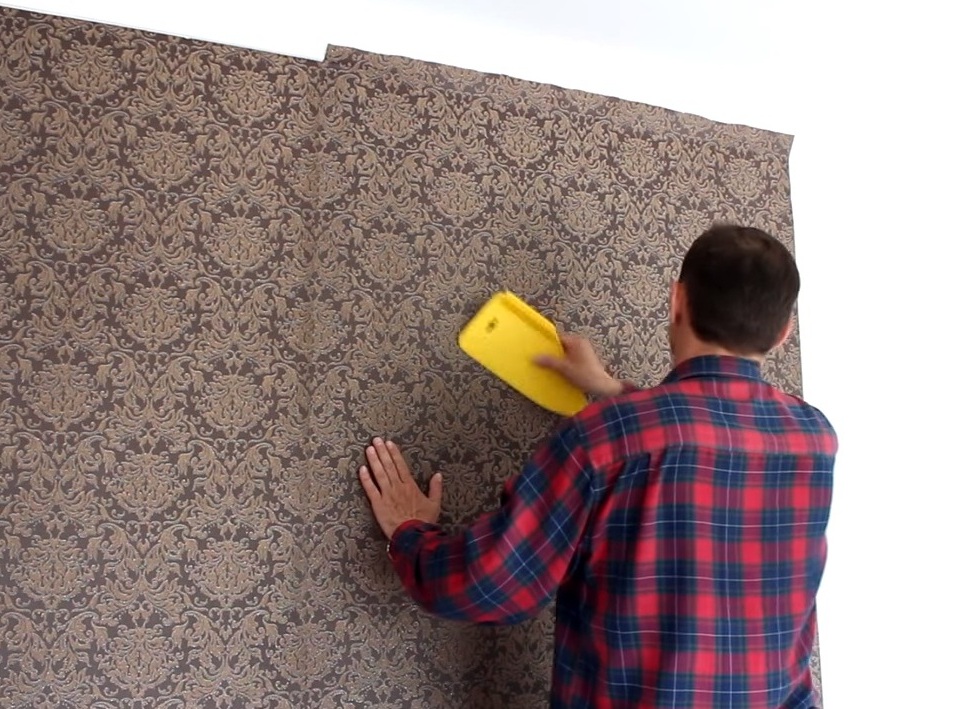
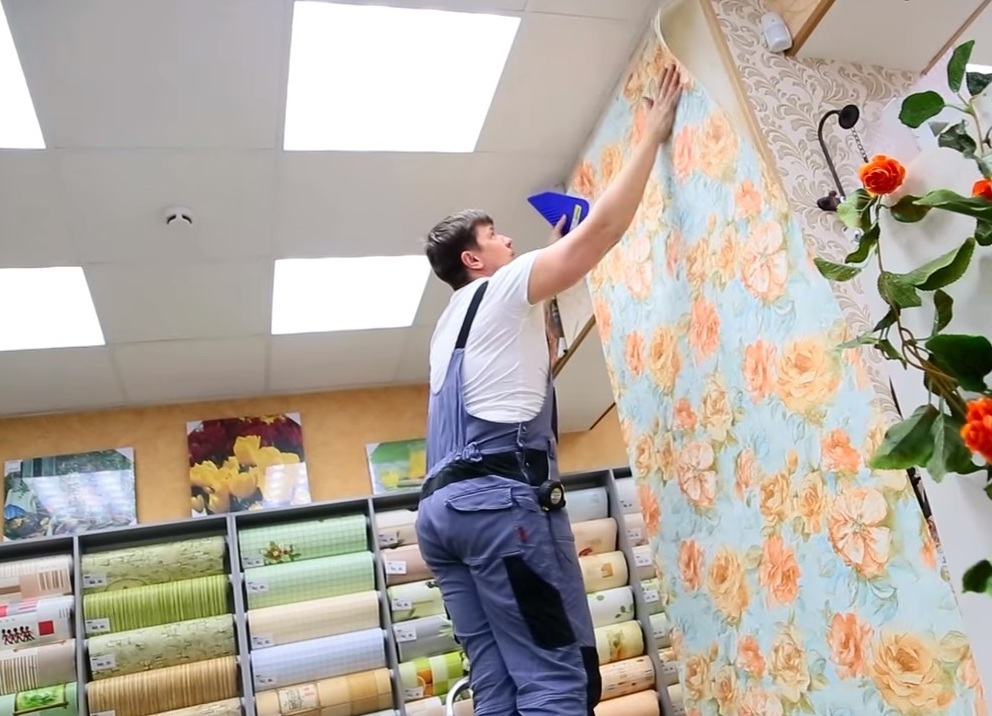
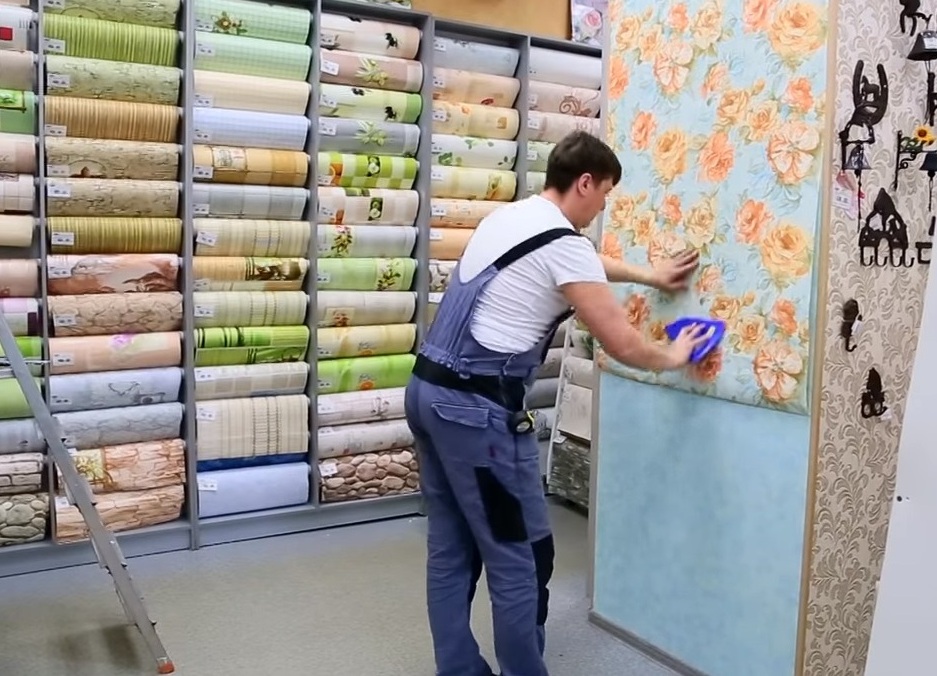
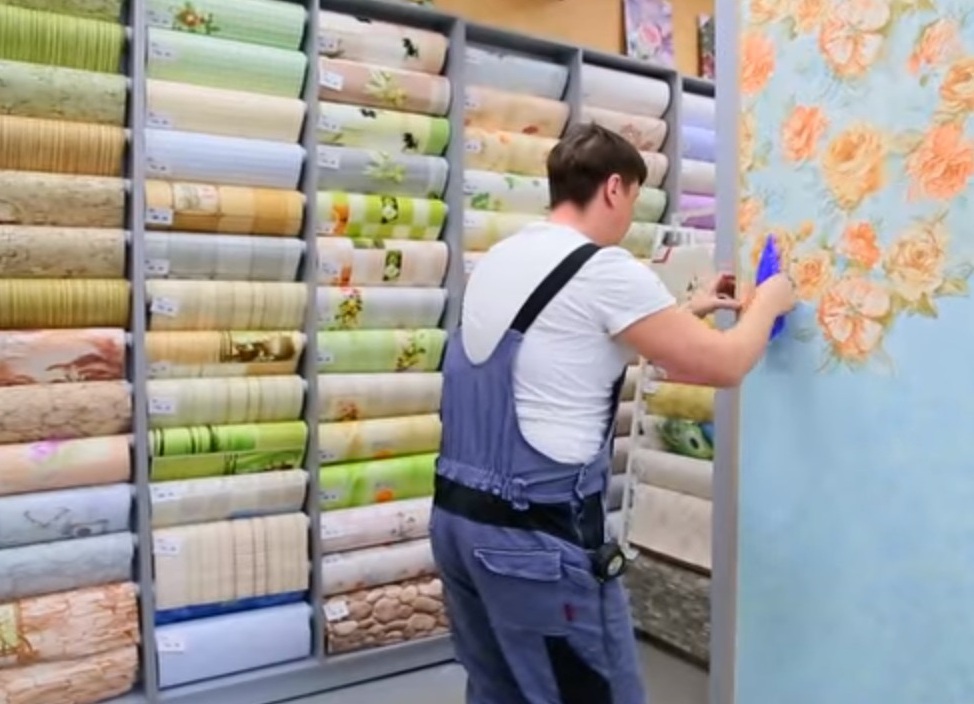
- Attach the harvested element, smooth it with your hand, then with a special plastic spatula (safer) or with a roller. Fixation will be maximum, air bubbles will go away.
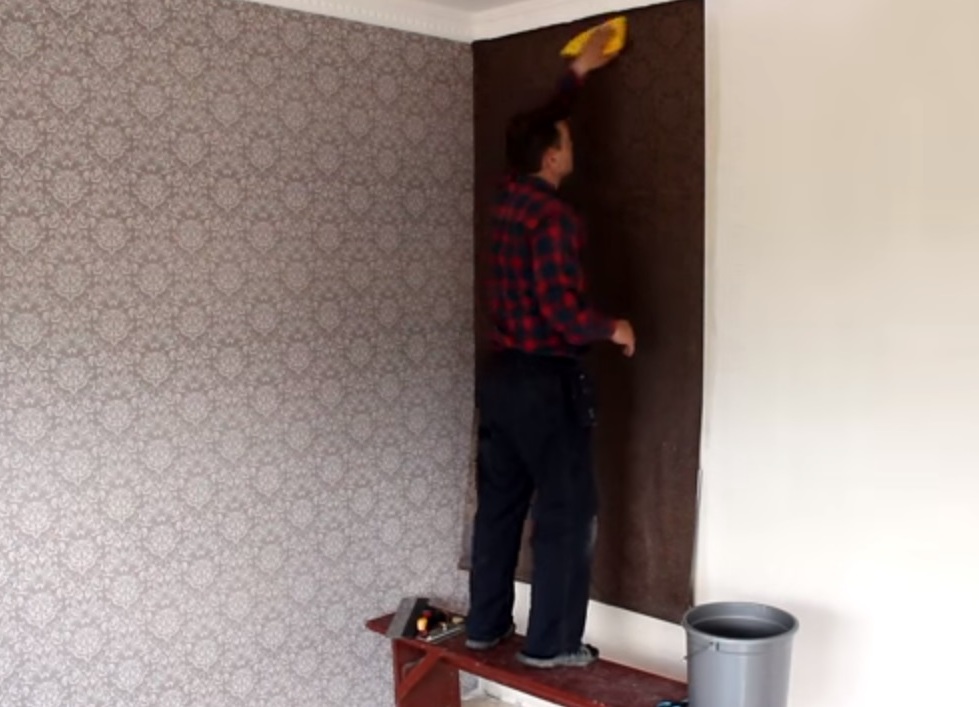
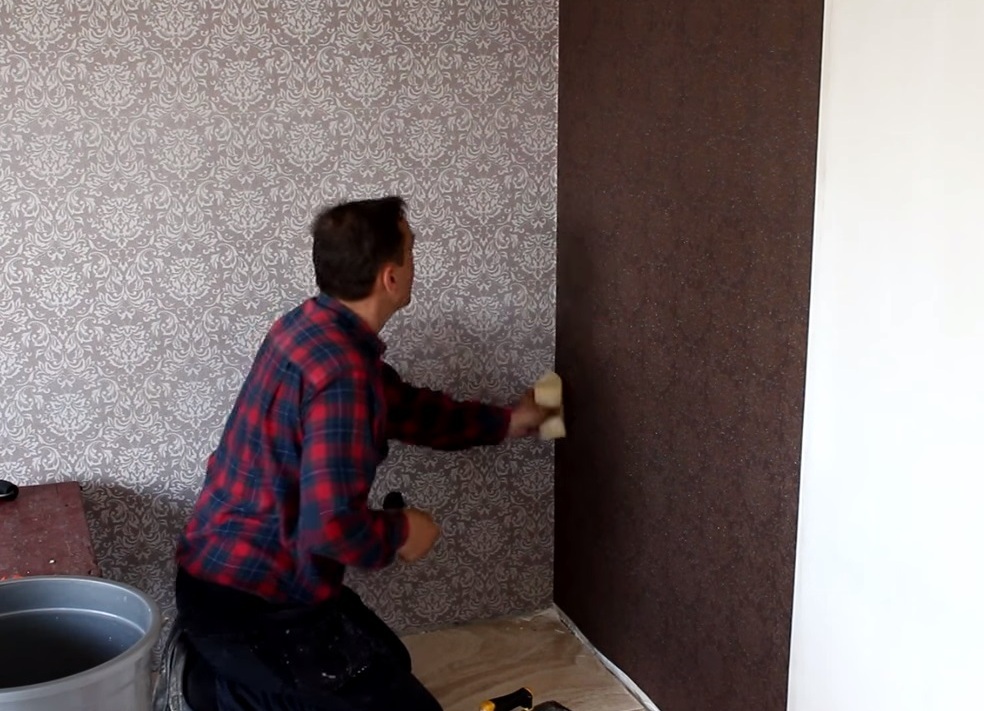
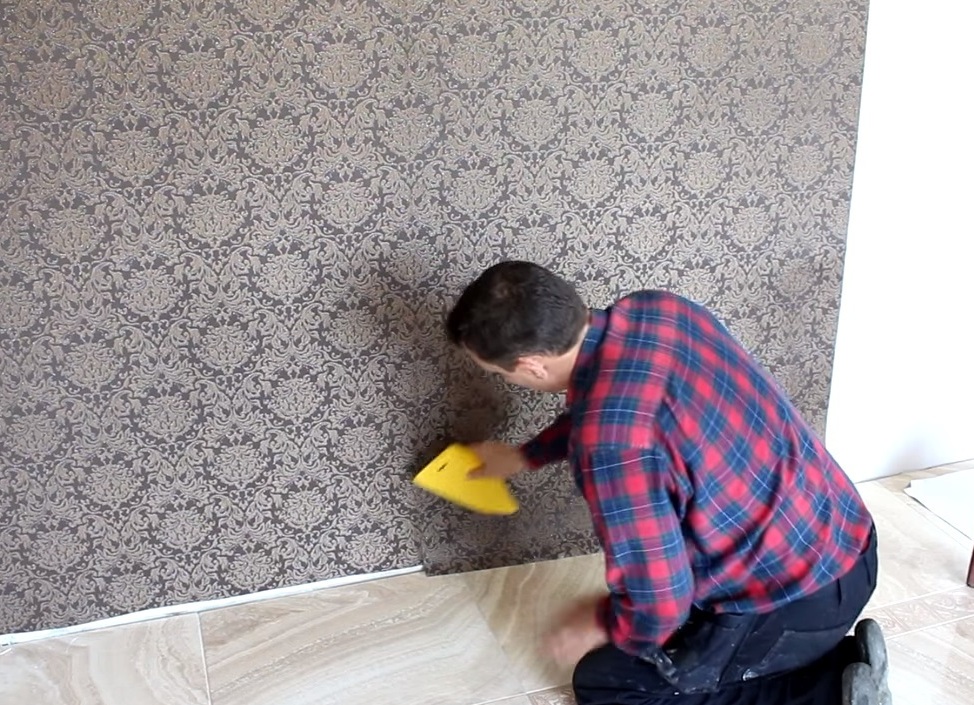
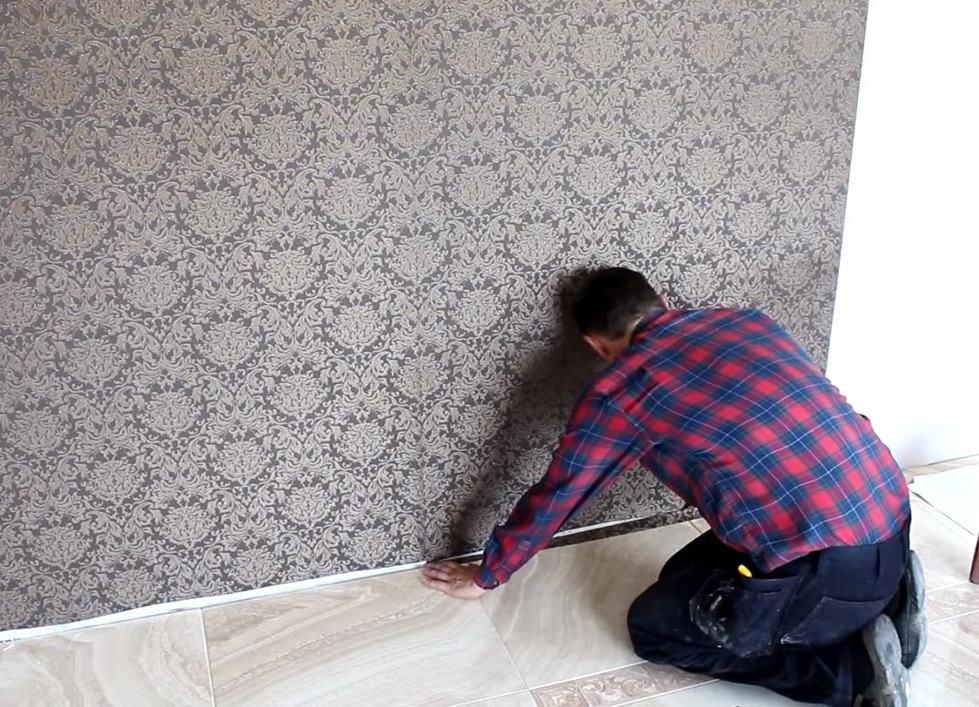
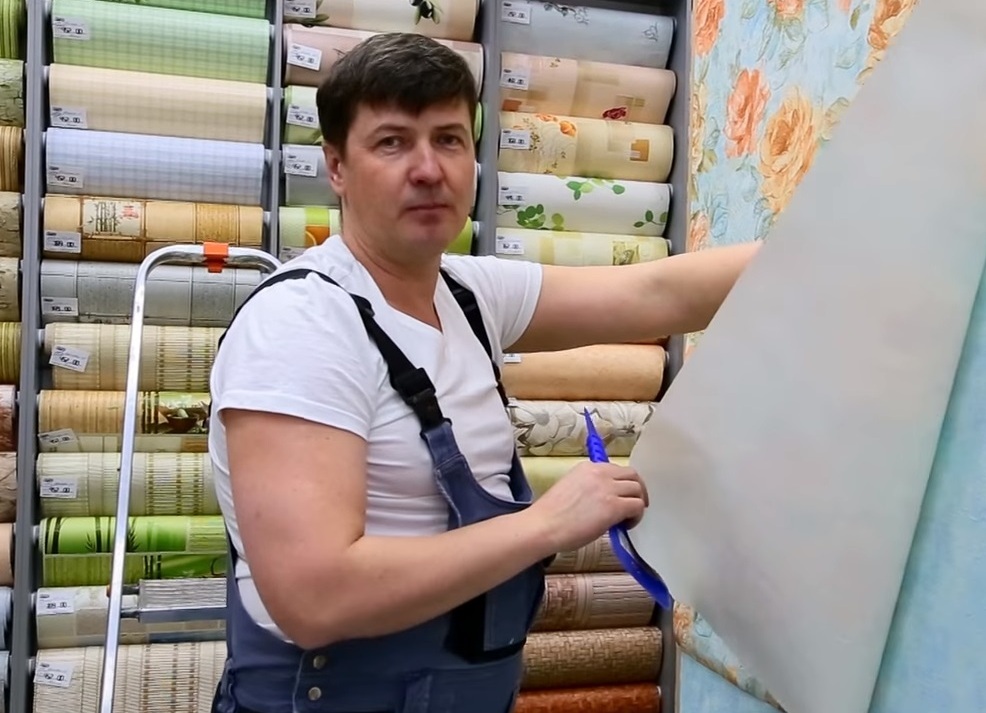
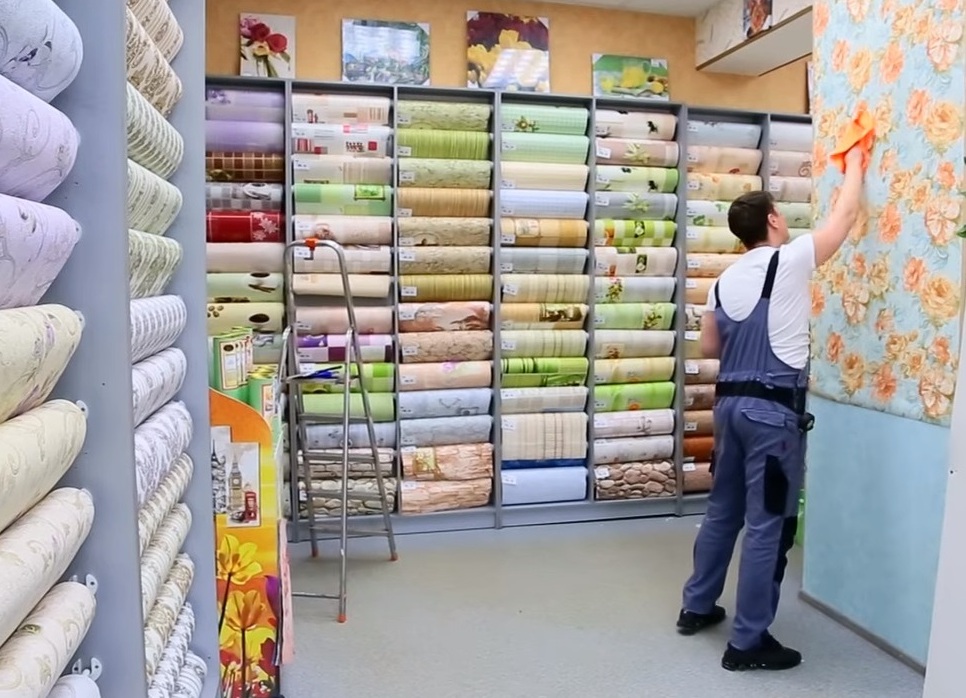
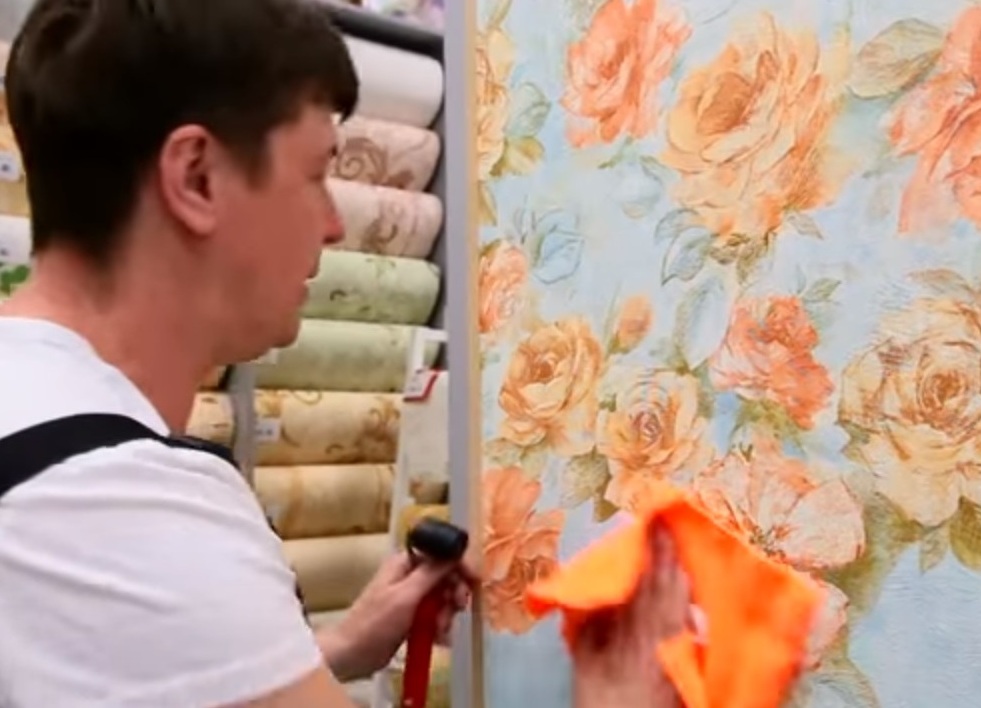
- Cut the wallpaper at the bottom, sponge across the entire area of the pasting, remove the "tails" from above with a spatula and knife.
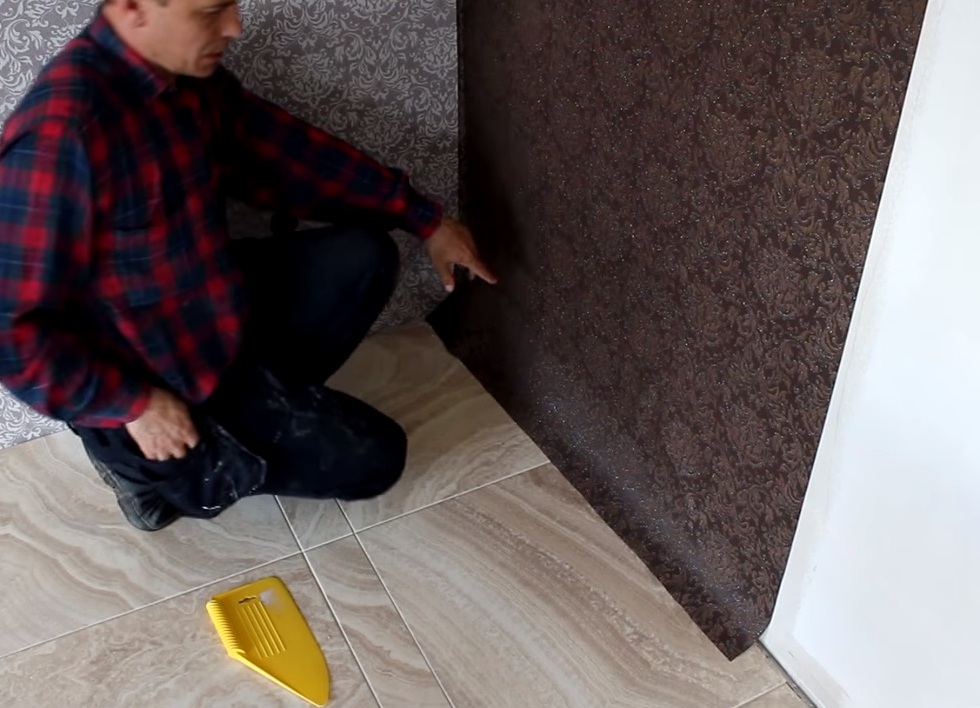
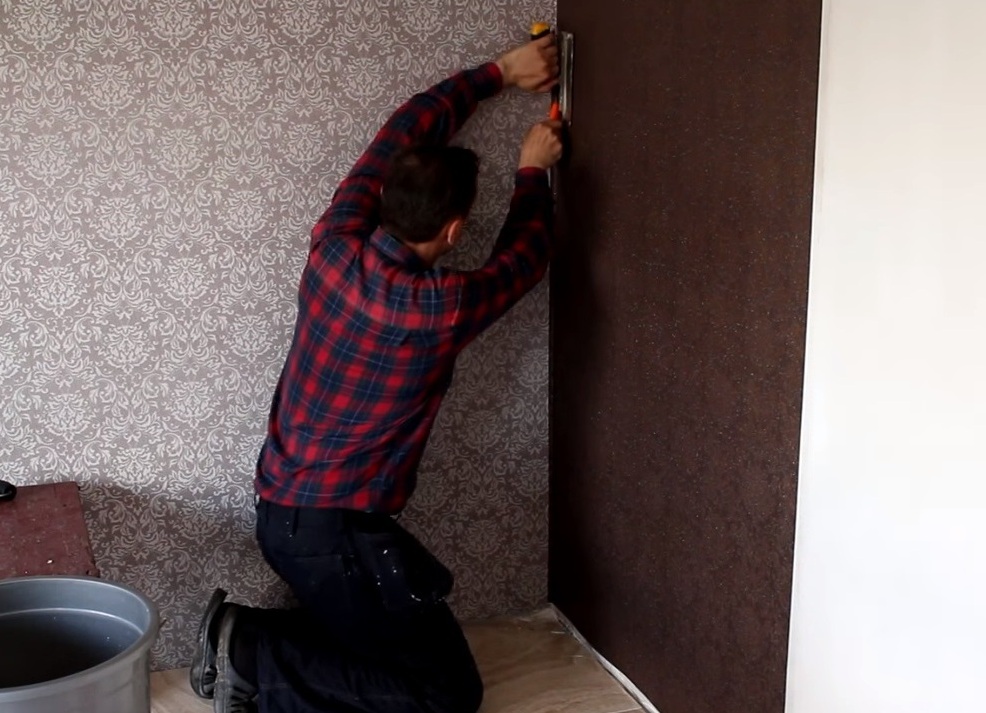
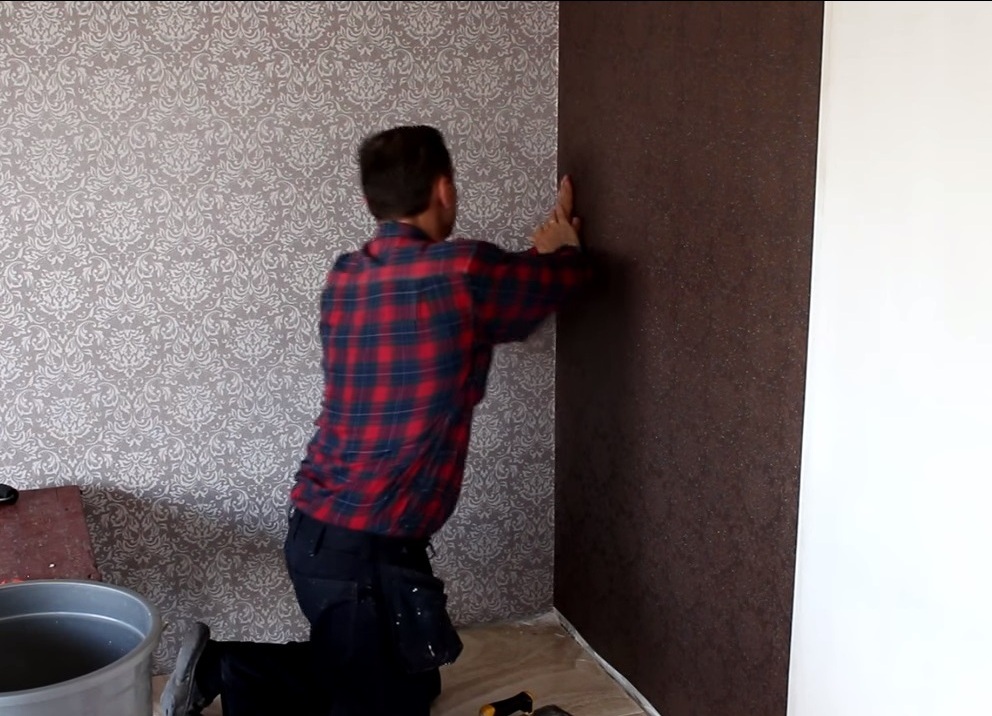
- How to properly glue vinyl wallpaper in the corners is shown below:
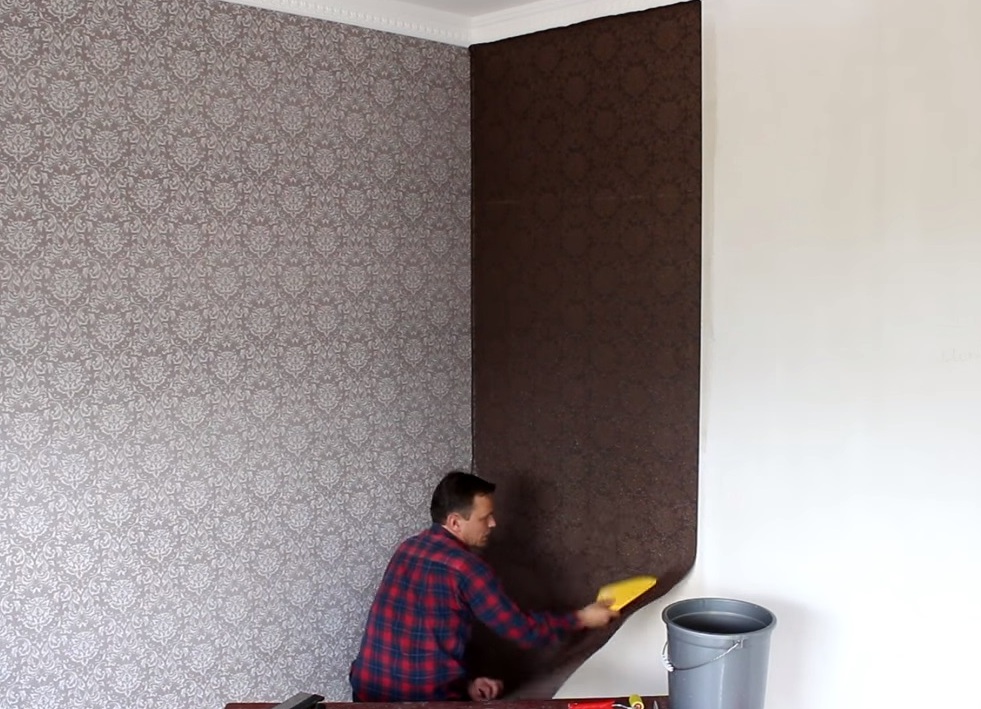
That is, an unnecessary overlap is removed with a hardy spatula and a knife. If necessary, "pull up" the wallpaper, walk along the seam with a clean sponge. Got:
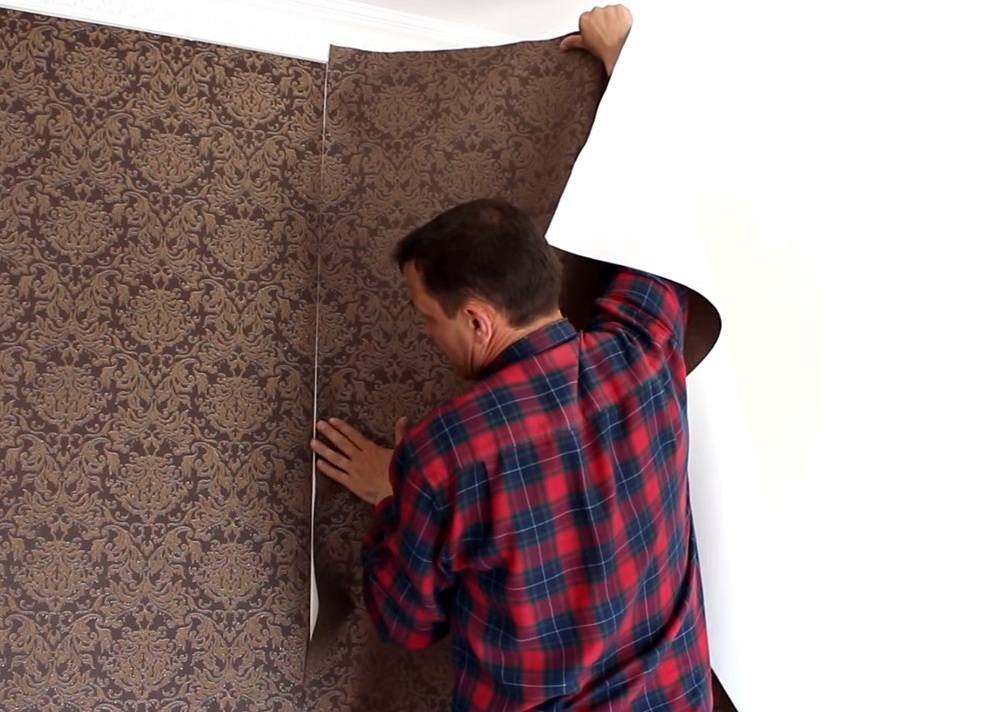
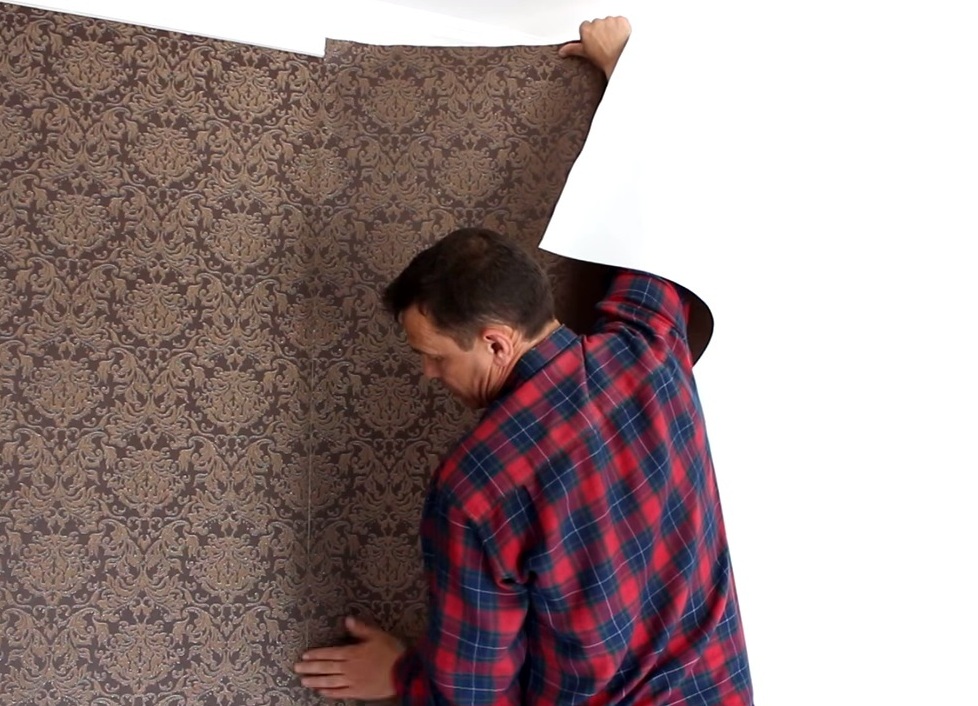
- Proceed to the second row. The width of the wallpaper in this case is 106.5 cm, grease the row with a length of 107.5 cm.
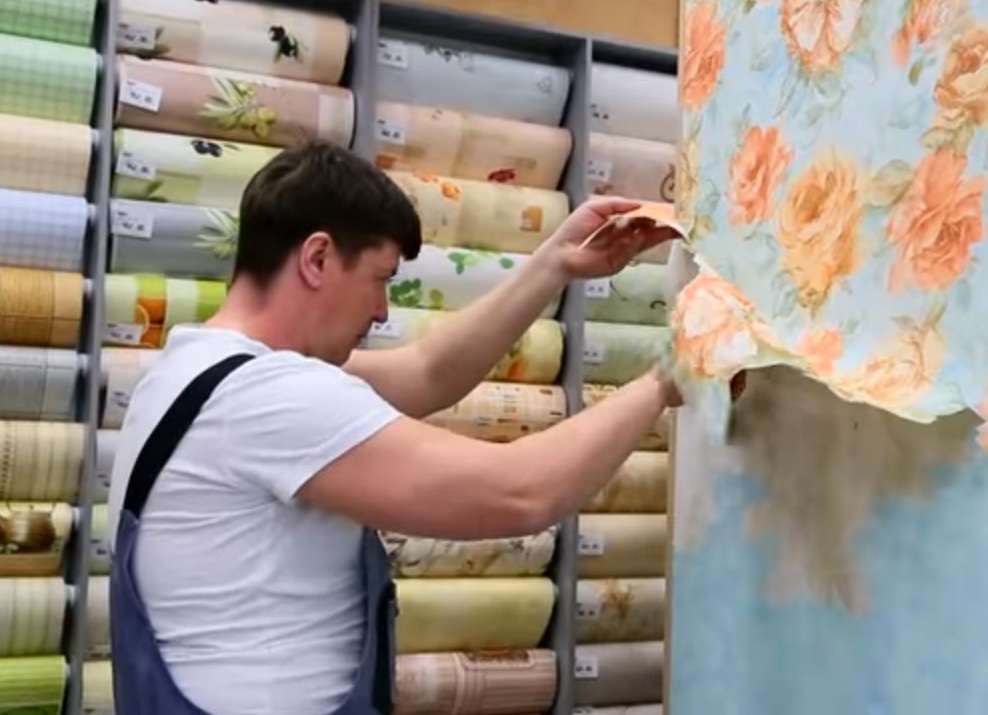
- Attach a sheet of wallpaper, paying attention to the drawing, which must be clearly docked.
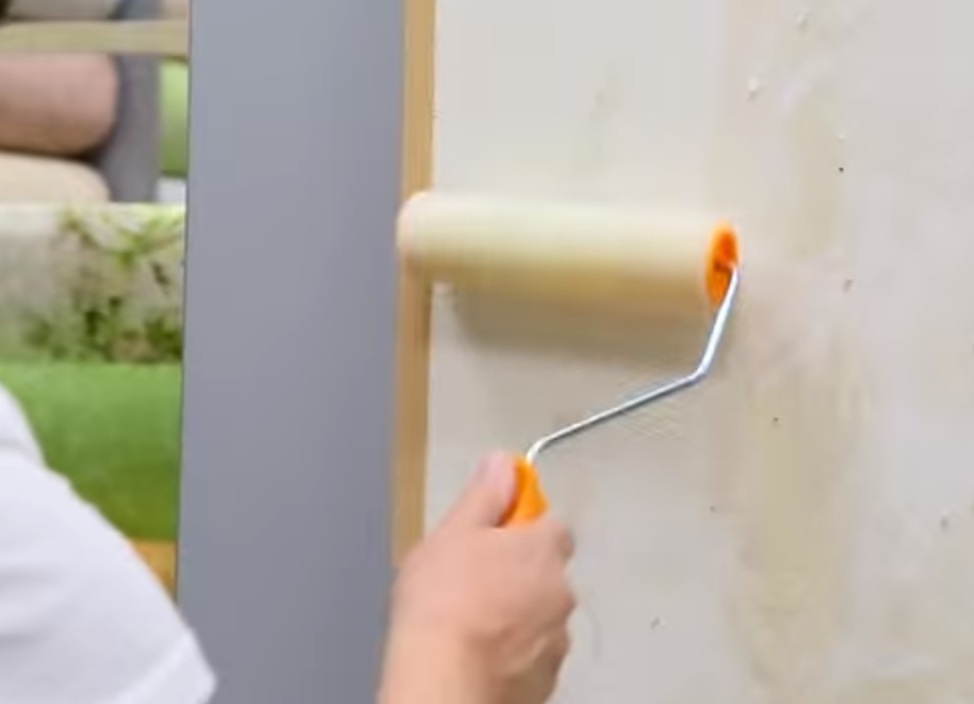
Get rid of bubbles with a spatula made of hard plastic with a softer tip.
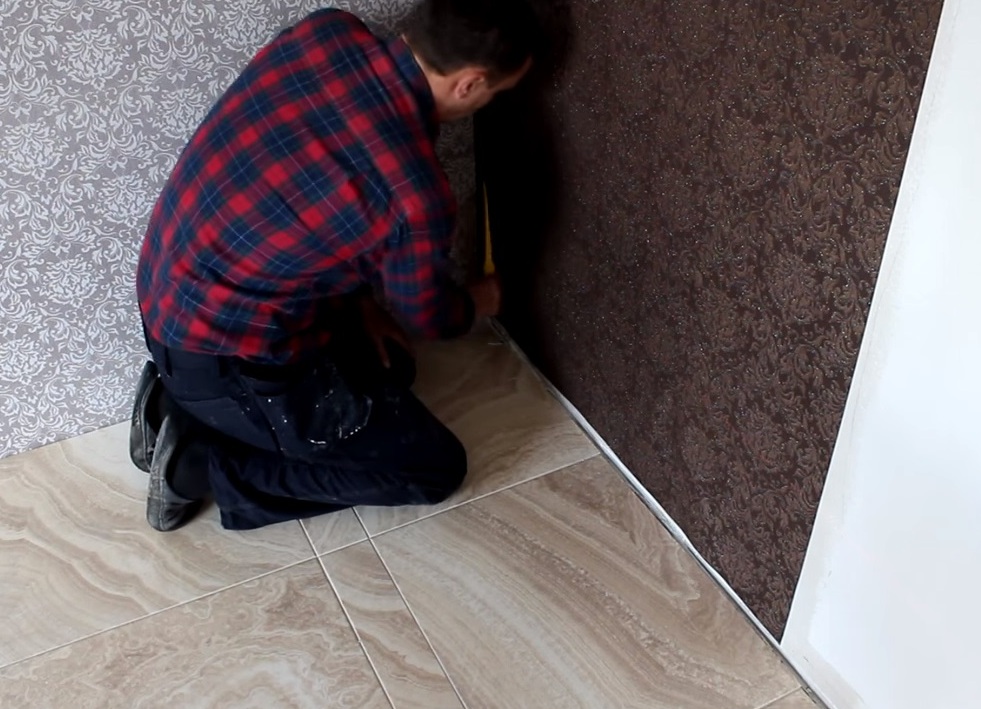
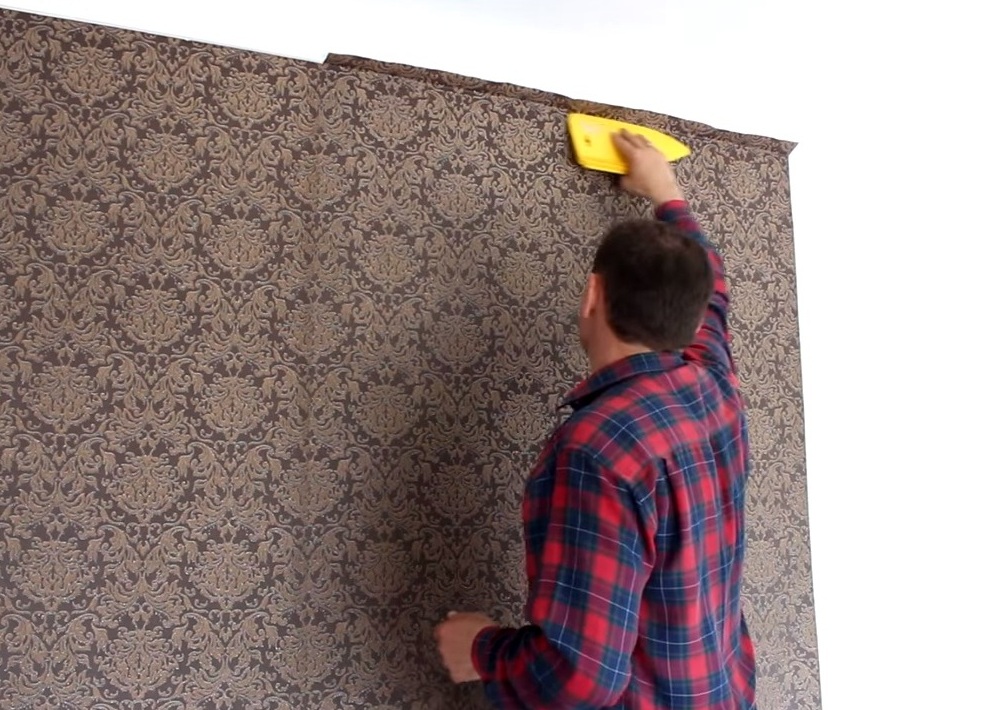
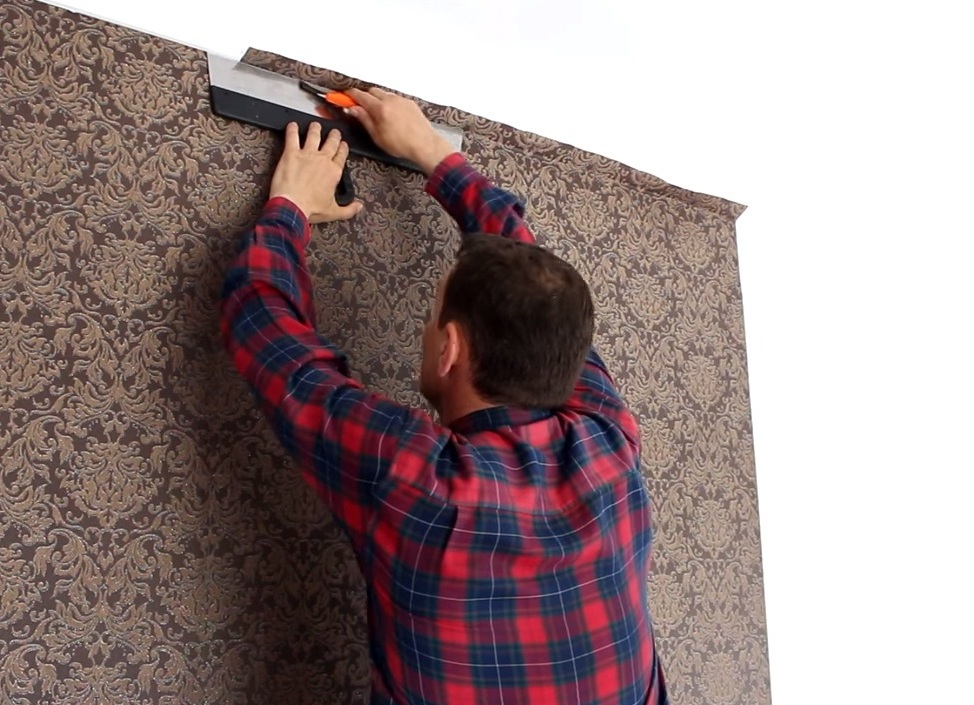
- Modify the bottom of the canvas with a trimming overlap.
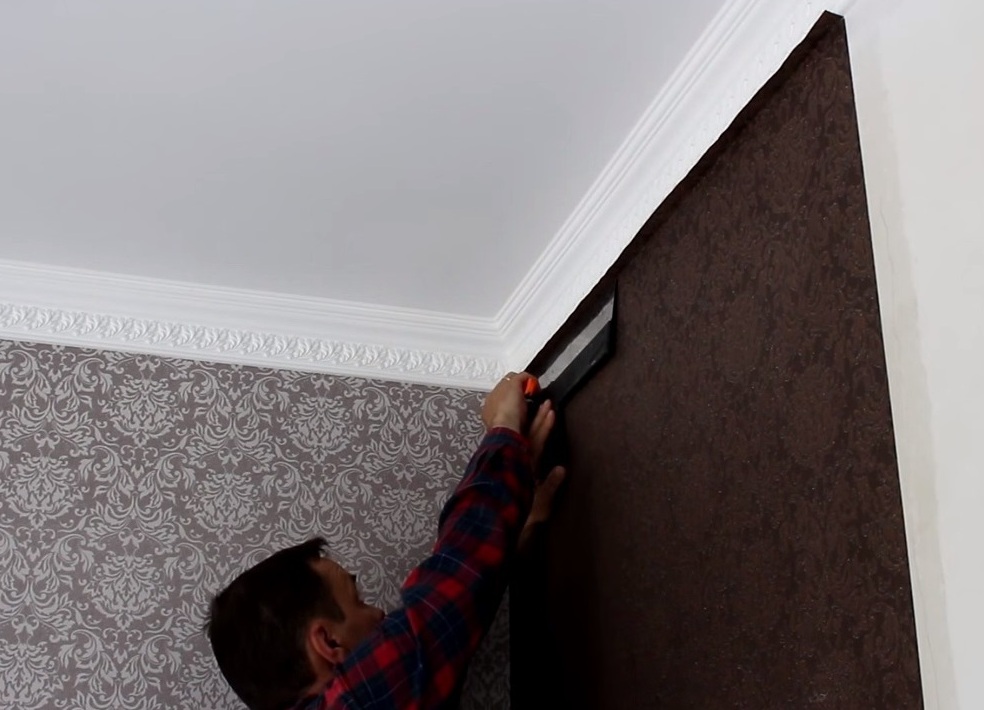
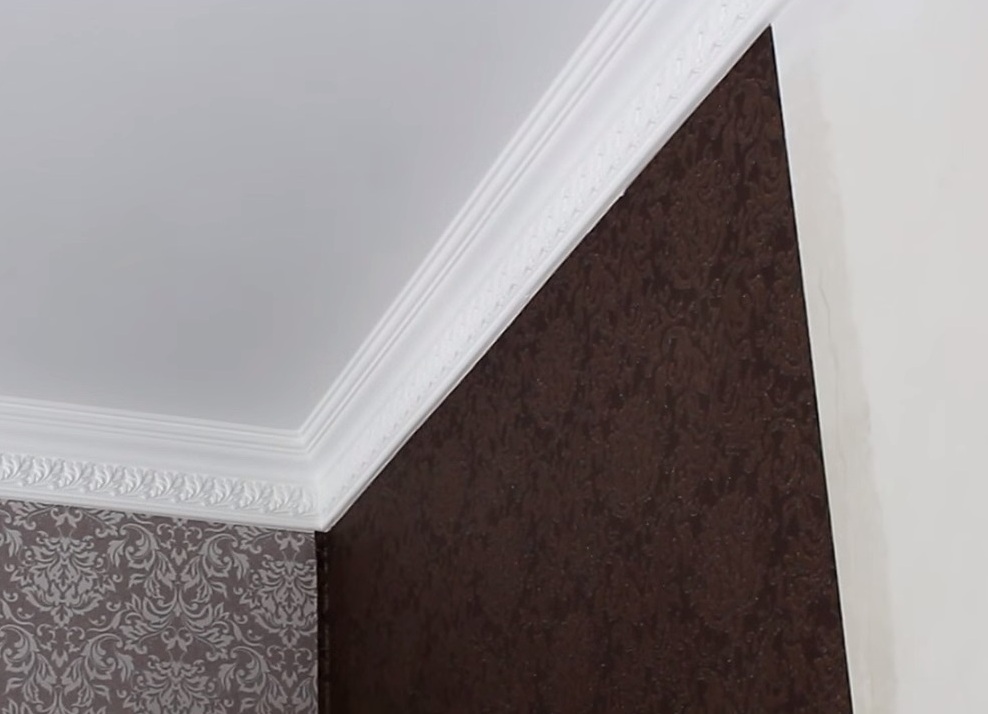
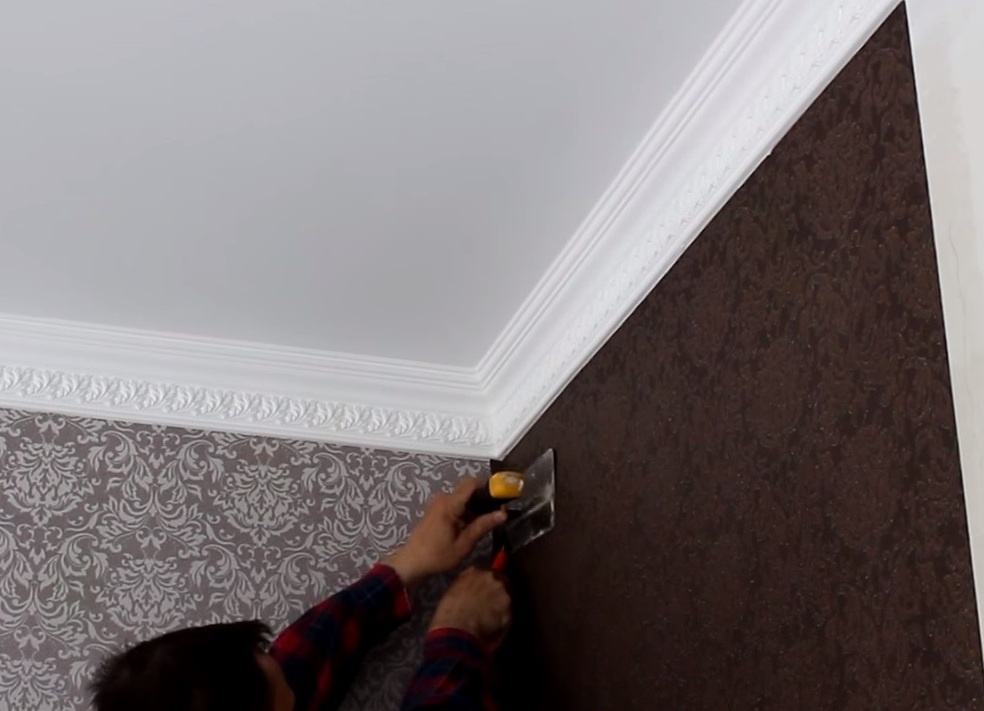
- Cut the upper part of the trim, which joins the skirting board. Moving the spatula, do not tear off the blade from the wall, so that the line turns out to be clear. Dark wallpaper on the background of a light ceiling - any error will be very noticeable.
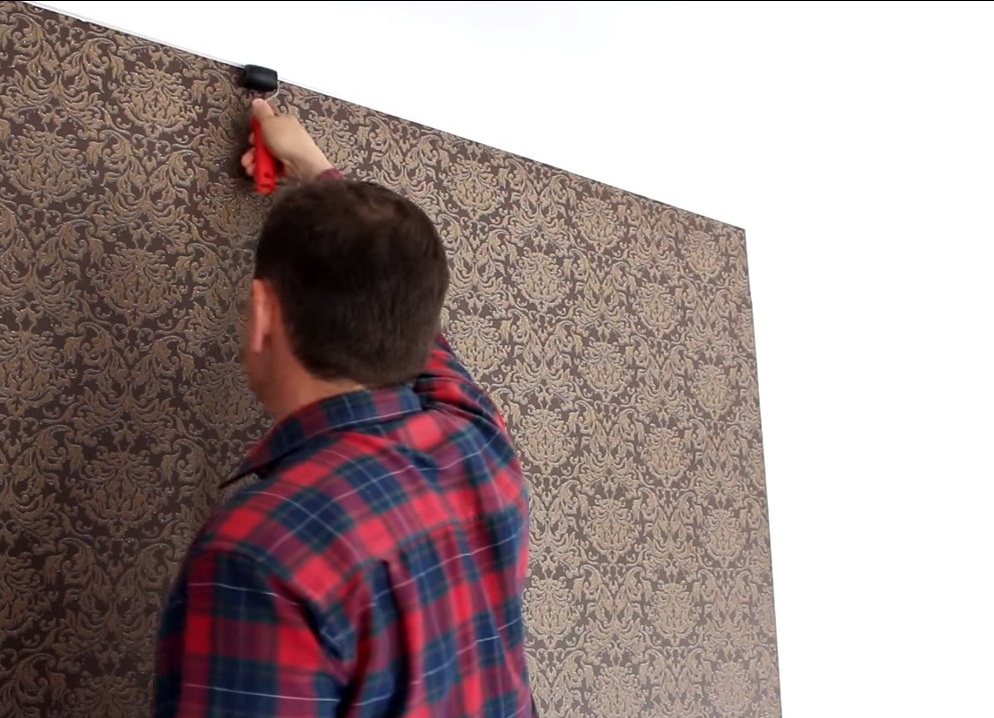
At the joint, you need to walk a small rubber roller.
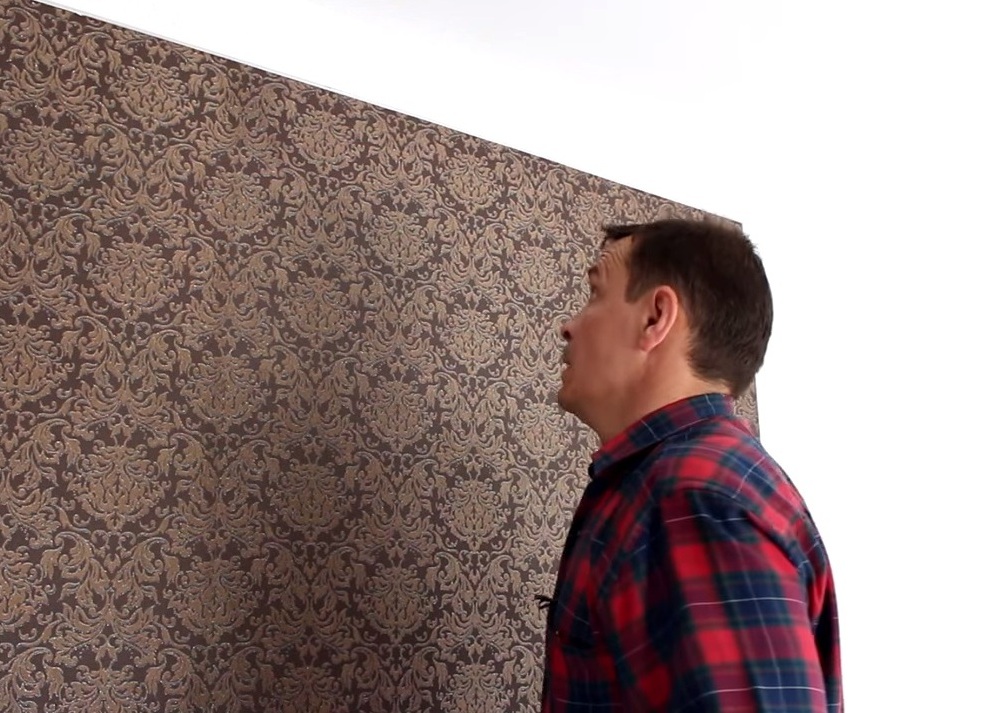
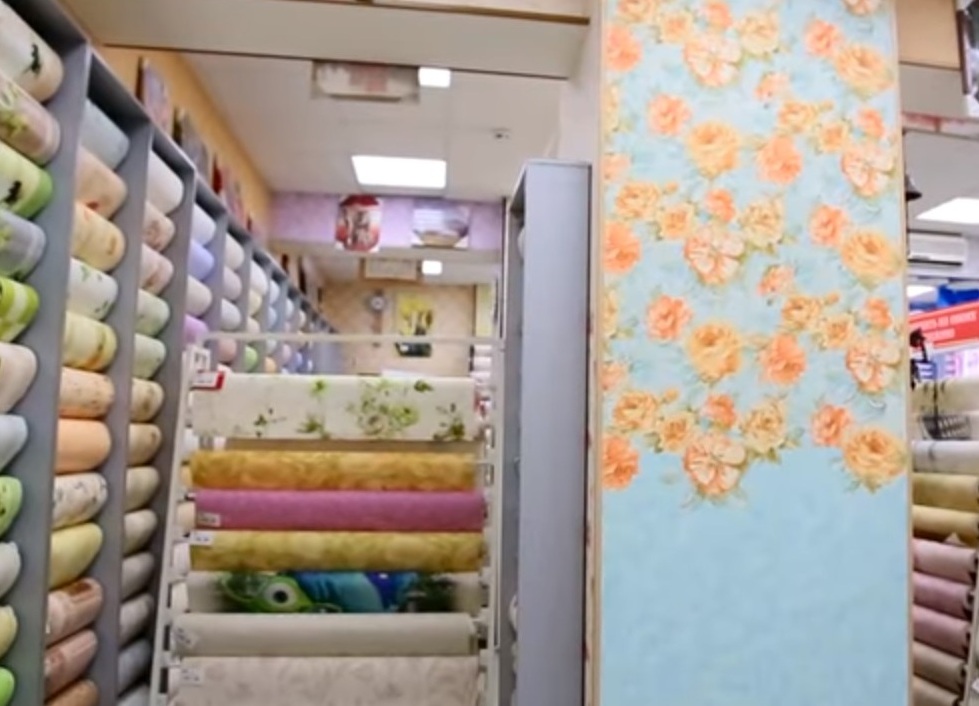
- Adjunction turned out to be ideal and almost invisible.
How to glue vinyl wallpaper with a double undercut?
This technology can be used advantageously when working with wallpaper-companions. The idea is simple, but creative, especially for textured vinyl products.
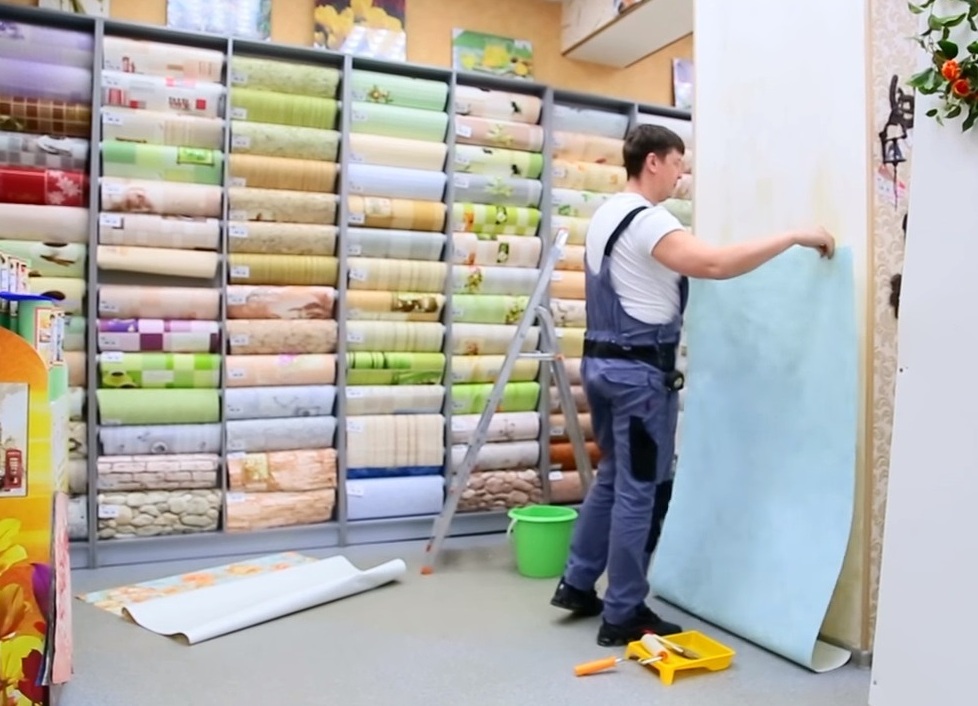
- Competently select wallpaper, the maximum combination of shade and relief is very important. We will use wallpaper-companions .
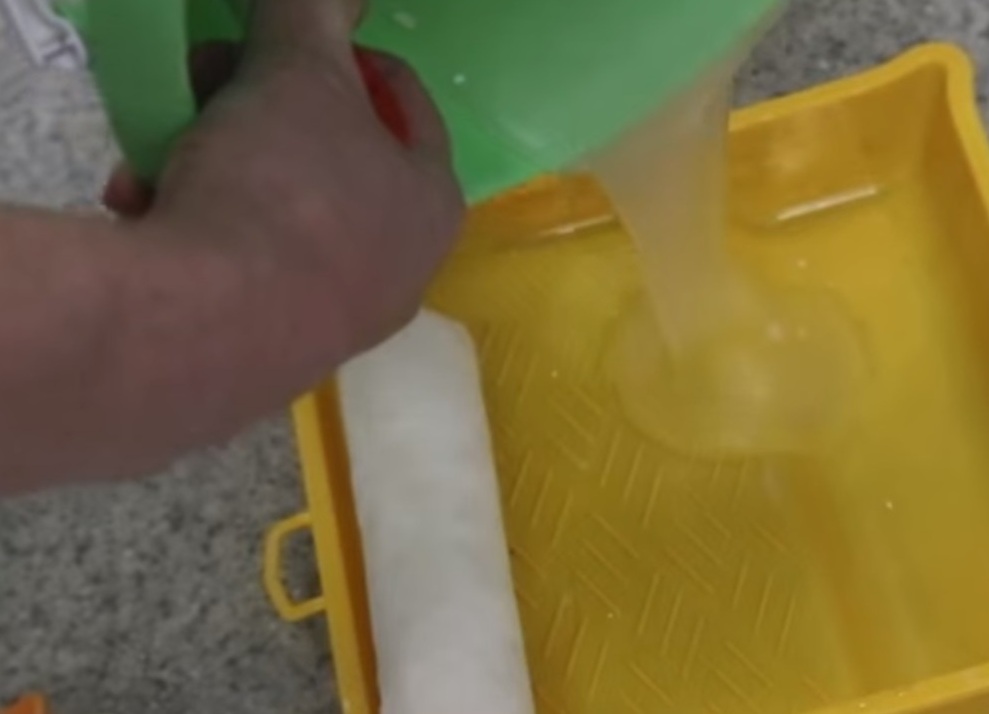
- Prepare the adhesive mixture , pour it into the bath. Use a roller and a brush to apply the paste on the wall and linen respectively.
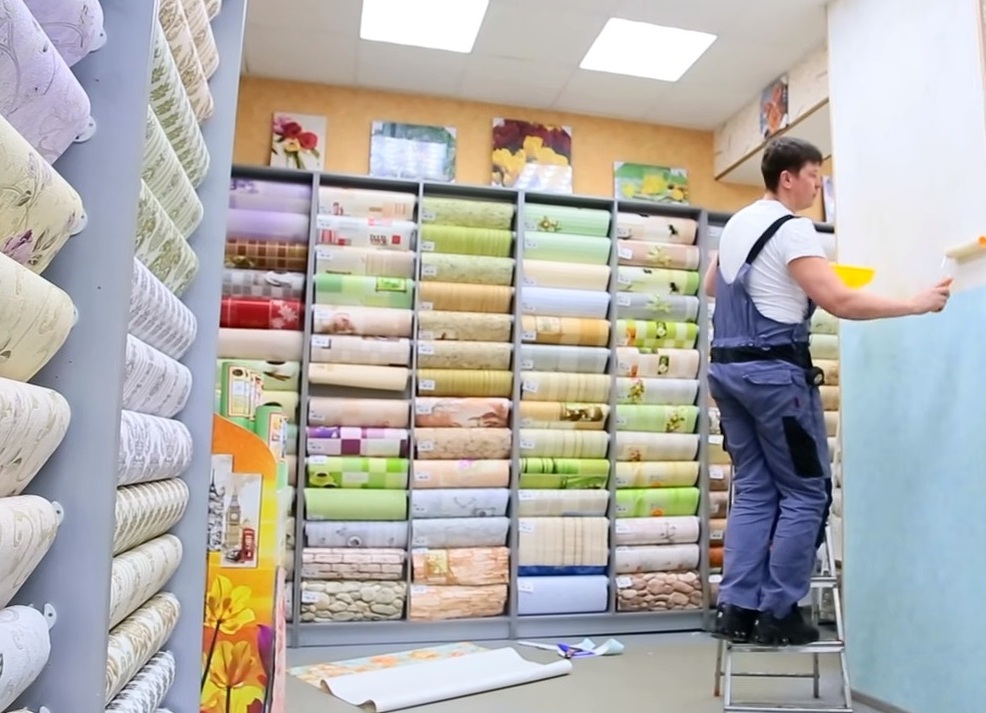
- How nice and creative to paste vinyl wallpaper? First, attach the bottom element, while you need to "go" to the territory where the upper part will be located.
- Glue the top of the wall with glue and place the layers. Secure the upper blade.
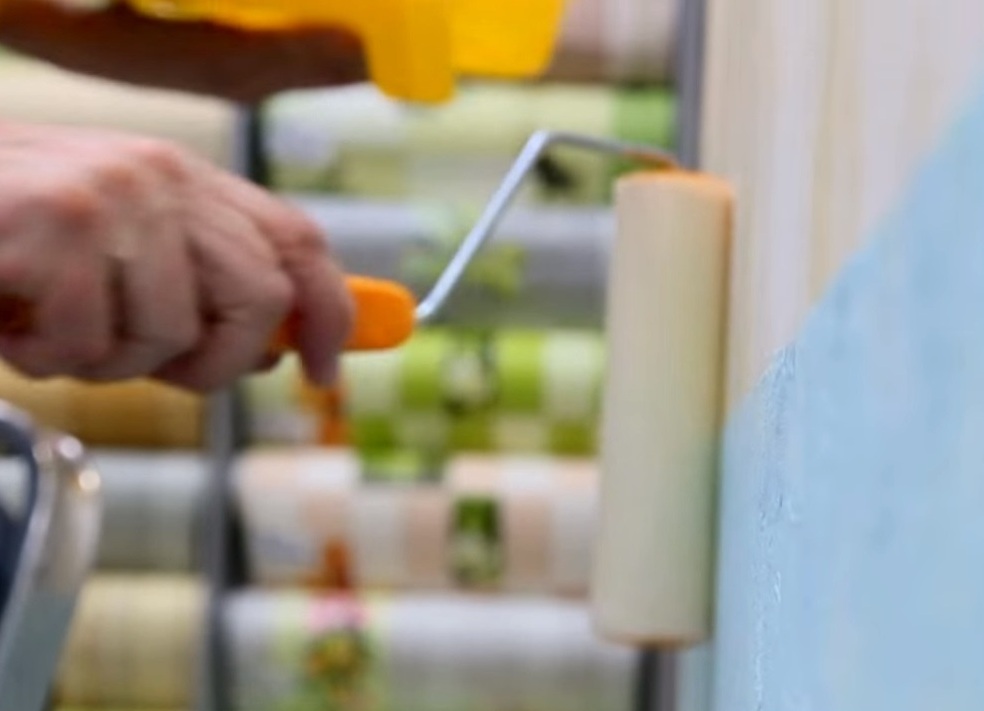
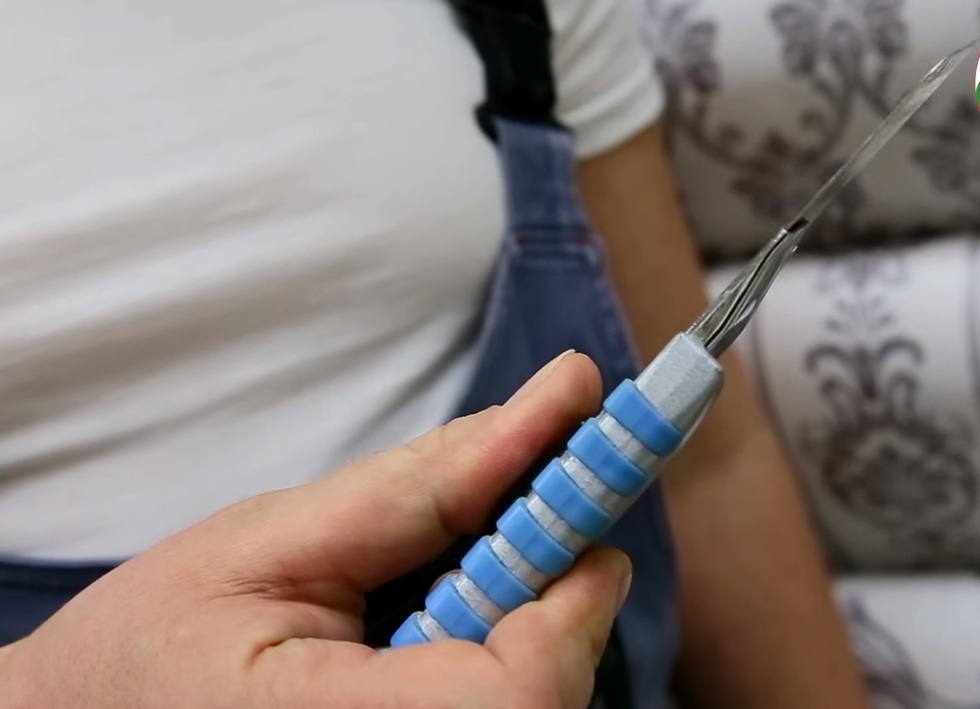
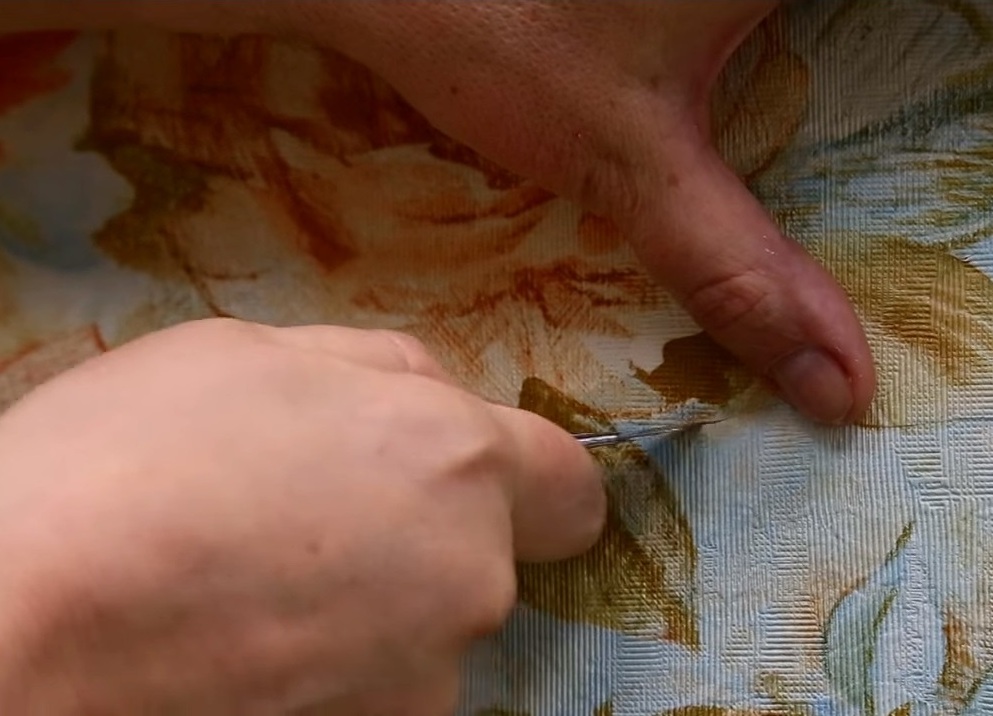
- You will need a sharp clerical knife in order to walk along the contour of the picture. It is important to cut 2 layers.
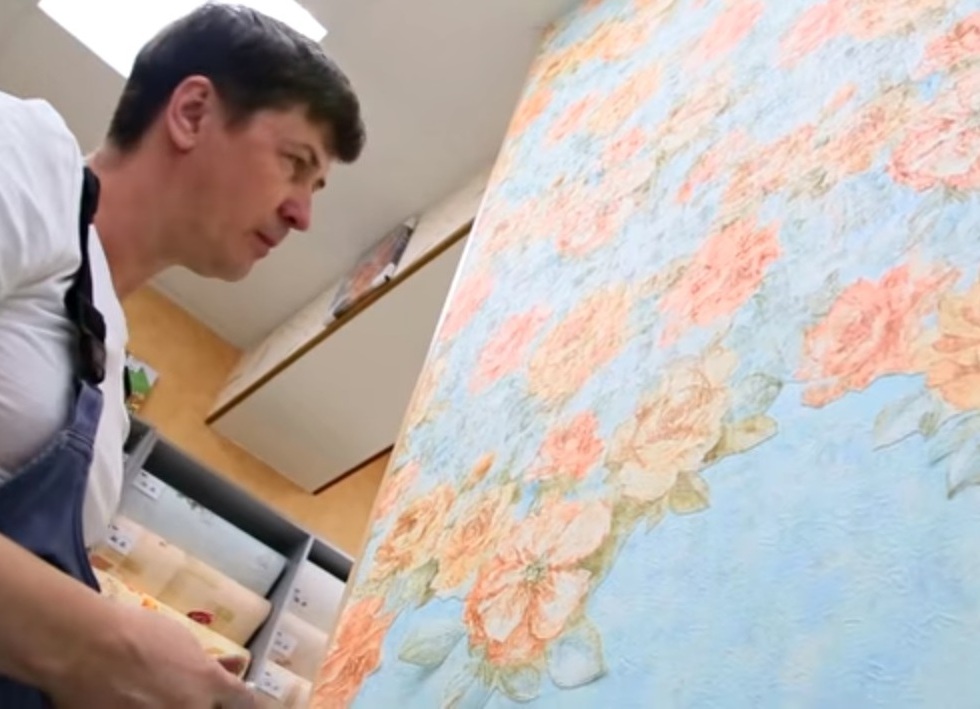
- Lower the monophonic background, remove, on the patterned wallpaper and seams, walk especially carefully with a spatula and clean cloth.
Delight from the result is assured.