Extruded polystyrene foam - a very popular product, which goes for the insulation of foundations, roofs, walls. Marketers found this name very long and called the new material a pen-plex. Among modern heaters, it is in the lead, and is characterized by very good indicators - frost resistance, durability, resistance to harmful microorganisms, almost zero water absorption and excellent vapor tightness. High technologies give a uniform structure of closed cells with a diameter of only 0.1 to 0.2 mm. It is these characteristics of the penoplex that are ideal for work related to the warming of the balcony .
Internal insulation of the balcony by penokleksom
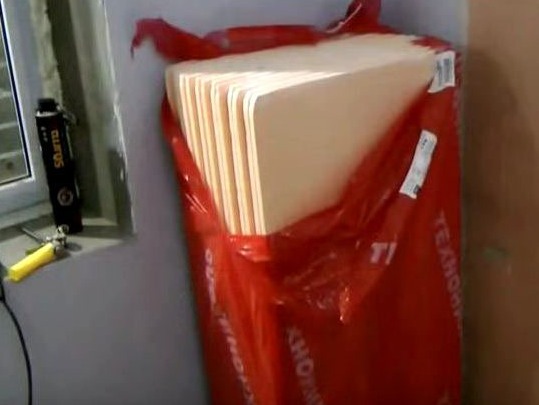
- First of all, you need to buy a foam foam insulation. The thickness of the sheets is from 20 to quite impressive 100 mm.
- For fastening fit perfectly plastic dowels, which are also called "fungi".
- We can not do without mounting foam. Quality products, it would seem, are more expensive, but often a cheap cylinder is enough for a smaller volume and it is better to immediately choose a normal manufacturer.
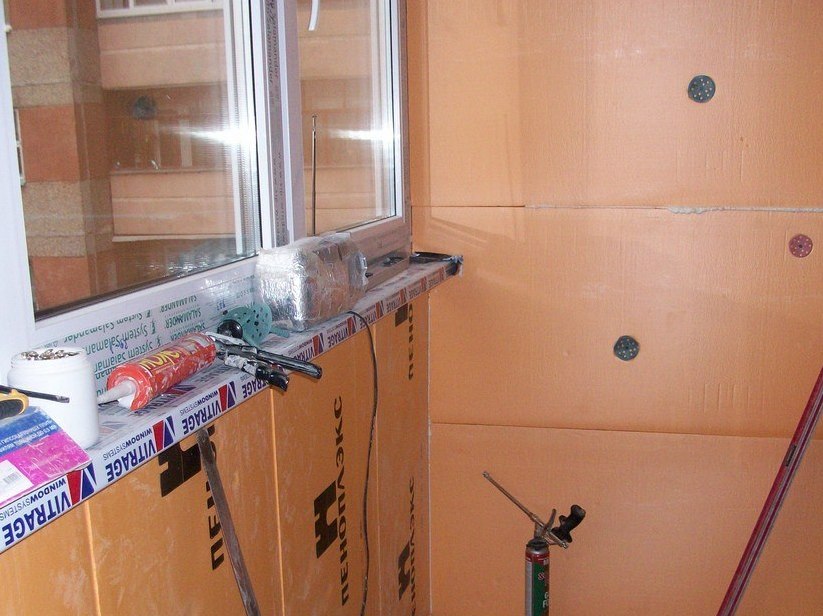
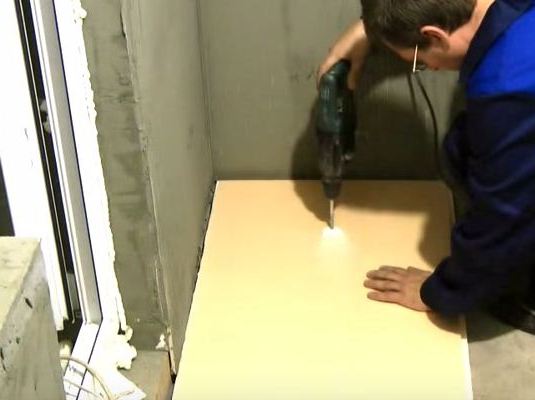
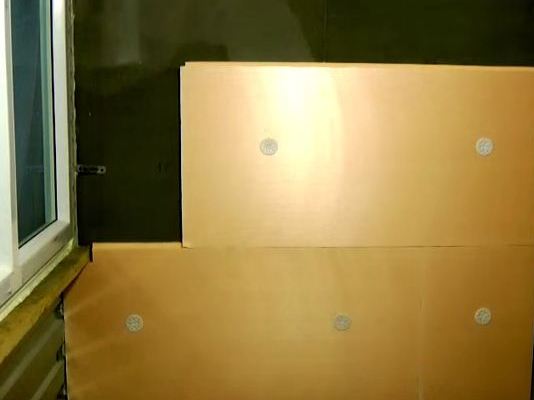
- In the matter of warming the walls and ceiling on the balcony with foam, the preparation of the walls is the most important stage. We remove the protruding tubercles, cover the cracks with the solution. The use of a primer improves the surface characteristics and allows the use of liquid nails.
- Protruding around the window opening foam carefully removed with a sharp construction knife.
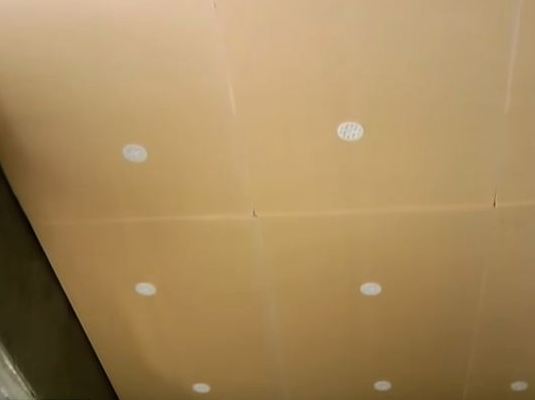
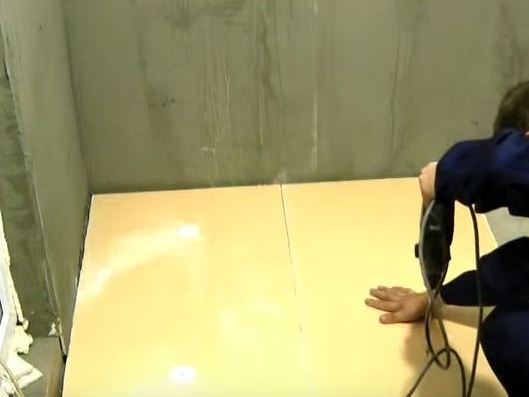
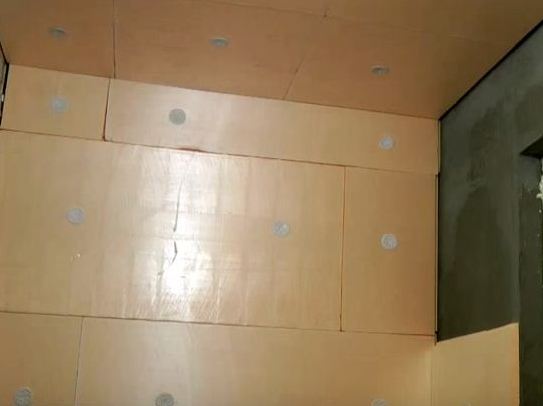
- We begin to deal with the insulation of the ceiling, starting to work from the corner. Tightly press the sheet to the surface with your hands.
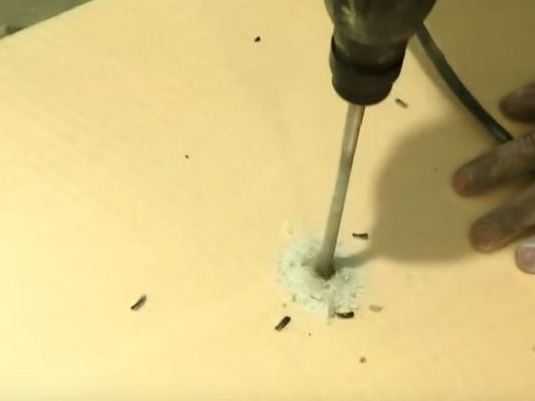
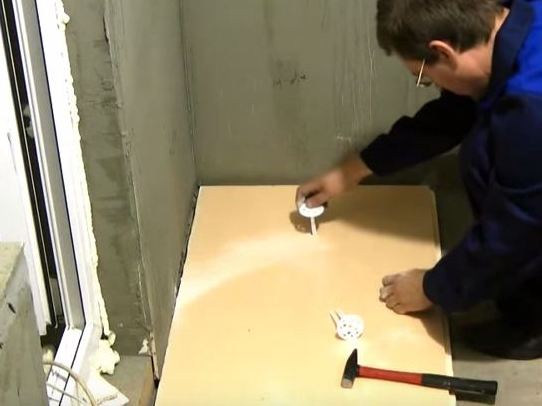
- Drill the drill through the plate and fix it to the ceiling with plastic fungi.
- The next plate is inserted into the groove, which will allow the material to be joined without gaps.
- Further, the insulation of the ceiling of the balcony by the penoplex is made by our own hands in the same way.
- Laying the heater on the floor is also desirable from the corner.
- Drill holes in at least two places on the plate.
- Their depth should allow to fix the dowels qualitatively.
- Further in the work we take the same convenient fungi, which we have already used to insulate the ceiling.
- The remaining plates of the penoplex are fixed to the floor in the same way.
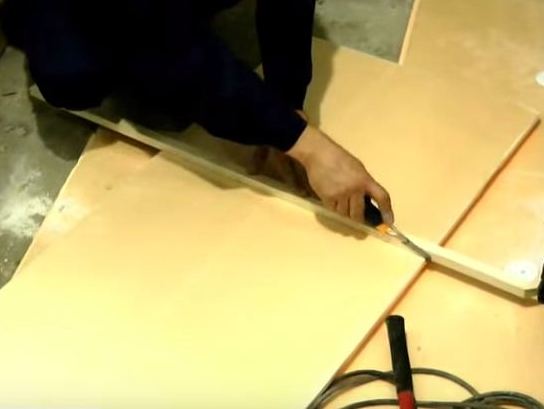
- Sometimes you have to shorten the plates. Make a small incision.
- Then lightly break off the desired piece of material.
- Install the cut piece of insulation in place.
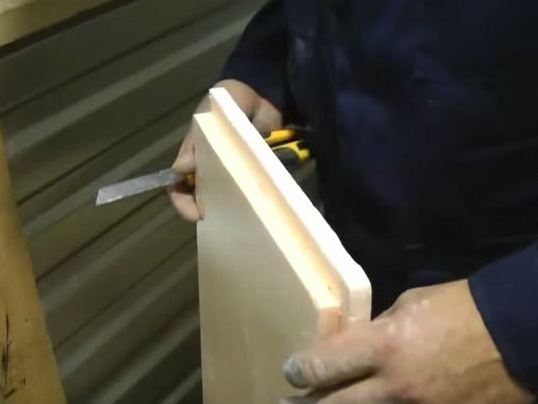
- If the groove from any side is not available, then it is easy to cut it yourself with a knife.
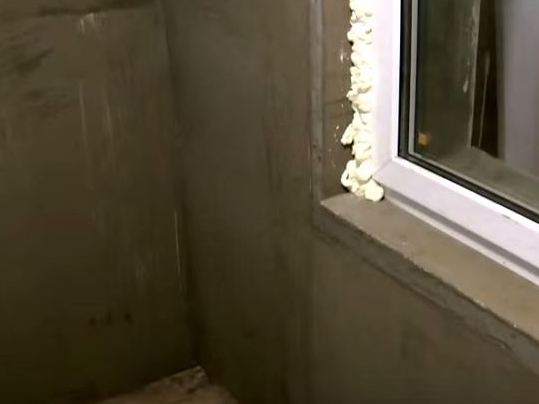
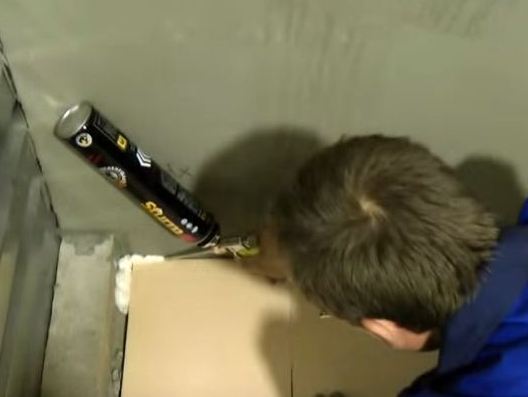
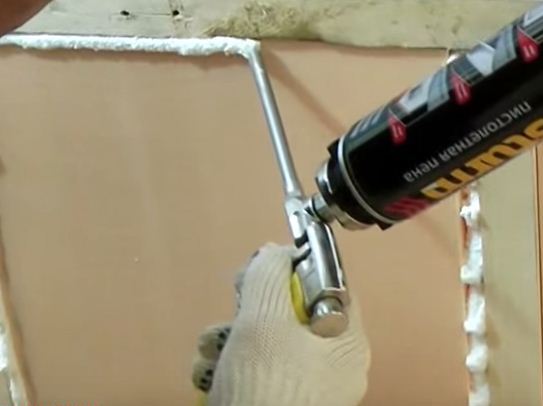
- Warming the balcony with penoplex by one's own hands must be done carefully. Fill all the cracks around the perimeter, in the corner under the windows and between the slabs with foam.
- We must hurry, while the foam is still fresh. We plant the first plate, which we use for the wall, from above to the floor.
- Tightly press it so that no gaps are formed.
- If there are irregularities, then we cut the penoplex.
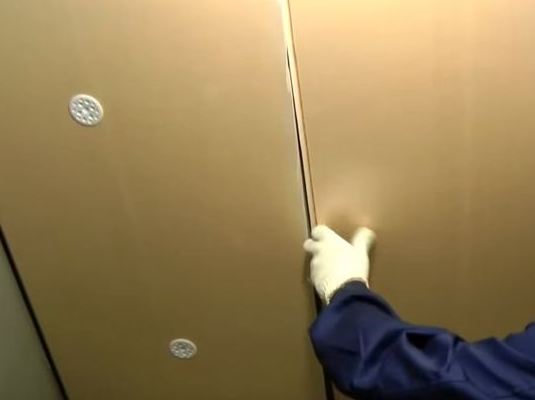
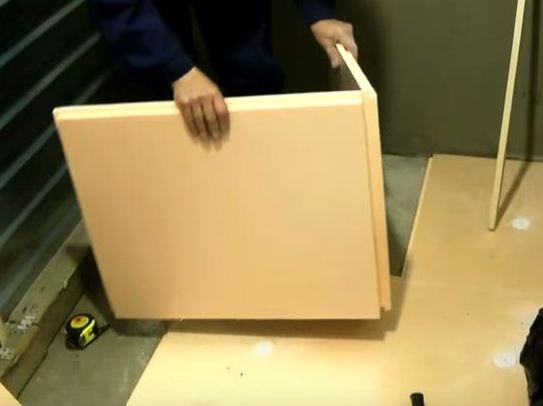
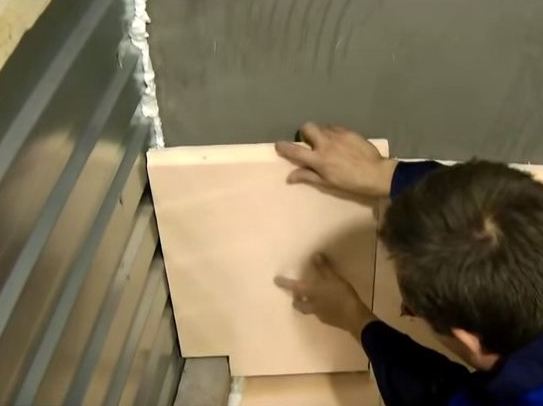
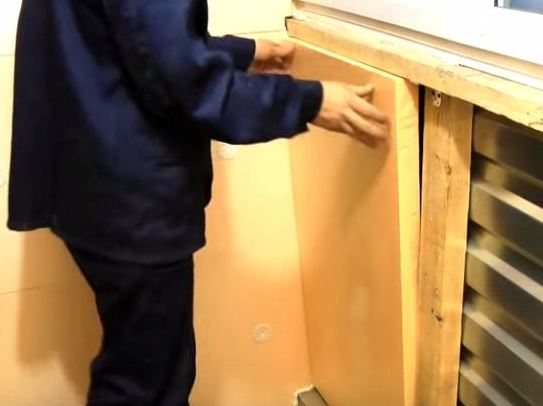
- We collect the heater on the wall exactly as on the floor and ceiling, fixing them with fungi.
- It is better to install them with offset, then there will be no weak spots along the joints.
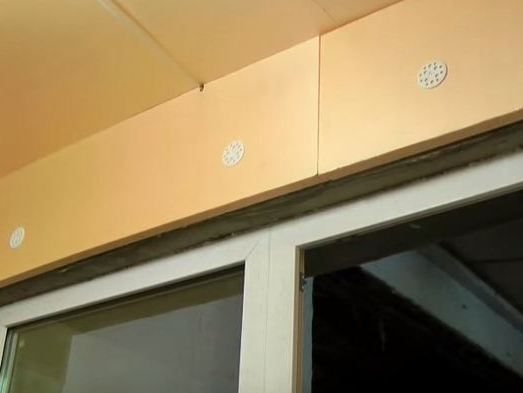
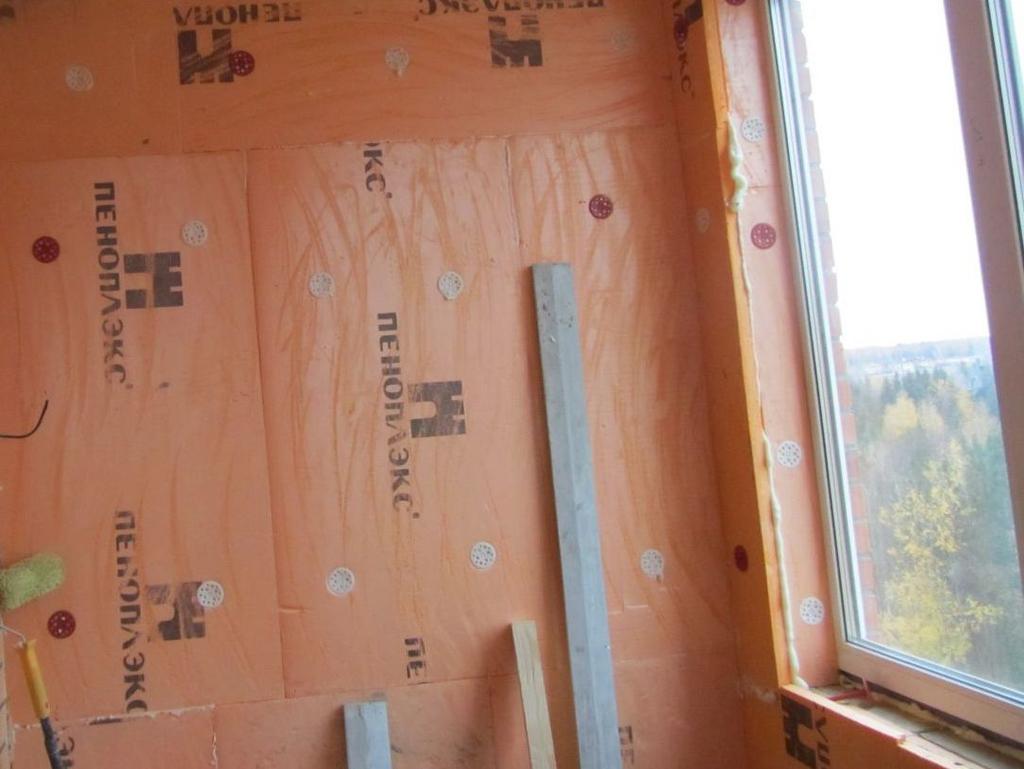
- Accurately we warm a window aperture and a door, pruning a material in the necessary place.
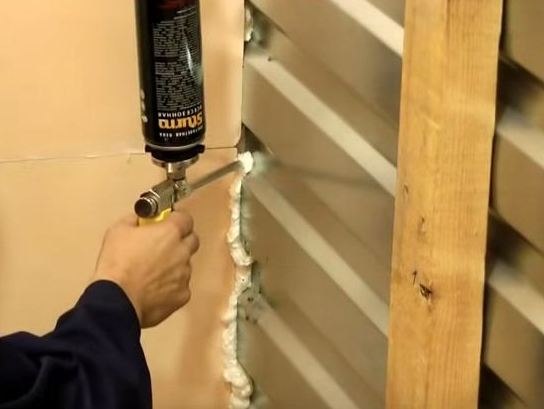
- Warming the outer wall of the balcony with penoplex by oneself is a special issue. It is thin and requires extruded expanded polystyrene of a greater thickness. First fill the foam with joints in the corners.
- We will install the heater in two layers. First, between the skeletons of the frame we attach the first sheet.
- From above we attach the rail to the corner, which we will use to mount the second layer.
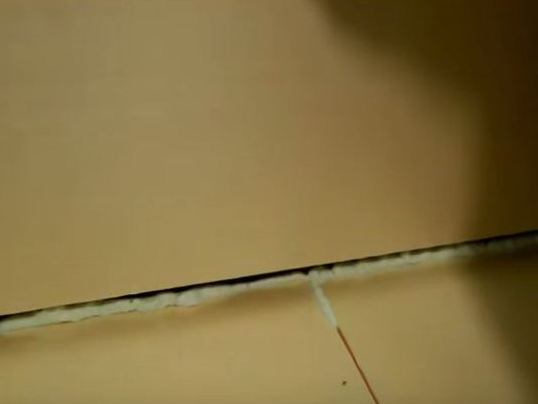
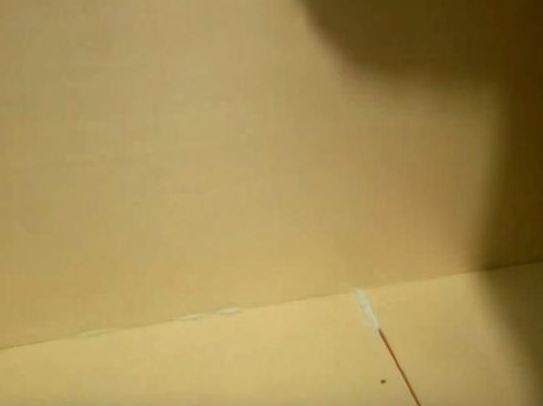
- We zapenivaem all joints on the inner surface.
- Install the second layer of penokleksa.
- Again, we qualitatively weave the seams.
- The warming of the balcony by penokpleksom own hands is completely completed, you can deal with the finishing of walls, floor and ceiling with any decorative materials.
The above described technology of work is not very difficult, the main steps listed here can be performed by any owner on the strengths. We hope that the instruction for the insulation of the floor and other interior surfaces of the balcony with foam will be useful to you.