Reading tales with their babies, I always want to prolong the magical sensation from the story read. And engaging in creative work with the child is the easiest way to achieve this goal and develop imagination . Let's give you some simple ideas how to make a colored fairy bird application, which will become one of a collection of children's crafts made of colored paper .
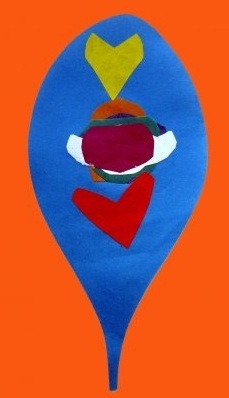
Applicating the heat of birds from paper
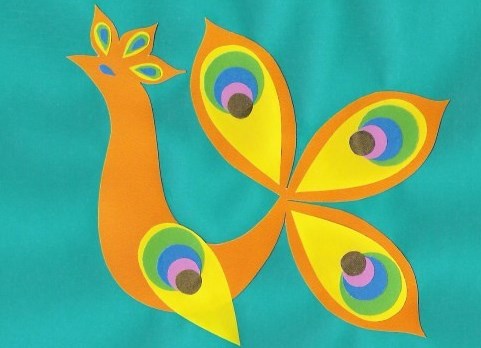
- We suggest you start with the simplest works. Draw on our sample the elements of your bird and ask the child to cut them out of colored paper. After that, gently glue everything on the colored cardboard base. If there is a desire, you can play with the color, making the tail and feathers bright and colorful.
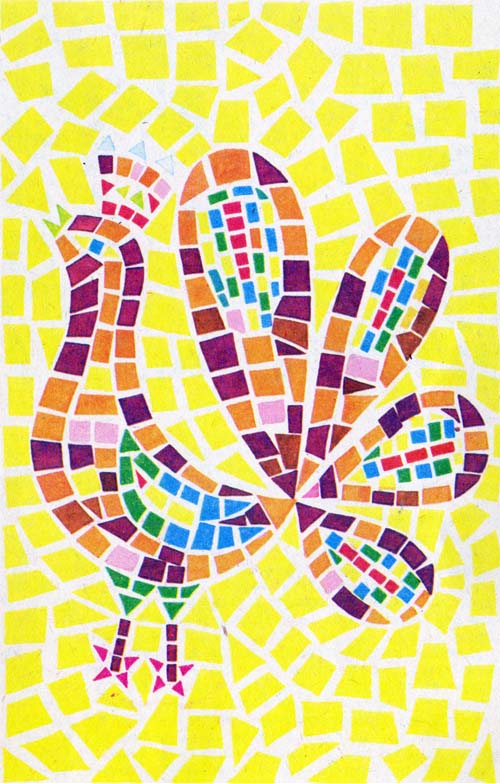
- Another interesting way to make a craft of a fairy bird is a mosaic. From the colored pieces of colored paper, cut out different geometric shapes together with the child. After that, start spreading them, while creating an image of the heat of the bird.
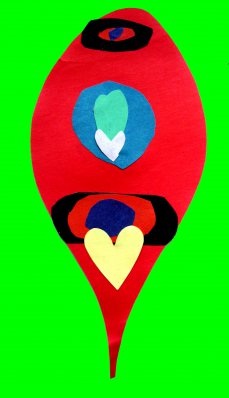
Application "Bird of Happiness"
Remembering the heat of a bird, you can not forget about the mysterious bird of happiness. How does she look? Nobody has seen. But this is what will serve as a good impetus for the child to show his imagination and invent his own bird of happiness. We will help you to decide on the technique.
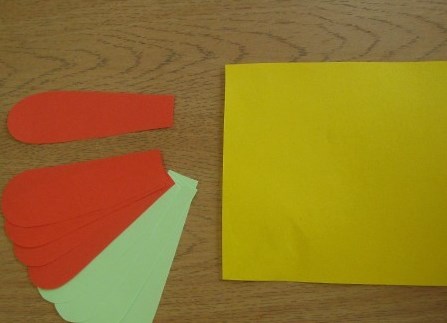
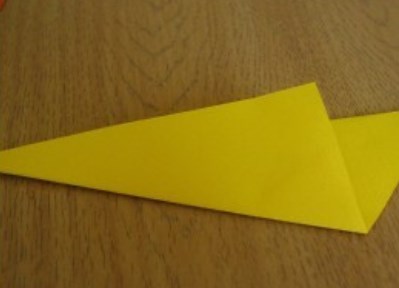
- From the color paper, cut out a square of 10 by 10 cm - this will be the trunk.
- Also from the paper you need to cut out 9 bands that will taper to one of the edges. The length of these bands is 9 cm. The wide edge of the paper strips can be made straight, rounded, oblique - it all depends on the child's desires.
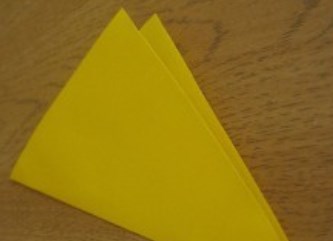
- Cut the square in a triangle, and then bend it in half along the longest side. By these actions we will outline the fold lines.
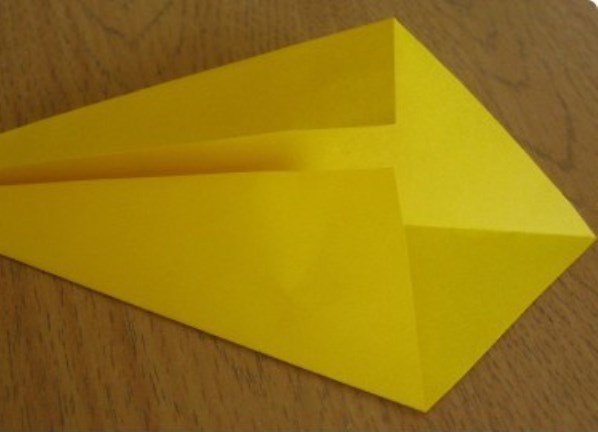
- Expand the square back. We got 4 parts. The two extremes should be glued together overlapping. The torso of the future bird was formed. The short side will be a back, a long tummy.
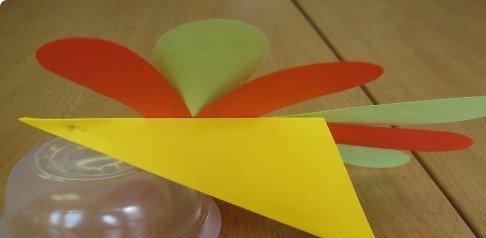
- To the back we glue 3 feathers. The tail turned out.
- In order to make the wings, the remaining feather-strips are attached to the back. Watch out for the child to get the wings to look in different directions.
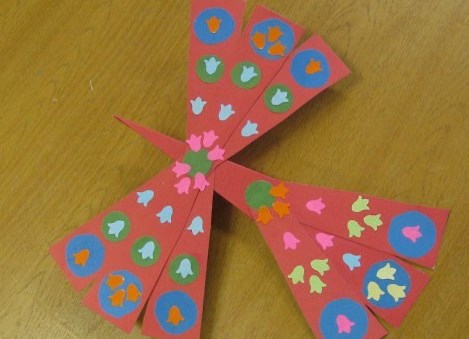
- Now there is "cosmetic work". Draw or glue the bird eyes. We adorn her wings and tail with applique. If you wish, you can put a thread in the back of the bird, then your bird of happiness can be hung somewhere.
| | |
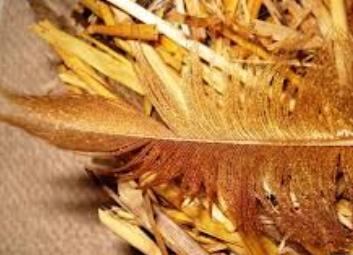
Applique "Feather of the feather of a bird"
If you do not want to think through the elements of the whole bird, you can try to make only feathers. Engaging in their design, the child also develops his creative abilities, because making a feather needs to think through every detail. And we, as always prepared examples of such children's works for you.
| | | |
By the way, instead of the base you can use ordinary white goose feathers, which can be covered with ordinary paint. And if you want to get an unusual effect, then just cover everything with a shiny hair spray.
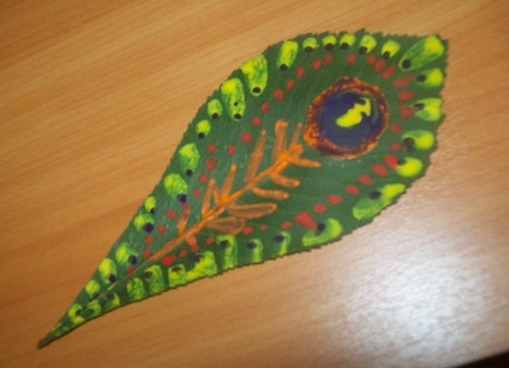
Another interesting option for the base of the pen is an ordinary green leaf from a tree.
We gave you ideas to create your magic birds, the rest is yours.