Plasticine - one of the favorite materials for children's creativity. With its help, various figures are easily obtained, and small motor skills of children's hands develop. However, the possibilities of the material for modeling are not limited to this. We suggest you to make pictures of plasticine with your own hands. It's quite a fun process, allowing adults to have a great time with their favorite kids. Well, the little ones will get acquainted with the new face of plasticine. So, we'll tell you how to make a picture of plasticine. By the way, there are two ways to get an image with it.
Pictures of plasticine for children: the first way
For work, the following materials should be prepared:
- packing plasticine;
- the basis for the painting is a sheet of plain or colored cardboard;
- place for modeling - it is better to prepare a rectangular piece of plywood without sharp corners to avoid damage to the child's skin;
- pencil.
We proceed to make a picture of plasticine in stages:
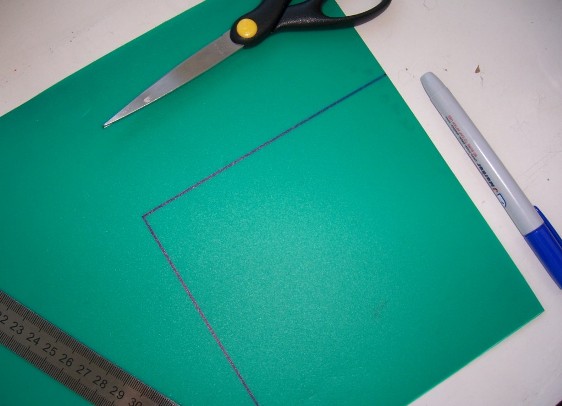
- From the cardboard you need to cut the base of a square or rectangular shape (as you wish).
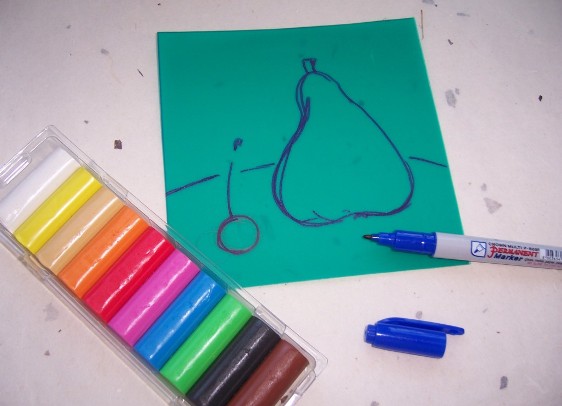
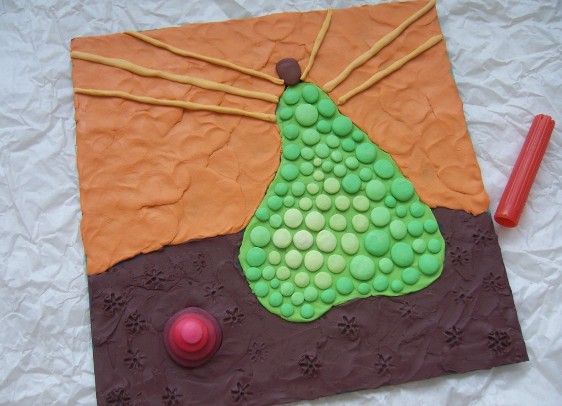
- Draw on the prepared basis of a pattern from plasticine the contour of the drawing with a simple pencil. The figure should depend on the age of the child. A three-year-old crumb is apple or pear. For older children, the task can be complicated by various details.
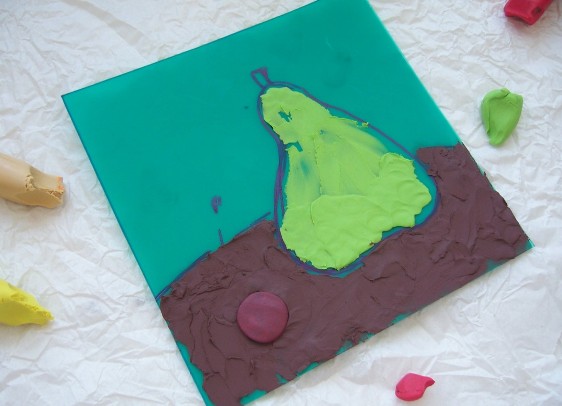
- Well, now let's start modeling of plasticine pictures. Slice the plasticine thoroughly and, pinching off small pieces, apply it to the base and grind it, as if painting the contours of the picture.
- Cover the entire surface of the base with clay, while observing the contours of the elements. You can align the outlines with a knife, it's better if the adult does it.
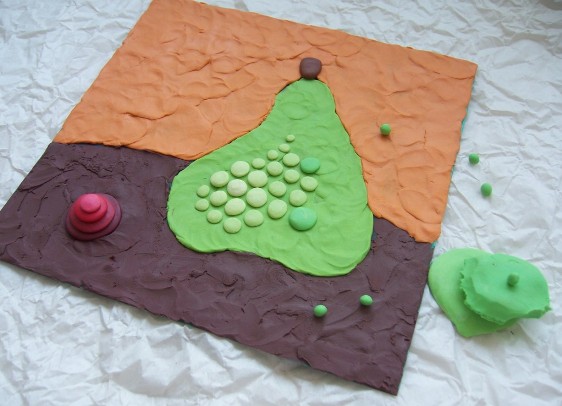
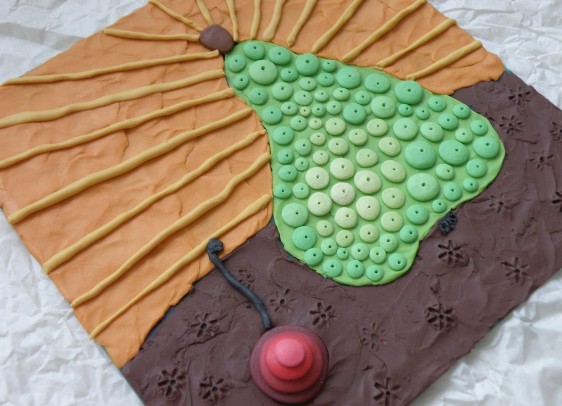
- To add volume, you can use one interesting technique: roll a small ball of plasticine and, pressing it with the pads of the thumb and index finger, put the resulting flat circle on top of the picture. Decorate the pear in this way. Then in the center of each circle you can make a toothpick point.
- Use to decorate the picture and rolled into a tube plasticine. An interesting star-shaped effect is obtained if the capillary is pressed into the plasticine from the felt-tip pen.
That's so easy to get very elegant children's paintings from plasticine.
Three-dimensional paintings of plasticine: the second way
To make this craft, you will need the same materials as in the previous master class of the picture of plasticine. But we will use a completely different technique - applique.
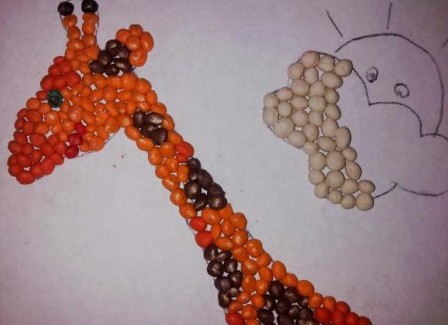
- Draw based on the outline of the selected pattern, for example, how we have a giraffe, a sun with a cloud and a flower.
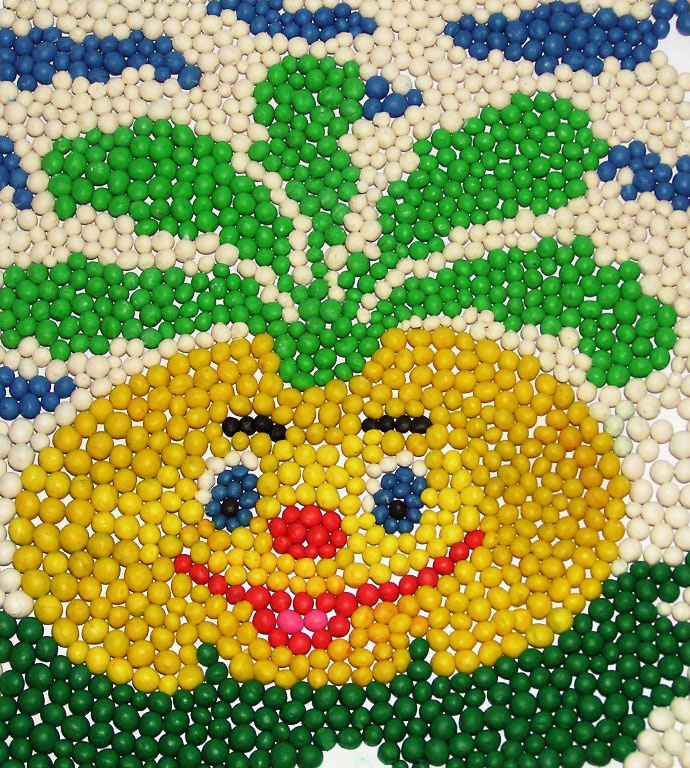
- The most painstaking moment begins: from plasticine of different color it is necessary to blind a considerable quantity of small balls. Choose those colors that are typical for the objects that make up the future picture.
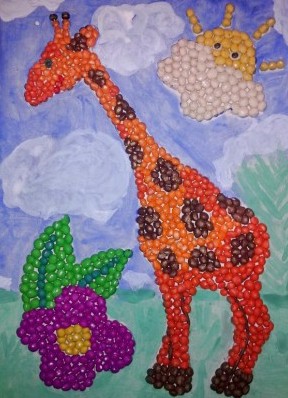
- On the contour of the objects depicted, begin to lay out the balls of suitable colors together with the child. For example, the sun appears with balls of yellow plasticine, the cloud - white, giraffe - brown, orange and brick, the flower - from purple, yellow, green and green plasticine. By the way, if the desired shade of plasticine is not, by mixing a few colors, you will get the desired color.
- When all the elements of the picture are decorated with plasticine balls, you can start painting the background with paints or pencils - what the child is better at drawing.
Well, here is a beautiful picture-applique from plasticine. Agree, it is not so difficult to make it, but it looks impressive. When the skills of working with plasticine in your child will be fixed, he can create a picture-mosaic, completely consisting of plasticine balls.