We look forward to the coming of spring - the time when nature awakens. In particular, she is happy with the children. Invite the child to prepare a "latch" for spring - an application that can be prepared from a variety of materials: paper, thread, leaves, cereals, pieces of tissue. This kind of work develops the child's imagination and the fine motor skills of his hands.
Spring application primarily involves the manufacture of flowers or even bouquets. It is easiest for babies to work with paper. Even a 3-year-old child is quite capable of cutting small pieces of paper from a paper sheet and attaching them to a cardboard.
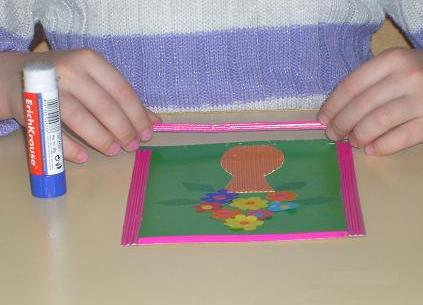
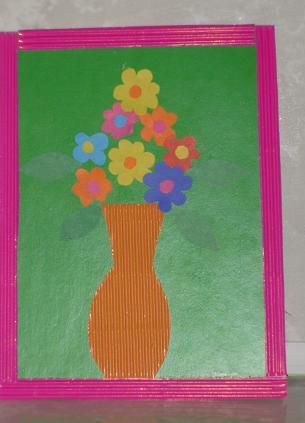
Applique "Spring Bouquet"
Such a bouquet will decorate the room all year round.
You will need:
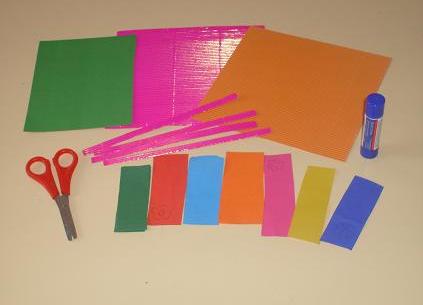
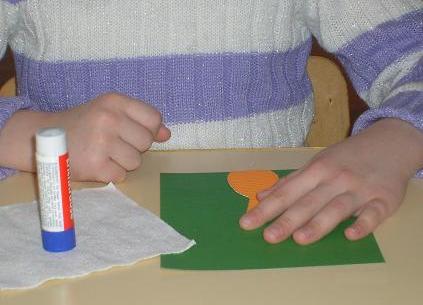
- On a sheet of corrugated cardboard we draw a vase and cut it out.
- On the basis of the application - a sheet of colored cardboard - we paste the vase.
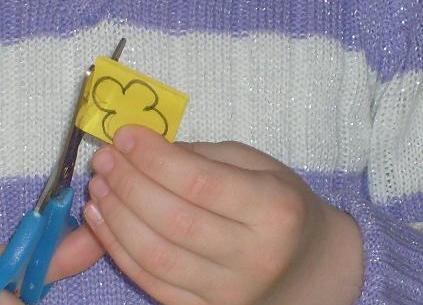
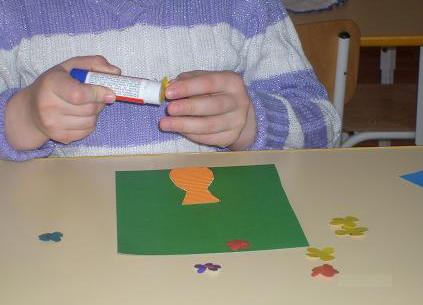
- From sheets of paper of different colors cut out flowers, their centers, a few green leaves and paste them on the base of the product.
- We decorate the application with a frame: for this we cut out 4 strips with a width of 1-1.5 cm from corrugated cardboard and glue them on the sides of the base.
| | |
Lovely bouquet for mom ready!
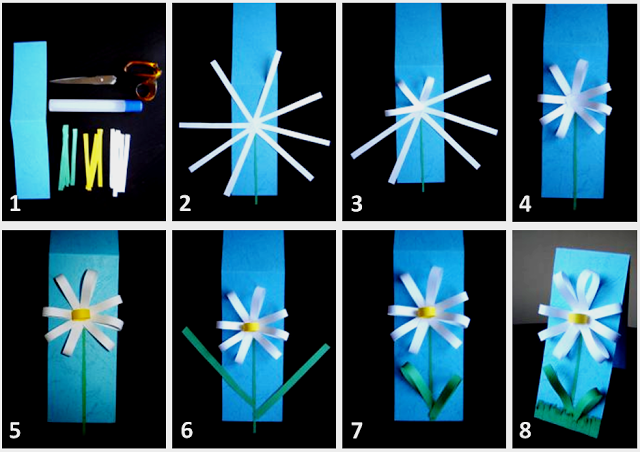
Volumetric application "Spring"
Prepare a pleasant surprise with the help of a spring bulk application in the form of chamomile. To perform this product you need:
- a sheet of colored cardboard;
- colored paper of white, yellow and yellow colors;
- glue.
- Cut out a cardboard box with sides 20x5 cm, and from colored paper - thin strips 7-8 cm long.
- In the middle of the cardboard base, glue the ends of 8 white strips at a single point in a circle.
- Then, bending the second ends of the strips, glue them to the same point in the middle.
- It was a flower.
- To its core, attach both ends of a yellow strip, bent into a loop.
- Adds a stem.
- And two pieces of paper are attached by the same principle as the petals.
- You can decorate the composition with herbs by making cuts on a rectangle of green paper and gluing it from the bottom. Done!
As you can see, the volumetric application of the colored paper "Spring" is easy, but it looks impressive.
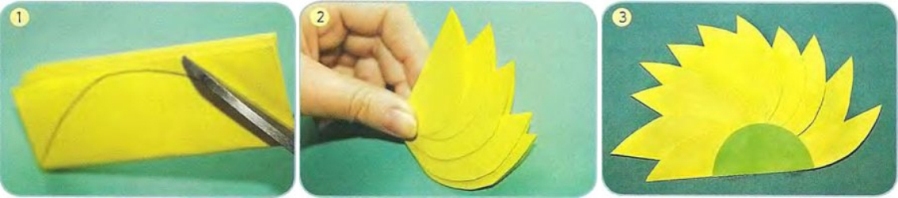
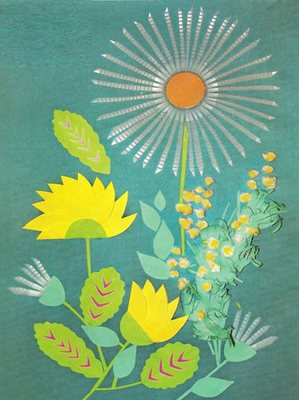
Applique "Spring Harmony"
Practically every school holds an exhibition of applications for schoolchildren about the spring, so the proposed master class can be useful.
You will need:
- a sheet of colored cardboard;
- colored paper;
- 2 plastic cups;
- cotton wool;
- gouache;
- PVA glue;
- scissors.
Let's start our artwork:
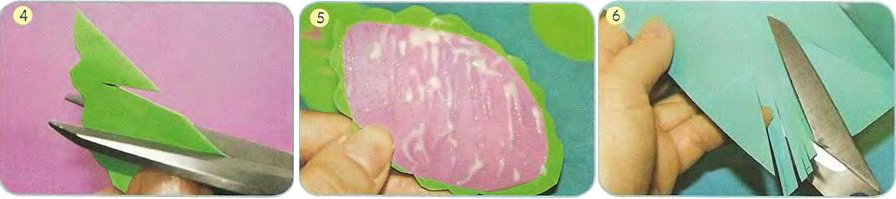
- We make yellow flowers. To do this, fold a sheet of paper into several layers and cut out the petals in the form of a half-oval. We will spread out the petals in a fan: for a large flower you need 11 parts, for a small one it is enough 5. Cut out two half-ovals from green paper, put them on petals and glue them to a cardboard base.
- From the folded green paper, we cut out the leaves. Bending each sheet, make their edges wavy. You can add pink veins, making incisions in the fold. From the pink paper, cut out the ovals and paste them on the bottom of the leaves. We attach the finished parts to the base of the applique. We make a mimosa: on all sides of a rectangle from a dark green sheet of paper we make skewed incisions in the form of a Christmas tree.
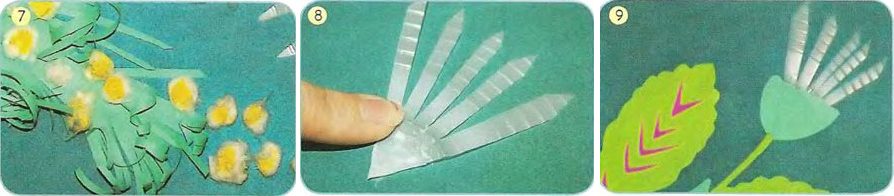
- Screw the paper strips with the ends of the scissors. The part is glued to the base. On top of it we attach small balls from twisted pieces of cotton wool, we color them with yellow gouache. From a plastic glass, we cut out two triangles that need to be divided into petals. On top of these colors we paste green semicircles.
- From the second plastic cup cuts to the bottom cut out the petals, which then glued to the base in a circle, not forgetting to add the circular center of the flower from the colored paper. We finish the craft, attaching all the stems and leaves.
- Spring composition is ready!
We hope, the offered master classes will be useful, and together with the child you will please the loved ones with colorful hand-made articles.