From paper, you can create the most unusual crafts and paintings, sculptures or decor for the house. In this article, we'll look at how to make a contour quilling. For this technique, strips of paper are used which are wound in a spiral and give it a wide variety of shapes. Contouring technology involves the arrangement of patterns from paper on the plane. It is not difficult to create such ornaments, it is enough just to practice twisting strips and forming figures.
Contouring quilling for beginners
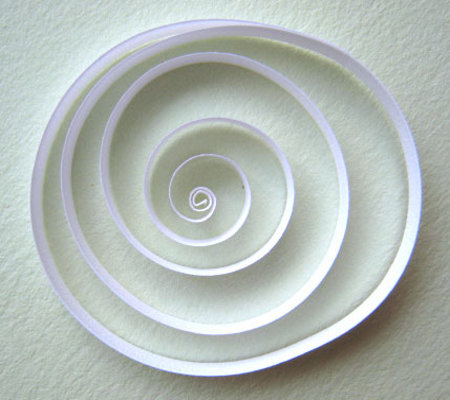
First, let's look at the simplest composition and the basics of working with quilling paper.
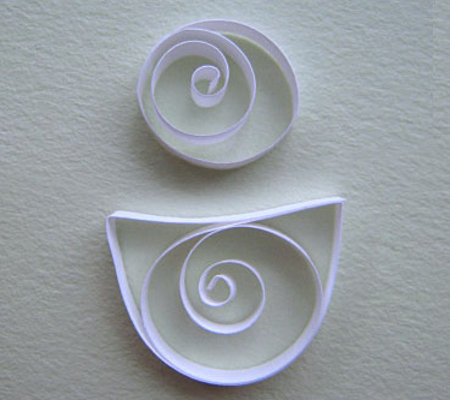
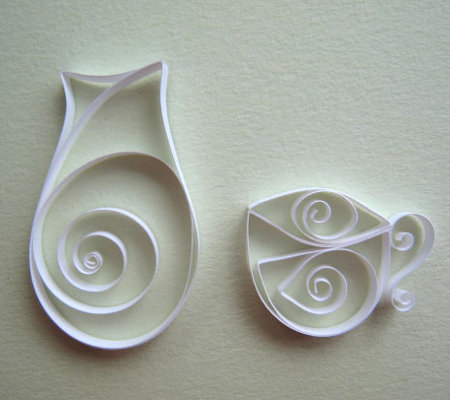
- We twist the first workpiece. Then gently bend at right angles to the end, as shown in the picture.
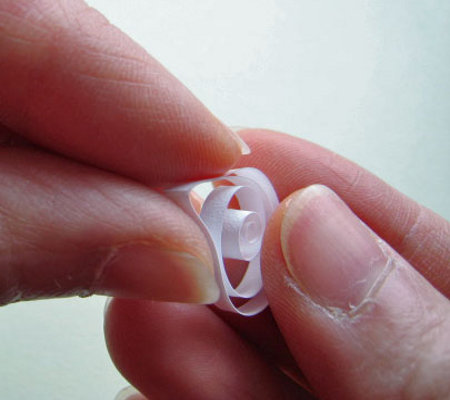
- The result is the bottom of the cup. Its top should be slightly concave.
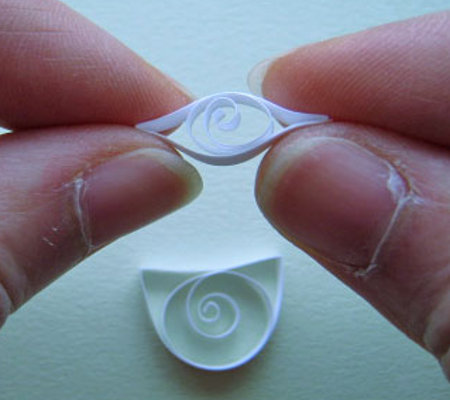
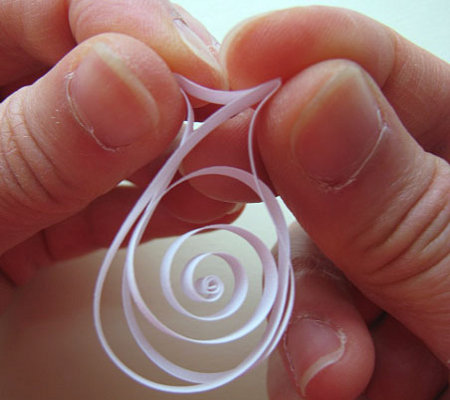
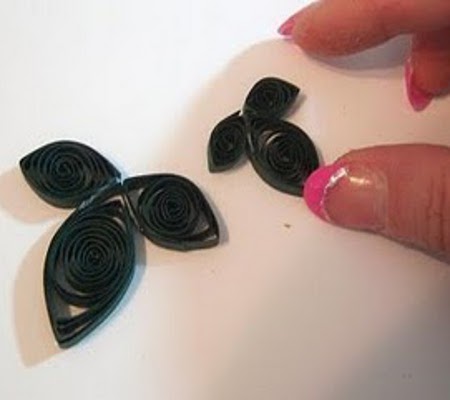
- From the second blank we make the upper part. To do this, flatten it around the edges, giving it an almond shape.
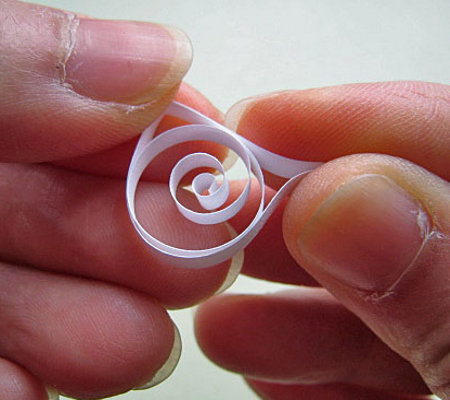
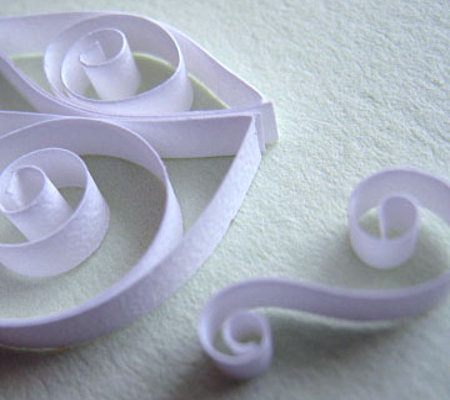
- From the third billet, which we will twist in different directions, we make a handle.
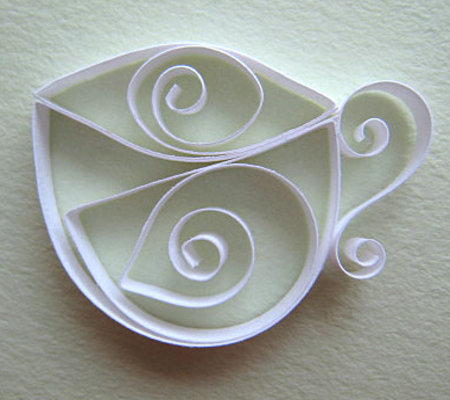
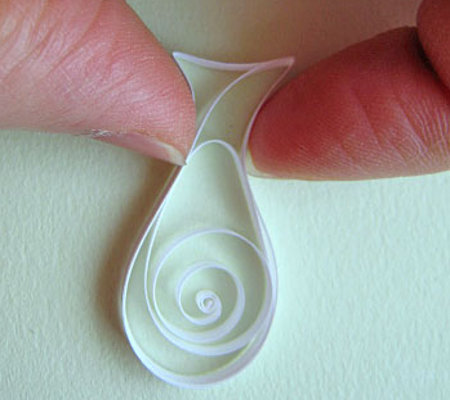
- Similarly we make a vase. Try to turn off not very tight curls, then the workpiece will be more pliable.
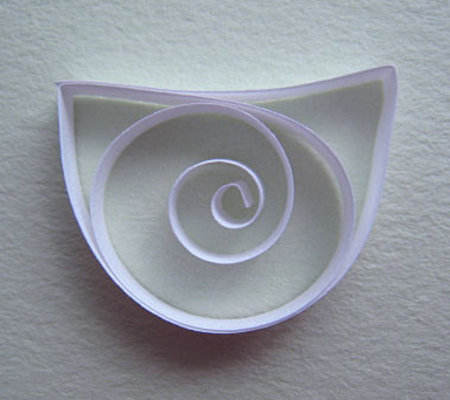
- After you have given the final form, you can glue the tails. Done!
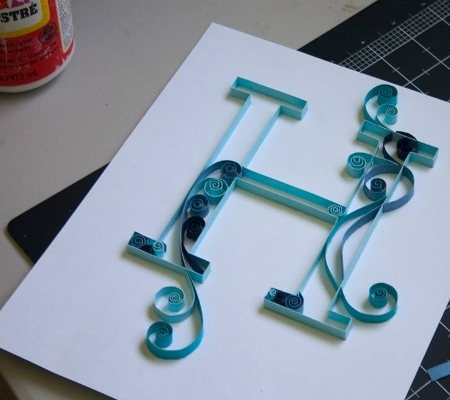
Contour quilling - how to glue a monogram
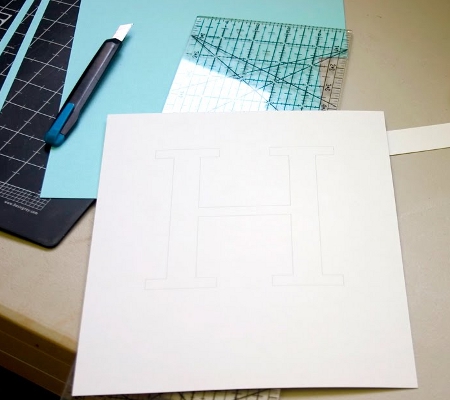
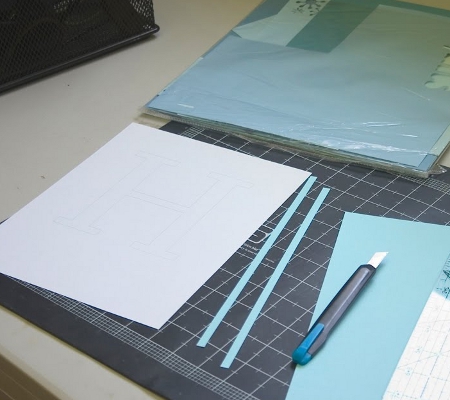
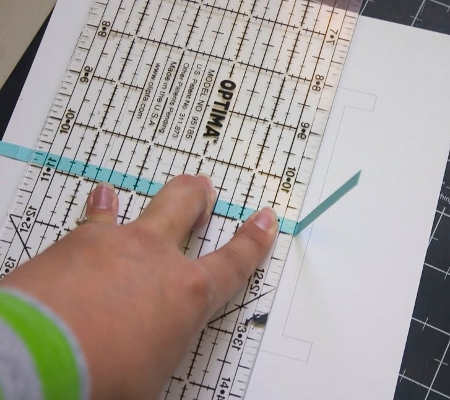
- On a dense sheet of paper or cardboard, print out (with a pencil) the outline of the letter.
- For work we take strips of width not more than 6 mm.
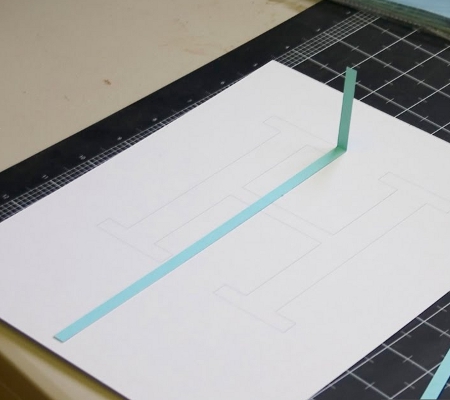
- Now we begin to bend a strip of paper, giving it the shape of a letter.
- In those places where there will be a fold, it is better to put a small point, then you will not go astray.
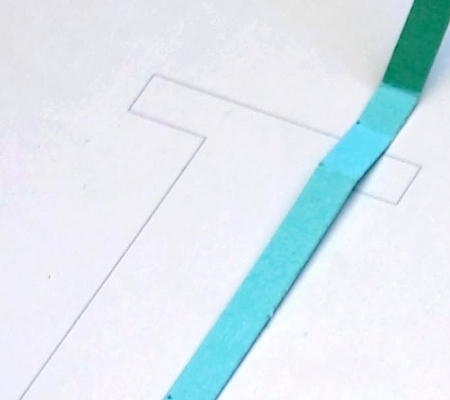
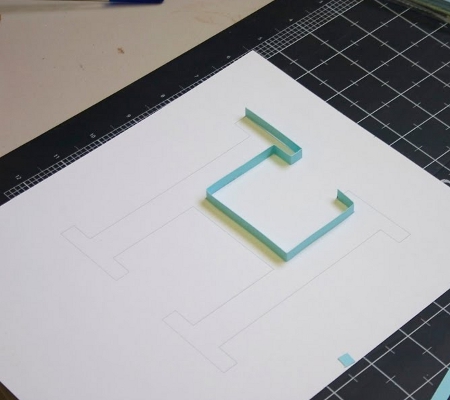
- Here is a little trick how to correctly make a contour quilling: never place joints of two strips with folds, gluing an even angle will be much more difficult.
- First, you need to bend all the blanks according to the outline of the letter, then proceed to gluing.
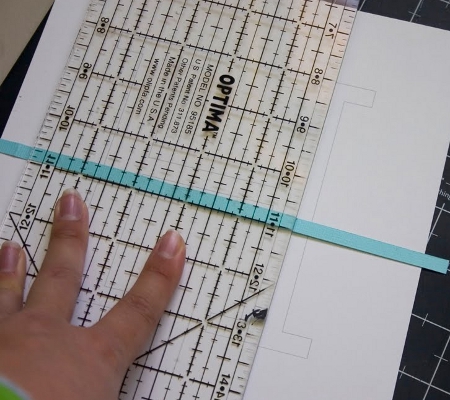
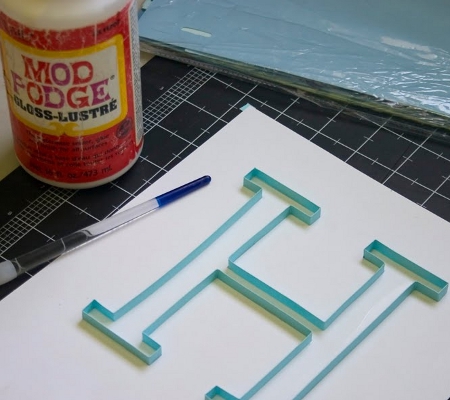
- The longest and most responsible process of the master class on working in the contour quilling technique is applying glue to the edges of the strips of paper.
- First we put a little glue, then wait until he grabs. It is important to take the paper only with clean hands, otherwise the work will be spoiled. So always put a damp cloth next to it and after applying glue wipe your hands.
- At this stage, the master class work in the technique of contour quilling is as follows.
- Now cut the strips of paper in a similar color scheme.
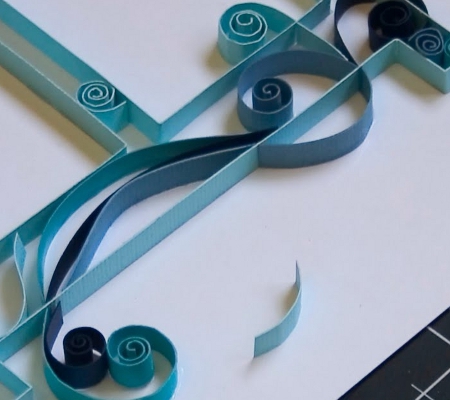
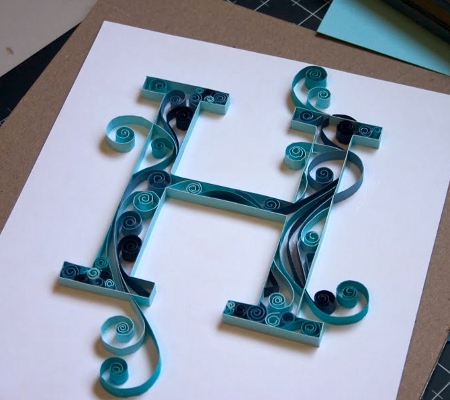
- Fold the strips in a spiral. Further, we untwist them a little and make them wave-like.
- The basic principle of contour quilling - first lay out the picture on paper, then alternately apply glue and fix all the details.
- To make the transition of spirals crossing the letter wall, we use parts of the curved strip.
- Then we gradually decorate our letter until the result is satisfactory.
Contour quilling - paintings
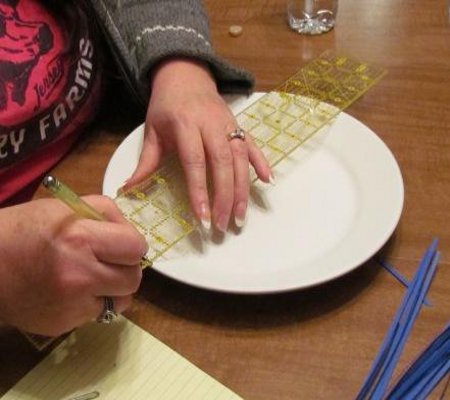
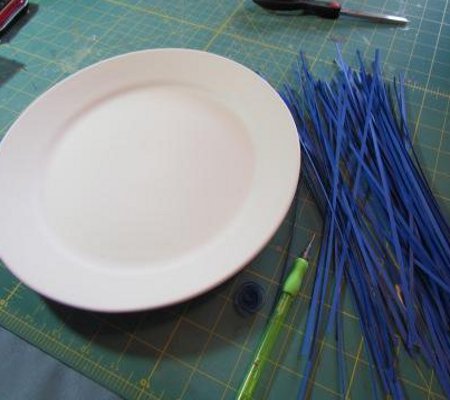
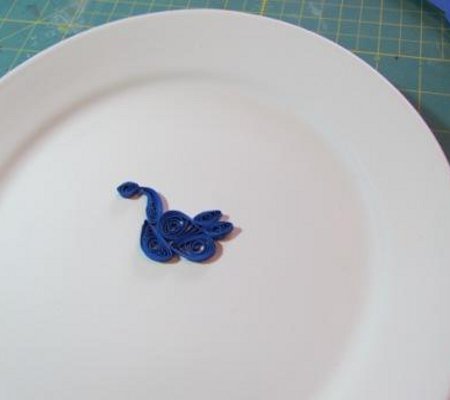
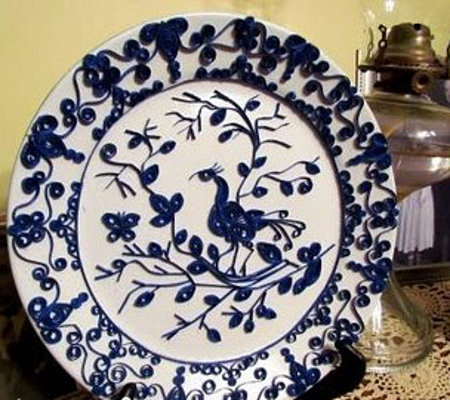
The last to consider the most entertaining microquantity in the technique of contour quilling, in which the basis is not a sheet of paper or paperboard, but a real plate. Painting dishes is always an entertaining and creative process. In this case, we will "paint" the plate not with colors, but with paper curls.
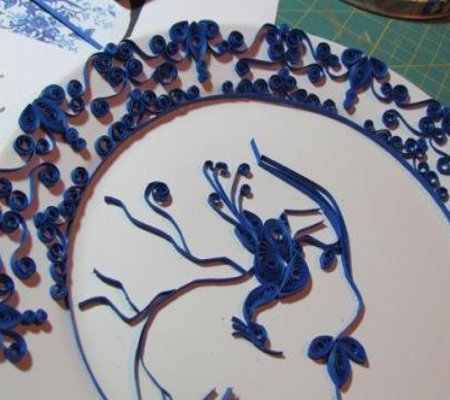
- First of all, using a pencil, we make markings. The entire area must be divided into eight identical segments. This will make the ornament on the edge.
- Work starts from the center of the plate. The lesson author uses spirals and stripe pieces to form outlines of the bird.
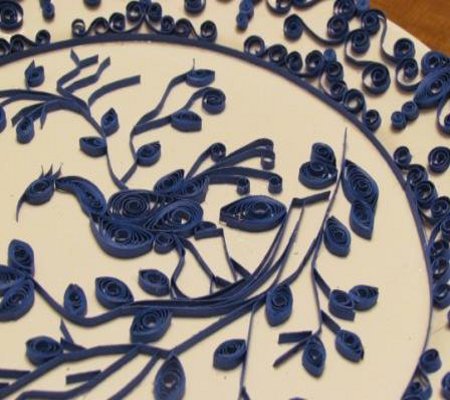
- Bend the strips and give them the shape of the branches. To make the leaves on the branches, twist the strips of paper into a spiral and flatten the edges, giving the almond shape.
- Contouring quilling can be a good technique for decorating dishes.
Another kind of quilling is volumetric quilling , which allows you to create 3D crafts.