Home-made pastries are very tasty, but not always the housewives have the opportunity to diversify its appearance. Often, mothers want to have different thematic forms for biscuits to organize holidays. For example, cookies-numbers for Birthday, Valentine's Day for Valentine's Day, cookies-flowers for March 8.
From the article you will learn several ways how to make cookie molds with your own hands. Depending on the choice of material for the manufacture of molds will depend on their quality, and how they can be used.
Master class 1: metal molds for cutting out cookies
It will take:
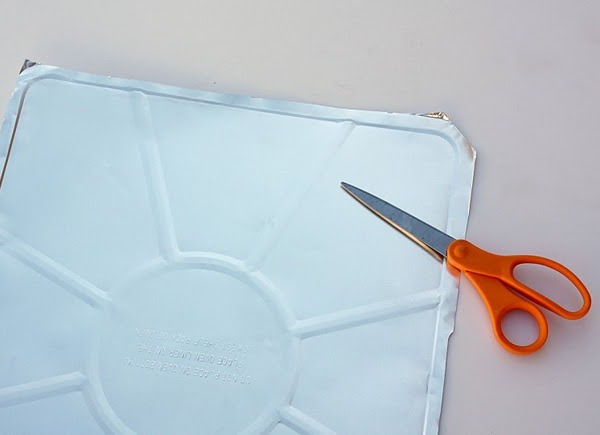
- aluminum molds for oven;
- scissors for metal;
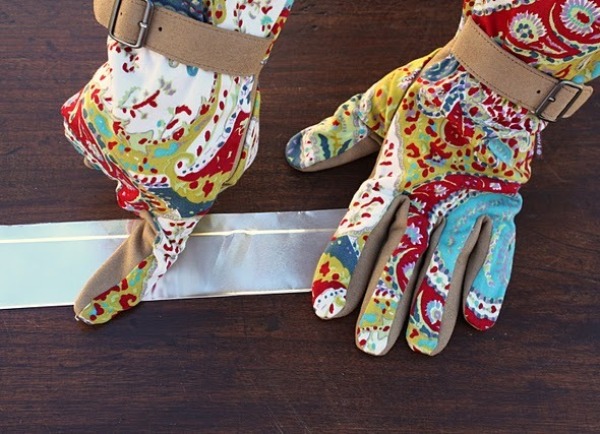
- tight gloves;
- marker, pencil, ruler;
- clothespins;
- Super glue;
- paper;
- pliers;
- rectangular pattern for strips 4 cm wide (from any material).
Warning: when making molds from aluminum, we must always wear gloves, as it is possible to cut severely the untreated edges.
Material preparation
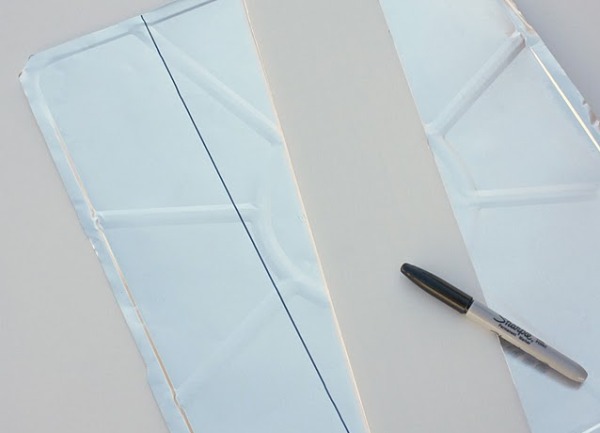
- After removing the side edges of the mold, use a metal marker to draw a strip 4 cm wide.
- In the middle of the received strip, we draw another line by the marker. This line will help to form a metal workpiece.
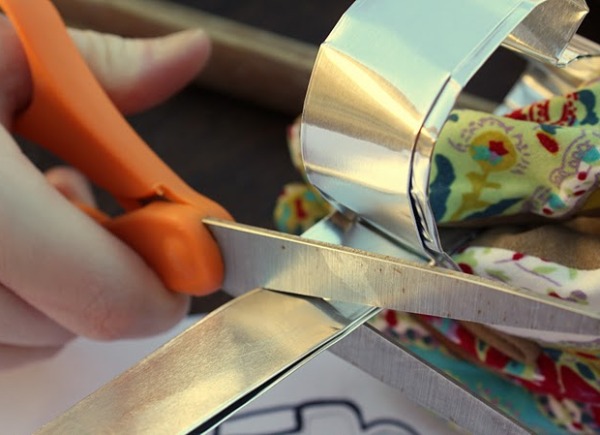
- Cut the part along the main line (as shown by the arrow).
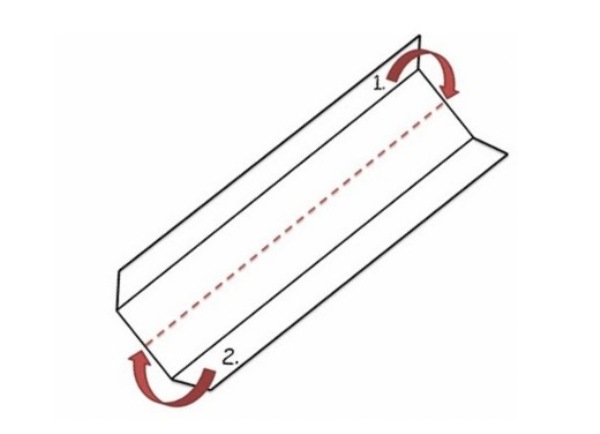
- Fold the cut piece in half along the line.
- Next, unfold the workpiece, and its left side is folded in half along the length to the fold line.
- Do the same with the right side.
- Then again put the workpiece with sharp ends inward.
- Schematically, items 5,6,7 look like this:
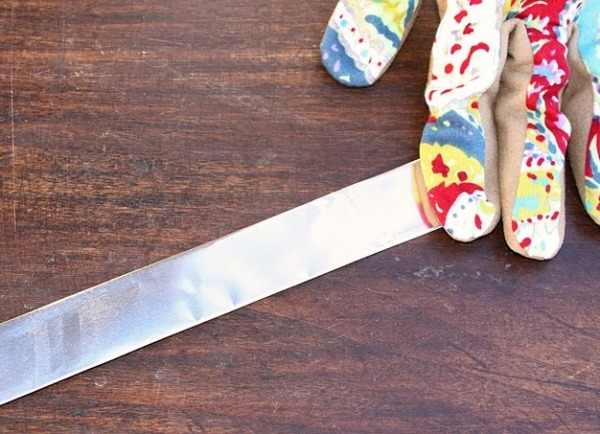
- To smooth out, we carry out the handle of the scissors.
- This folding technique will allow you to get a flexible and sufficiently strong aluminum tape.
| | |
| | |
Mold Making
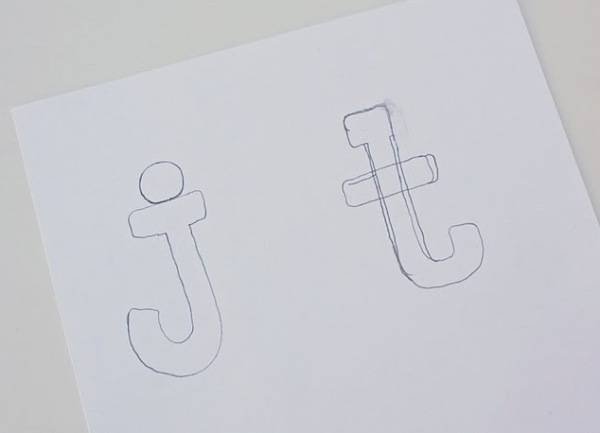
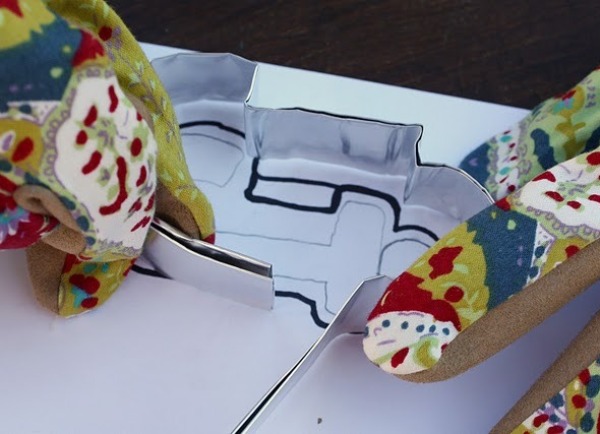
- On paper, draw a sketch of the form for the cookie. Do not use complex bends, the simpler the shape, the easier it will be to make it.
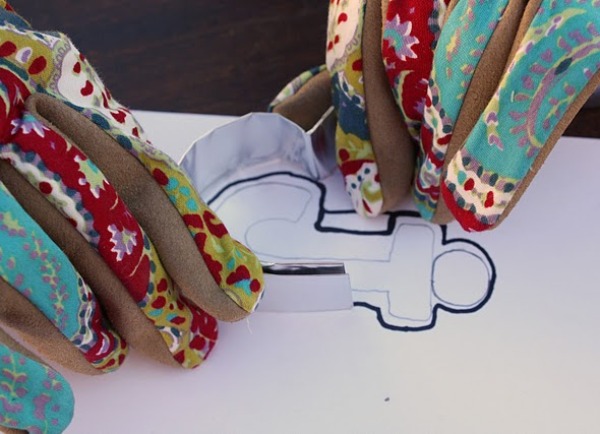
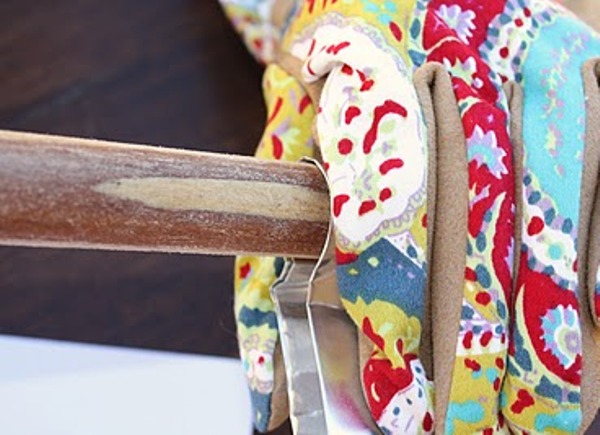
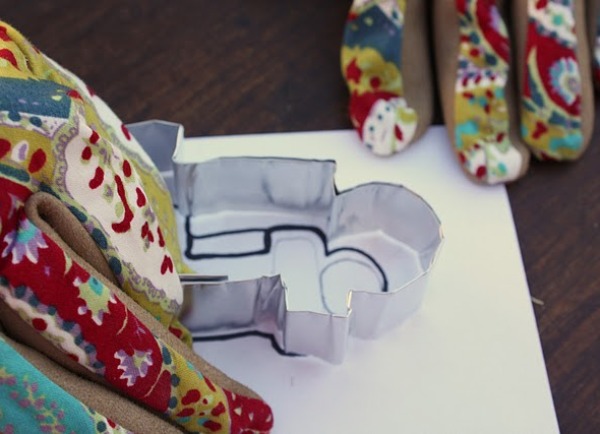
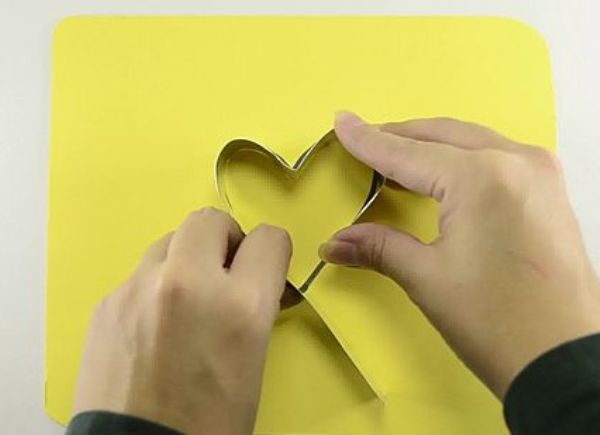
- According to the sketch, we begin to form an aluminum strip around the figure. At the same time, it is more convenient to fold the ribbon with improvised materials, such as: round and rectangular beakers, bottles, rolling pin, pipe.
- When the desired shape is obtained, we leave 2-3 cm for fixing, and the rest is cut off.
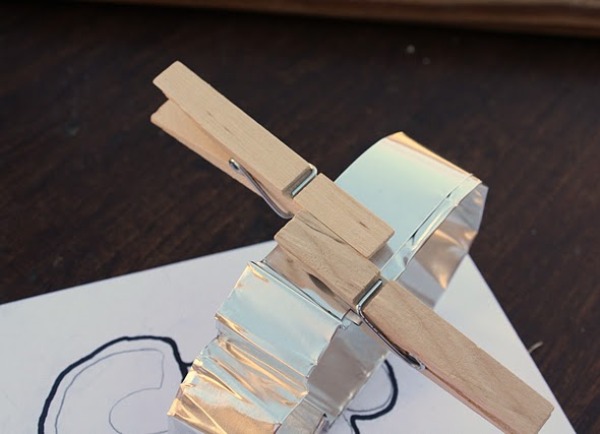
- Superglue glue the ends, from the top we fix the clothespins and leave until completely dry. If there is a special tool, then the ends of the tape can be stapled.
| | |
| | |
| | |
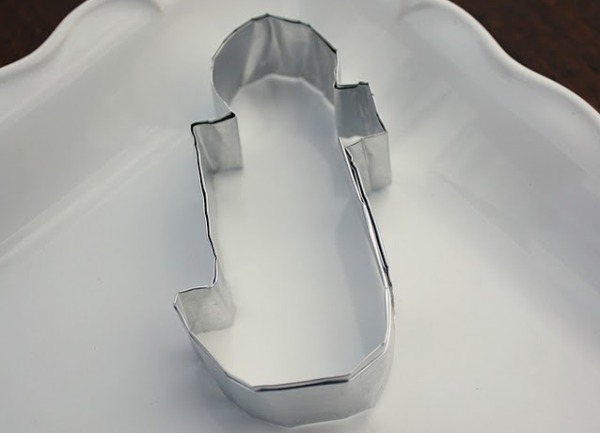
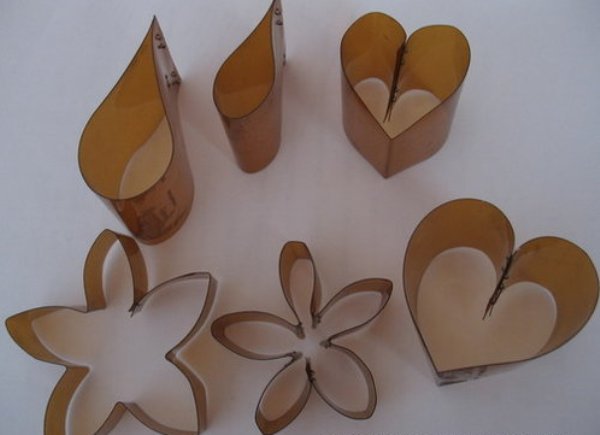
Here we have done such a strong form of the letter "j".
| | |
Master class 2: tins for cookies made from tin cans
It will take:
- empty tin can;
- scissors for metal;
- Super glue.
- We cut off the top and bottom of the tin can, and cut the wall along.
- The resulting rectangle of tin is cut into strips 2-3 cm thick.
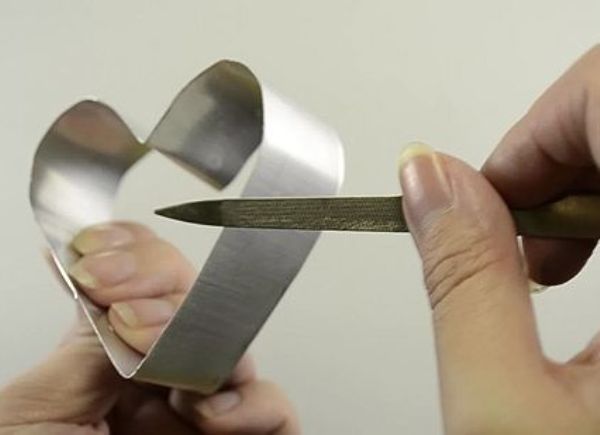
- From the stripes bend different forms for cookies: hearts, rhombs, little men, houses, sponges, flowers, etc.
- The ends of the form are fastened with superglue or metal clips, if the edges are too sharp, then we go through them with a nail file.
| | |
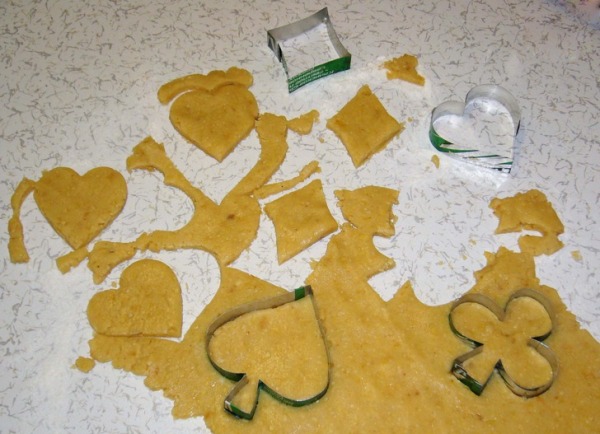
With these molds it is very easy to cut out cookies from sand or sugar dough, but they quickly break. More durable such molds will be if they are made from a plastic bottle.
| | |
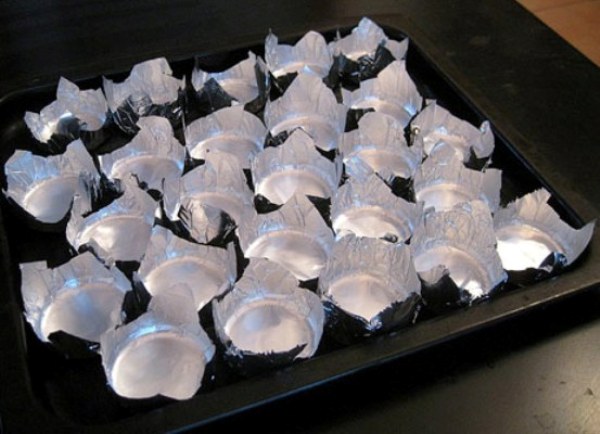
Master-class 3: a simple form for a cookie made from foil
It will take:
- foil;
- a glass with a square or round bottom.
- Cut the food foil into small squares.
- Turn the foil square around the bottom of the glass or bottle and smooth it well to shape it.
- Place the resulting shapes on a baking sheet.
In such molds it is convenient to pour a batter or put balls from the dough, while we get the cookies of the desired shape, and the pan will not need to be laundered.
All these methods of making cookie molds with their own hands are well suited for creating different fancy shapes without wasting time and money to purchase them in the store.