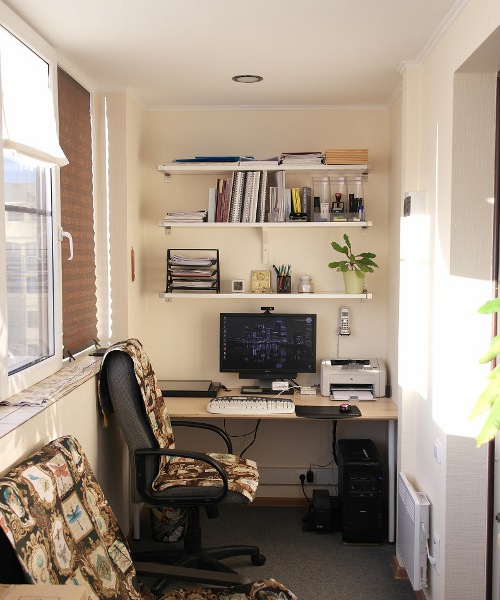
The combination of balconies and loggias is a popular way to expand the space. This is an excellent basis for arranging a study, a winter garden and even a games room. Everything depends on her cardinal alteration. No, we will not change the size or shape of the room, but we will begin to turn it into a full-fledged room. To do this, it is enough to insulate the balcony with quality, to make interior decoration, and all this is realistic to do by oneself.
Step-by-step finishing of the balcony with your own hands
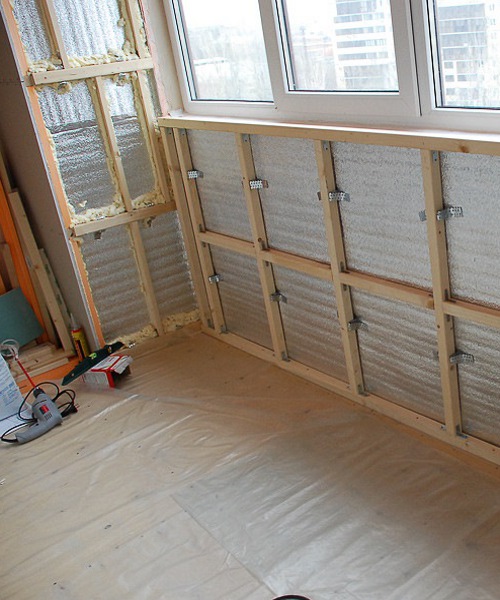
- First we will deal directly with the step of warming . We will use modern material Penoplex. For its installation, a frame from the profile is first formed. The thickness of the profile will be equal to the thickness of the sheets of Penoplex. We work with those walls that are the coldest, namely with the outside.
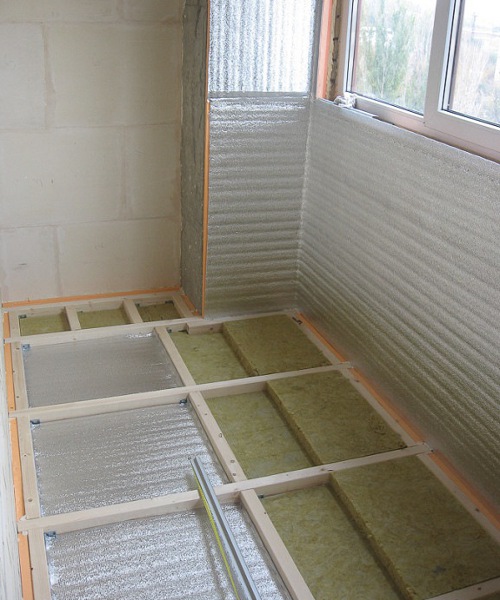
- On the outside we sew everything with foil-coated insulation.
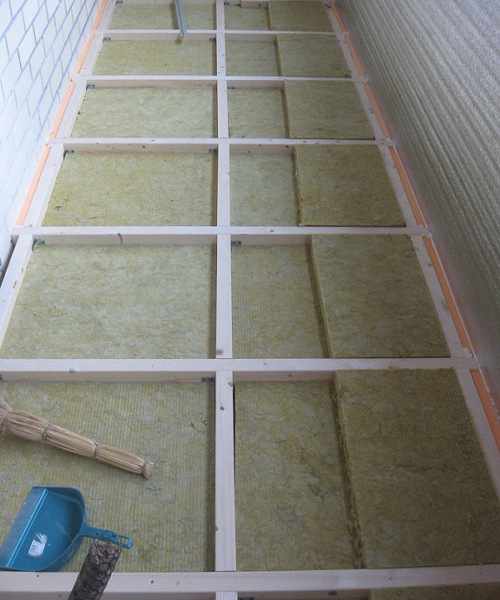
- To finish your own hands on the balcony floor, we will lift it inside. The rough floor will be made of plywood. Depending on the size of the plywood sheets, we form the basis of a wooden beam.
- Between the flights we lay a layer of insulation. This can be stone or mineral wool, roll insulation. After laying everything is sewn with a layer of plywood.
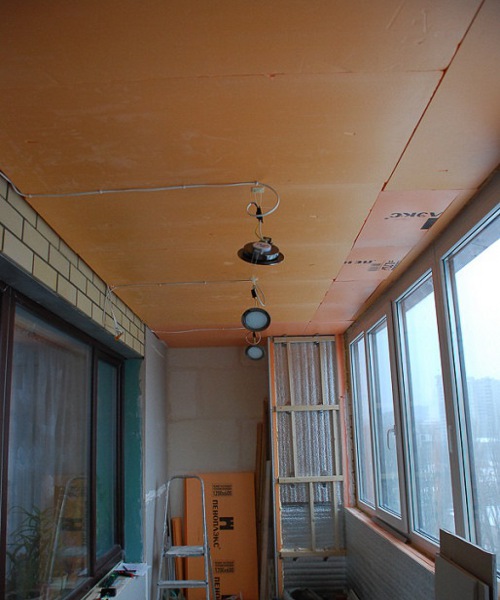
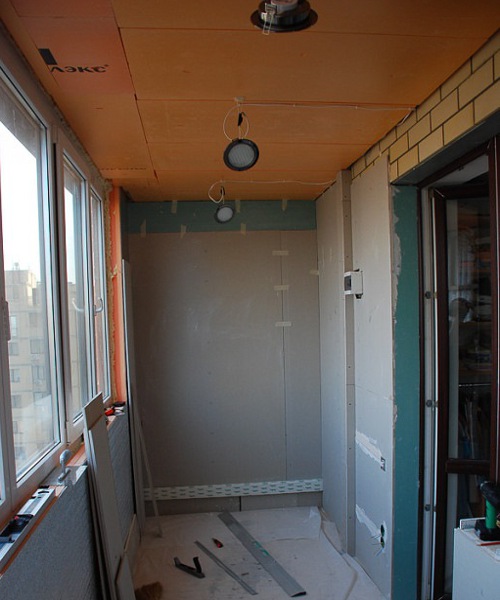
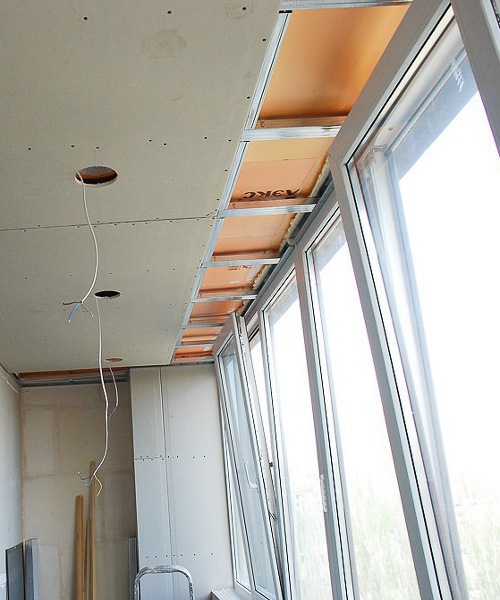
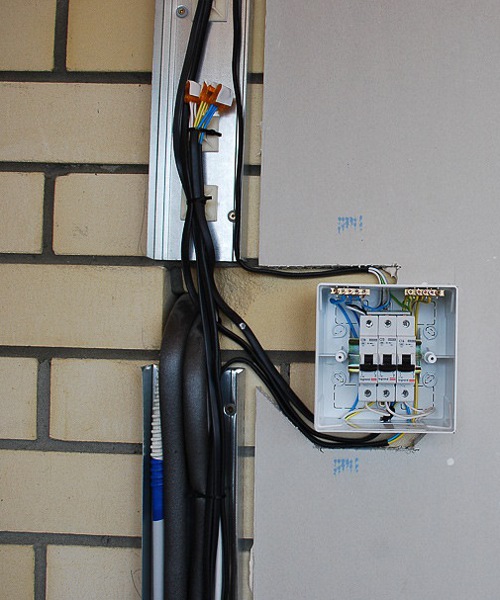
- The next part of the balcony finishing with your own hands is to sew the ceiling. It is insulated with the same Penoklex. In parallel, we lay all necessary wires for lighting and sockets.
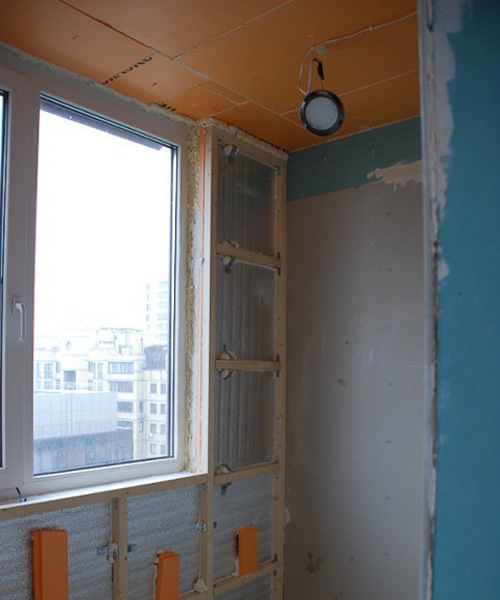
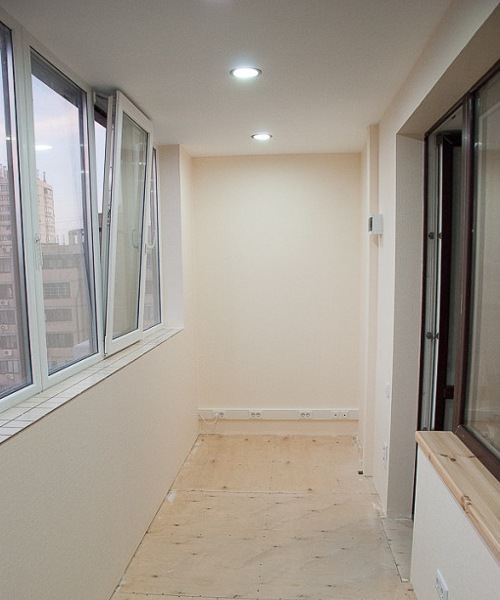
- The insulating part of the finish inside the balcony is finished with its own hands. For the formation of walls we use gypsum board. First, over the insulated foundation, we nail the frame from the profile.
- Next, step by step, we nail the sheets of drywall.
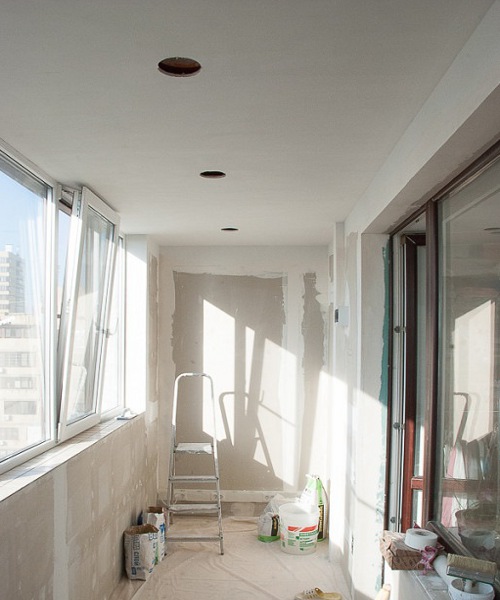
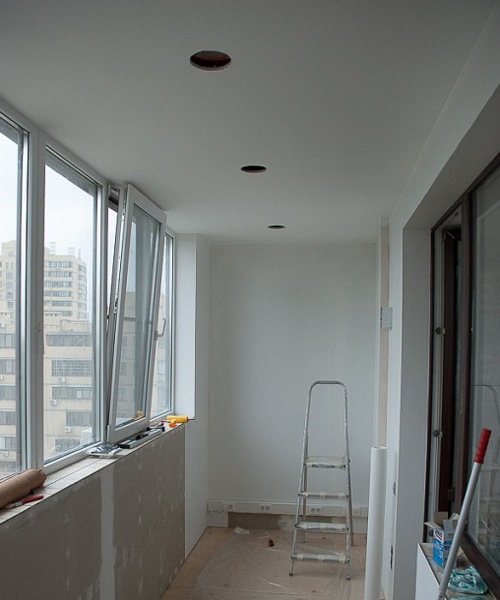
- We also sew the ceiling, cutting out the holes for the recessed fixtures.
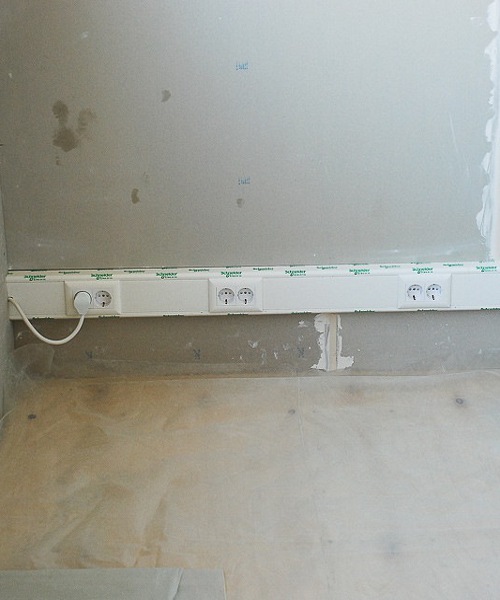
- We install sockets and all the necessary switches.
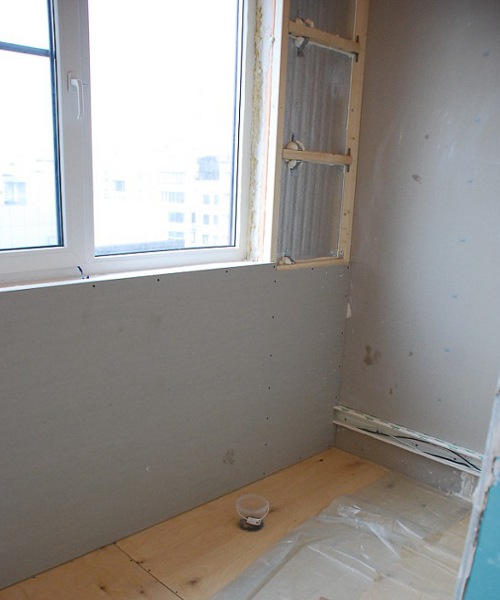
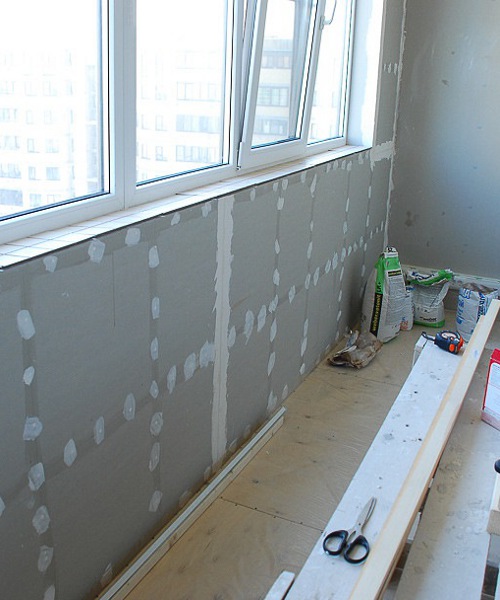
- The preparatory part of the interior finishing of the balcony with your own hands before applying the finishing layer is to coat the walls and apply an even layer of plaster.
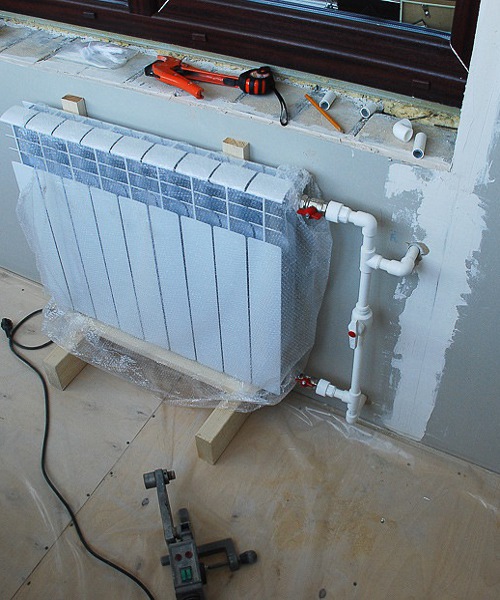
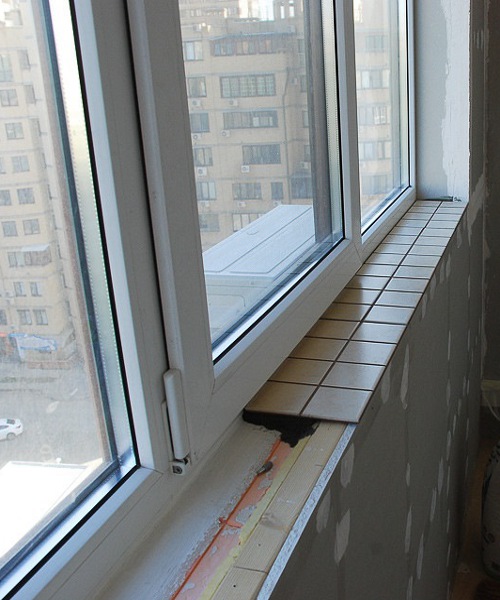
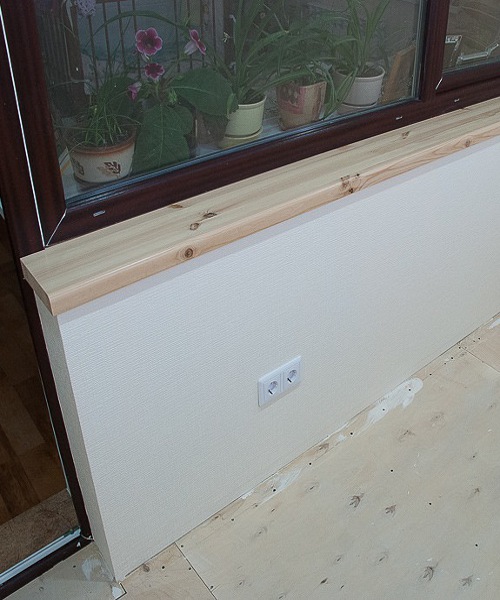
- In parallel, we are laying the tiles for the window sill. Install the battery.
- Now, when the walls are ready to apply the final coating, you can choose from the ideas of finishing the balcony with your own hands suitable. In our case, this will be a wallpaper with a stamping for painting. The ceiling is simply painted, or covered with wallpaper. It is equally convenient to decorate walls with textured plaster, as it can always be refreshed with new paint.
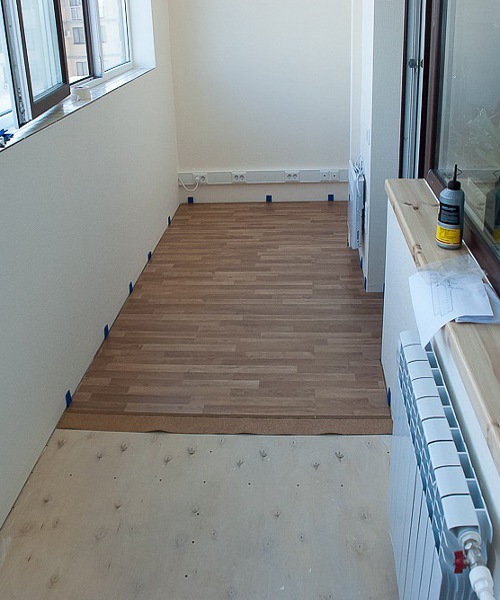
- After working with walls and ceiling, proceed to the floor. On the balcony there will be a small home cabinet, therefore we boldly walk towards the laminate, as the floor is warm enough for us.
- First, the substrate layer, in our version it is a durable and incredibly warm cork substrate. Further on it we lay boards of a laminate, we beat a plinth. Laminate is laid exclusively on your own, the direction can visually either expand or stretch the room.
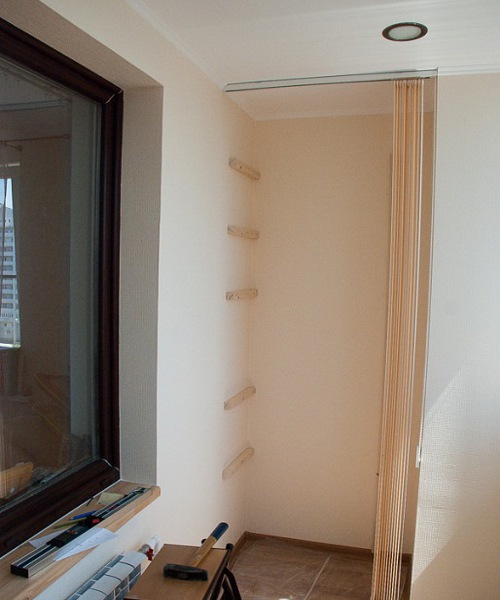
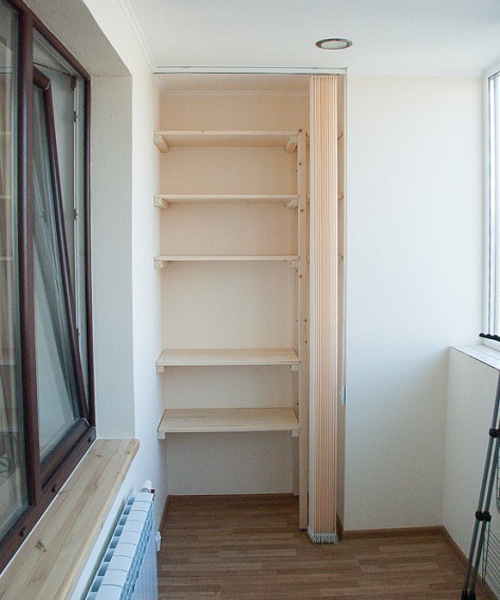
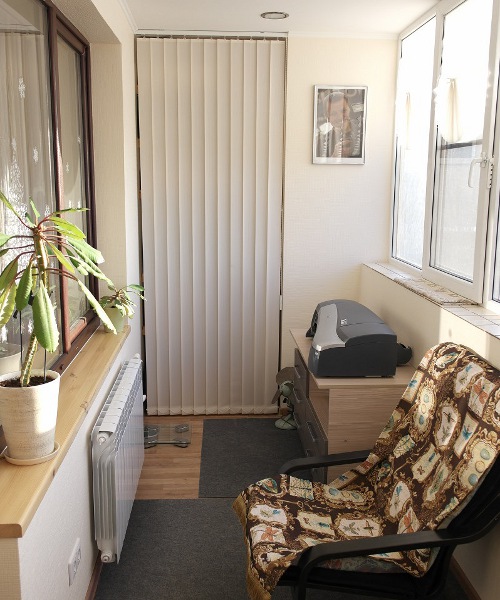
- If there are small niches or cramps, they should be used rationally. Shelves for tools, all sorts of house trivia or even conservation, will fit perfectly in such niches. Currently, they rarely clutter balconies with unnecessary closets with doors, replacing them with simply vertical blinds or sliding systems.
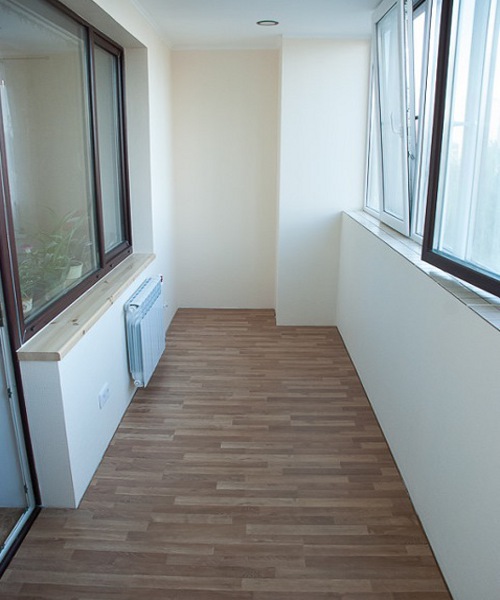
- The main front of the work is already behind us. Now we turn to the arrangement of the working area. As a rule, it is a laconic simple furniture in the tone of the decoration of the balcony itself. We hang curtains or Roman curtains on the windows.
- At this work on finishing the balcony with his own hands is over. As you can see, it is enough to have a basic set of tools and time for work. All the rest you can easily find in the building store.
| | |
| | |
| | | |
| | |
| | | |
| | | |
| | |
| | |
| | |
| | |
| | |