It is not difficult to build a tree of the genealogy, but for this it is necessary to have complete information about the members of your family, at least three generations before your birth. About all your ancestors you must know the surname, name and patronymic, as well as the date of birth and the date of death.
In addition, when creating a genealogical tree, you need to decide what kind of family ties will be indicated in it - some schemes contain absolutely all of the immediate relatives of each member of the family, while others, for example, do not include spouses who are not members of your family .
Of course, the more generations you paint in your ancestral tree, the more informative and interesting it will be, however, unfortunately, this is not always possible, because modern people do not pay much attention to the history of their ancestors.
Quite often a genealogical tree is asked for schoolchildren in labor or visual arts classes, thereby helping them to at least learn a little about their family.
In this article, we will tell you how to help a child draw a family tree with a simple pencil or felt-tip pen.
How to draw a family tree in stages?
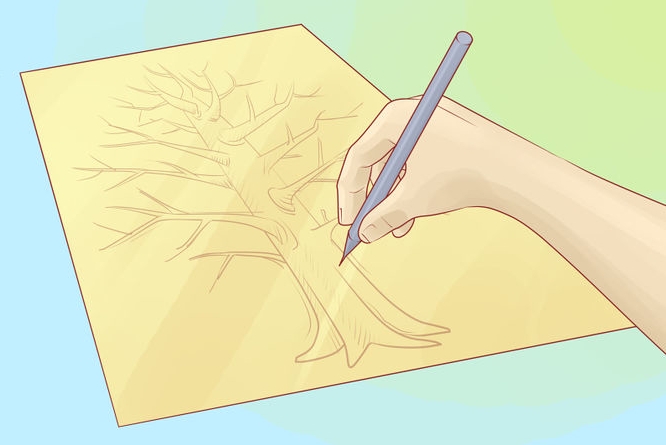
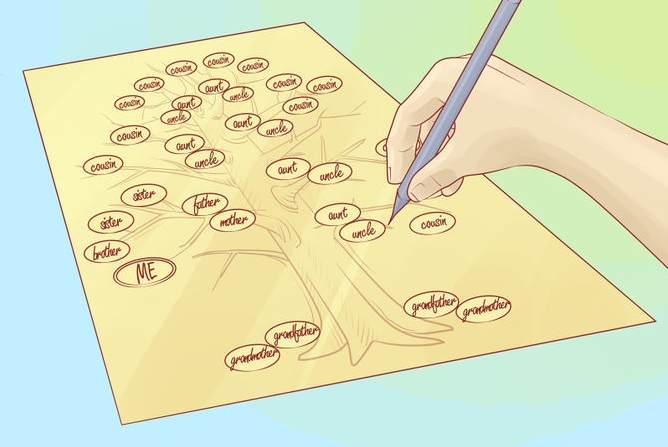
- To begin with, you need to clearly decide how many and which kindred connections will include your tree. Determine how much space the general scheme will take and, depending on it, on a large sheet of paper, draw a tree of the appropriate size. Draw with a simple pencil, because, most likely, you will have to erase the branches several times and change their size and quantity.
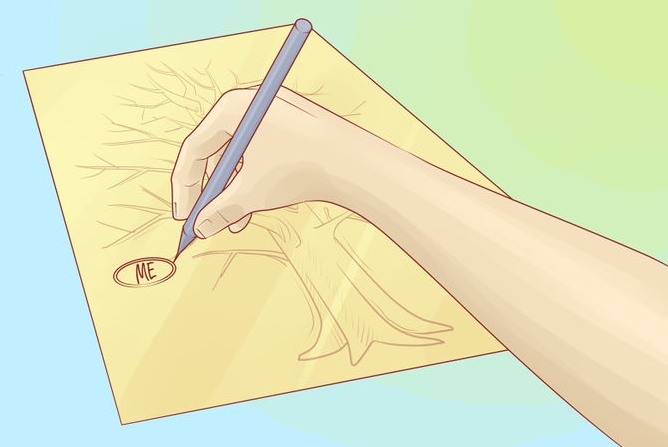
- Label the child's name on the diagram. Our tree will grow in the opposite direction, place the first name so that there is enough space for various family ties.
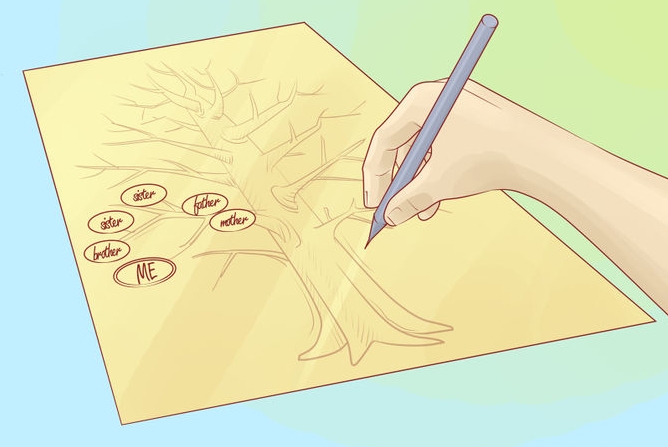
- Add parents. Mom and Dad, place a little higher than the child's name, and sisters and brothers (if any) - at the same level, and so that the branches of the tree connect them with their parents. At this stage, if available, you can add the spouses and children of the older brothers and sisters of the schoolboy.
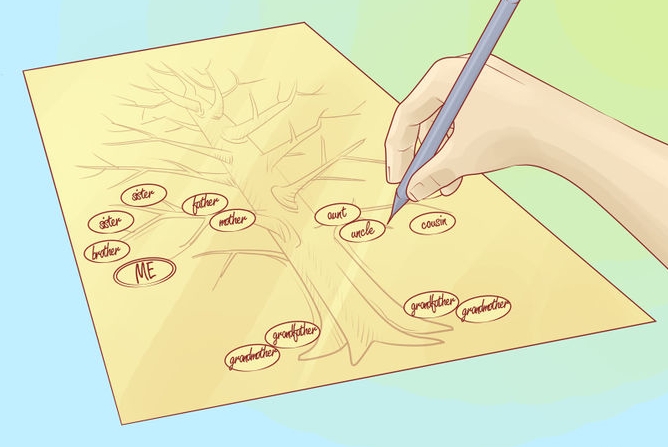
- Further our tree begins to branch out - we add grandmothers, grandfathers, as well as the closest relatives of the father and mother, for example, the aunt and the uncle of the child, as well as their children, that is, cousins and sisters.
- Add as many generations of ancestors as you want, and about whom you have information. If necessary, you can enlarge the picture.
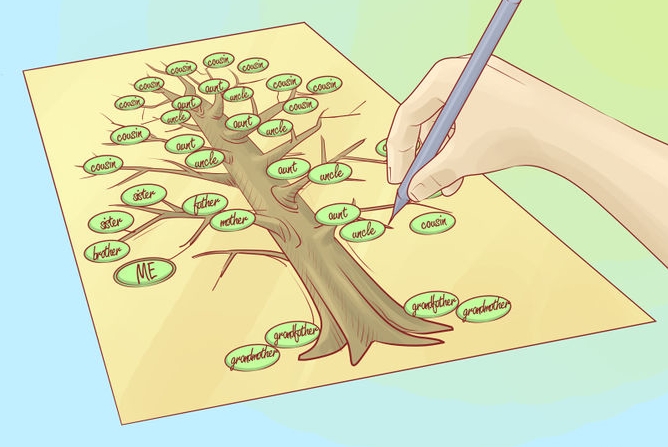
- When you finish placing all the necessary information, erase all the extra lines, and draw around the thick line of the pencil. The tree itself can be painted as desired.
The creation of a family tree assumes a strictly individual approach, and there is no clear scheme how to do it. After all, in each family a different number of relatives, someone knows the history of their kind by many generations before, and others do not know anybody further than their grandmothers, and there is nowhere to draw information from them. In addition, you can draw the tree of life of the family as you like - it is not necessary to depict it as a real tree with branches and leaves.
To create your own scheme, you can use one more example, showing how you can draw a family tree:
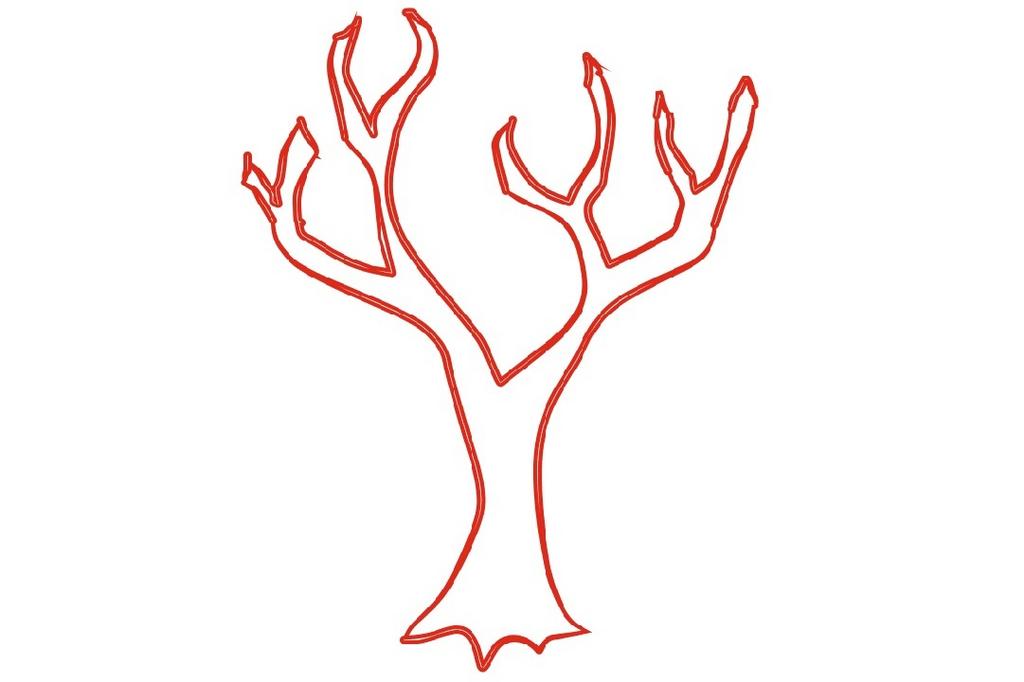
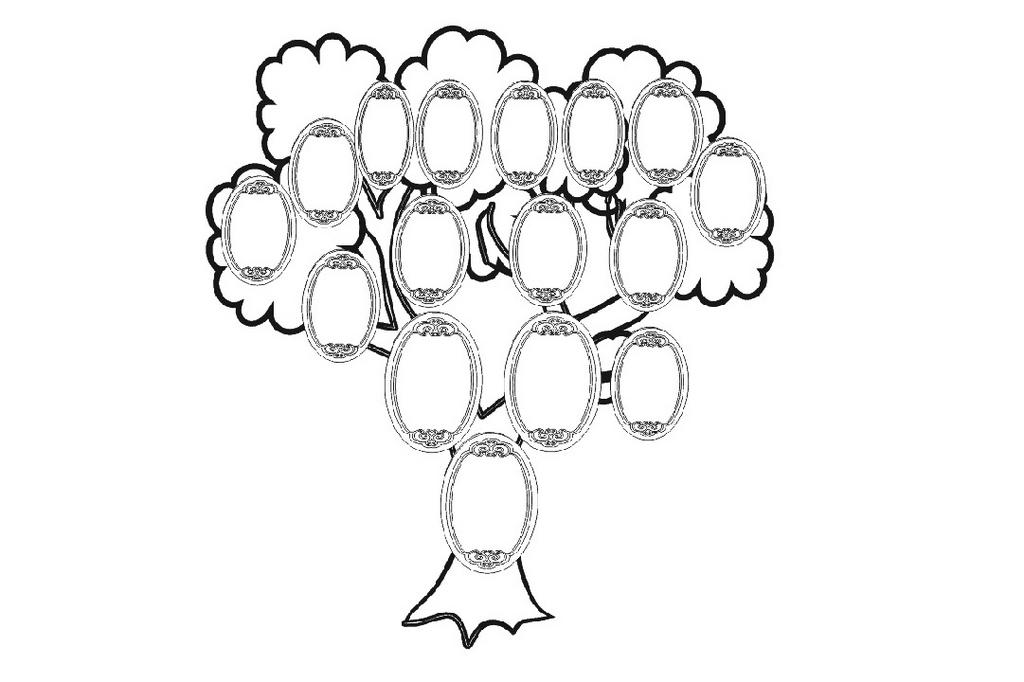
- Draw the trunk of our tree and its branches.
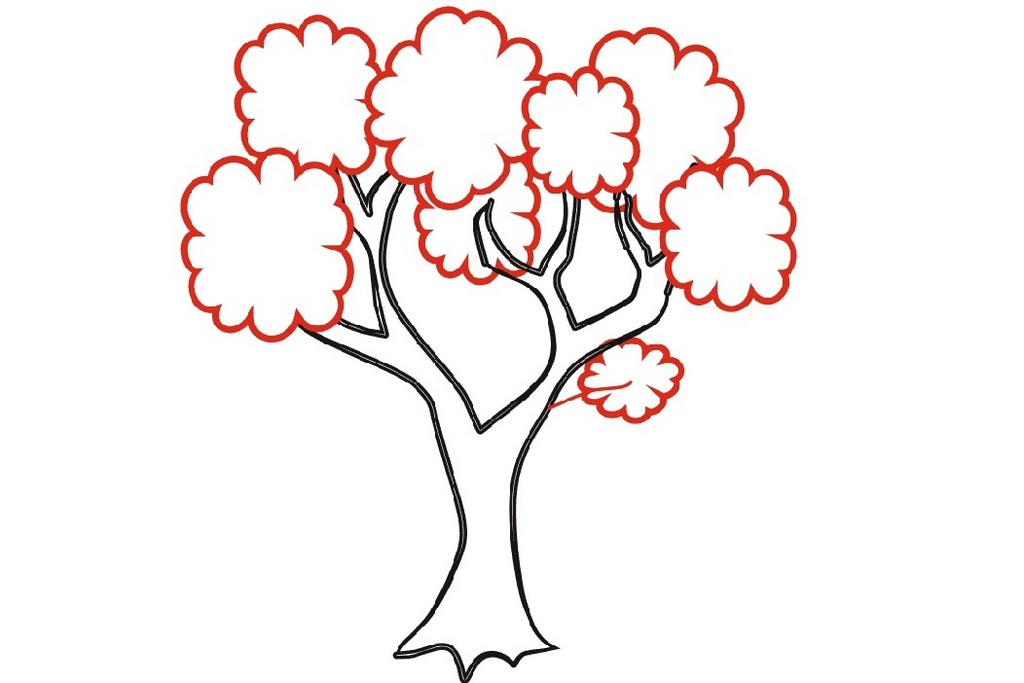
- Next, on the branches, we represent the crown in the form of clouds of foliage.
- Throughout the krona we place the frames, later on they will need to paste in photos of your ancestors and immediate relatives. The number of frames depends on your desire and available information.
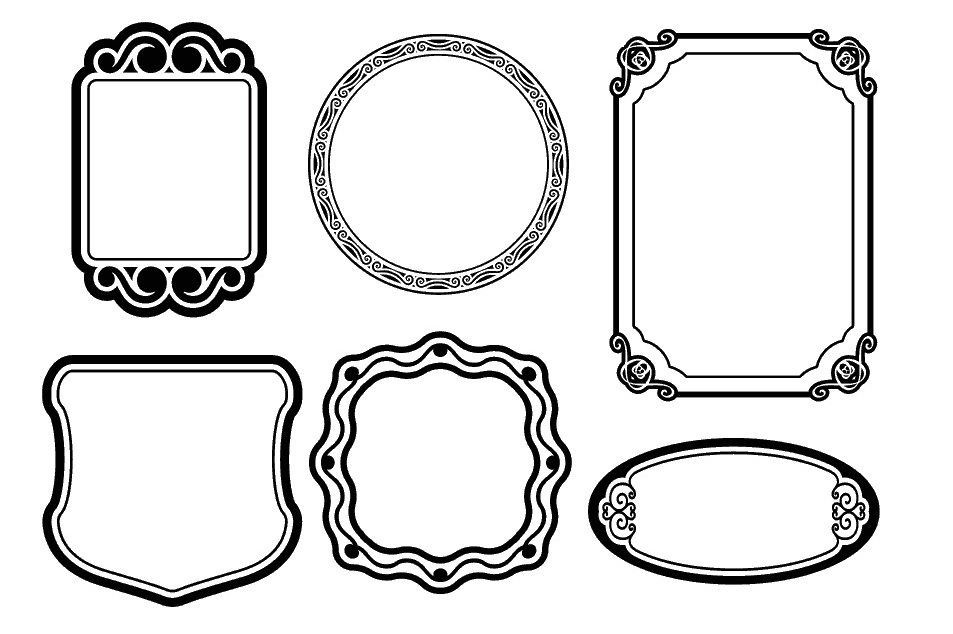
- You can use the samples of the frames listed below, or you can draw them as your imagination tells you. The main thing is that all the frames on the same tree are the same - this will give the drawing accuracy.
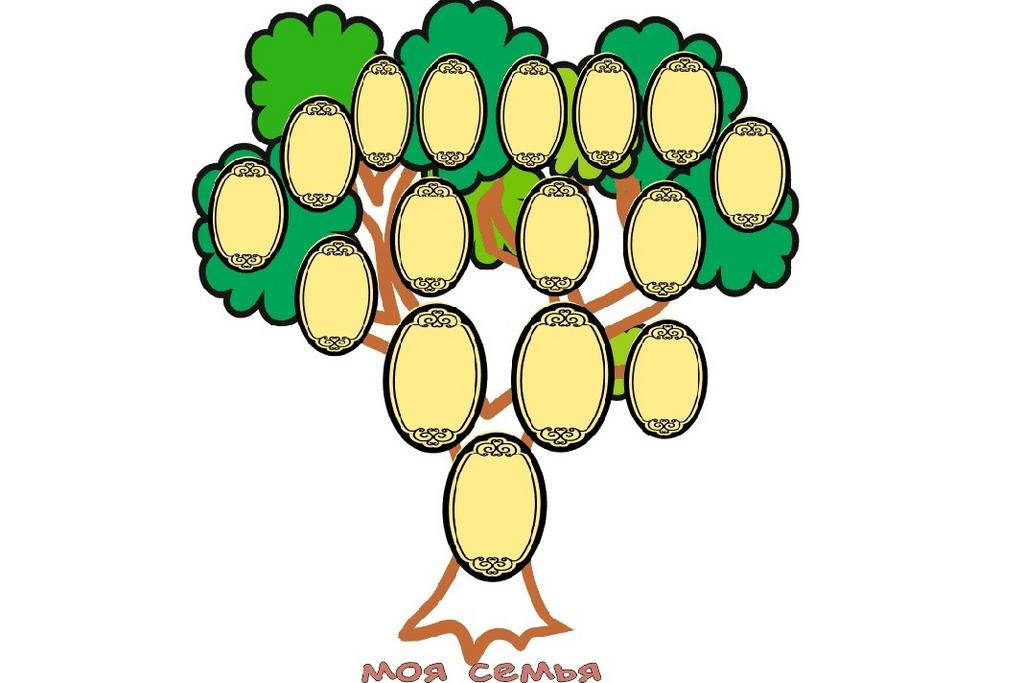
Here is a version of the finished design of the family tree. Do not forget to paste the photos and sign the complete data of each member of the family.