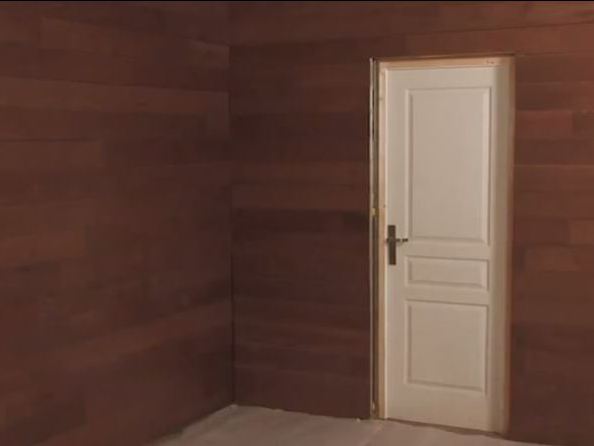
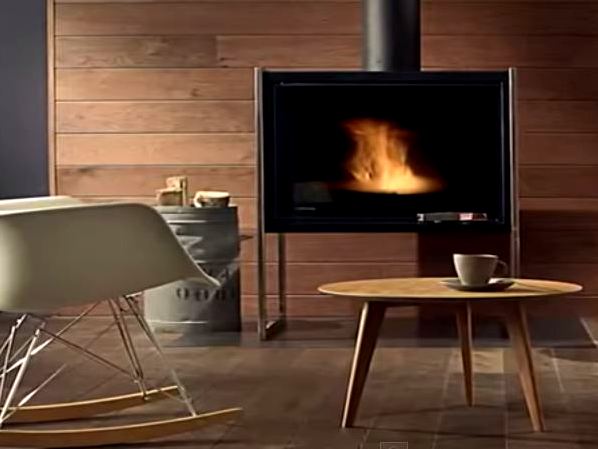
On the question whether it is possible to trim the laminate walls, you can answer in the affirmative. In a dry room it will last long enough and reliably. Variants of how interesting and high-quality design the room, there are different. Sometimes it is used to decorate the lower part of the walls, for example, in the area of the bed, and in other cases, the walls are made with laminate completely.
How to install a laminate on the wall with your own hands?
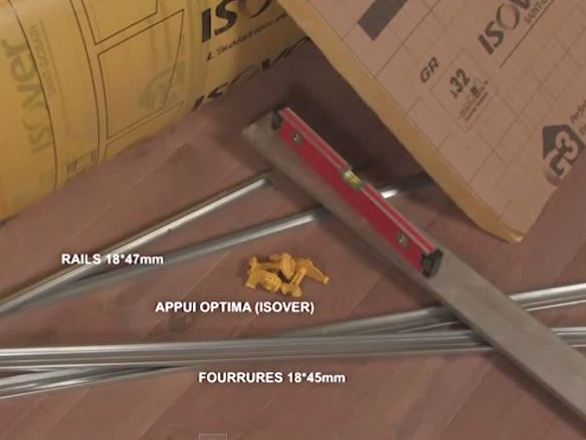
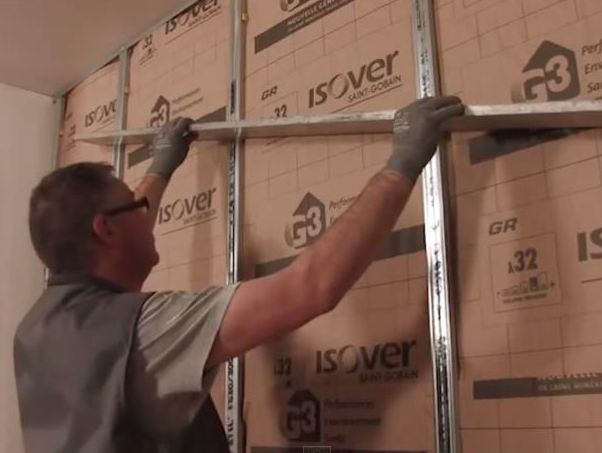
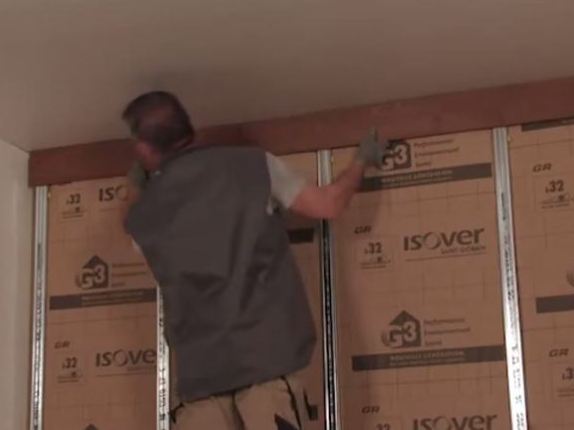
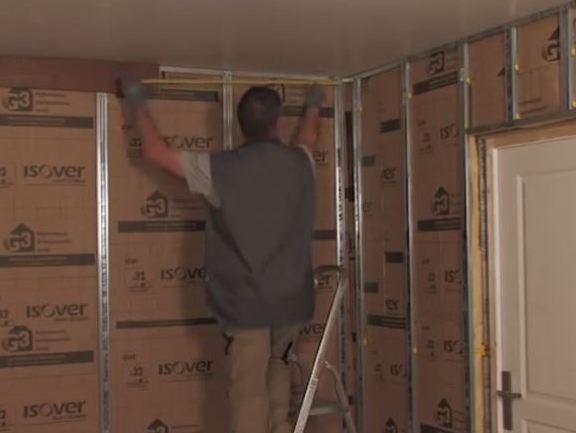
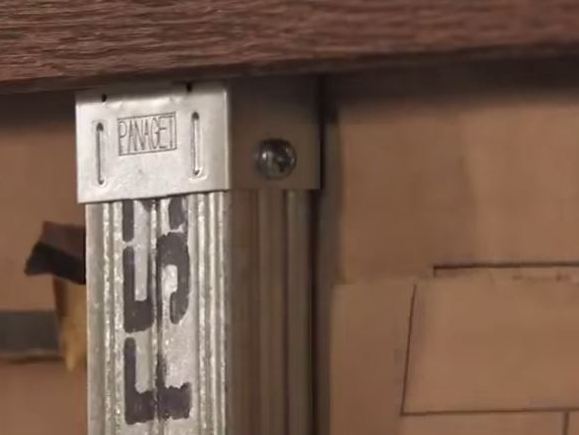
- First of all, we insulated the room and installed a metal crate. To do this, it was necessary to buy profiles, guides, hangers, screws, mineral wool.
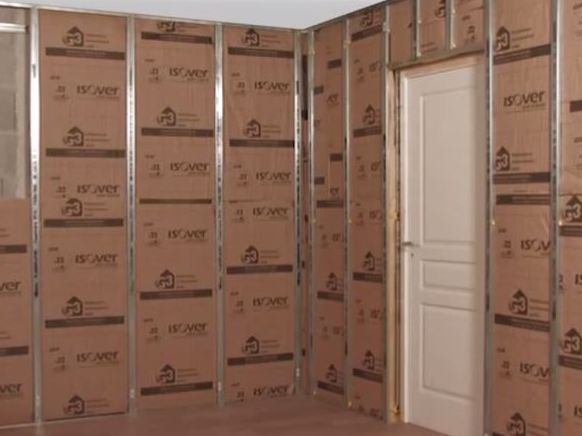
- We collect the frame, trying to perform all the work in a quality and reliable manner. The distance between the vertical posts is 60 cm.
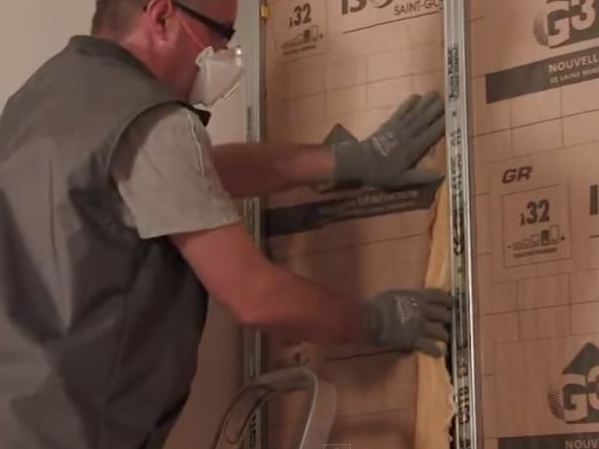
- Gaps between the guides are filled with mineral wool.
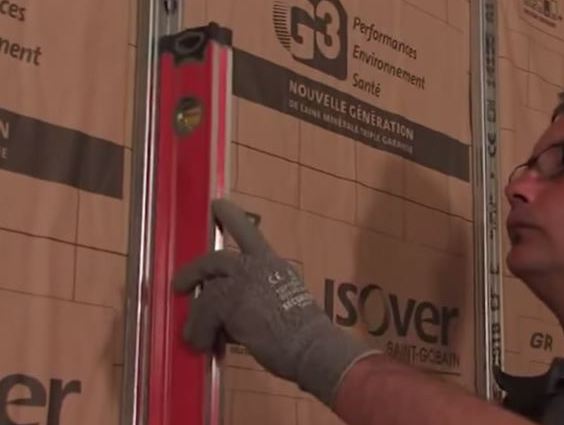
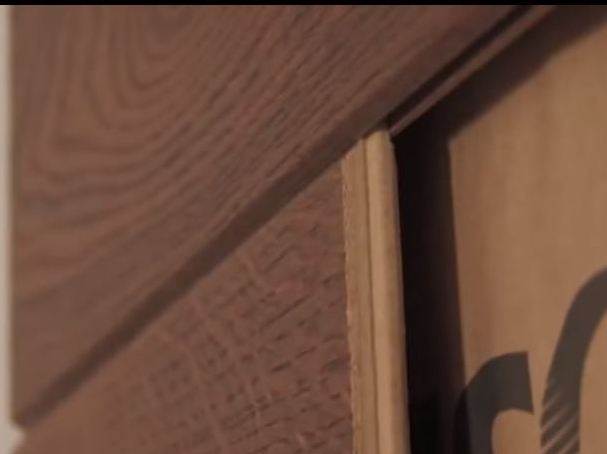
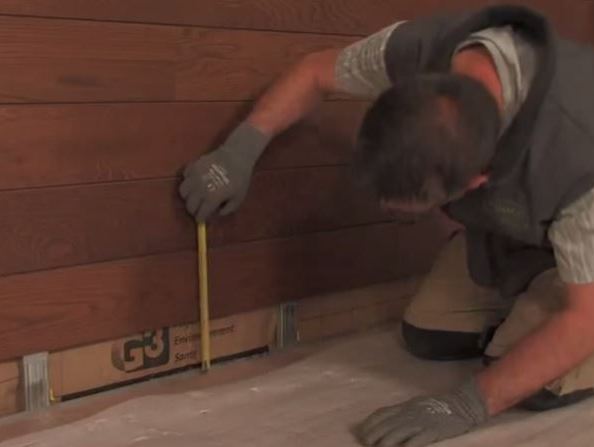
- We check once more with a level that our skeleton was flat and only after that we start to install the strips of the laminate.
- It is advisable to take the most possible long rake or level to check whether there is any deviation in the plane in any direction.
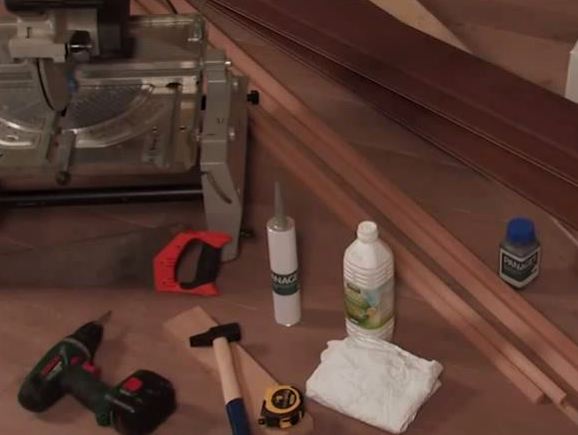
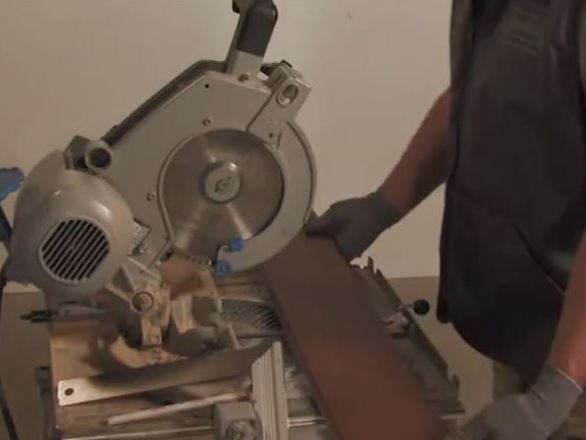
- In the next step we will need a slightly different set of materials and tools:
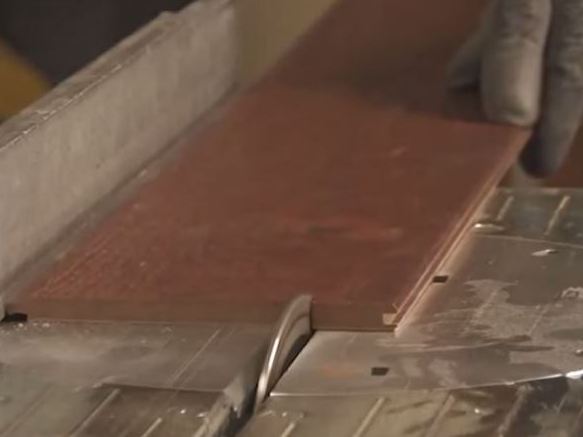
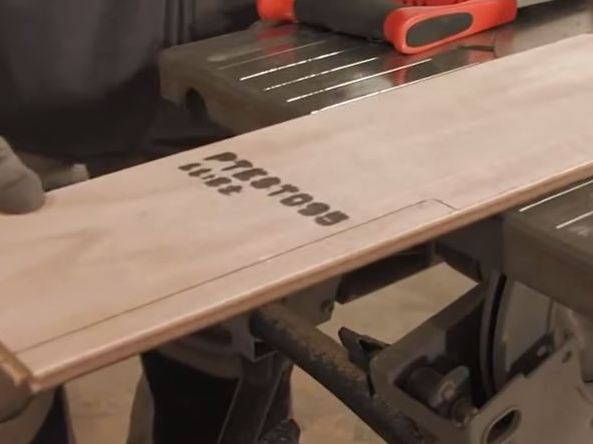
- Circular Saw;
- hacksaw;
- a hammer;
- roulette;
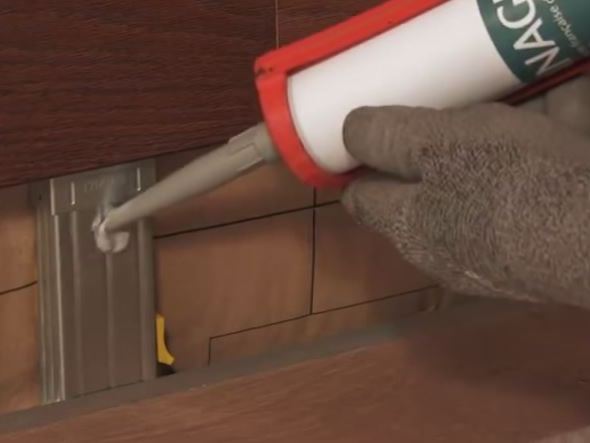
- silicone;
- screwdriver;
- self-tapping screws;
- staples-clayers.
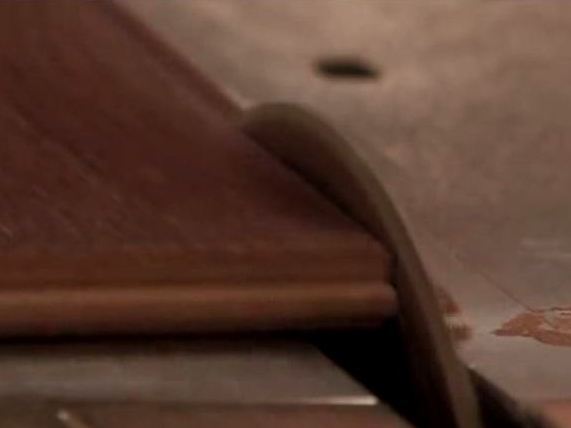
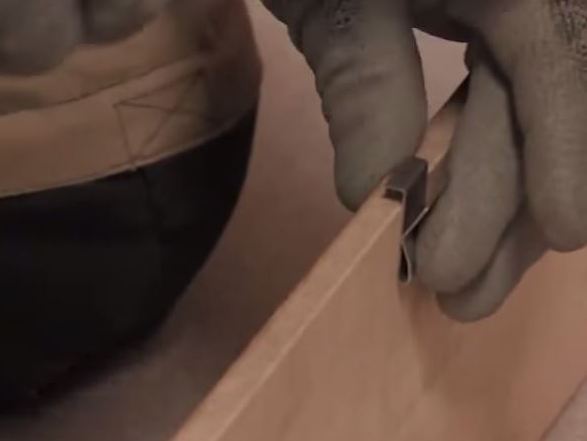
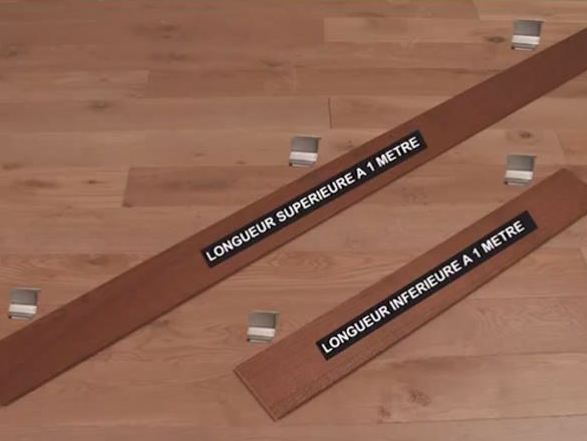
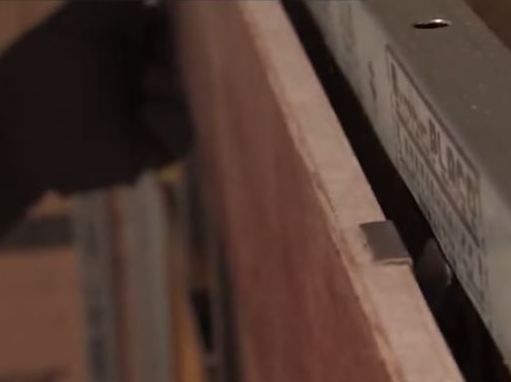
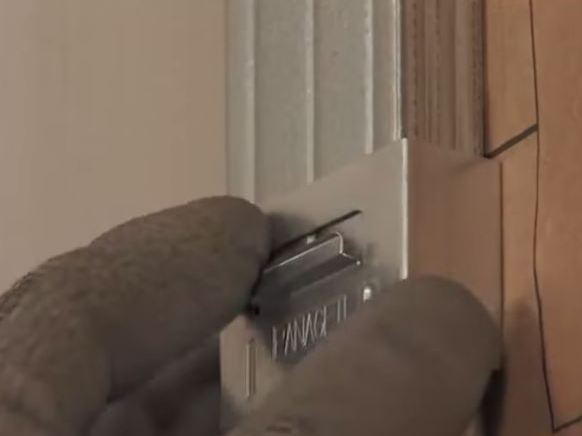
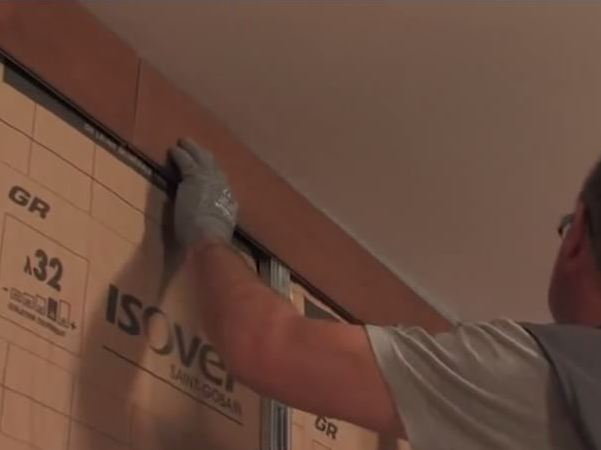
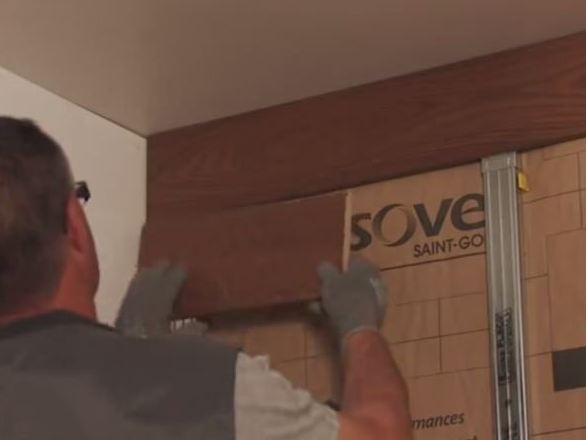
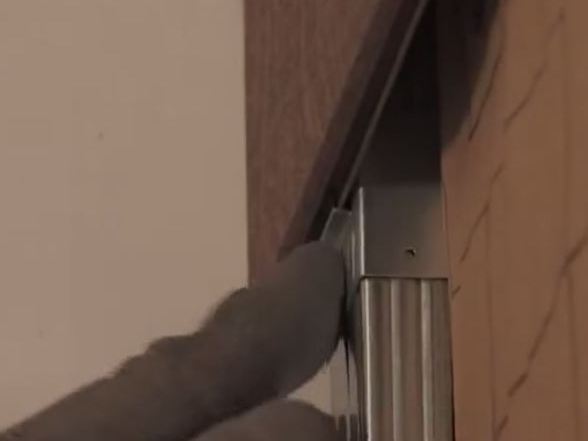
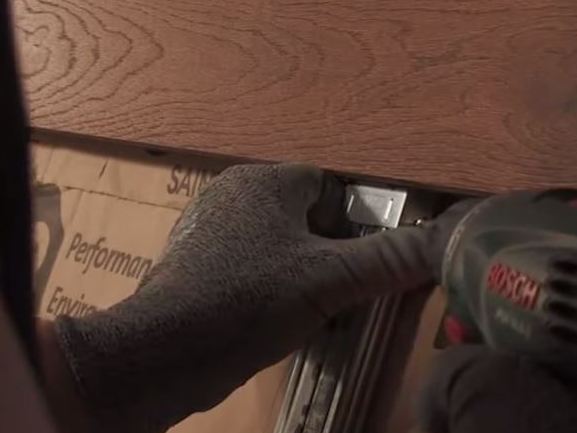
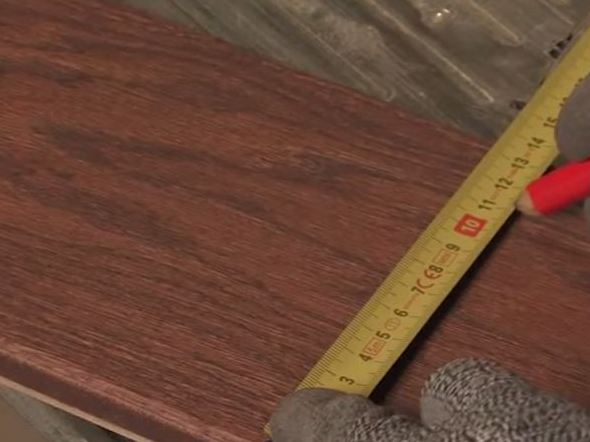
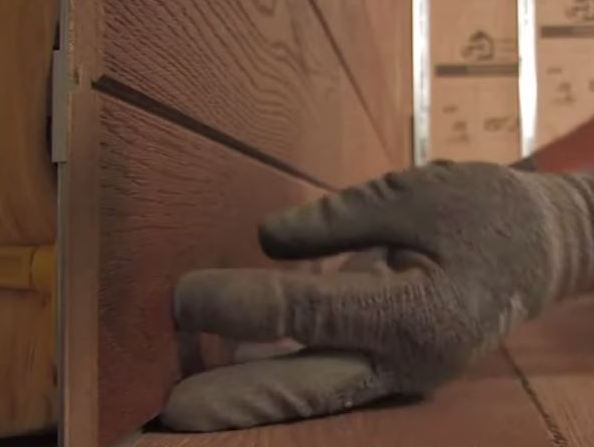
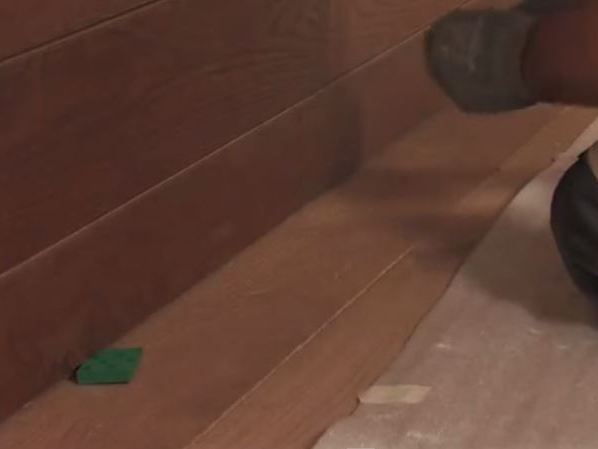
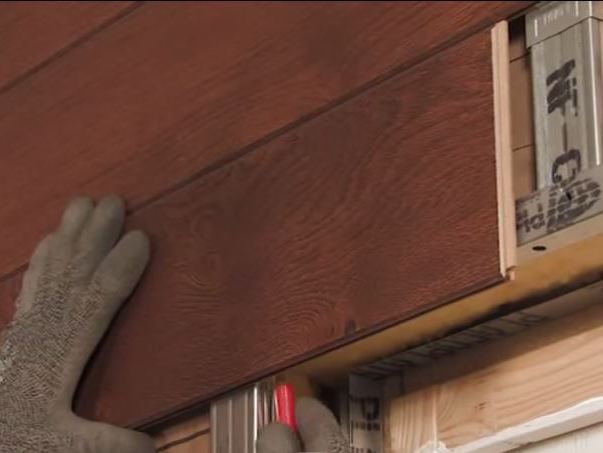
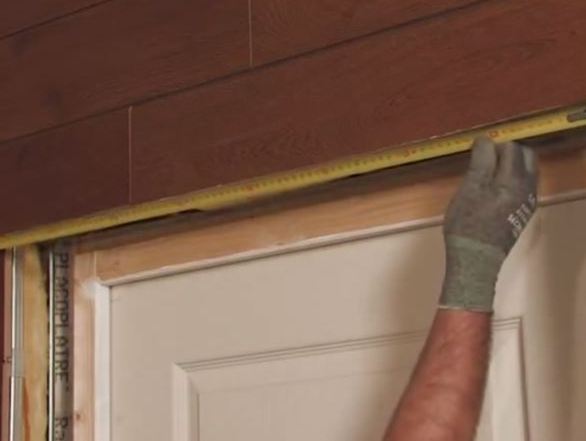
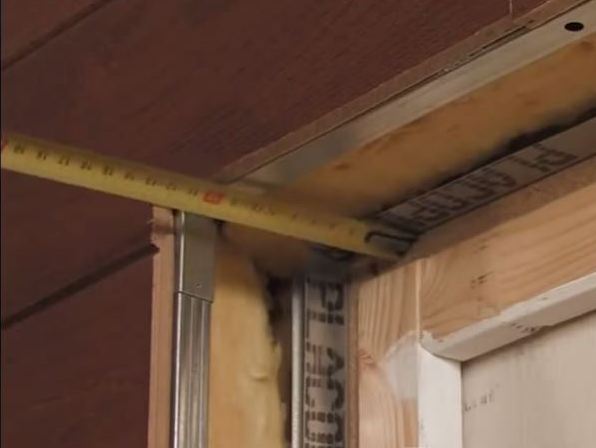
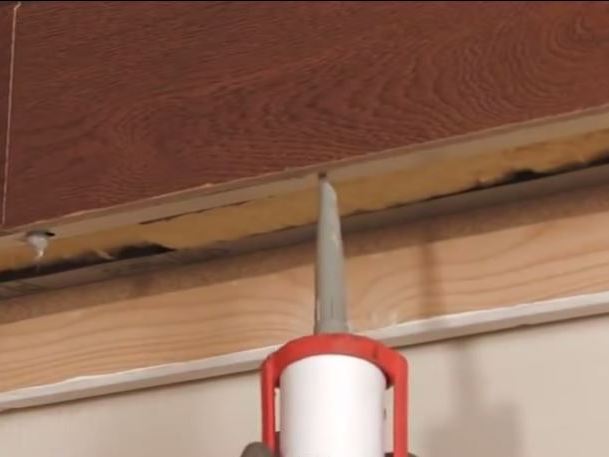
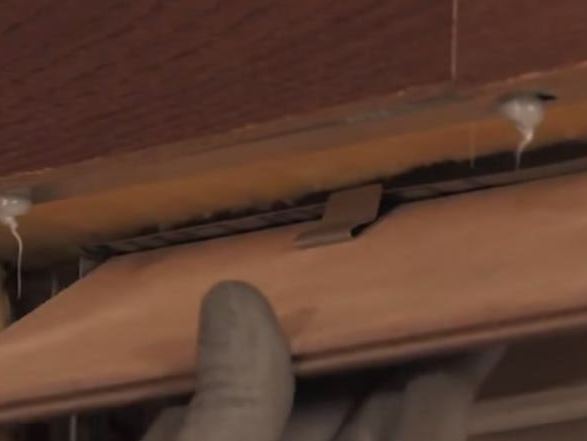
We stick the first strip of laminate on the machine. We nail the brackets to it. The staples should be placed about 1 meter apart. We install the upper strip of the laminate. For fixing from below, special mounting brackets are used, which are attached to each of the vertical guides of the crate. We measure the missing length of the strip, which is not enough to the corner of the room, and cut the desired workpiece with a circular saw. We install the last top panel, trying to densely join it to the adjacent strip, so that no gap is formed, and then fix it with clamps. We begin to type the second row. We set the bottom strip in the lock of the upper panel of the laminate. To support the second row from below, we also use braces. Already knowing how to fix the laminate on the wall, we quickly dial the rest of the laminate. With each row of panels, their weight increases, so it is worth periodically using not only plastic clips for fixing the supporting brackets, but also self-tapping screws. We measure the distance from the last bottom panel to the floor, it may not coincide with the width of the strip. We mark out the panel and dissolve it, cutting off the desired workpiece. We put on vertical racks glue for a laminate, and accurately we put the panel on a wall in grooves. To ensure that the strip does not move, we temporarily fix it with substrates. Above the windows and doors the panels also have to be trimmed by making a pencil from the back side of the markup. In those places where it is impossible to use staples, degrease the metal and apply glue for the laminate. Finish to finish other walls. We measure the distance above the doors and on each side of them, and cut off the necessary strips. Using glue and staples, install the remaining panels at the door. It remains to install skirting boards and decorative corners, after which the work can be considered finished. Laminate on the wall looks great, and the design of this room you just like.