On the eve of the New Year all of us are waiting for a lot of pleasant worries connected with gifts to our relatives. And the postcards are not the last place, in the list necessary for the holiday. We offer to try to make New Year cards in the technique of scrapbooking. By the way, we say that there is a special direction in scrapbooking, which is called card-making, which just means manufacturing postcards.
Scrapbooking postcards "Happy New Year"
We picked up for you several master classes with ideas for New Year's scrapbooking postcards.
Idea # 1
Let's start with the simplest.
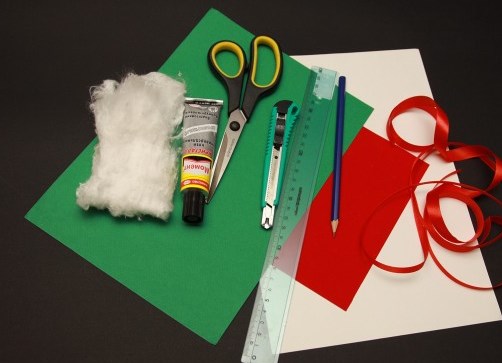
Required:
- cardboard of three colors, in our case red, green and white;
- stationery: pencil, ruler, stationery knife;
- glue "Moment";
- satin red ribbon;
- white string;
- cotton wool.
Let's get to work:
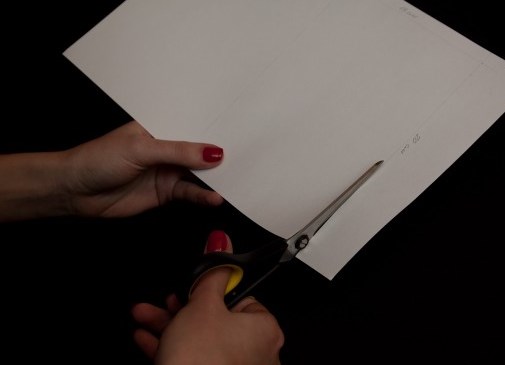
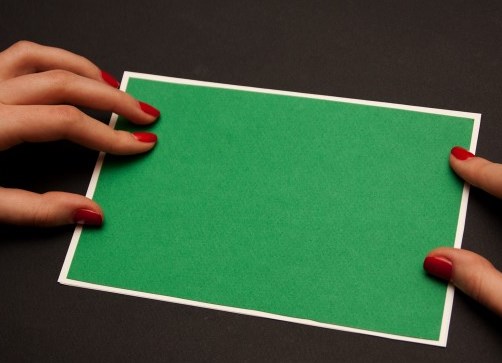
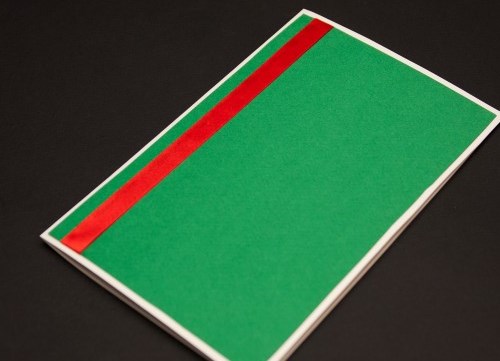
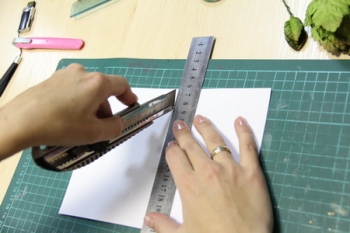
- On the white cardboard, which we take as a basis, we make the layout of the postcard. Cut out the card itself, cutting off the excess.
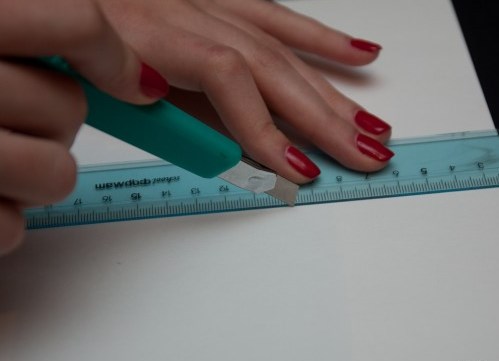
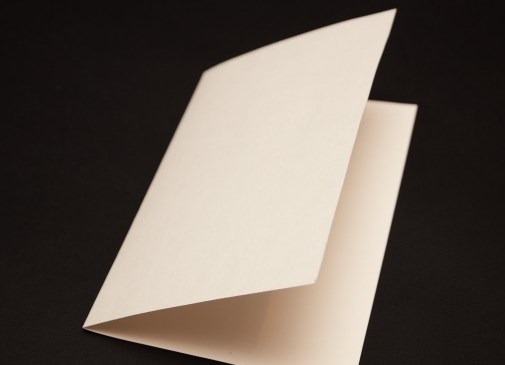
- Crack the cardboard. To do this, we apply the ruler to the place where you want the postcard to take shape and, gently pushing, draw the line with a stationery knife. We close the card.
- From the green cardboard we cut out the substrate on the front side. The form is left the same as the postcard, but only the sizes are smaller: minus 1 cm.
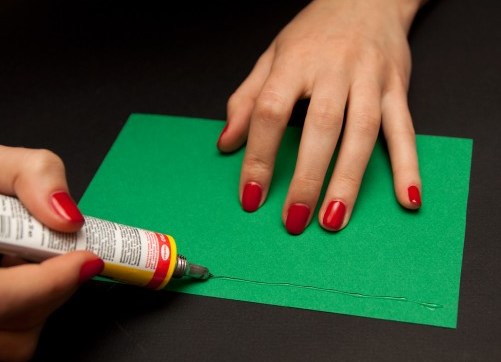
- On the long side of the green cardboard we measure the tape, adding a little to the hem.
- We draw a line and apply glue on it to glue the ribbon.
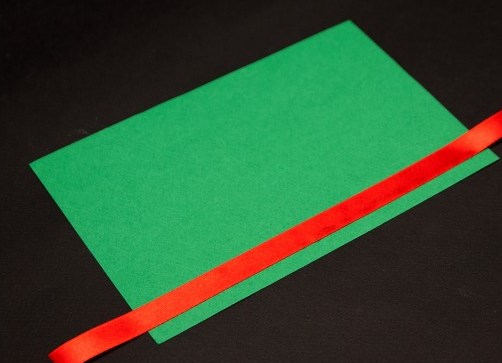
- Gently, leveling and straightening, we glue the tape, bending the edges inwards.
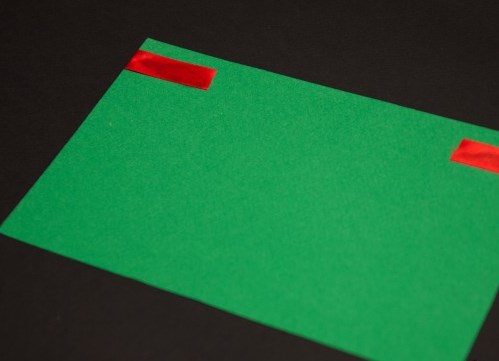
- Now glue the green workpiece with the tape on the base.
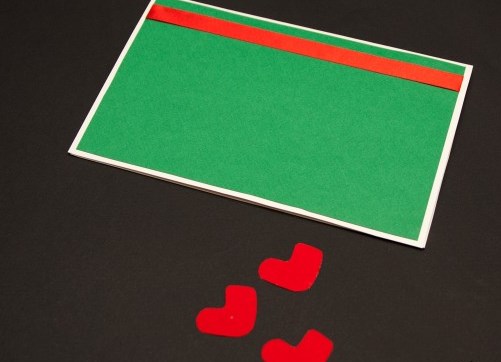
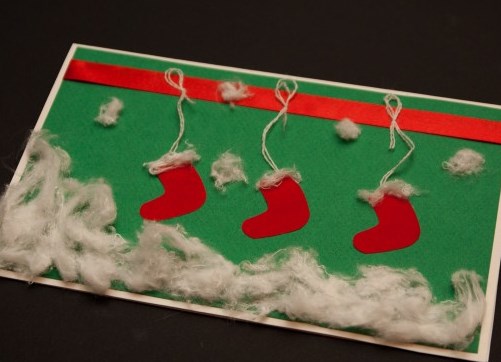
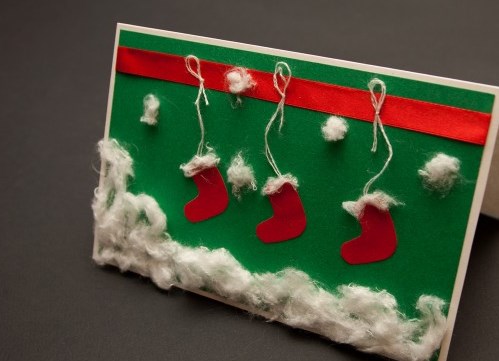
- We include all our artistic talents and cut out three valenochka from red cardboard.
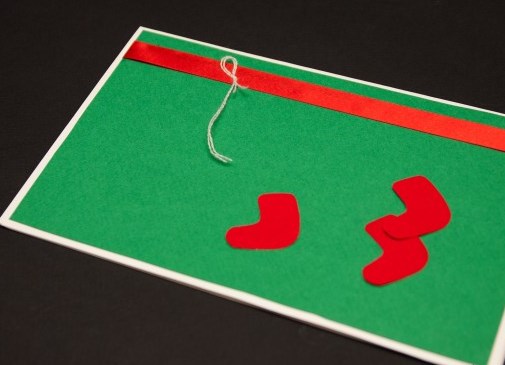
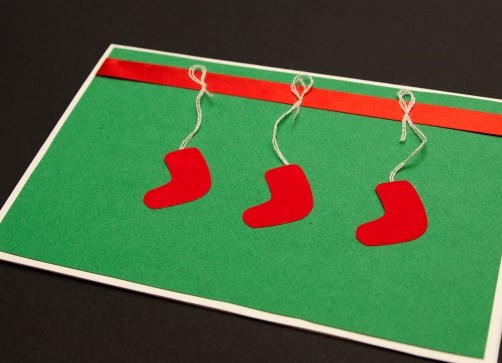
- We tie a string with a beautiful bow and paste it on the red ribbon.
- Create an imitation of a tied valenka, placing it on a postcard and covering the end of the thread with it. We do so with all the felt boots.
- We paste the bottom part of the postcard with cotton wool, creating drifts. Everything, the first card is ready.
| | |
| | |
| | |
Idea # 2
Required:
- the basis of the card - watercolor paper;
- scrap paper;
- glue "Moment";
- stationery knife;
- long metal ruler;
- decor: sequins, crystals, ribbons, etc.
Let's get to work:
- From the base paper, we cut the rectangle and, already described by the method, fold it in half with a knife and ruler.
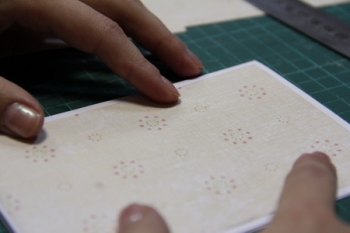
- We take a favorite not very bright paper and make a substrate from it: a rectangle is 1 cm smaller than a postcard.
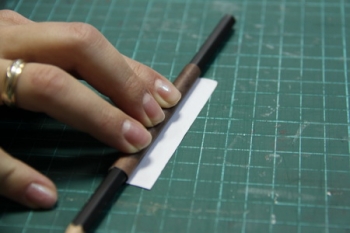
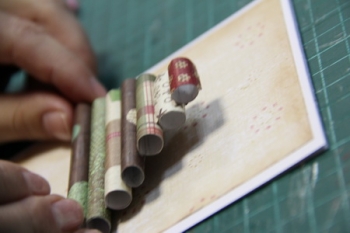
- We select the decor of paper of different colors and kinds and cut out strips from it. Each next strip should be smaller in length than the previous one.
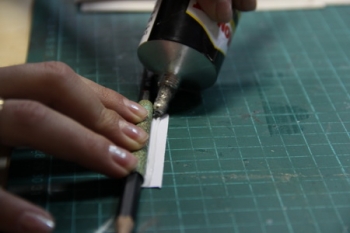
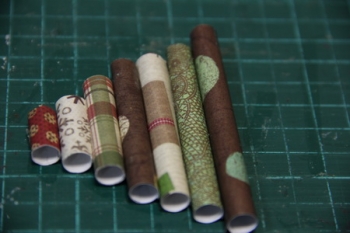
- With the help of an ordinary pencil we roll out of the cut out pieces of a tube. We fix everything with glue.
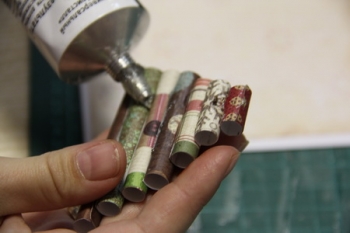
- After we have finished the last straw, we add the Christmas tree.
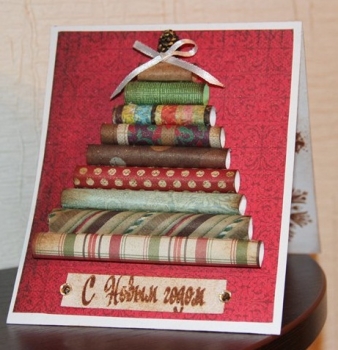
- Remained the smallest thing - to collect a card together. To do this, simply glue each layer. On the substrate we lay the substrate. On the substrate we define the herringbone. In some cases, it may very well be that you do not need glue but a double-sided adhesive tape, take this tip for a note.
- Now, when the postcard is collected, it remains only to decorate it. We use everything that is at hand: tapes, rhinestones, ornaments. Instead of the usual star at the top, you can take a bump of alders or cut a beautiful volumetric snowflake. This decoration is best attached to foamed tape.
- The inscription can be printed on a printer, cut from a newspaper, magazine or an old postcard. Some needlewomen use special strains that are freely sold in specialized stores for scrapbooking.
| | |
| | |
So quickly and easily you can please both yourself and your loved ones with original gifts. Also you can make nice New Year's souvenirs with your own hands.