Applikatsiya has more than one decade is a leader in the list of the most popular entertainment for family leisure. The reasons for this are easy to understand - in the process of creating an application, the kids not only get the opportunity to communicate with parents and learn from them the accuracy, consistency and perseverance, but also learn the world, develop imagination and creative thinking.
In this article we will tell you how to make a willow twig with your own hands, which can become one of the applications for Easter or a spring craft for a kindergarten using colored paper, glue and some other materials.
Willow's branch: applique
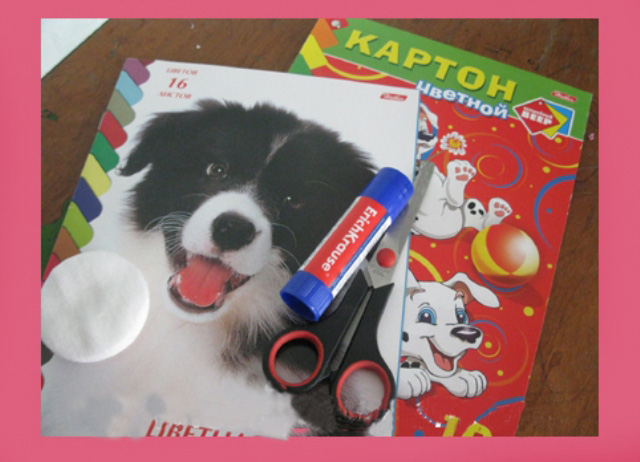
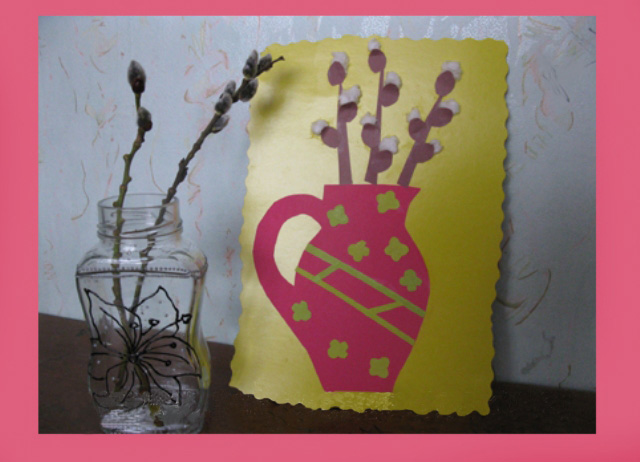
The first version of the craft of pussy willow branches is a bouquet of twigs standing in a vase. To create it we will need:
- colored cardboard;
- colored paper;
- scissors;
- pencil or pen;
- cotton wool (or cotton wool);
- glue (better glue-pencil).
Progress:
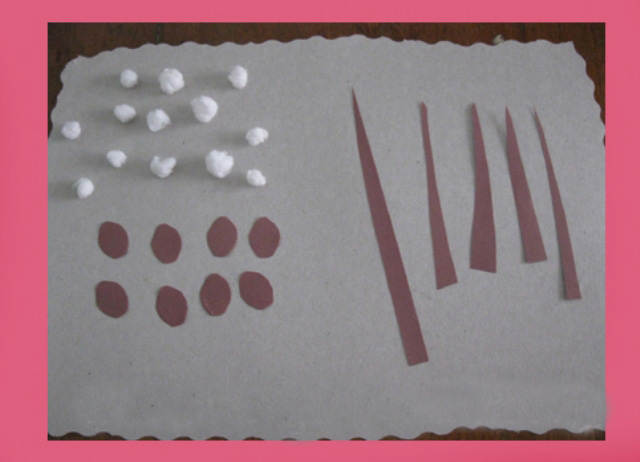
- Prepare the elements of the application - a colored cardboard base (if desired, the background sheet of cardboard can be decorated, figuratively cutting out the edges), details of twigs and flower buds of pussy willows.
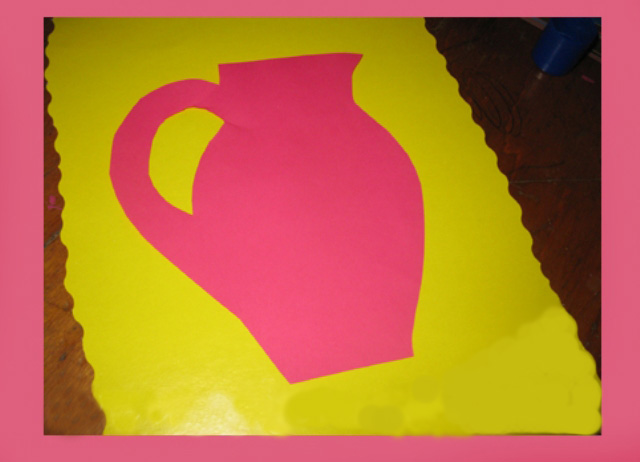
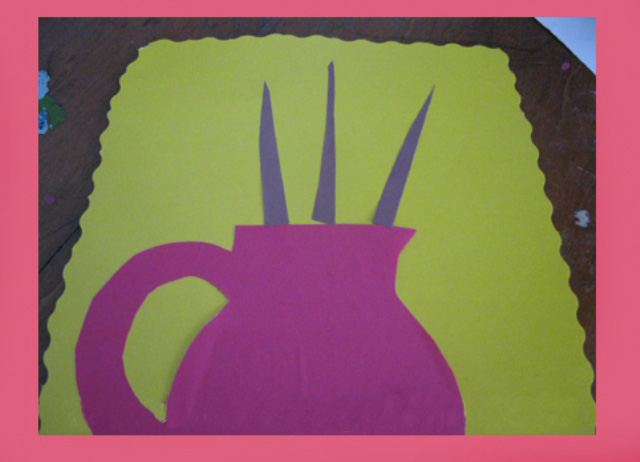
- We cut out a jug for a bouquet from a colored paper and paste it on a cardboard base.
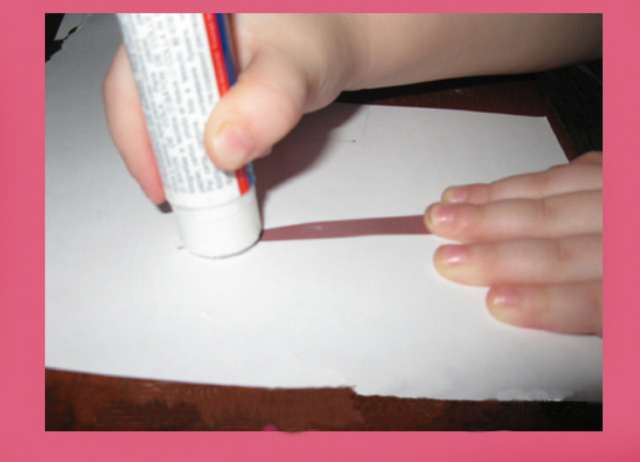
- Lubricate the billets of twigs with glue and glue them to the base, placing them so that the bottom edge of the twigs coincides with the top edge of the jug.
- The staple blanks stuck to the base will look something like this.
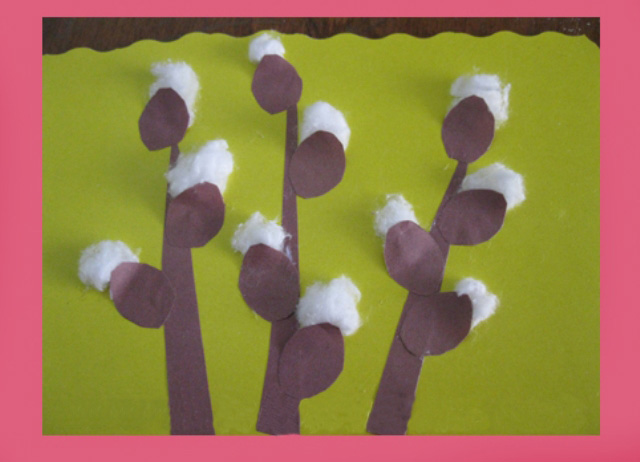
- After this, we begin to create flower buds. To do this, we glue a piece (ball) of wool to the base and close it with a paper oval.
- In the same way do all the other kidneys.
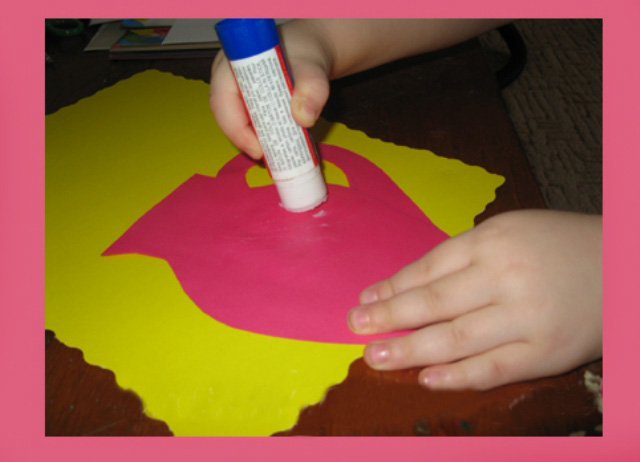
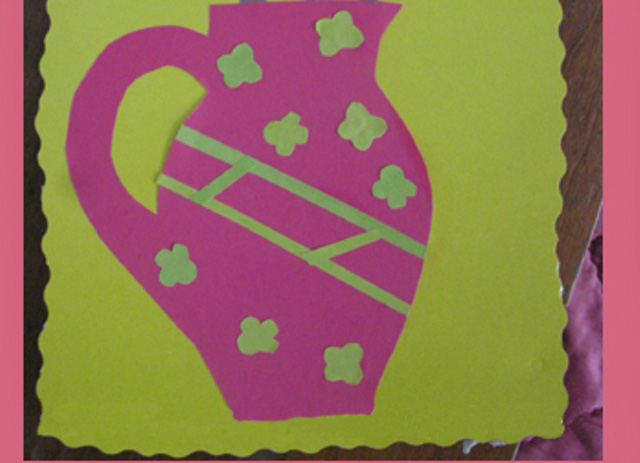
- If desired, the jug can also be decorated. To do this, spread it with glue and glue the paper decor of a similar or contrasting hue.
- After the glue is completely dry, the pussy willow is ready.
| | | |
| | | |
| | | |
Willow branch with your own hands
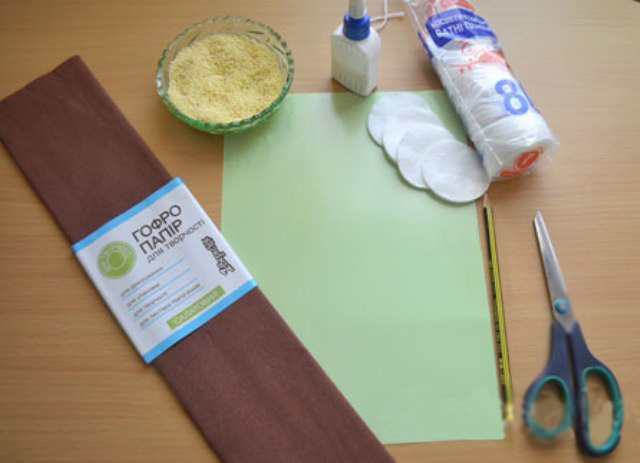
To create a second version of the spring craft, we will need:
- color cardboard (for the base);
- brown corrugated paper (you can take black, if not brown);
- cotton wheels;
- millet;
- glue;
- scissors.
Progress
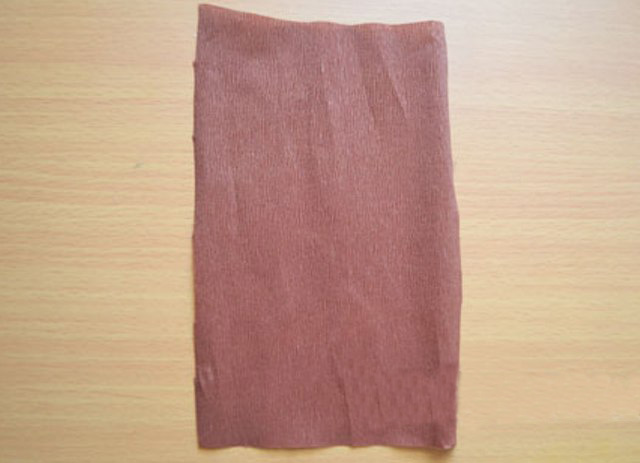
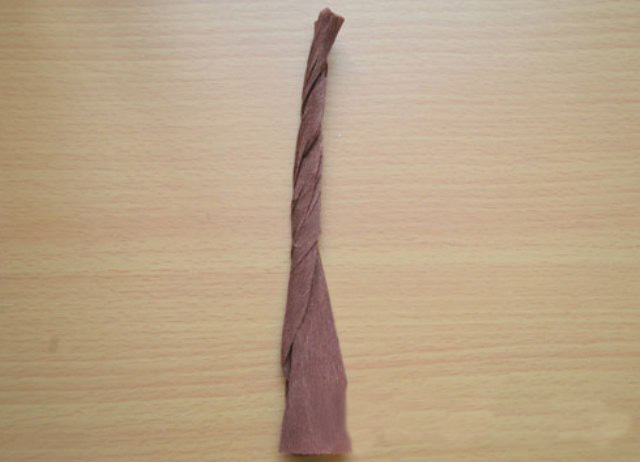
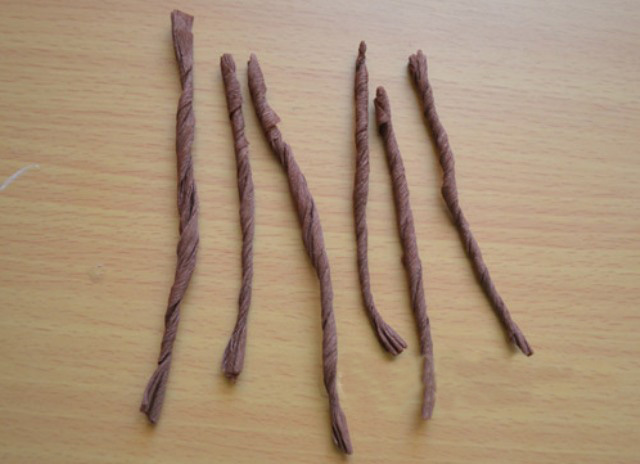
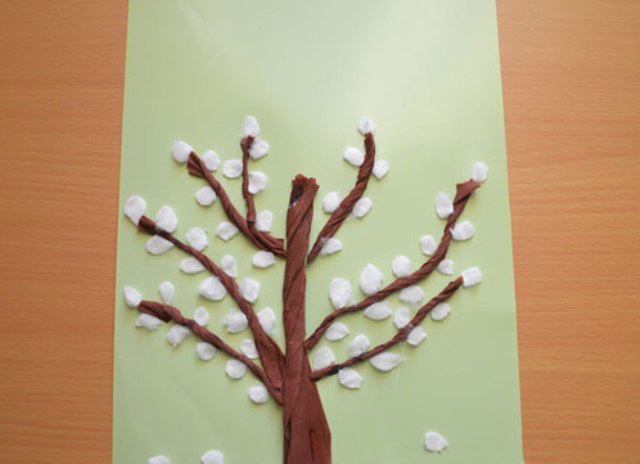
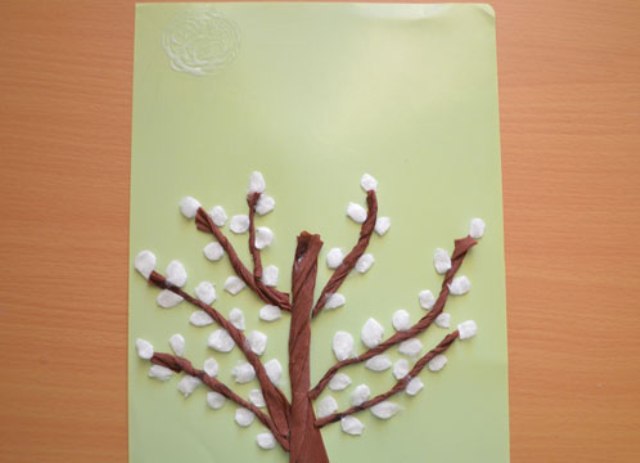
- Cut out the corrugated paper rectangles. Of these, we will make the trunk and branches of our pussy willow.
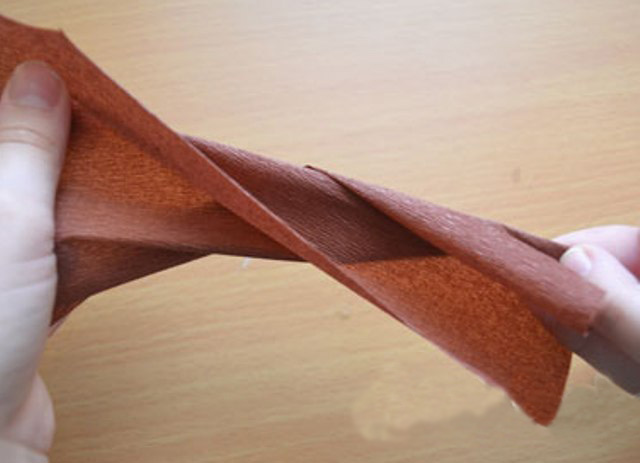
- Hands with the short edges of the rectangle, we tightly tighten the paper. For the barrel will need the largest rectangle, for branches - a little smaller.
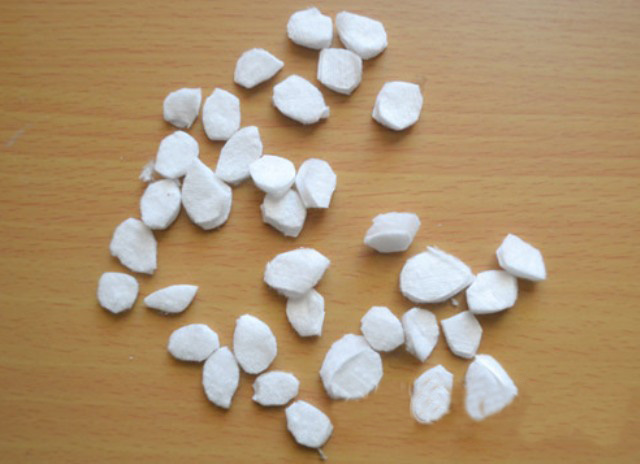
- After all the paper twigs are ready, we cut out small ovals from the cotton buds - from them we will create flower buds of willows.
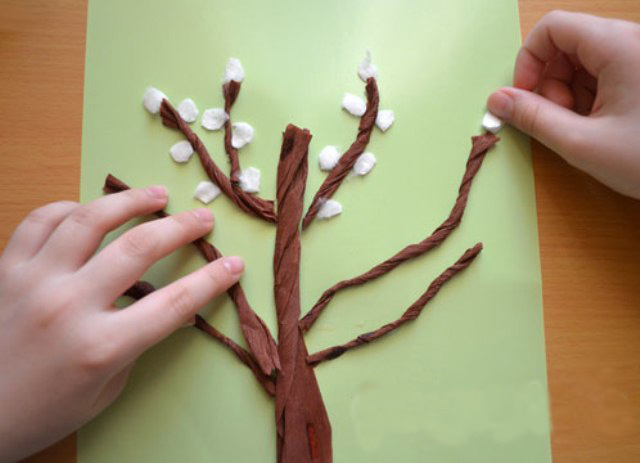
- We glue the trunk and willow branches on the base.
- Accurately drip the glue along the branches and glue there cotton balls.
- Verba is ready.
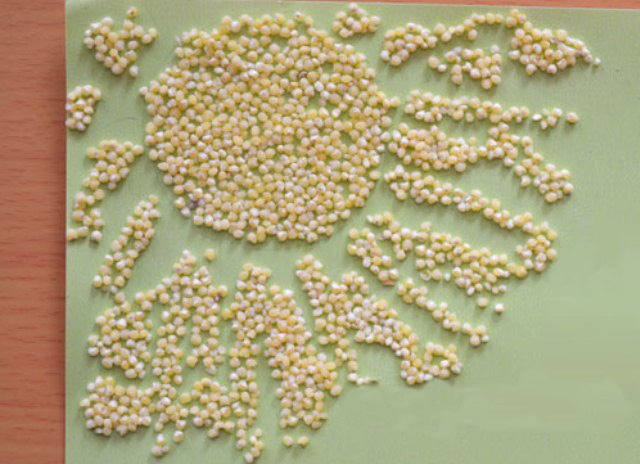
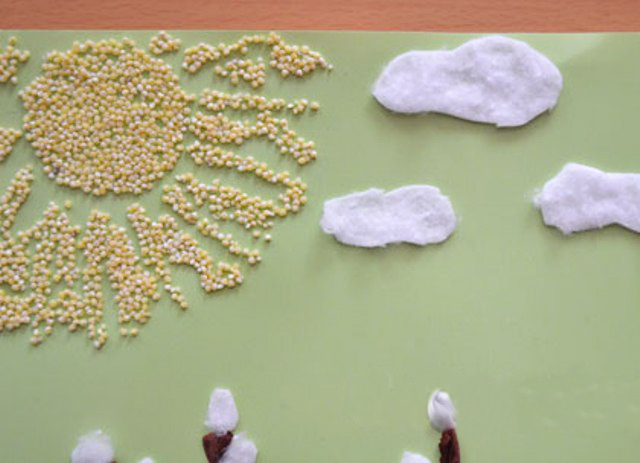
- To make the application more elegant and spring, you can add a few details. For example, the sun and clouds. At the top of the base, draw a circle using a glue.
- Sprinkle the area with the glue.
- if desired, using a brush you can draw glue rays of the sun and also sprinkle them with millet.
- From the wadded disks, we cut out the clouds and carefully glue them on the base.
- Spring willow is ready.
| | | |