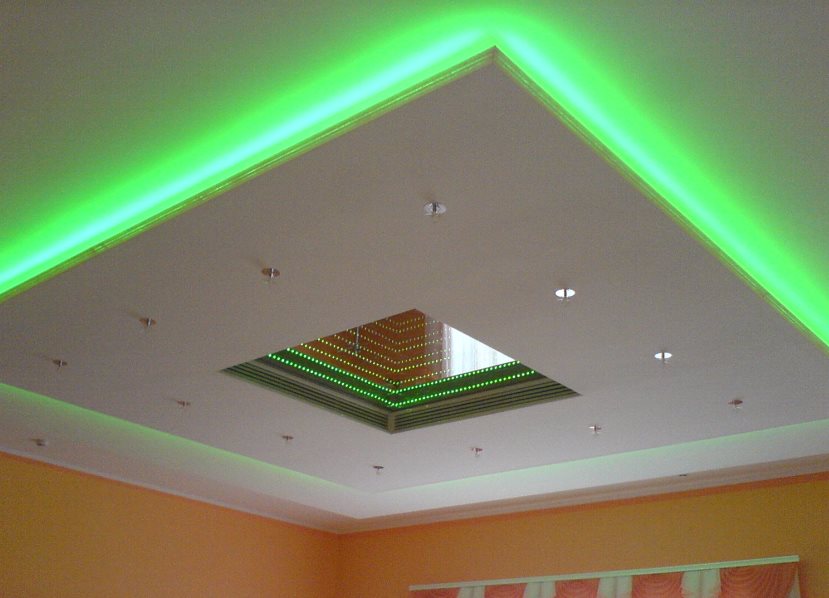
For designers, a gypsum plasterboard ceiling represents a great field for fantasy. The unique design of the plasterboard ceiling with lighting is fascinating and impressive with its unusual design.
Decorating the room with hinged structures with additional lighting is quite possible even for inexperienced repairers. In our master class we will show you how to make your own hands a ceiling made of plasterboard with a backlight to dramatically transform the room and create a more cozy and romantic atmosphere in it. For this we need:
- drywall;
- LED strip (power supply and wires to connect to the mains);
- starting and main metal profile;
- dowels;
- self-tapping screws;
- perforator;
- screwdriver;
- scissors for metal;
- mounting knife.
How to make a ceiling from gypsum cardboard with illumination by own hands?
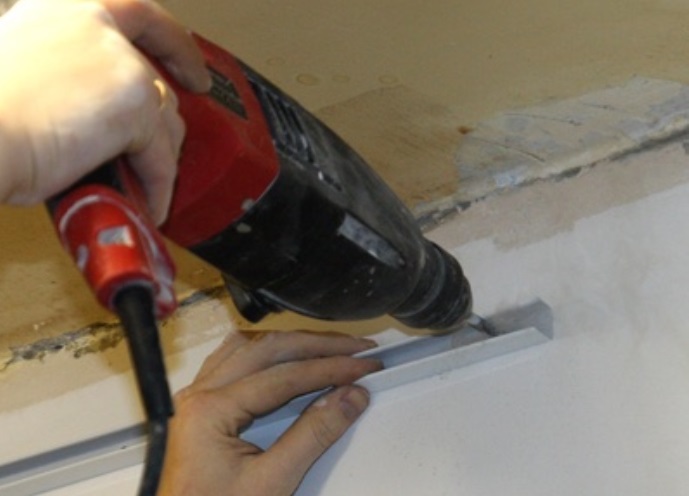
- We make a metal crate for the future gypsum plasterboard cornice. Using self-tapping screws, we mount the starting metal profiles to the ceiling cap on the entire perimeter of the room, having receded from the ceiling of 100 mm.
- At a distance of 150 mm from the wall on the ceiling we attach the inner perimeter of the crate.
- Then, after every 50 cm with self-tapping screws, we attach lengths of 150 mm each to the starting profile obtained.
- We take lengths of panels of 100 mm long and connect them on both sides of the inner profile with the protruding panels of the main profile.
- Further in the received design of the future ceiling from a gypsum cardboard with illumination we lay all wiring for connection of electrodevices.
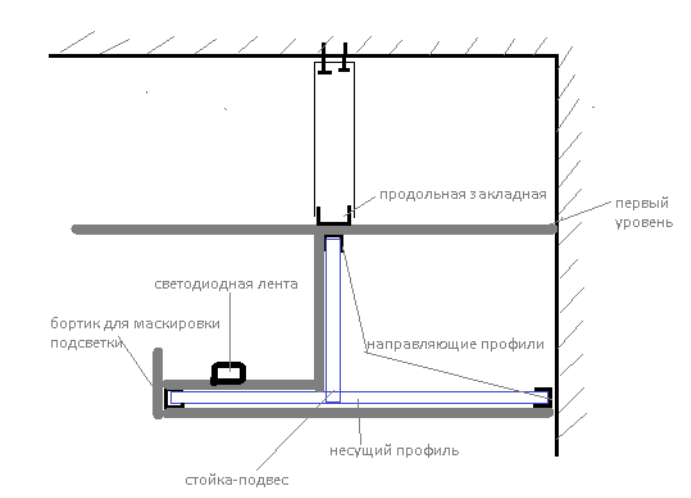
- Afterwards, we coat the structure with the prepared sheets of gypsum board with the help of self-tapping screws. From the outside of the frame, we make a rim to mask the illumination. To do this, attach a horizontal starting profile to the supporting profile and attach to it a strip of gypsum board 50 cm high from the outside.
- As a result, we have learned a niche of a closed type, in which we will place the LED tape.
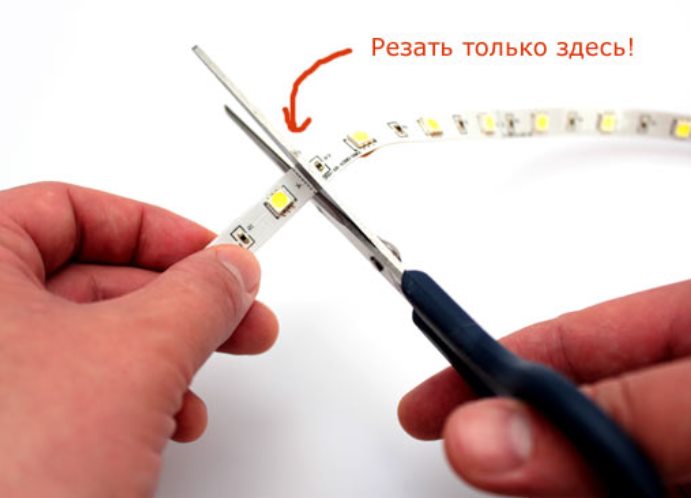
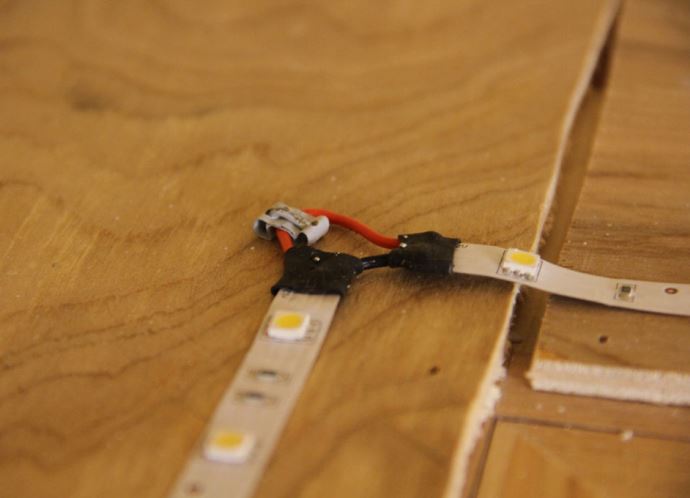
- We cut off in a specially designated place a piece of tape of the necessary length - 3 m.
- We measure the length of the tape for the entire perimeter. We connect pieces of tape through special connectors.
- We connect the tape to the power supply and check its operation.
- We lay the tape in a niche and glue it to the ledge behind the edge.
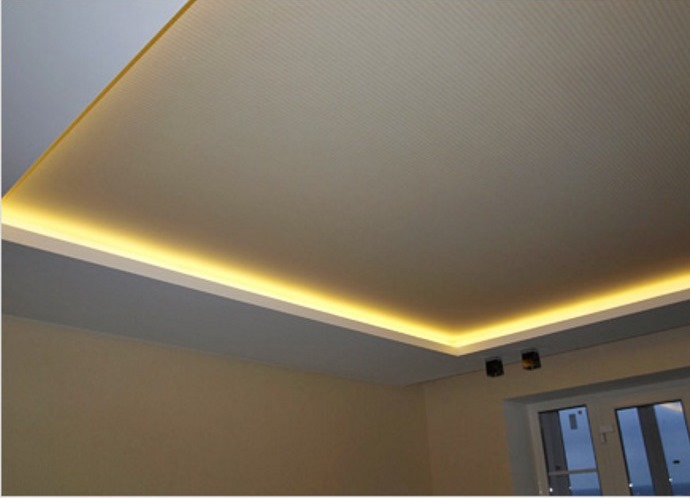
- When everything is ready, you can proceed to the putty and finishing of the cornice.
- Here is a ceiling made of gypsum cardboard with illumination with our own hands.